Photographing A Hungarian Countryside Home, Part Two: With or Without You?
In part two of my behind-the-scenes series in the Hungarian countryside, I’m going to jump into (ha ha…) a more complicated daylight image that I created. This image, like anything in architectural photography, contains quite a bit more than meets the eye, and utilized many different techniques to put together a visually harmonious image.

First of all, I want to thank for B-13 Architects the opportunity to photograph this beautiful house.
The house was shot many times by other photographers, so I knew there would be a lovely infinity pool, which I want to show in my set of images. So like any smart photographer, I did some pre-production before I even got to the location. I left with my camera equipment, a towel, and a bathing suit (swimming trunks for those of us not using American ‘freedom words’ ;))
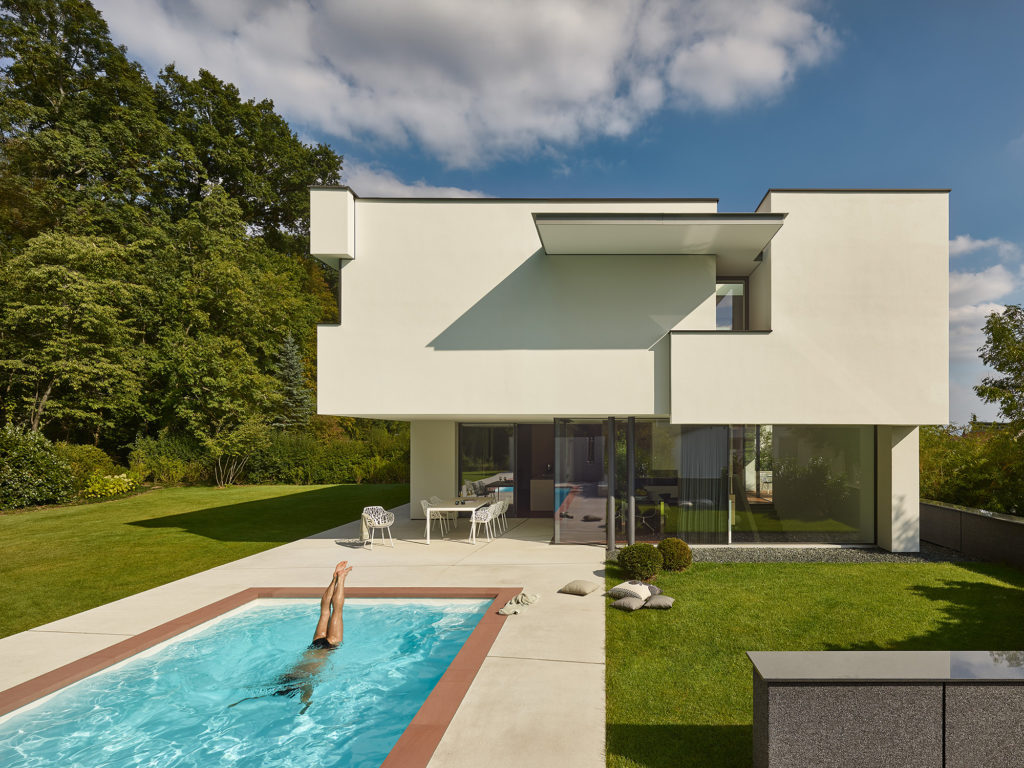
The basic idea for my image was inspired by Zooey Braun. ‘Haus am Wald, Stuttgart’ – Alexander Brenner Architekten
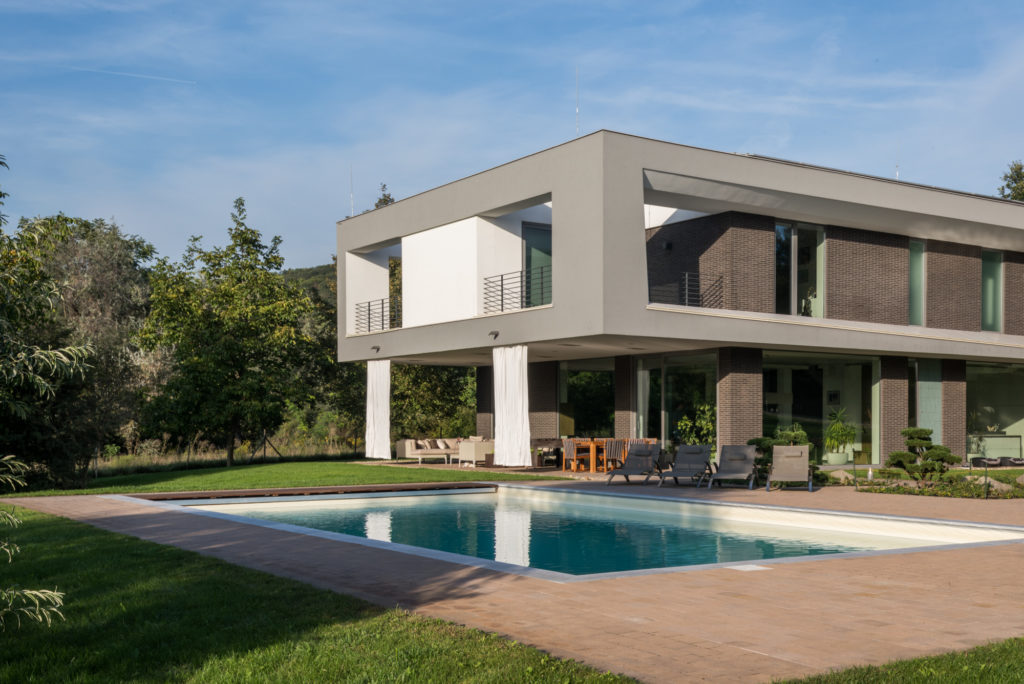
Finding the composition was pretty easy, I decided to show the entire house from a two-point perspective because I had a feeling the twilight hero shot would be a one point perspective and I didn’t want to create repetitive images.
The gear I used to create the image was relatively straightforward: a Nikon D810, Nikon 24mm TS, Nikon 1.7 extender and a CamRanger. I wanted to have a longer focal length, so the person and the pool closer to the camera would not be too dominant in the image compared to the house as they may be with a wide angle lens. At 41mm it was impossible to have the house and the pool in one image, so I had to create a shift-pano, and I will show you how you can stitch two images together.

Base image shifted left (F/11, 1/40, ISO 100) Base image shifted right (F/11, 1/40, ISO 100)
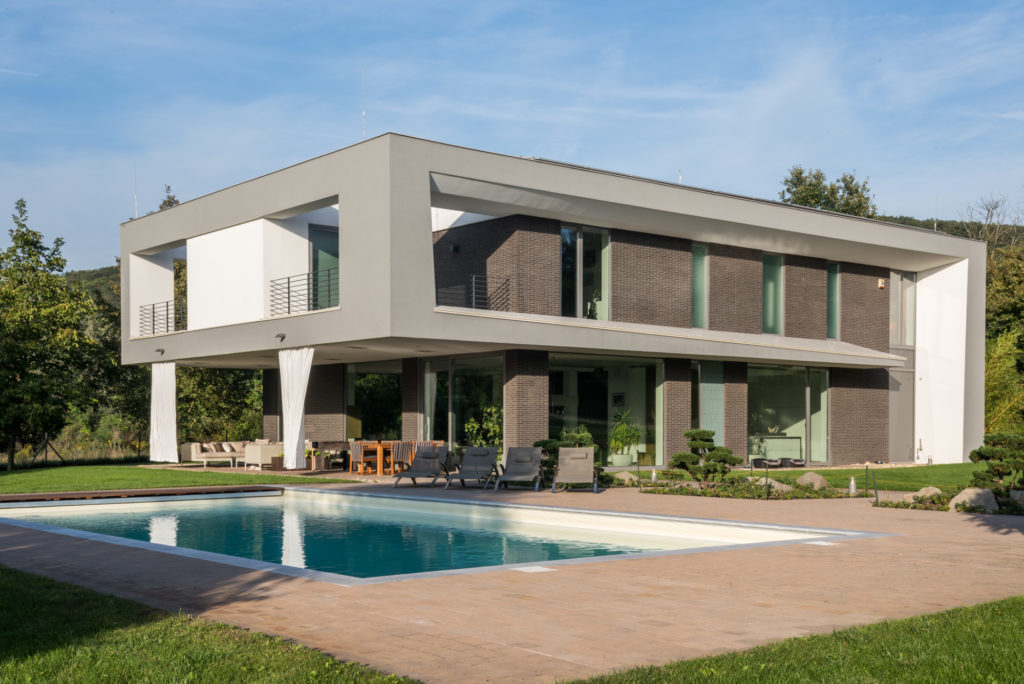
Shift-Panorama stitch
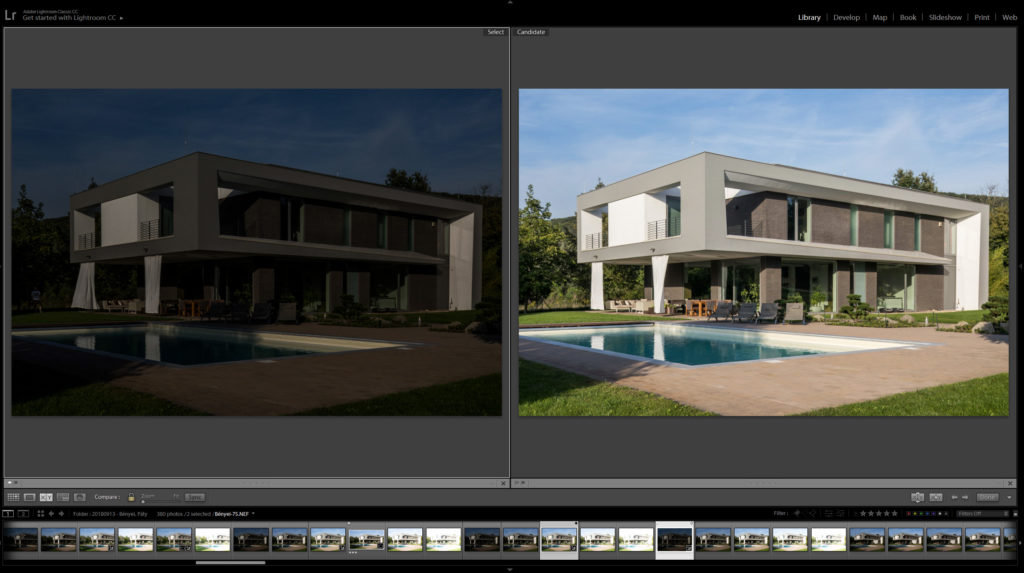
There are many ways to make a panoramic image stitching. Here are two of them which work for me.
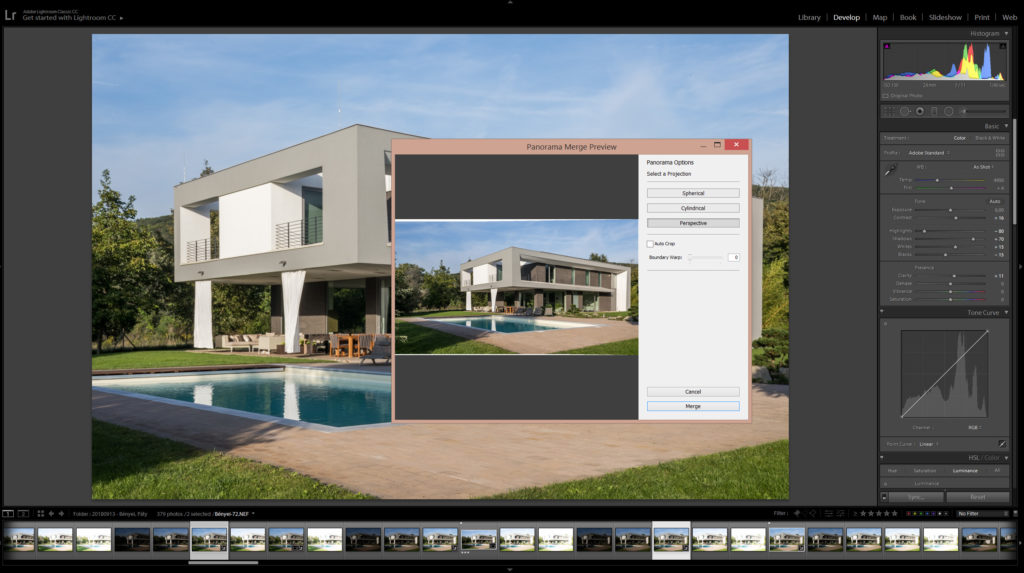
After Lightroom merges the two images, it will save as a DNG file, so that will be still a raw file rather than a JPEG. You are able to change the color temperature and everything else just like on a normal raw file. This is the most significant advantage of using LR for the stitching; luckily it is fast, easy, and works pretty well most of the time.

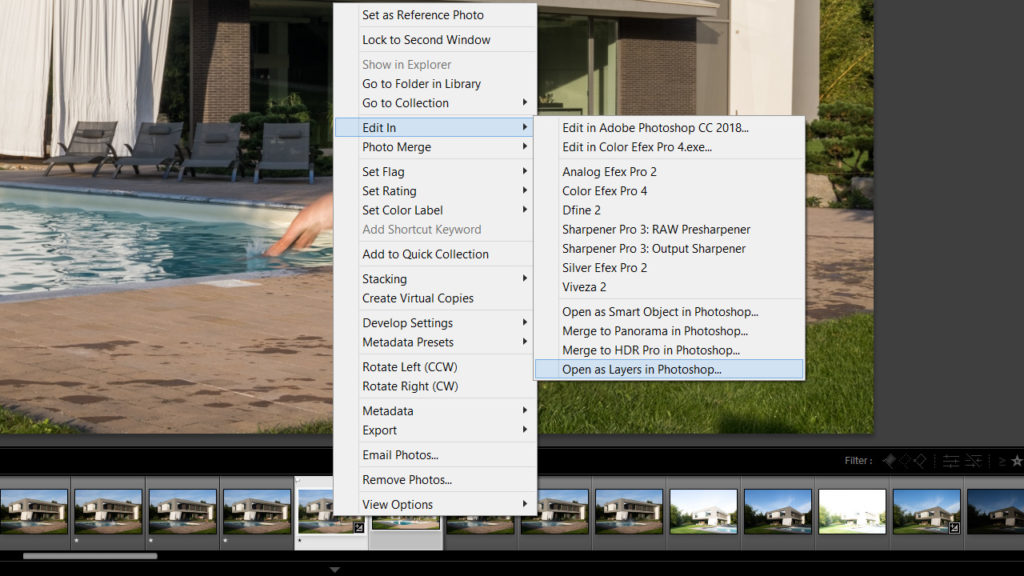
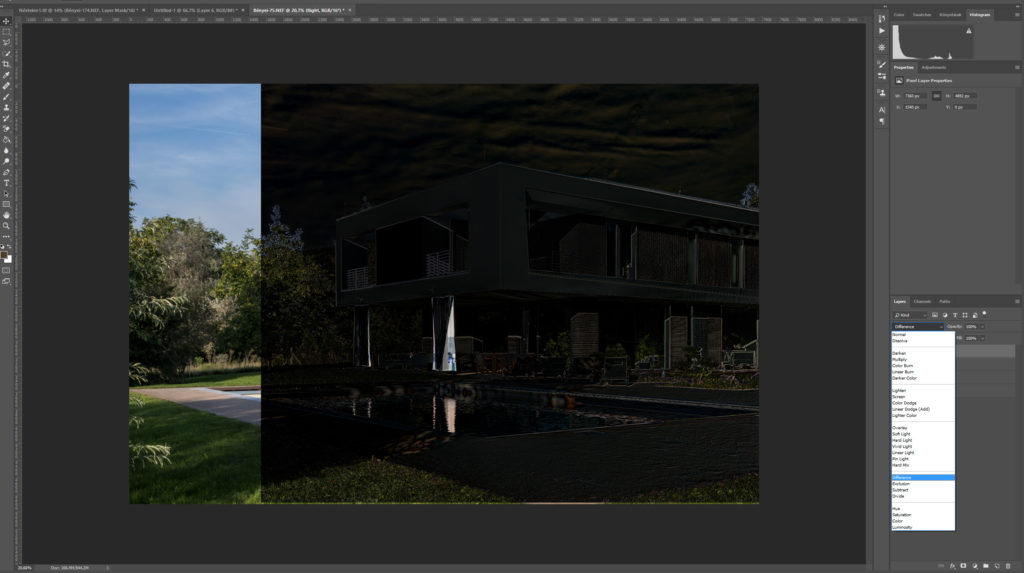
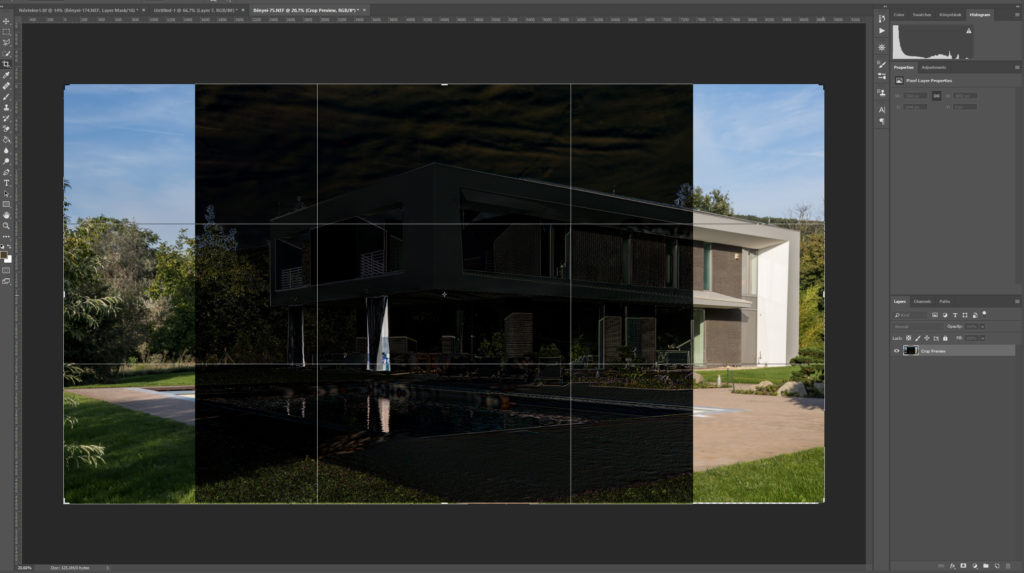
I will sometimes use Photoshop for panorama stitching, but usually only if LR doesn’t provide the result I’m looking for or I want to add some elements (moving cars, peoples, etc.) from other frames than the base images. This is how I do it:
Adding elements and objects of interest
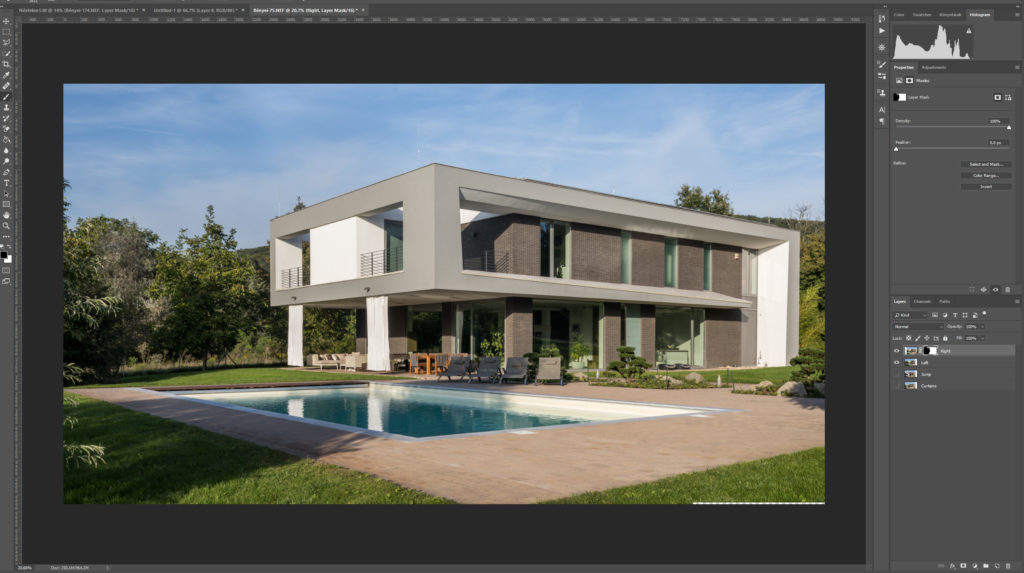
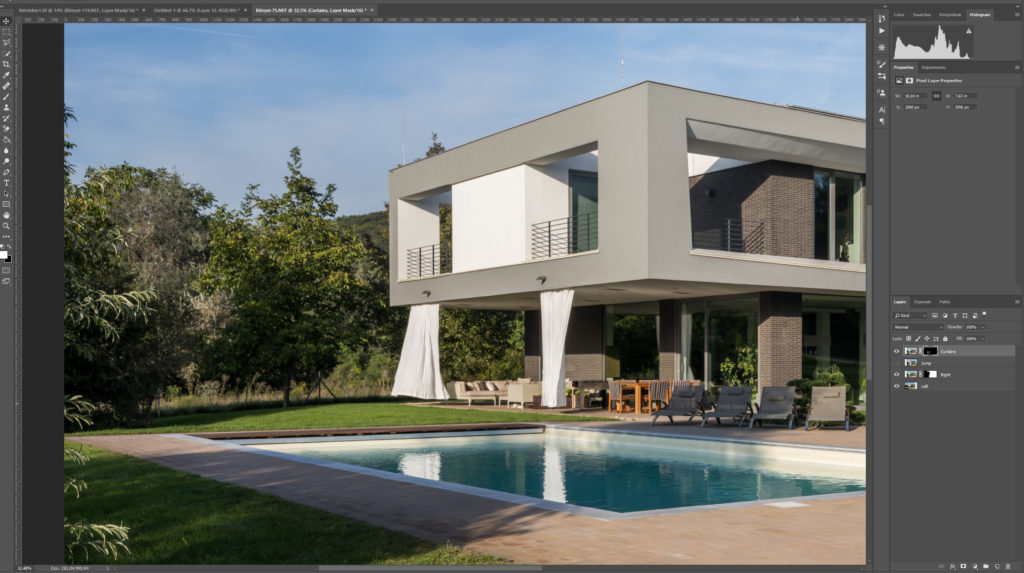
The curtains
The curtains were an essential element of the design as the architect mentioned, so I wanted to highlight them by adding some movement. I made a mistake by leaving my camera bracketing, the first frame was 2 stops underexposed, but this is what I needed.
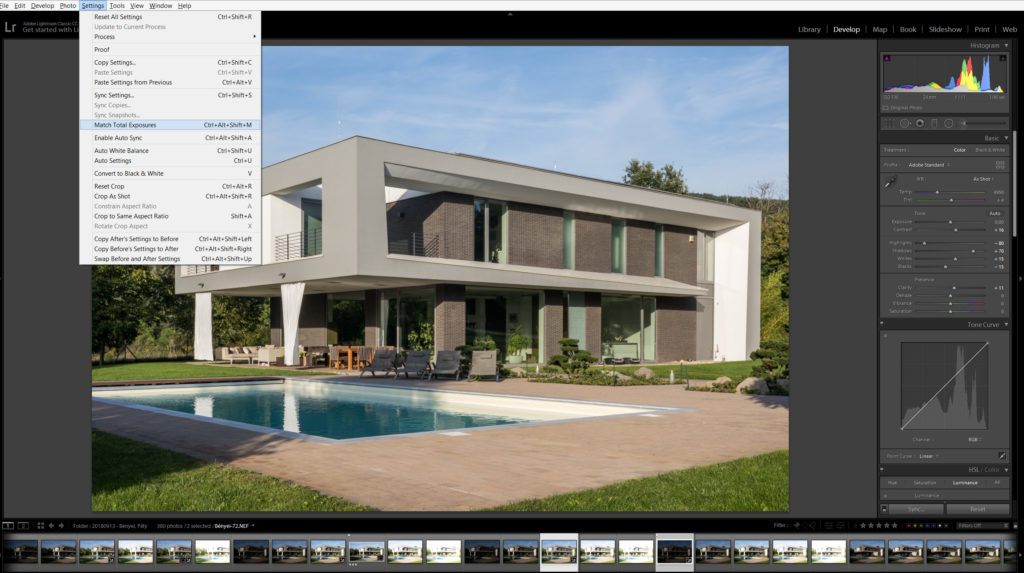
Lightroom is doing some calculations based on the EXIF data and evens out the exposures by adding the exact number of stops as needed. Be aware that LR does not consider the content of the image, so if the sun is hiding, for example, there may be differences in luminance despite the same exposure. One other thing is that the curtain is a small element of the image and a bright one, so I’m comfortable to use an image which was 2,5 stop underexposed, but for a bigger and darker part of the frame, I would use it with extra caution or not use at all.

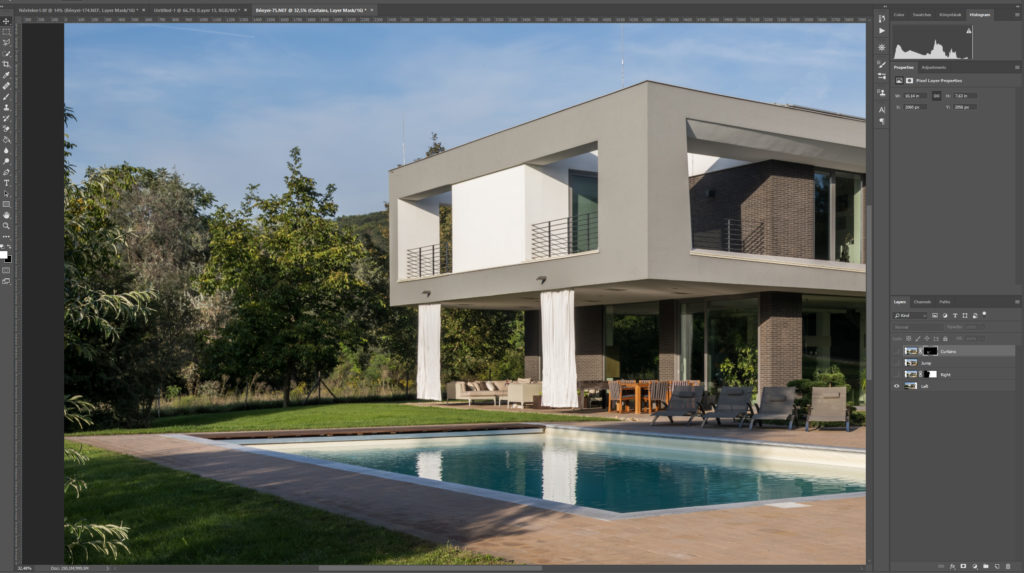
Just a minor change but it feels light and airy now.
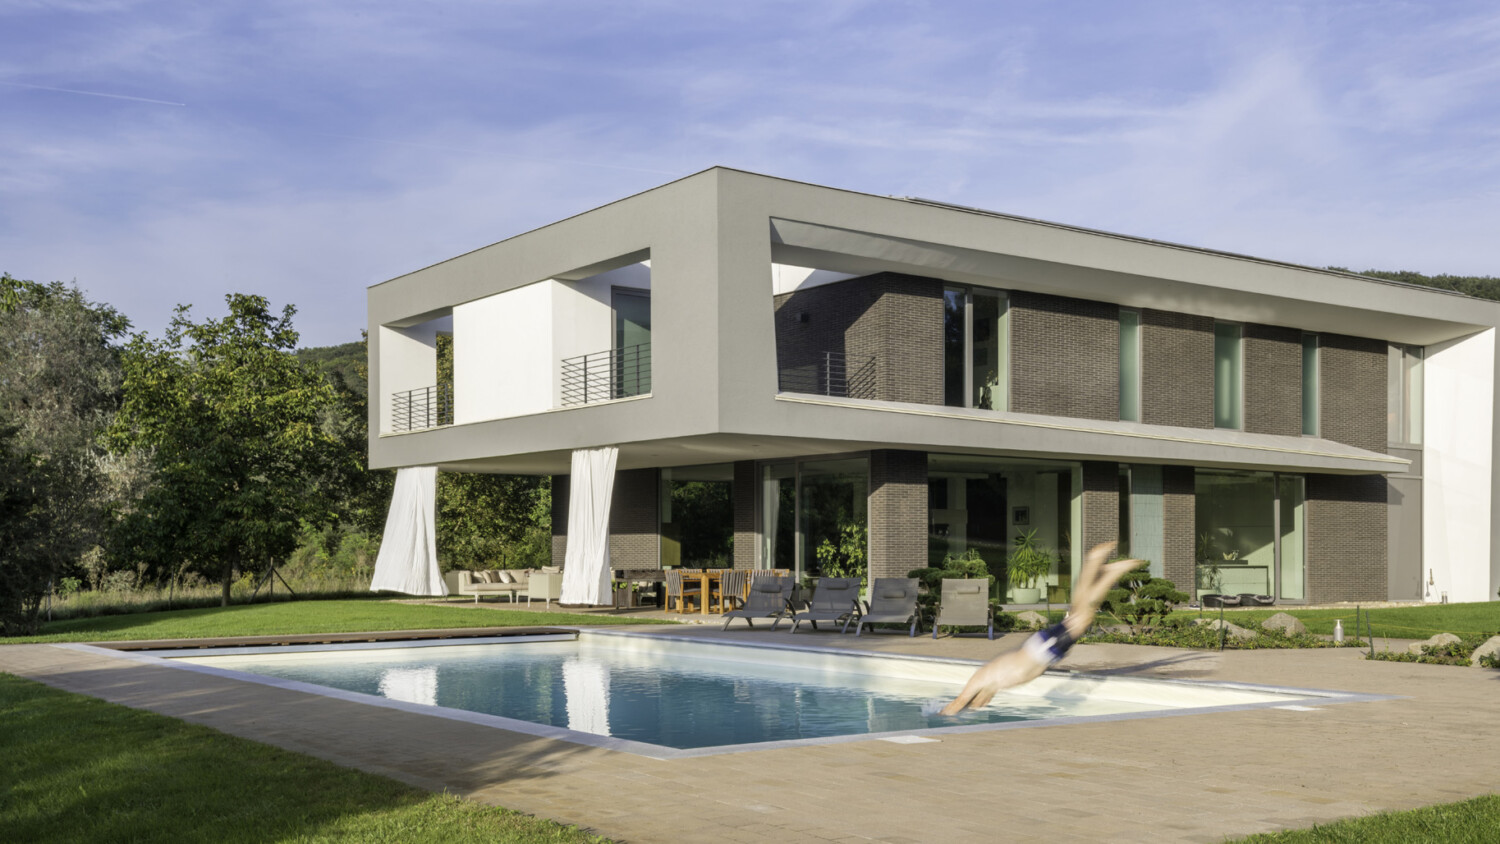
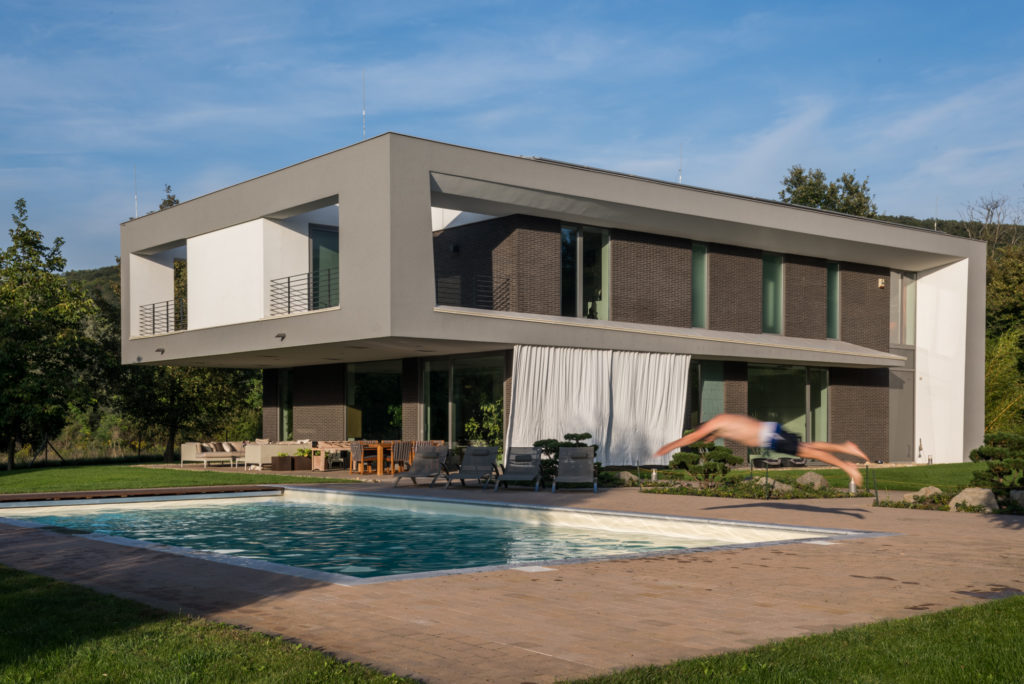
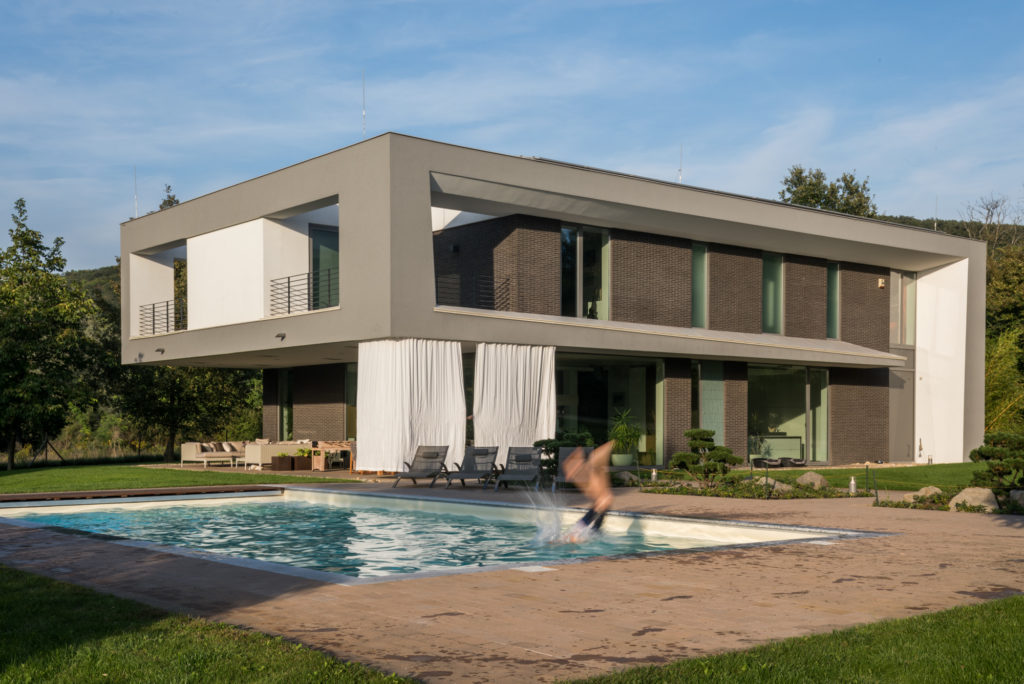
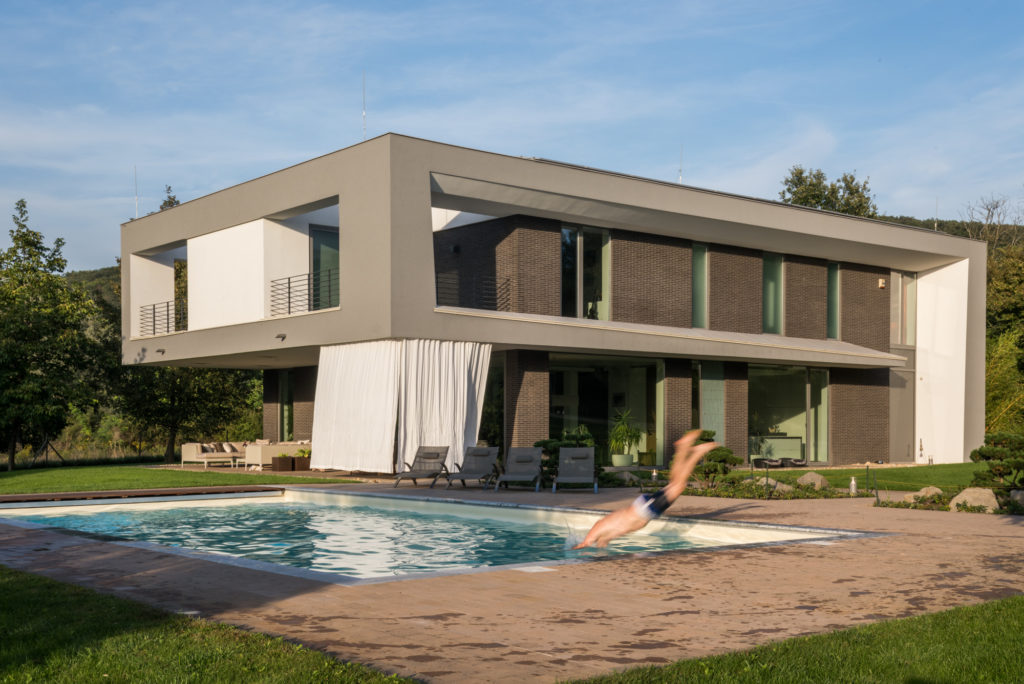
The jumping guy
I thought at the beginning it would take 2-3 jumps for the perfect pose, but I was wrong. I was jumping into the pool for like 45 minutes until I finally had the image I liked. OMG.
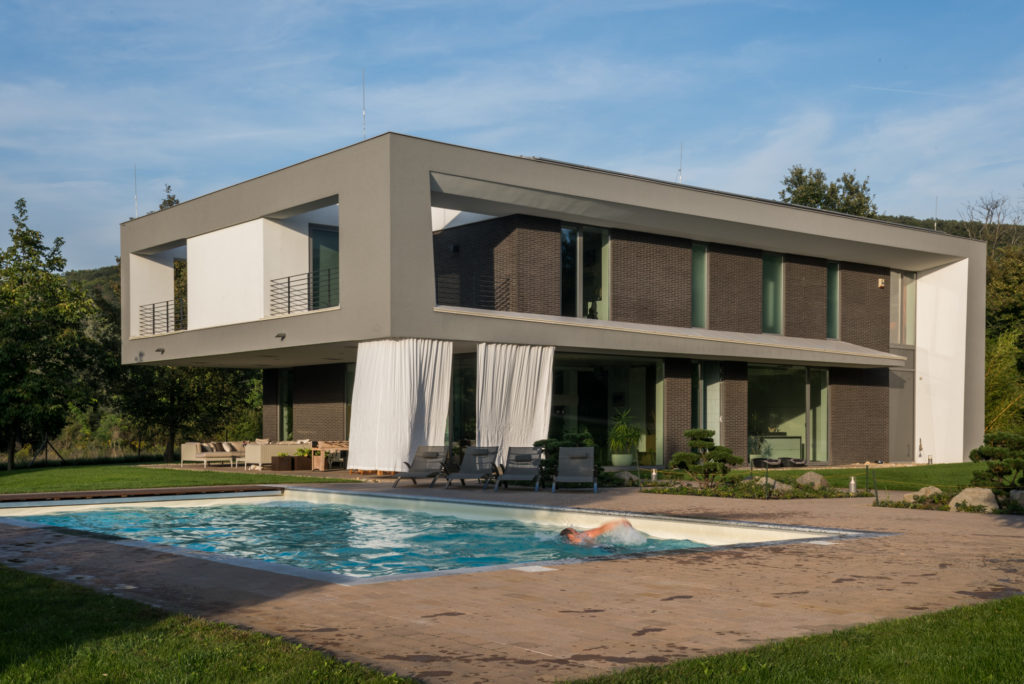
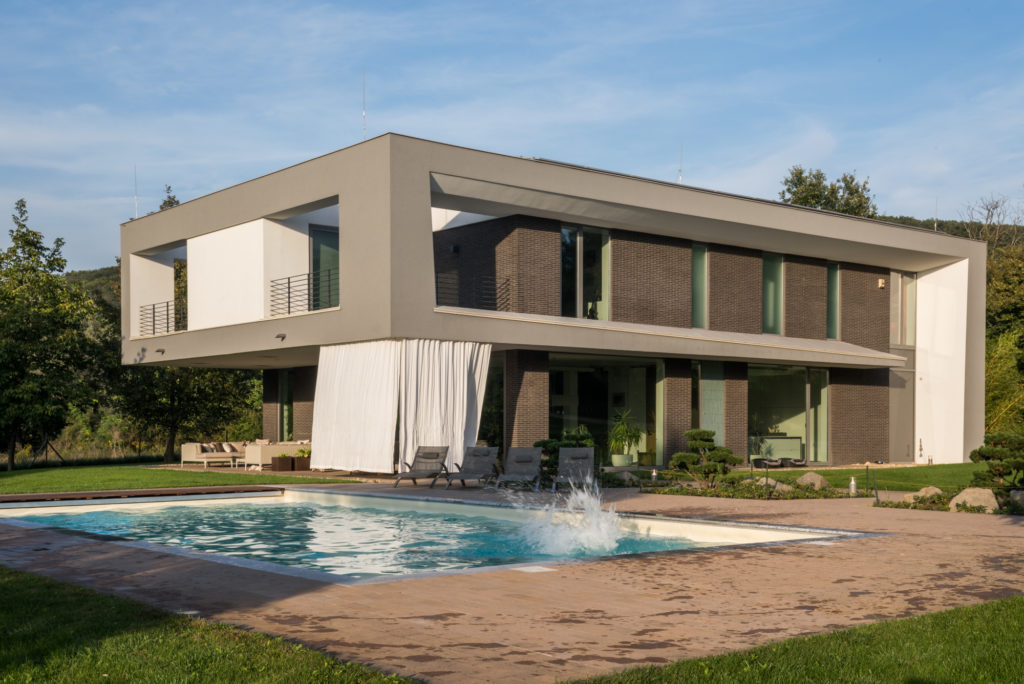
Too early… Too late… Too high… Too late… I tried to swim… Not bad, just a tiny bit too early… Too late… Not the right angle…
Not the right angle…Splash… Too early… Don’t like the angle, and too early… Finally…
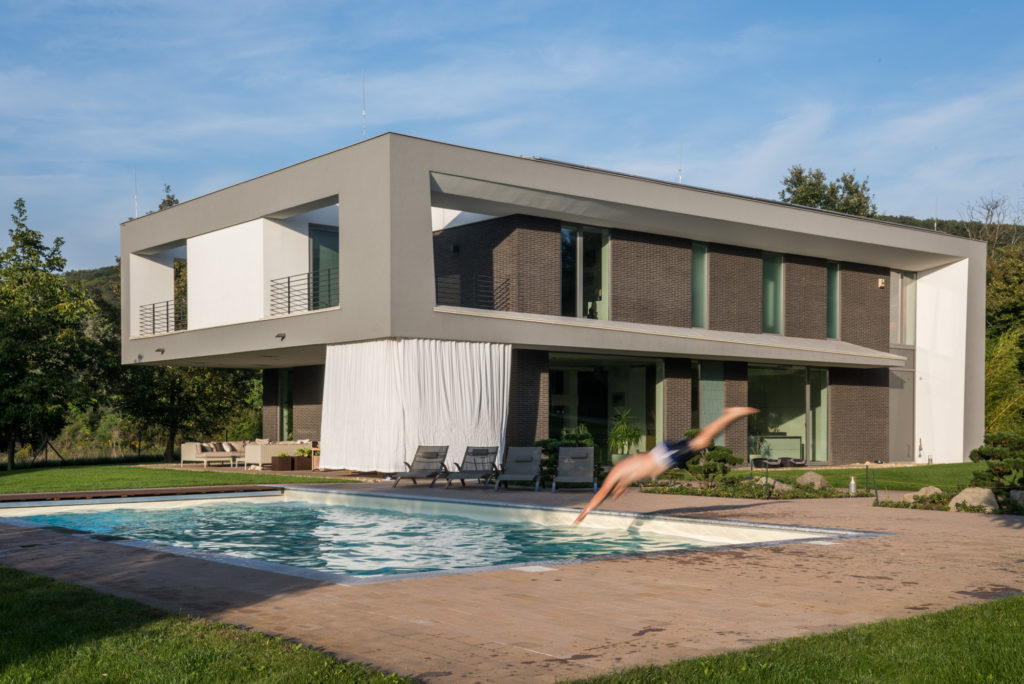
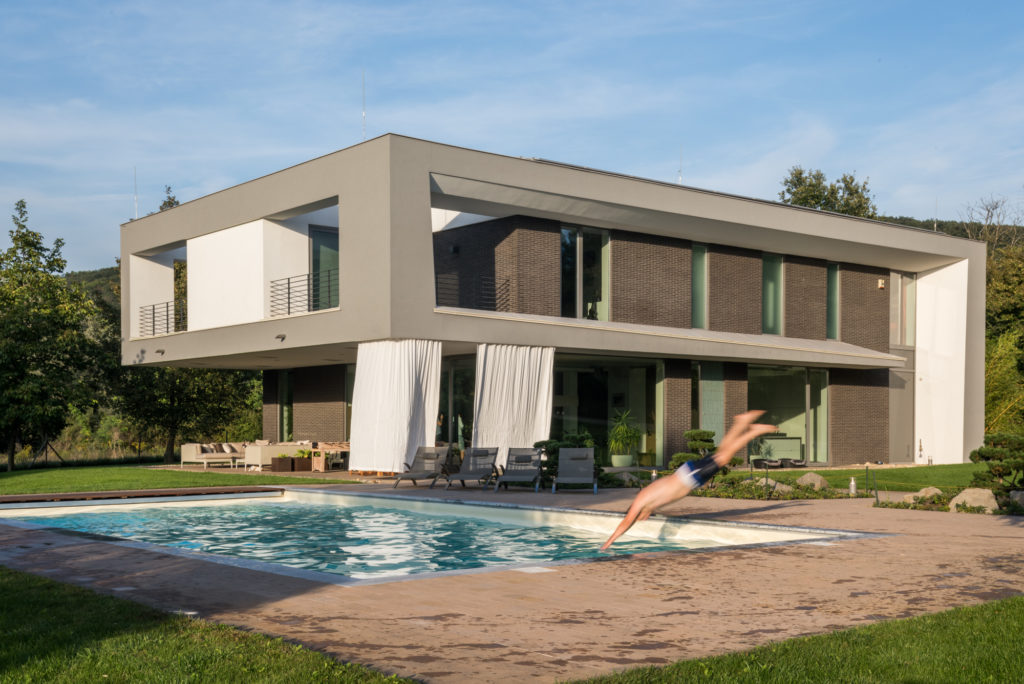


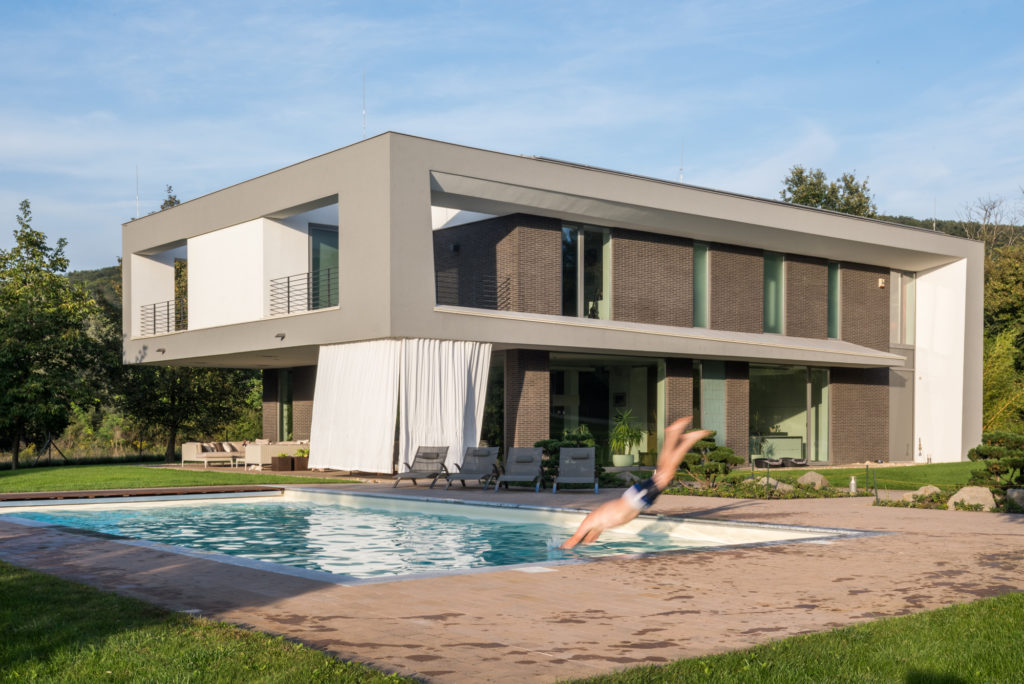
During this period of time, the shadows changed a lot, as you can see on the closest chair to the figure. It is in the shade and I like it that way, because now the chairs are more evenly lit (or not lit) and it doesn’t attract your eye so much.
I added me jumping in with a layer mask, carefully near the edge of the pool, where my footsteps were present, but I wanted to leave them out of the final image.
Now I just had to remove some distracting elements: the trees near to the roof which looked like they are growing out of the roof, the dead tree on the right, some leaves on the left side on the image, and the lighting-conductors. I made a curves layer to brighten up some parts of the image, and after that I merged everything together and finished the image with Color Efex Pro by adding some contrast as I showed you in my first article.

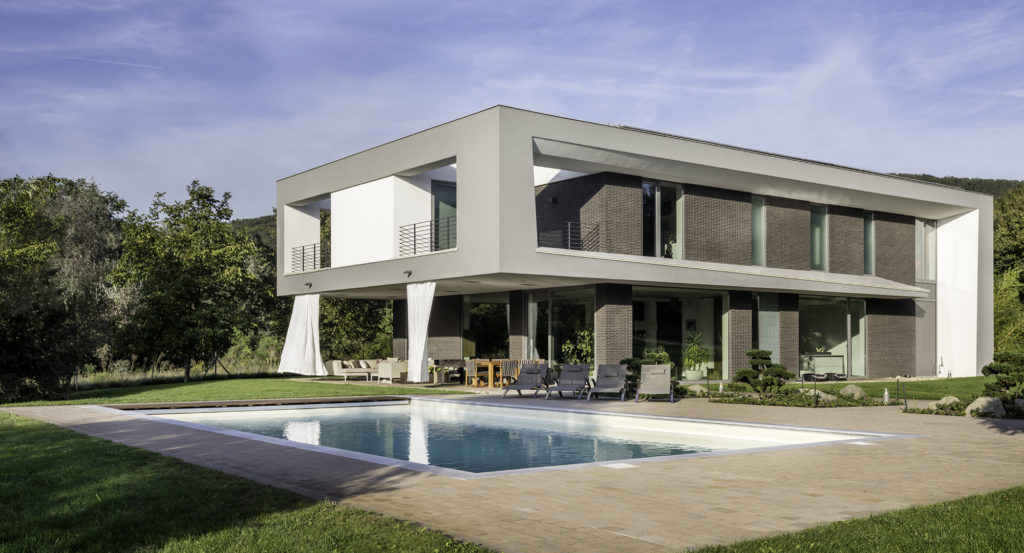
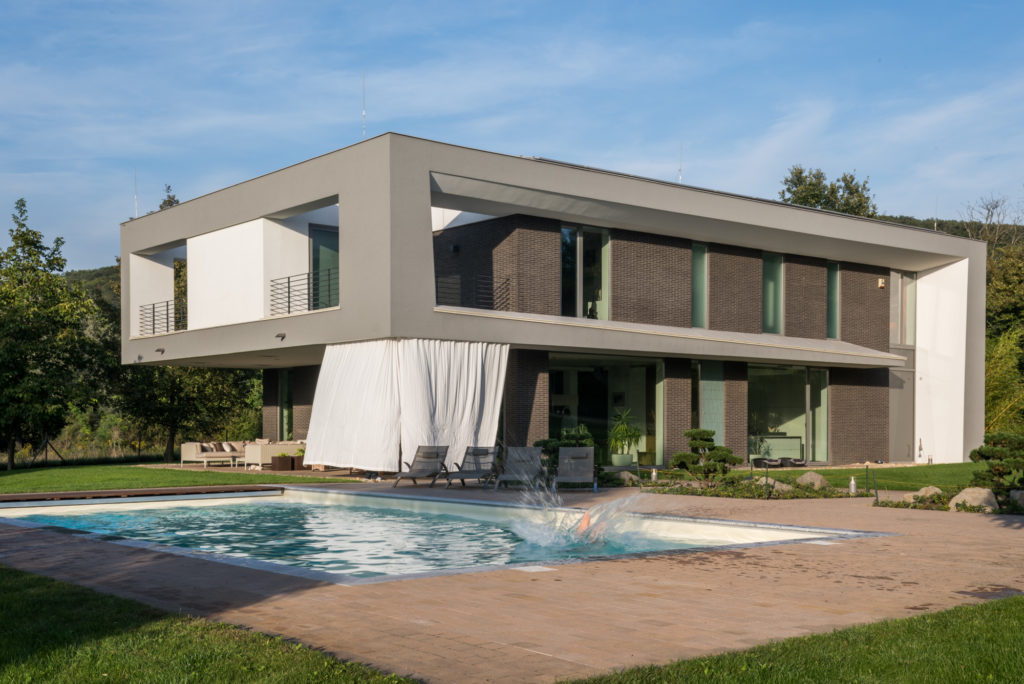
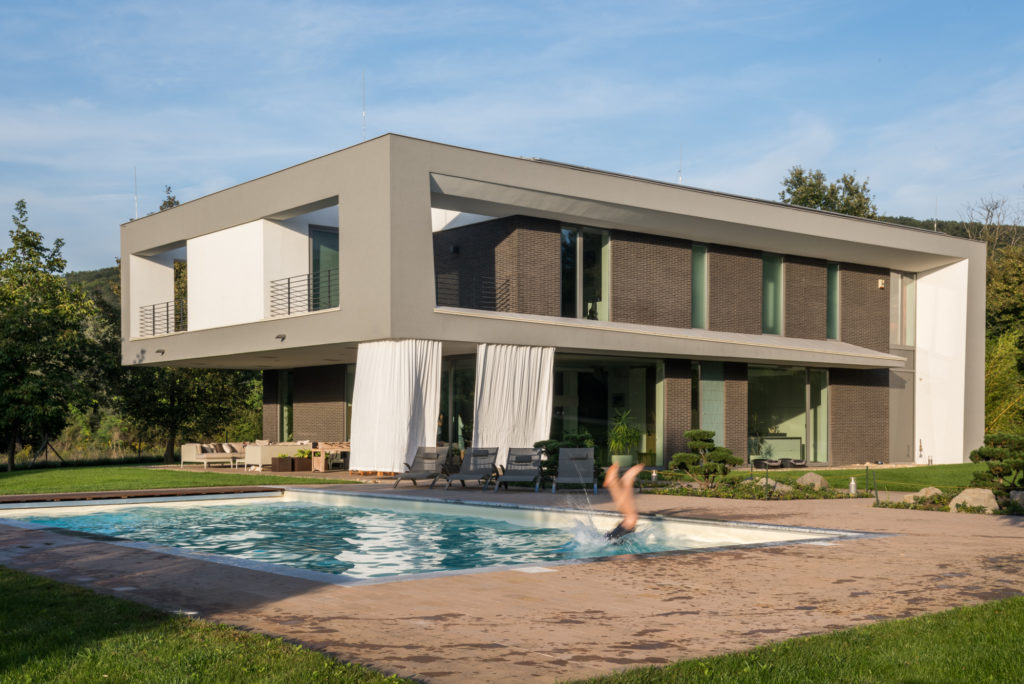
Last year when we made our contest this image got the most comments. Some were in love with it and liked the blurred person very much, and there were a lot of people who disliked it just because of the person and the blurriness were too distracting for them. There is nothing left but to ask your opinion: with or without me? I’d love to hear your thoughts! Thank you for reading and as always I hope you learned something new.