The House That Architectural Photography Built: Shooting My Own Home During Coronavirus Quarantine
Architectural photography started for me as a hobby, but from the very beginning of the ‘photographing my hometowns cityscape‘ stage, I called my photography Facebook page György Palkó Architectural Photographer. That name led me to my first contract. Five years and many many jobs and clients later we moved into our new home last year. Our dreams came through with this, and I am very grateful for having the luxury of being “trapped” inside these walls in these difficult times. I am pretty sure it would not have been possible without architectural photography; apart from the fact that it made me financially capable, it has drawn my attention to many of the little things we now love every day in our house.
Last year for me, was all about building our home. We renovated a 30 years old house in the Hungarian countryside with a great interior designer (David Jakab) and with even better construction specialists. I documented the whole process, the starting point, the stage when it was a total mess, and all the steps of how everything came together. I only missed photographing the completed home as we live in it.
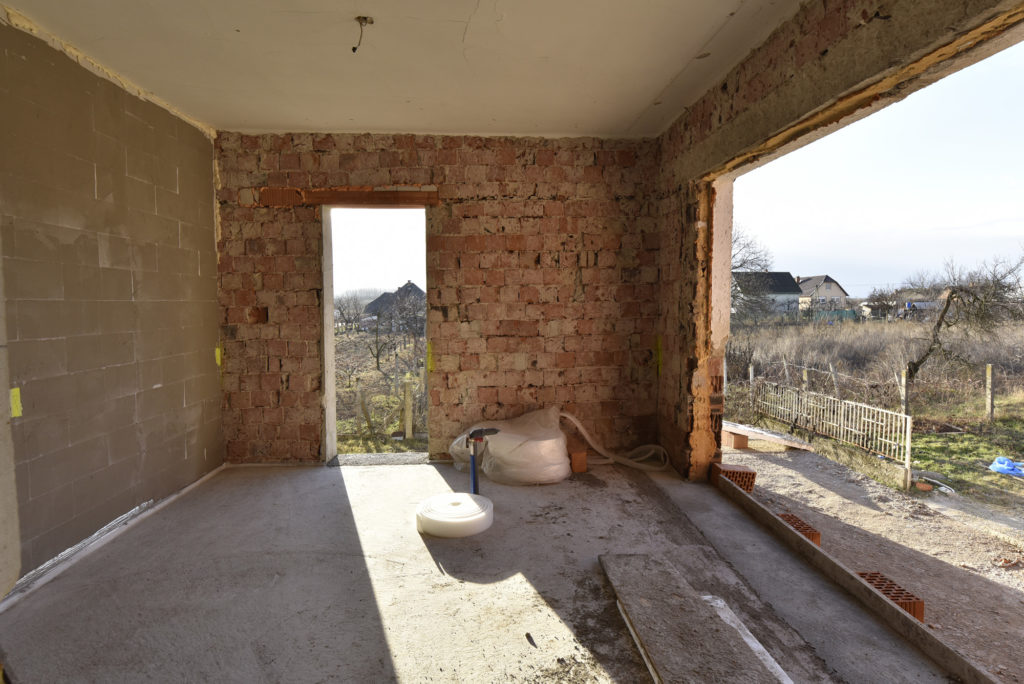
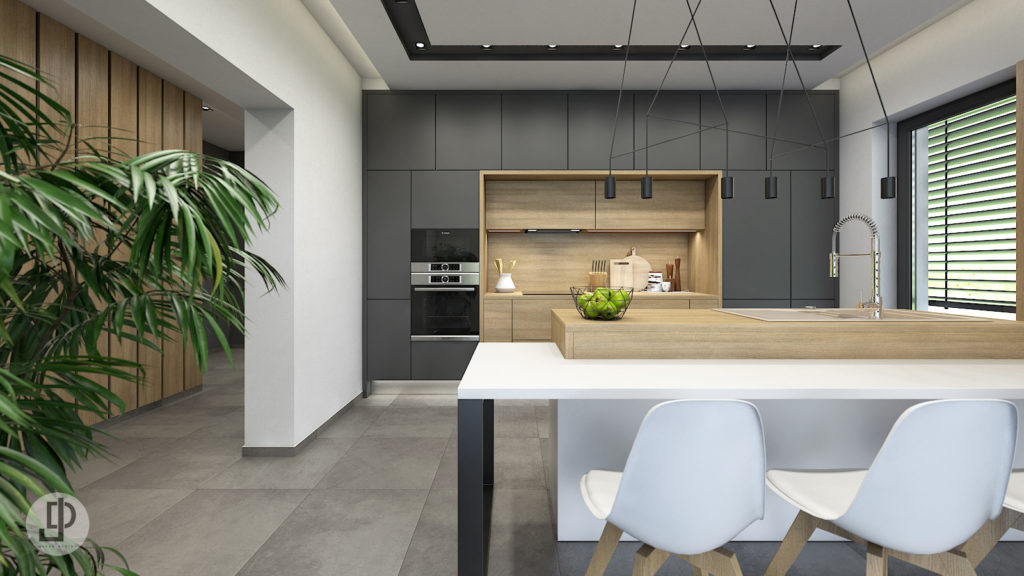
Now I’m stuck at home, as many of you, I think. I miss photography so much that after my lovely wife cleaned our kitchen, I decided to wake up early on Saturday and photograph it. I enjoyed it so much that I decided to do one room every week, so I will have the time to write about it to you, and I will have something to do every week besides the everyday runs and workouts.
The Kitchen
I have seen our kitchen in almost every possible lighting situation, and because of its orientation (South-West corner of the house), it shows a different face every time of the day. I love to play with light and the long dramatic shadows; even so, I decided first to have a morning scene, and a much evenly lit kitchen, without any (or just a few – I was a bit late) hard shadows.
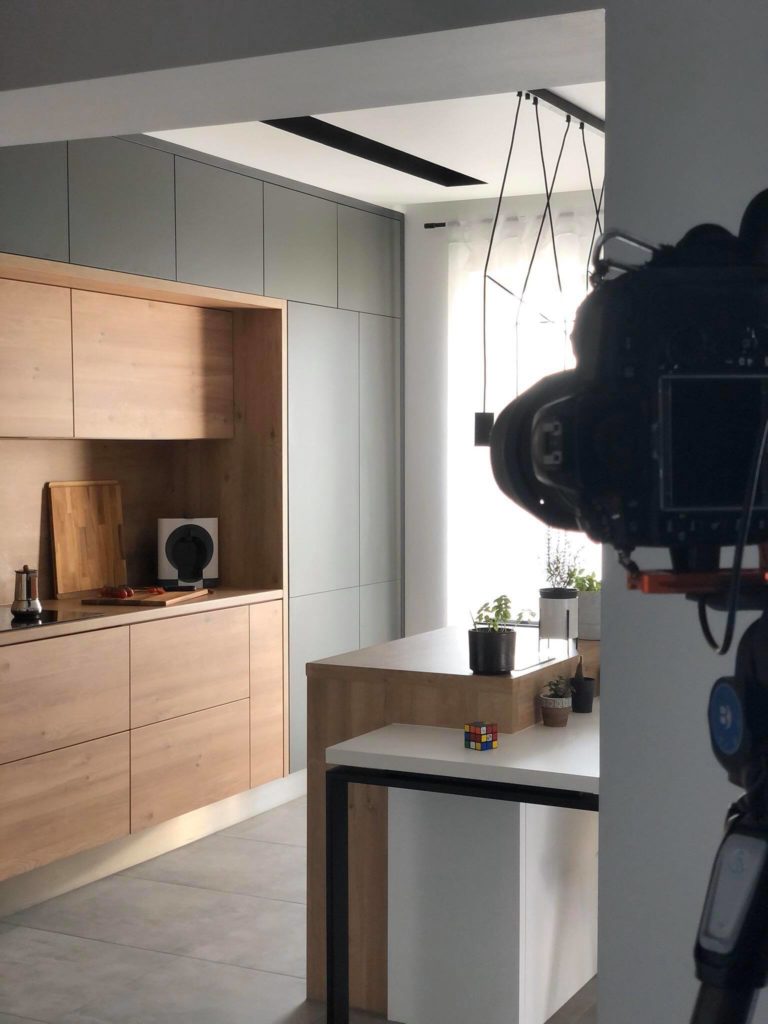
I’m the guy who likes to shoot as many angles as I can while the light is good, which ends up a lot of time as a selection nightmare before delivering to clients. Many photographers only take one or two hero shots of a space; I’m on the other side of the coin and usually take at least ten images (which includes details) of a beautiful kitchen. I’m able to do this mainly because I use almost solely existing light. I sometimes use the AD200 only when I struggle with difficult backlit situations, or I don’t have the time on location to wait until the light is good enough to photograph without a flash.
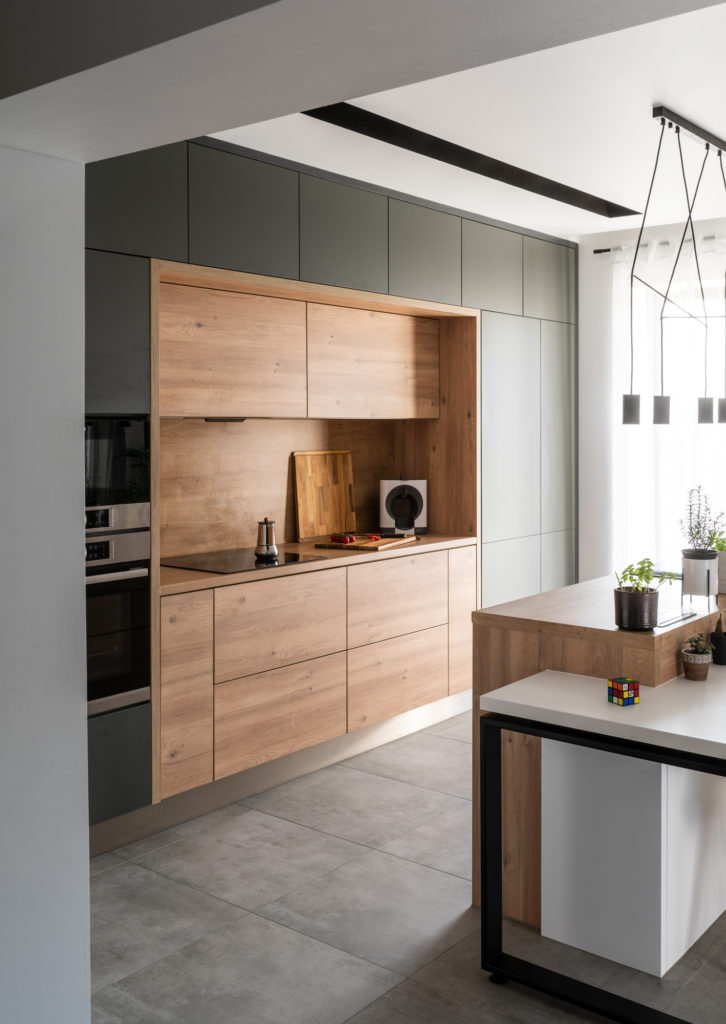
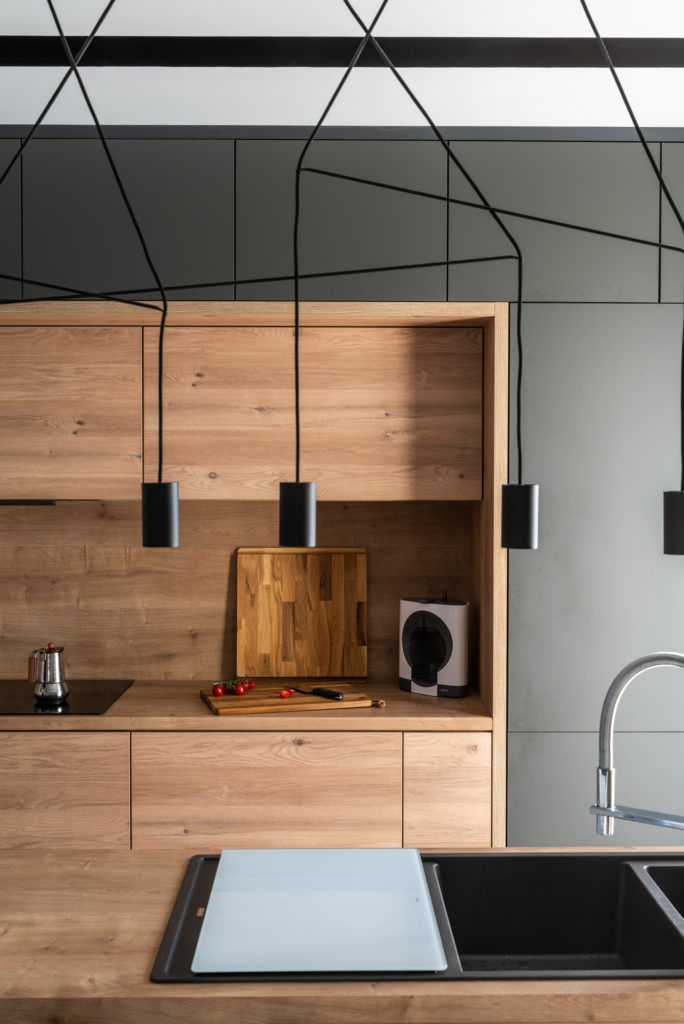
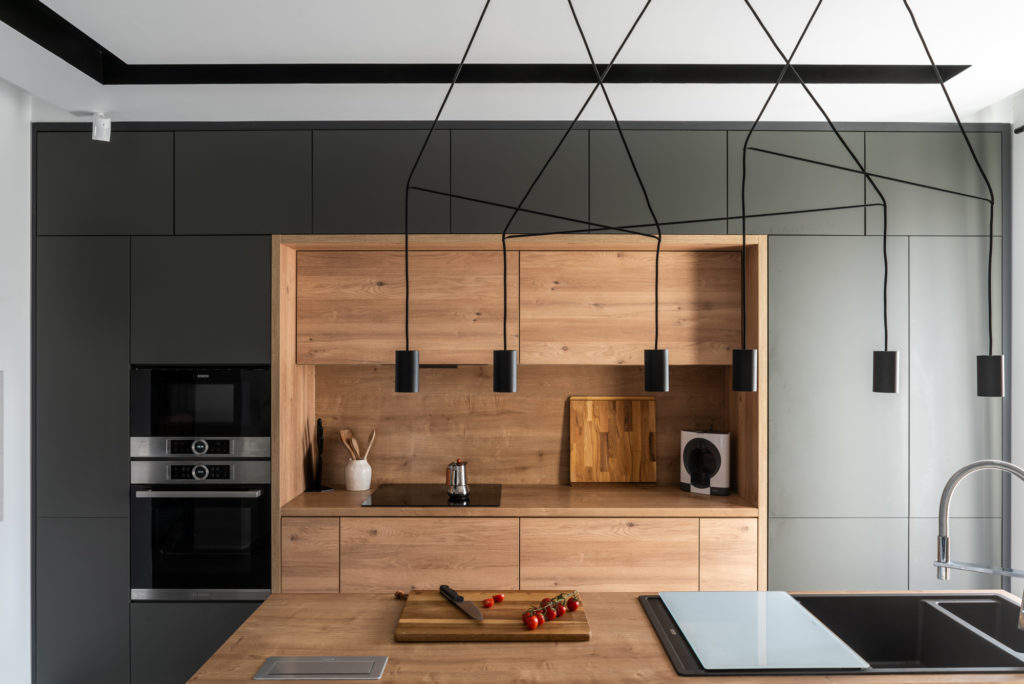
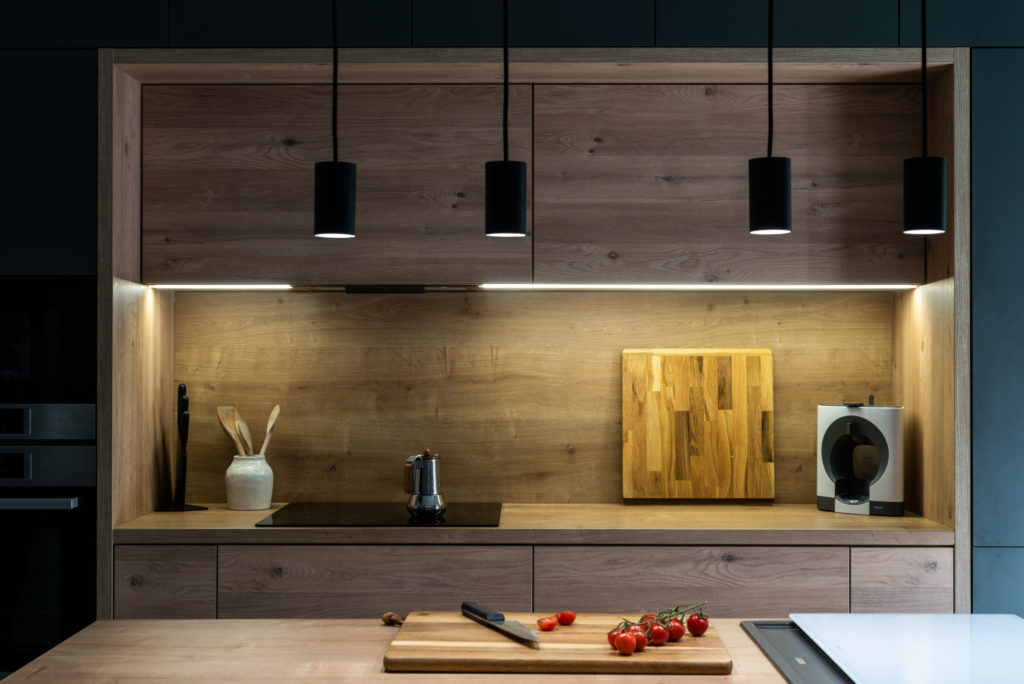
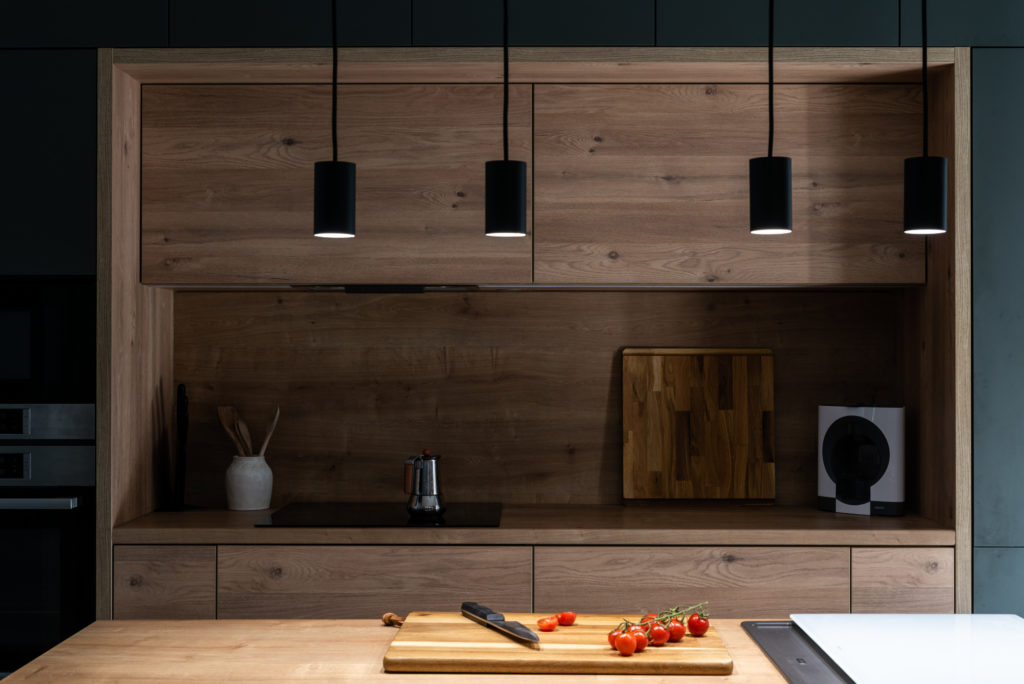
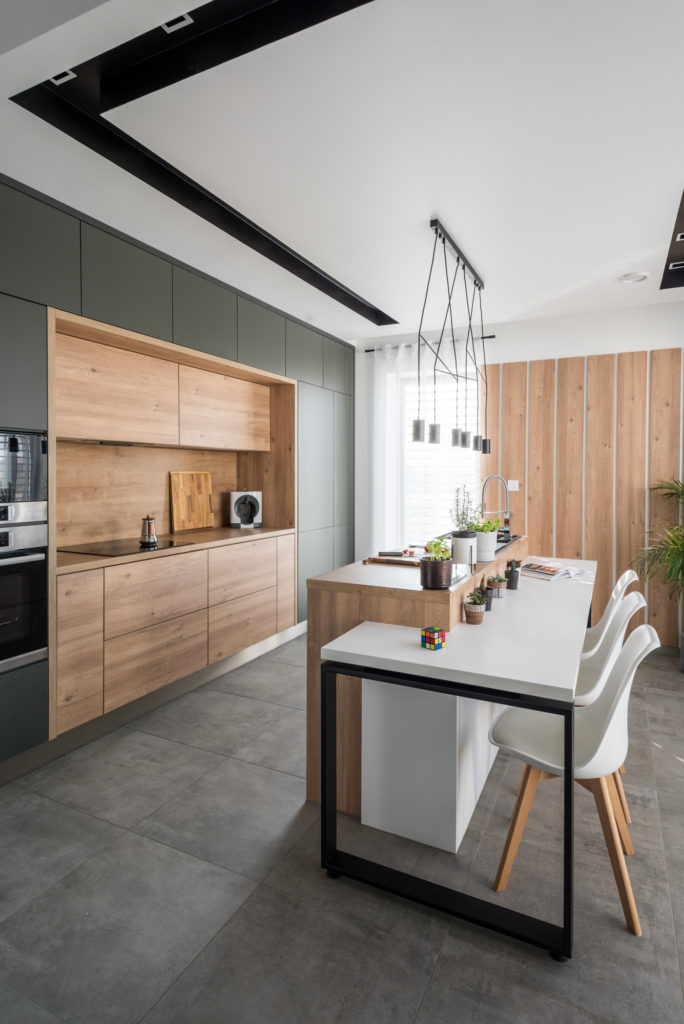
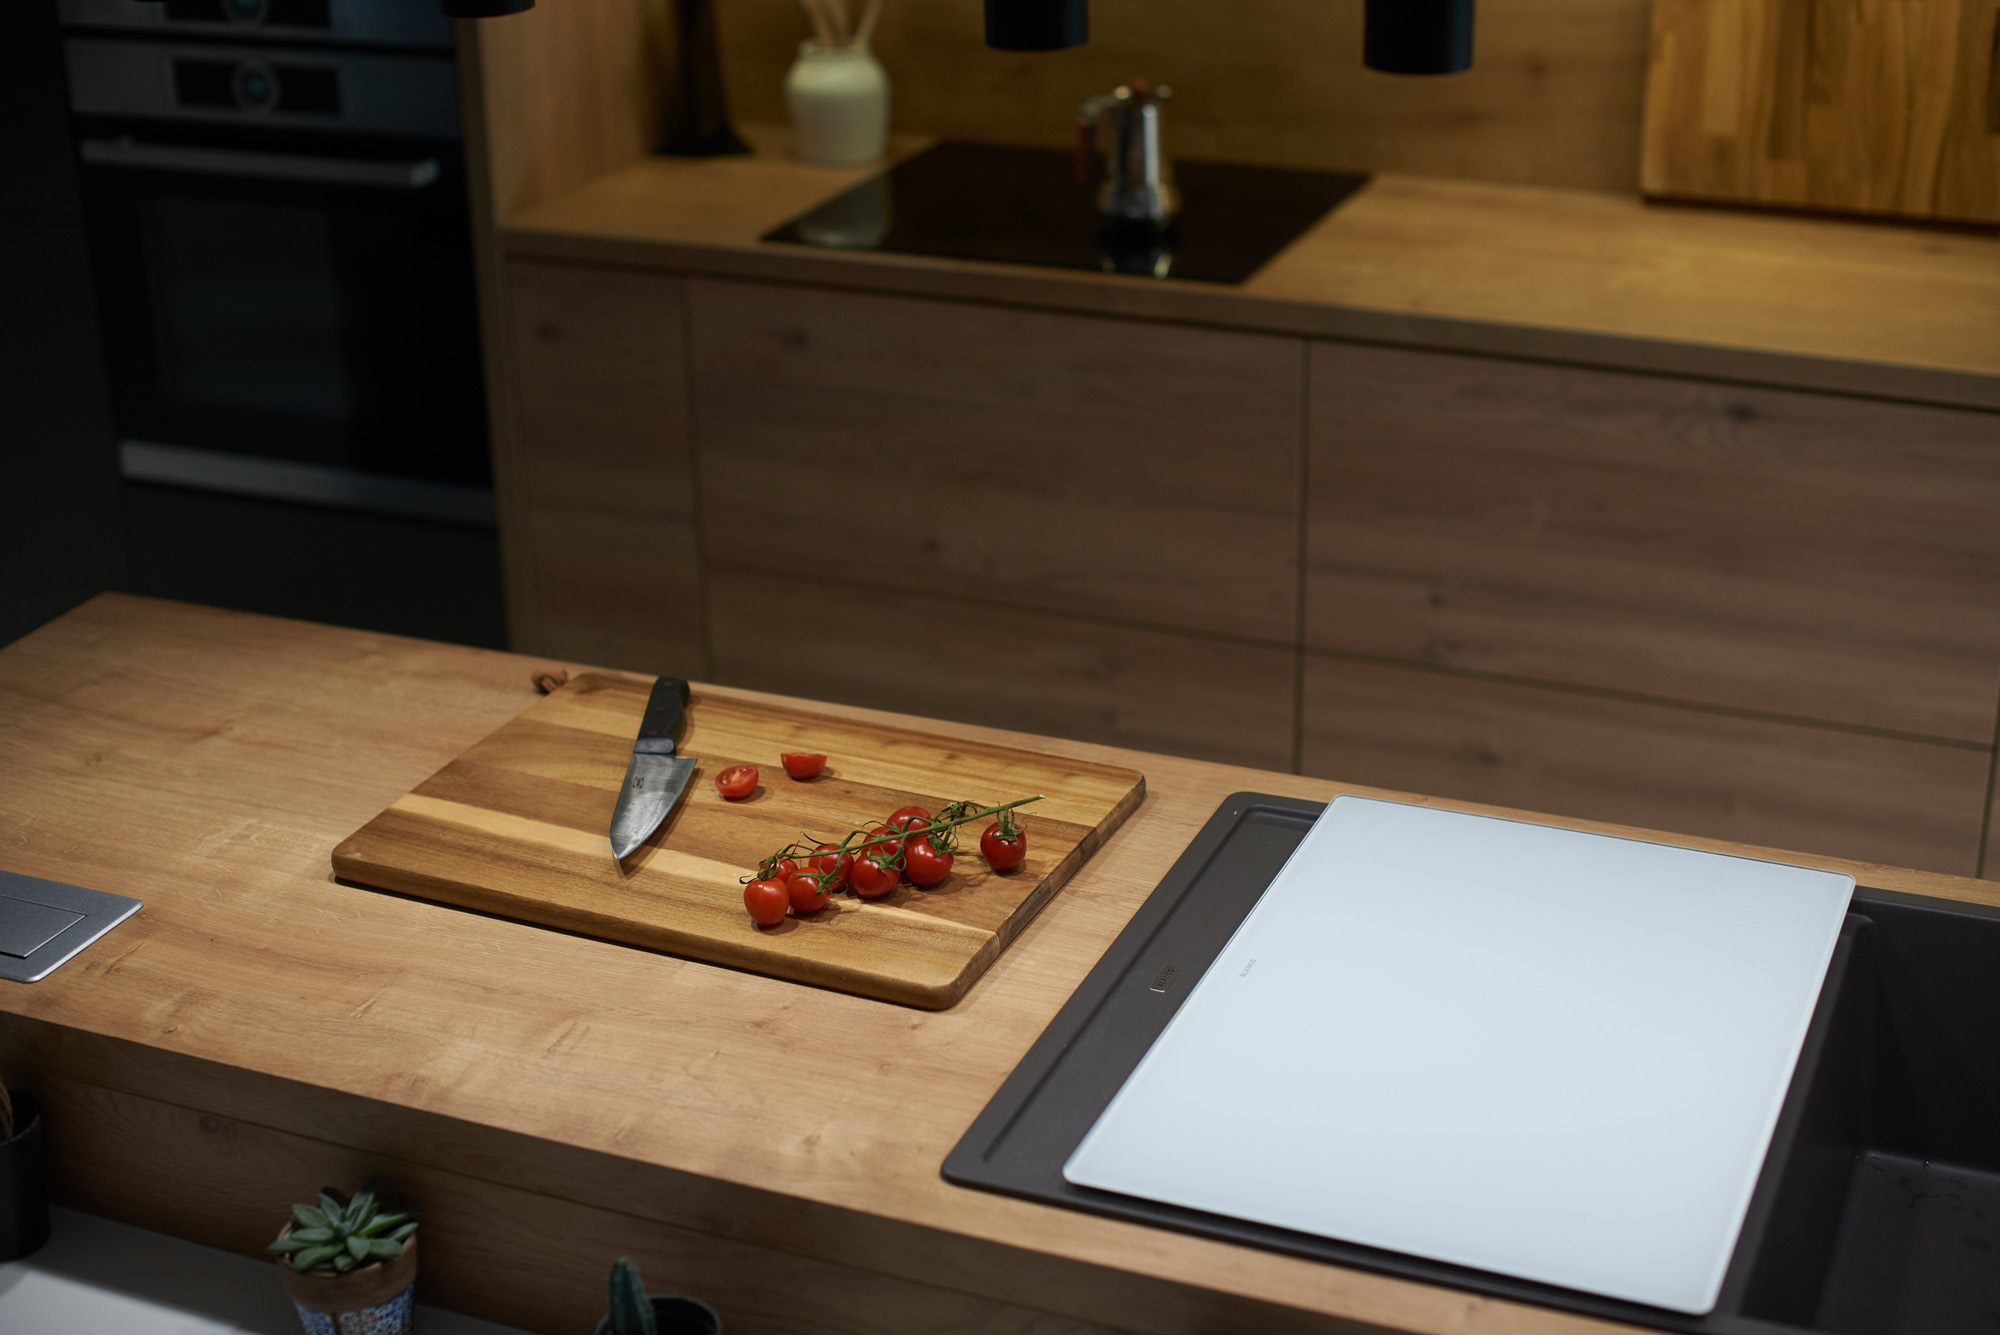
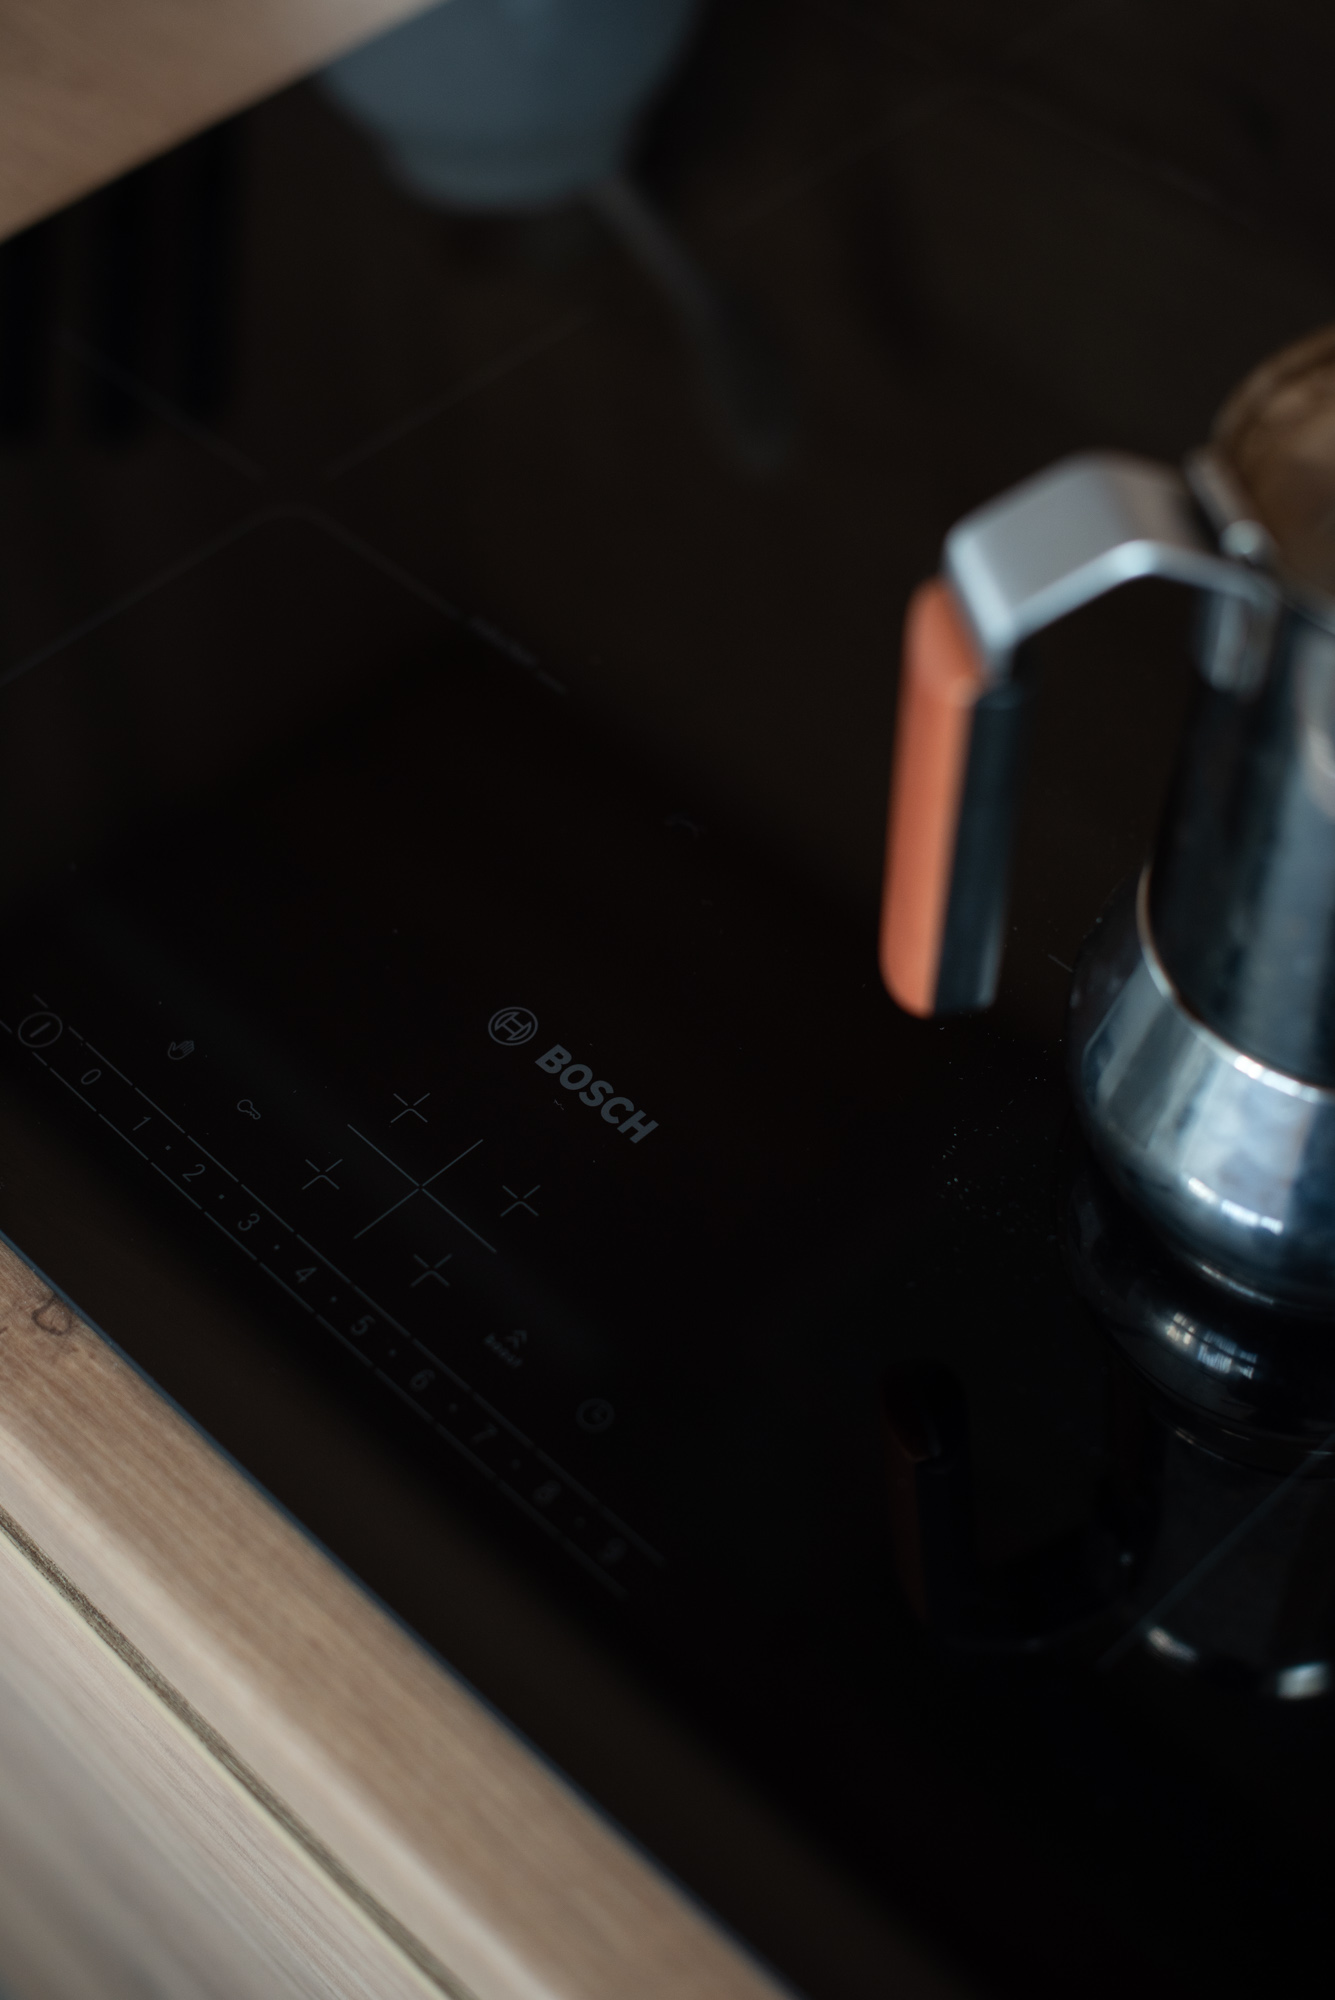
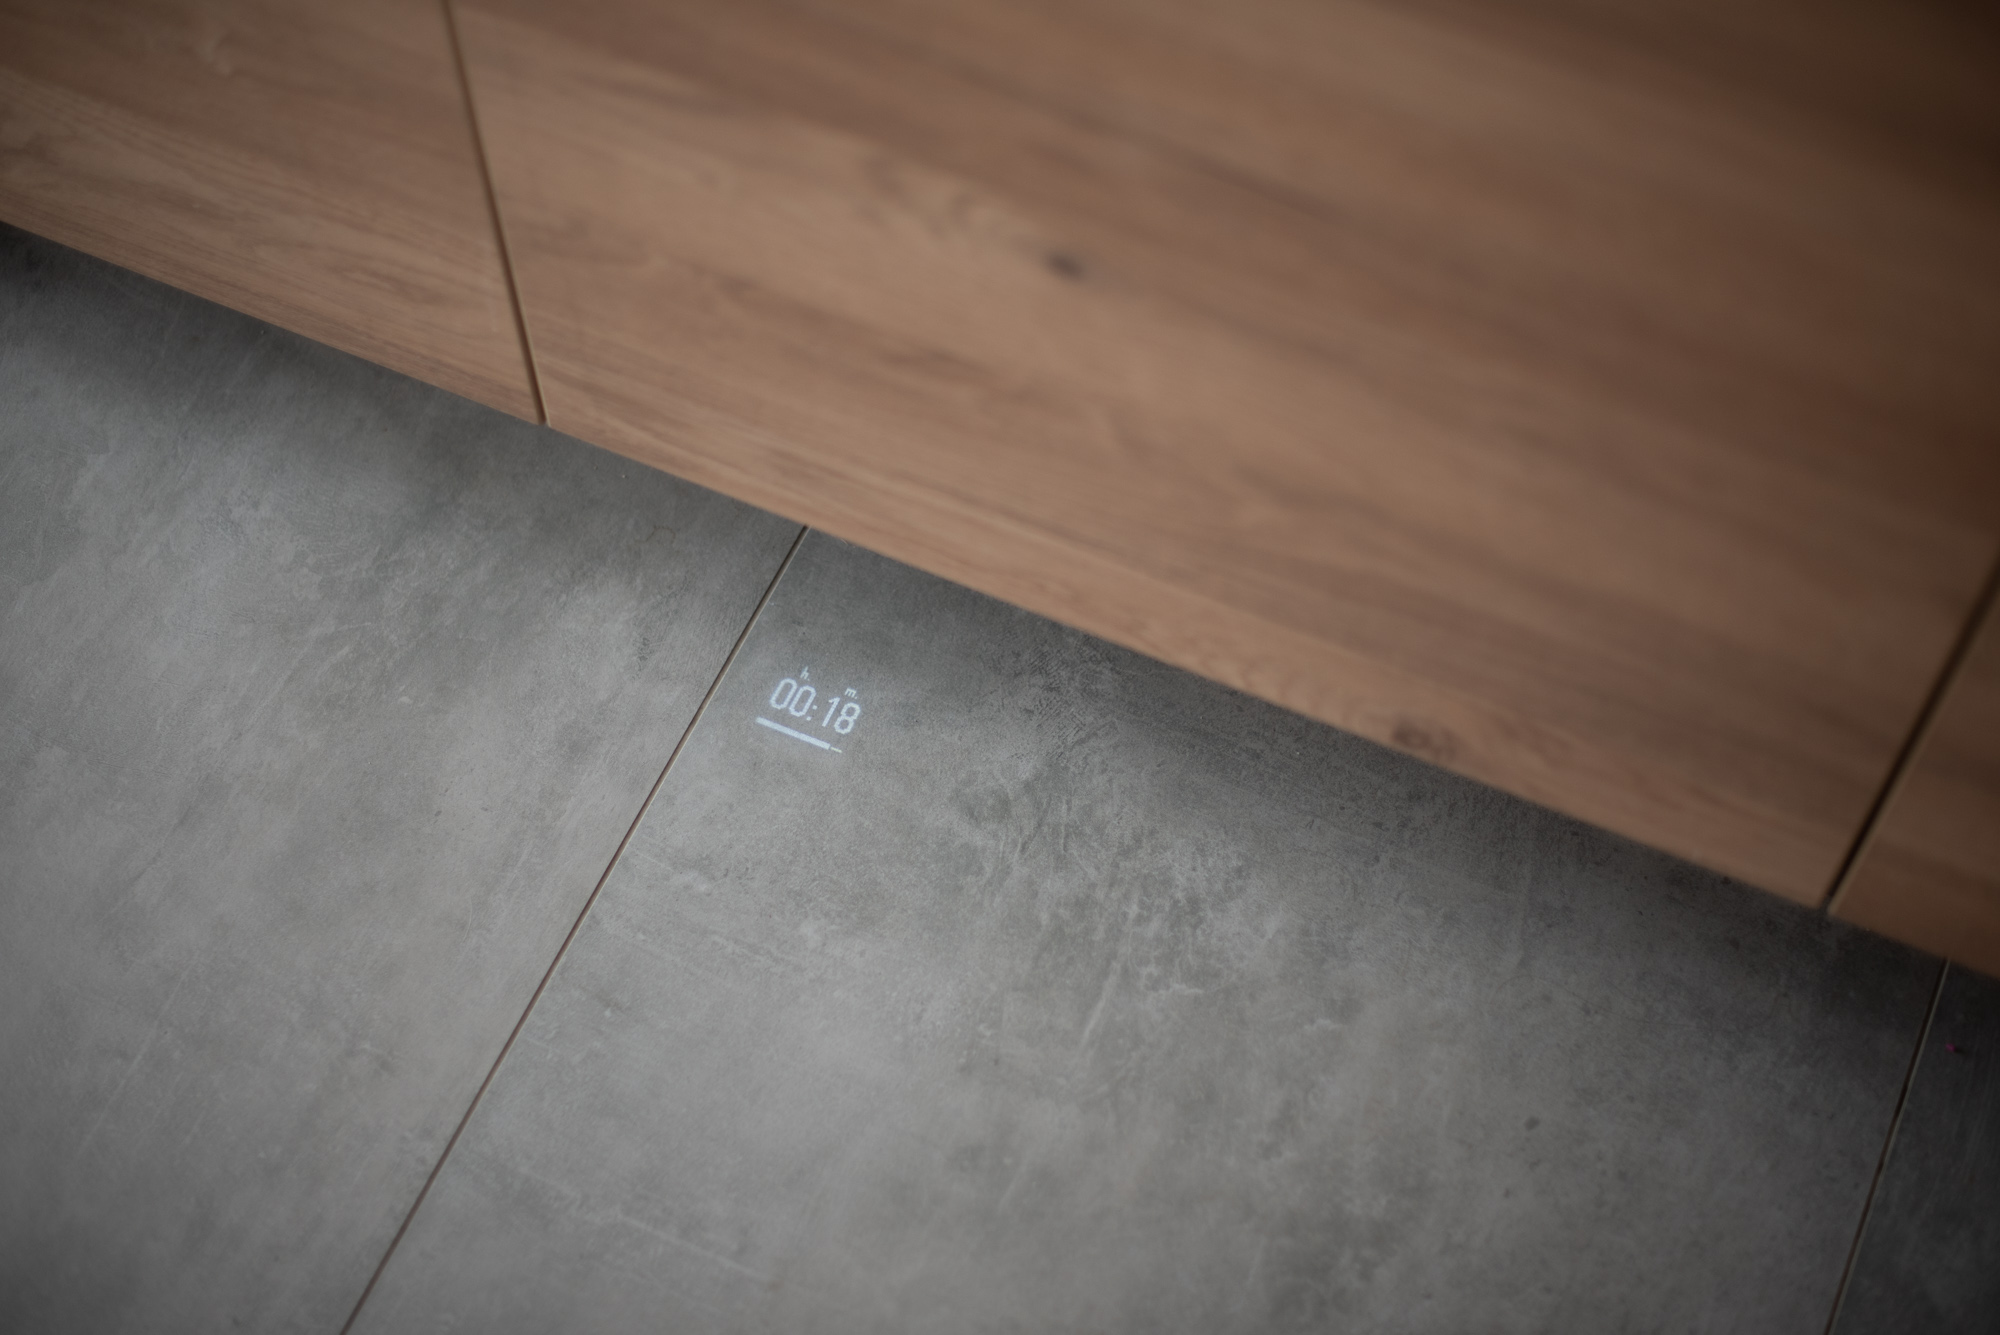
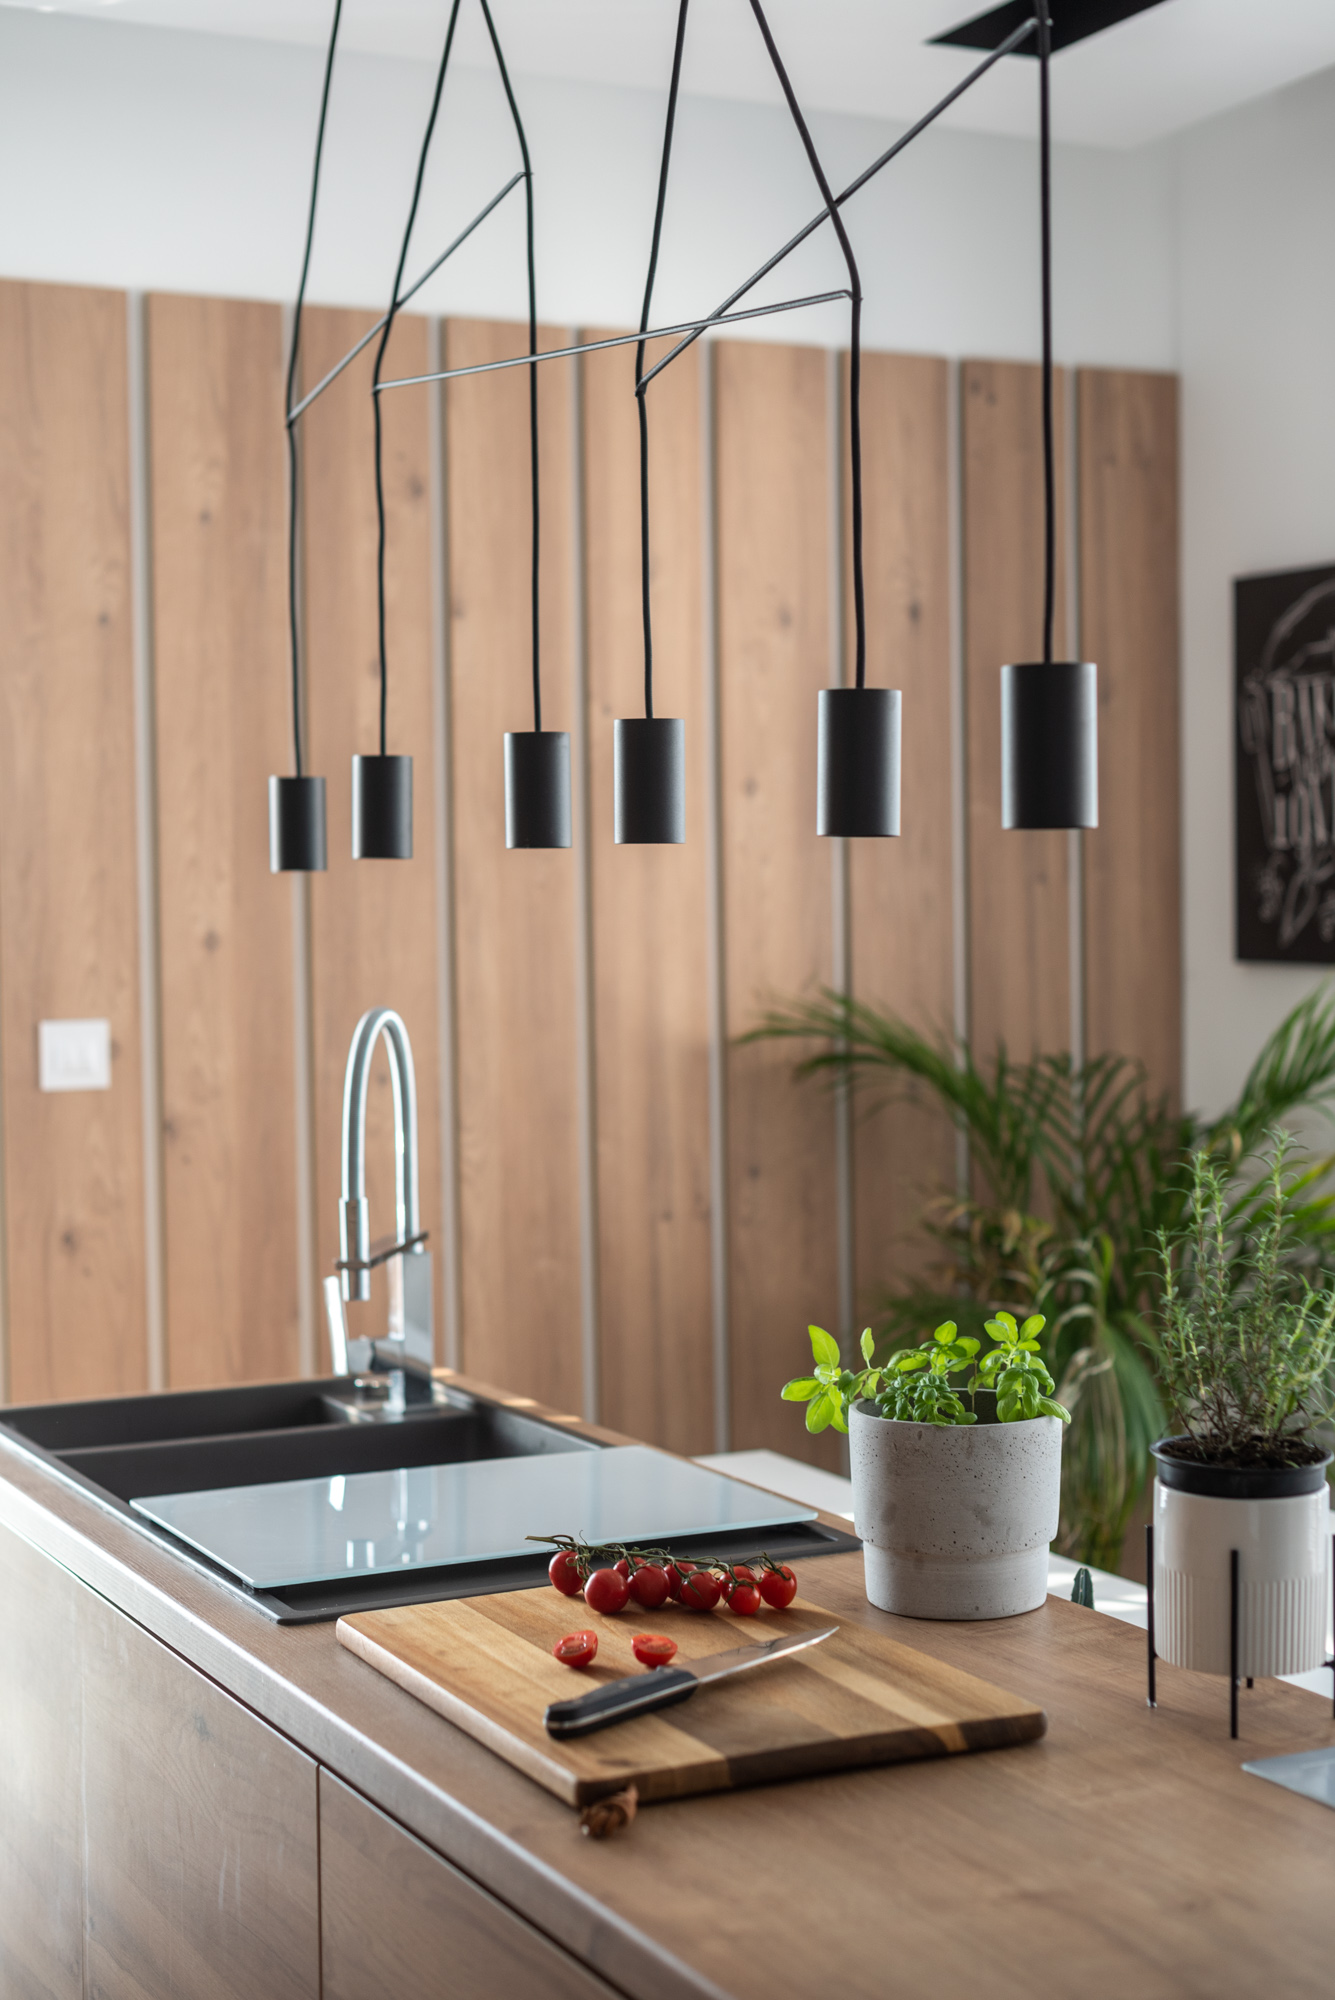
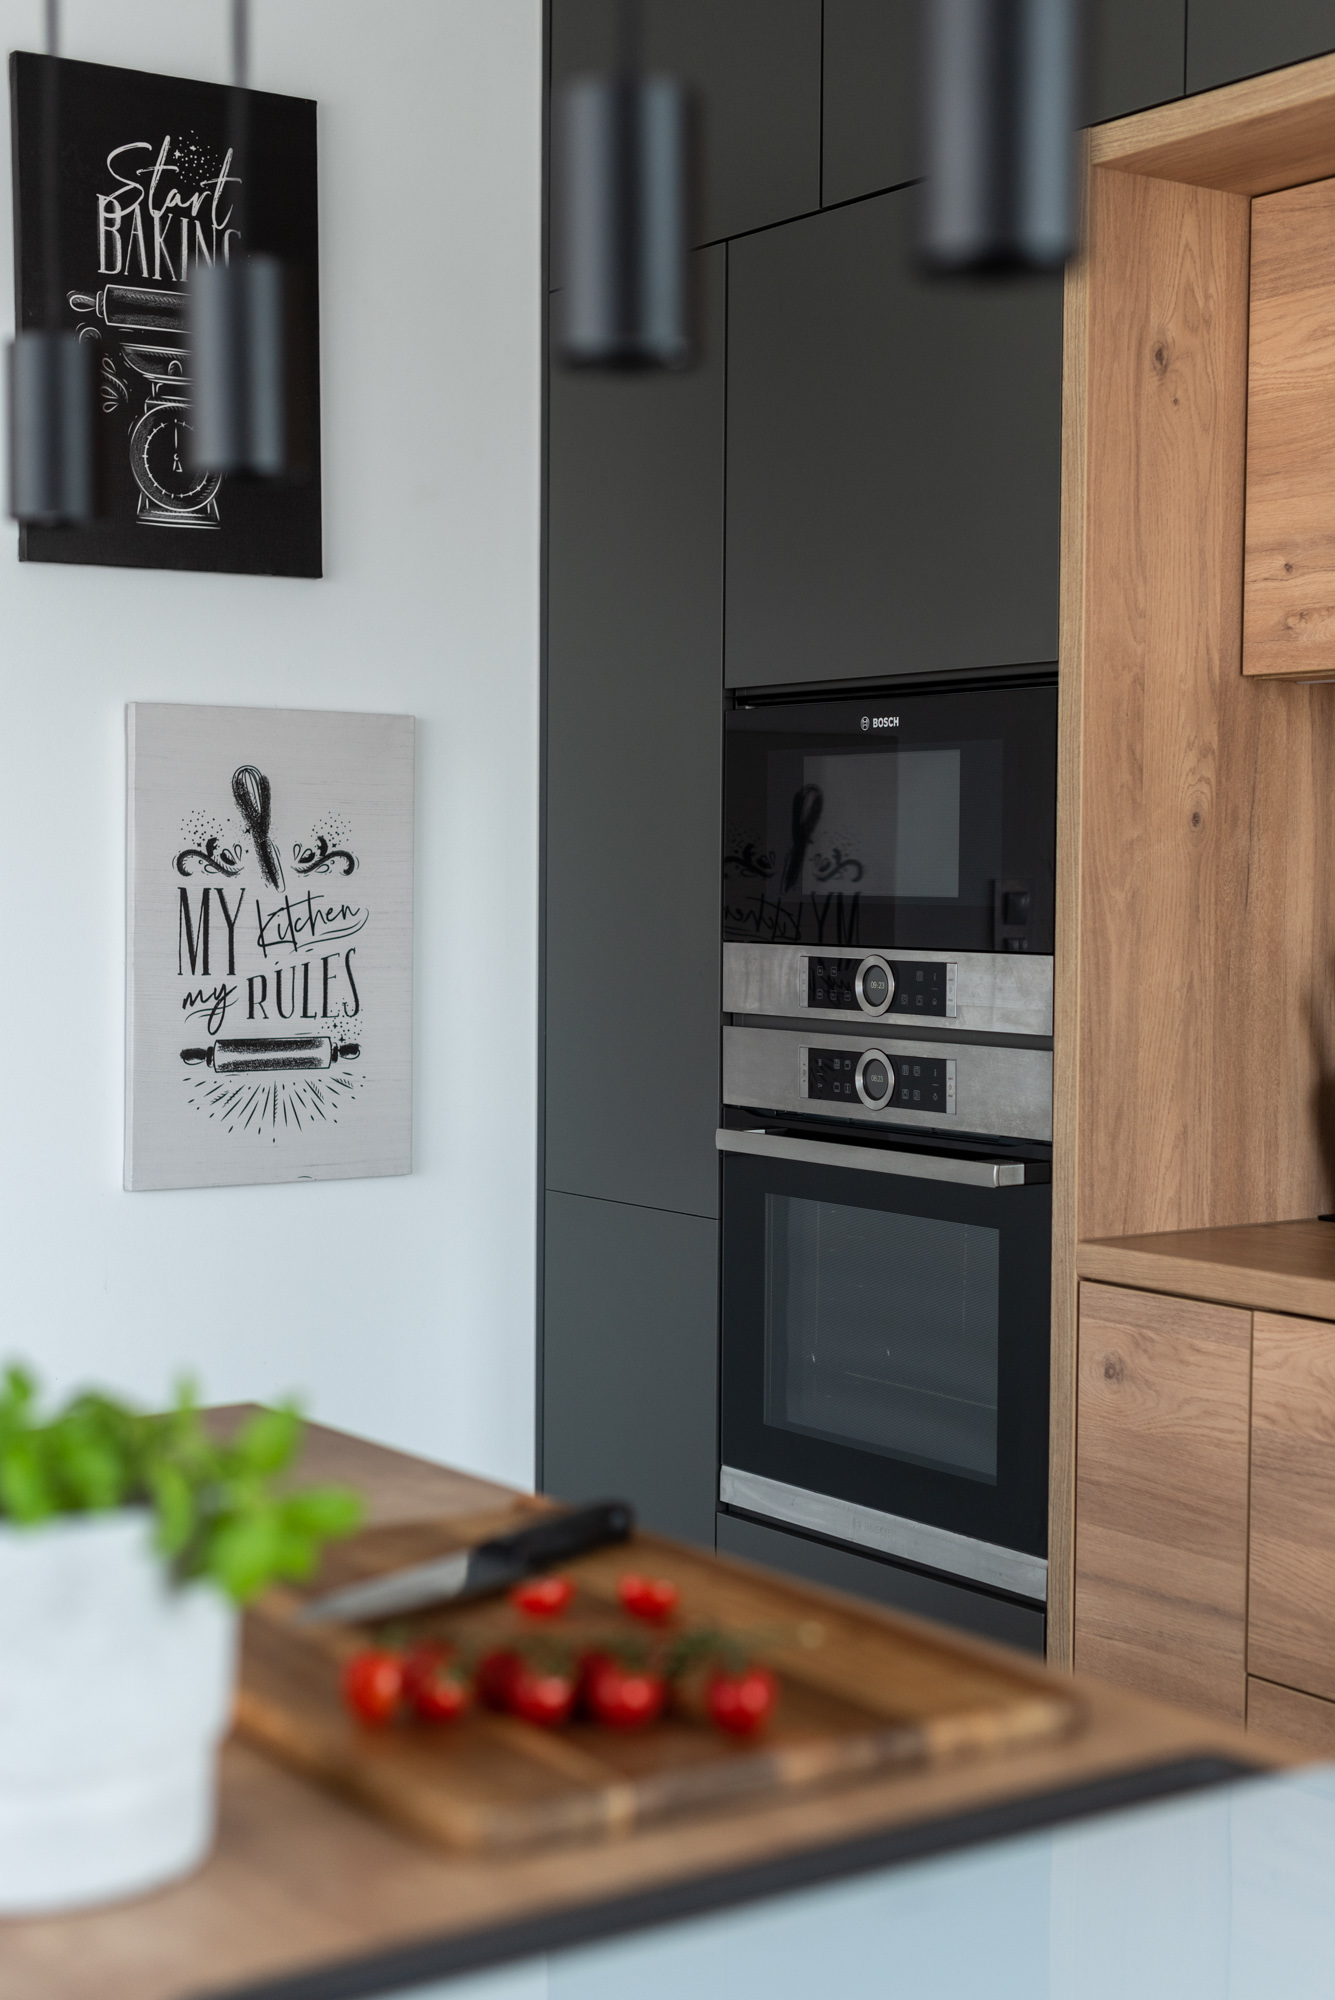
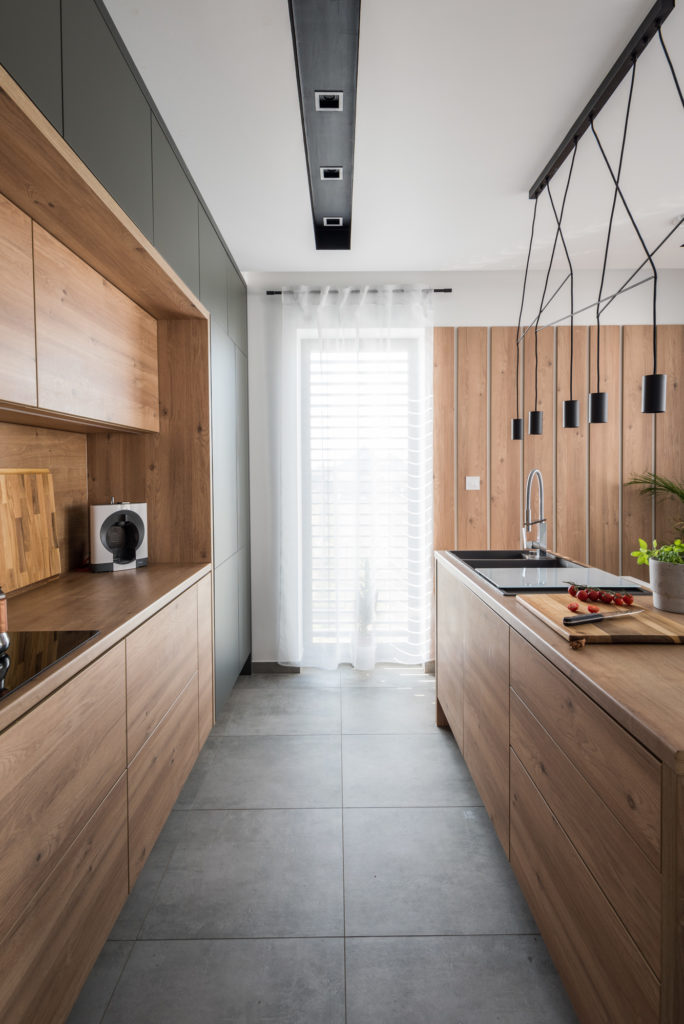
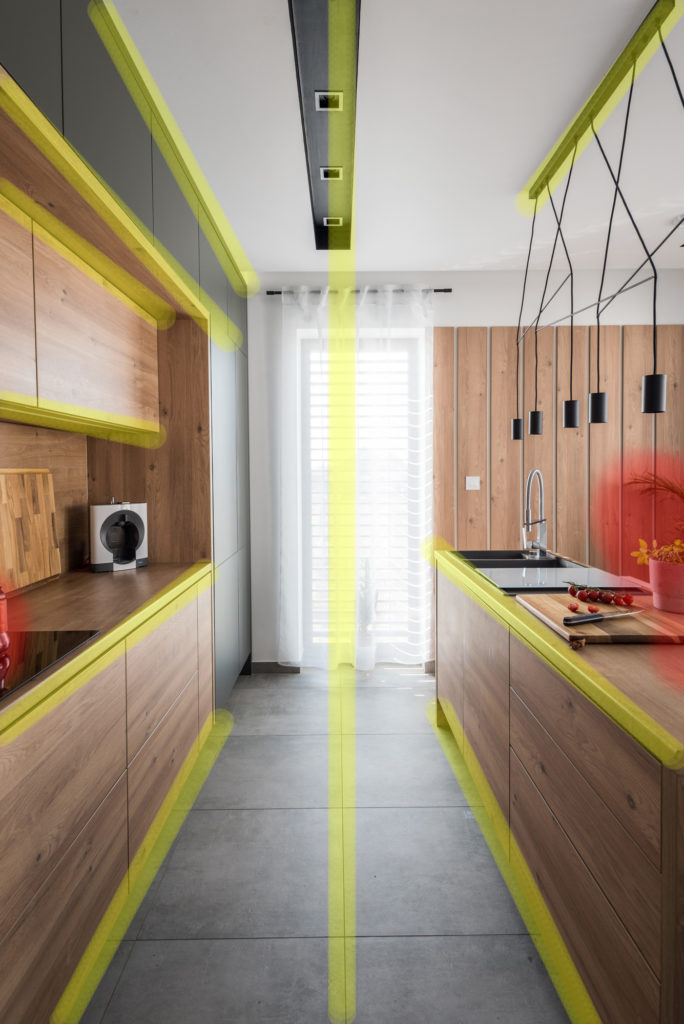
Here is my ‘short’ selection of favorites from 90 minutes of photography in our kitchen. I wanted to have some overall shots, mainly one-point perspectives, and some details.
I know there is a bit of repetition in the images; I make vertical and horizontal images of almost the same composition for editorial usage as options to choose from. Keep in mind these are just exported out of Lightroom. Let’s see what do I do in LR with these images.
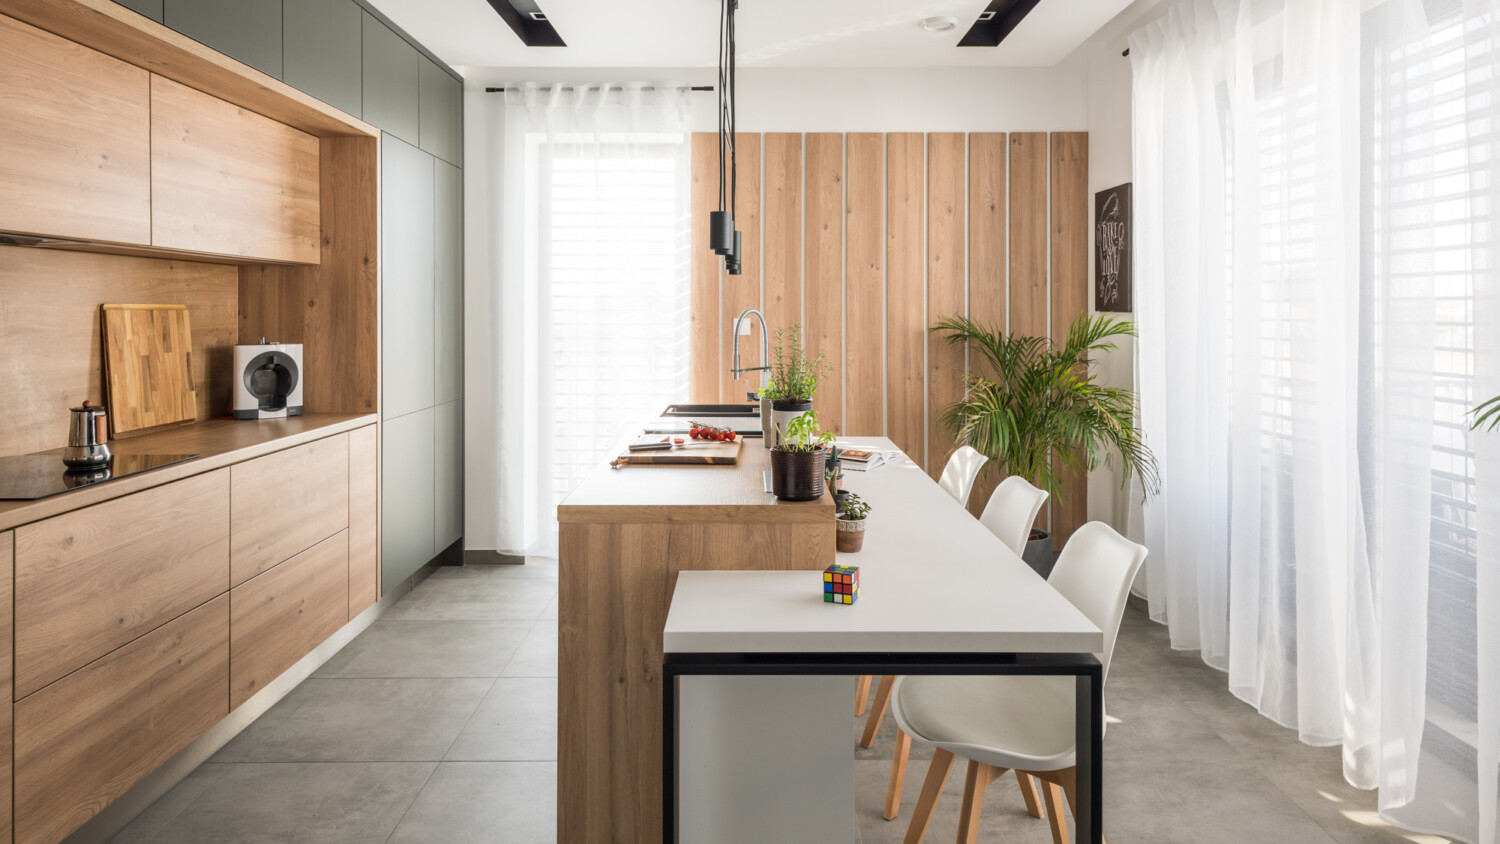
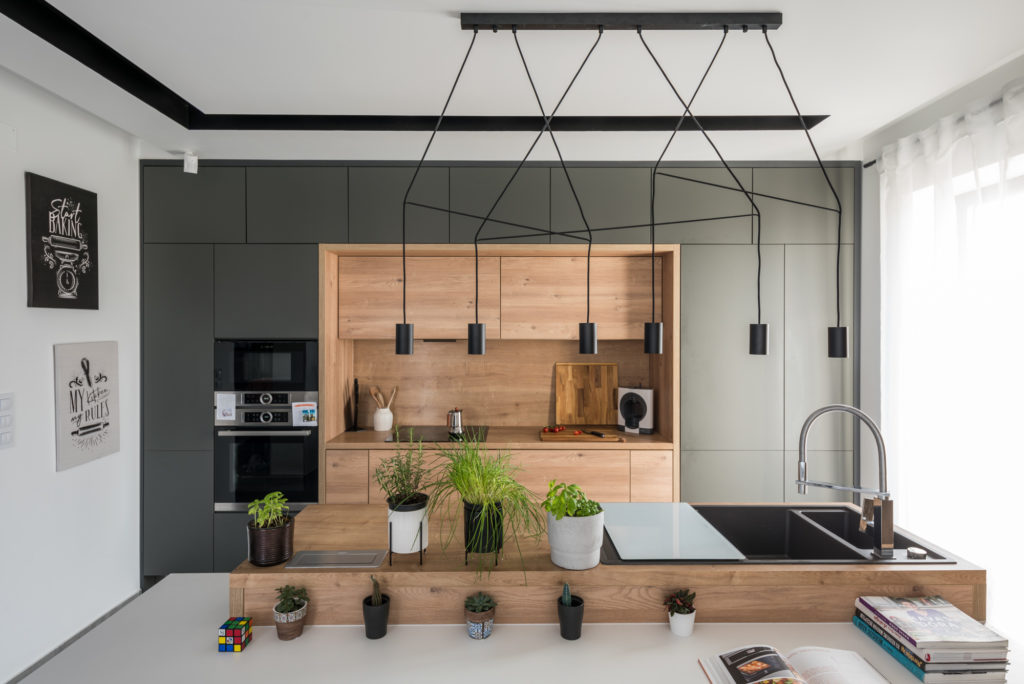
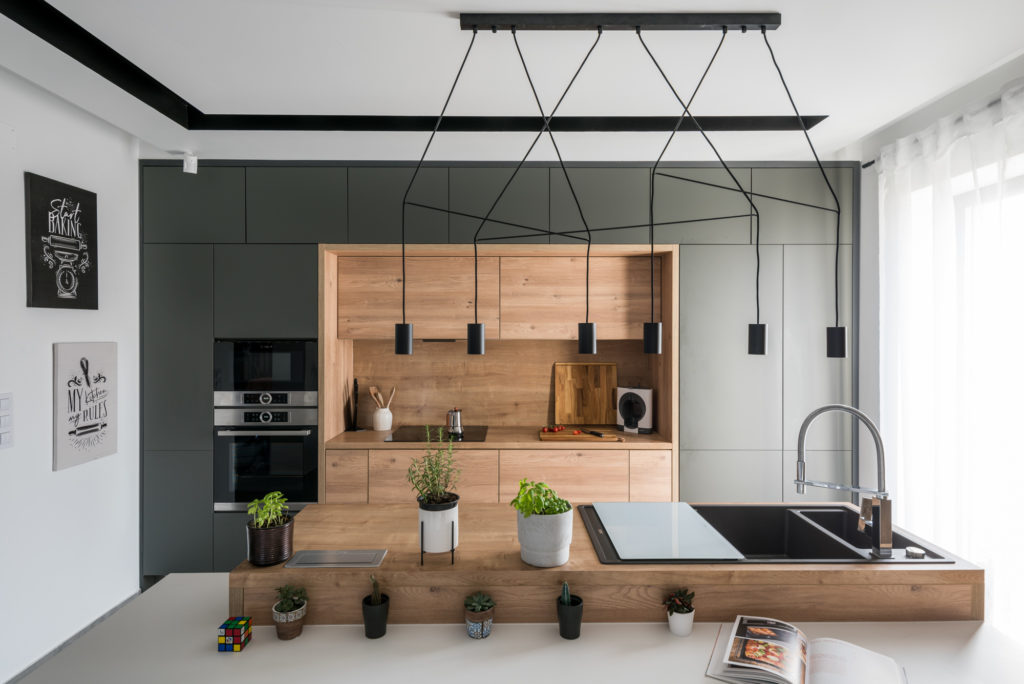
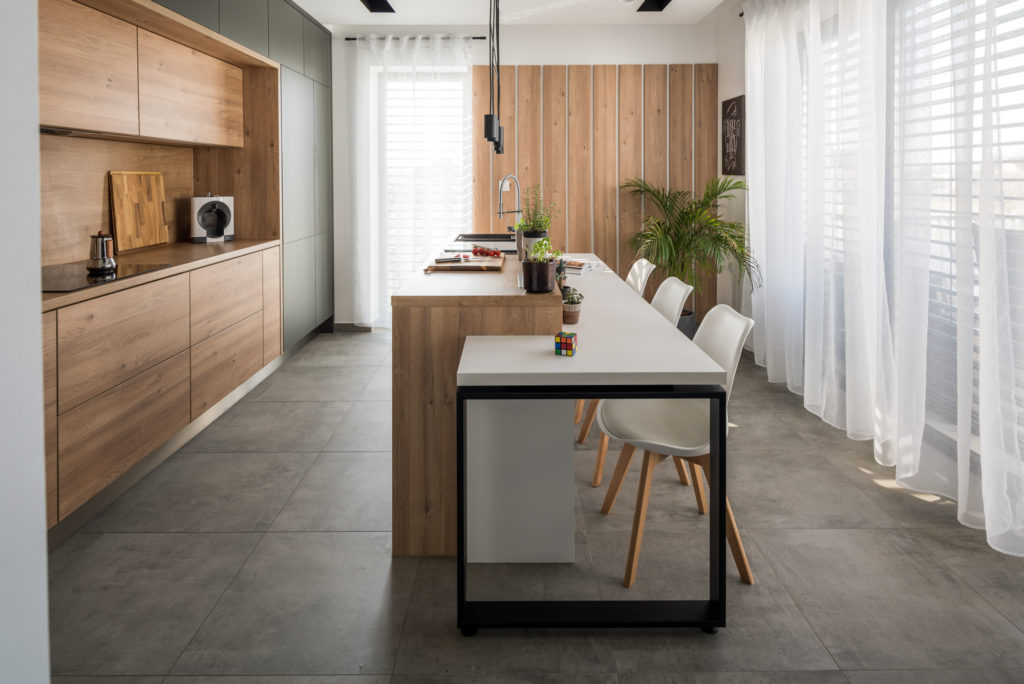
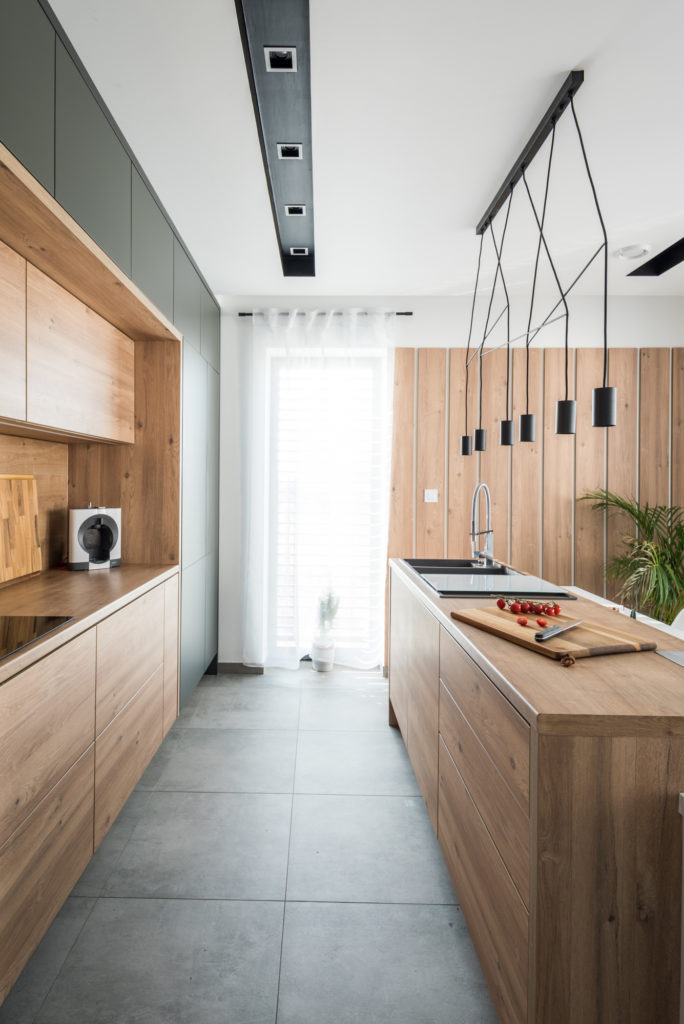
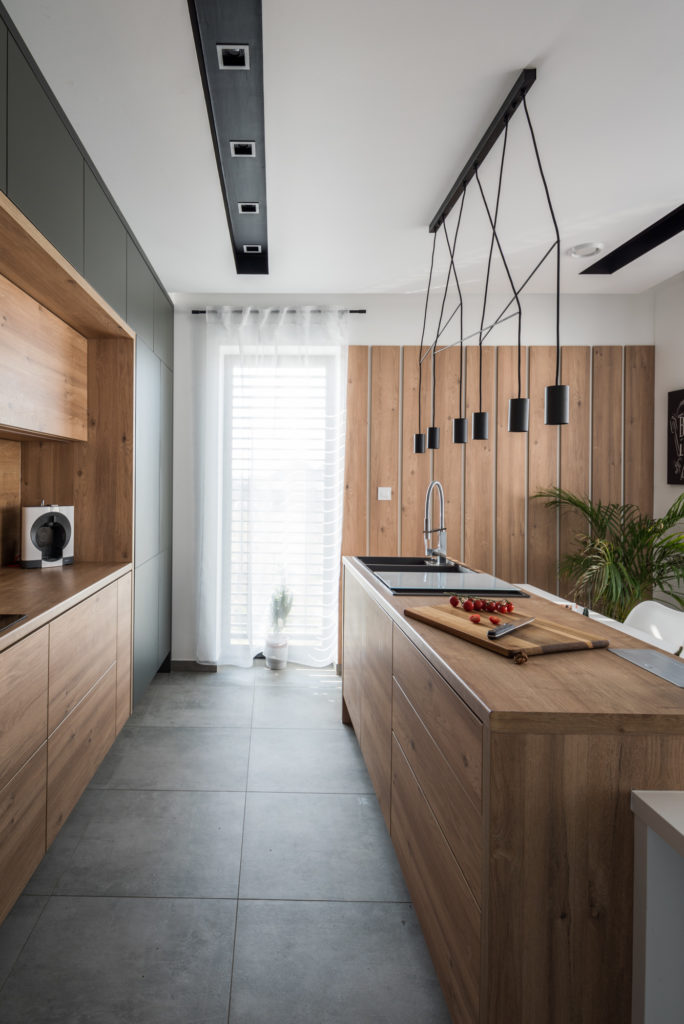
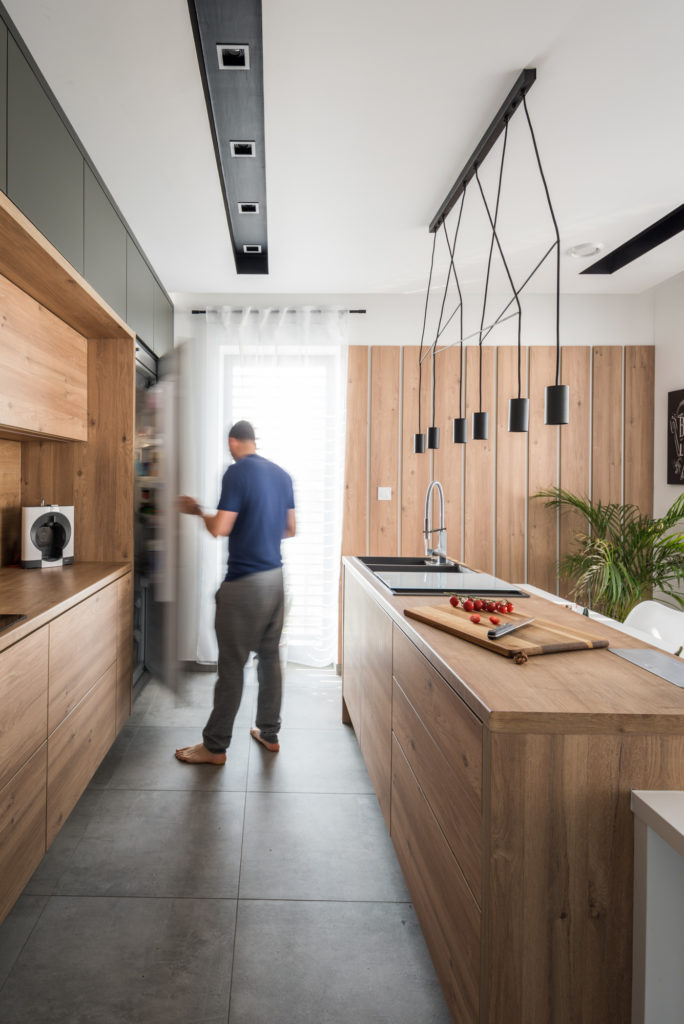
Image 1: One-point perspective across the kitchen island
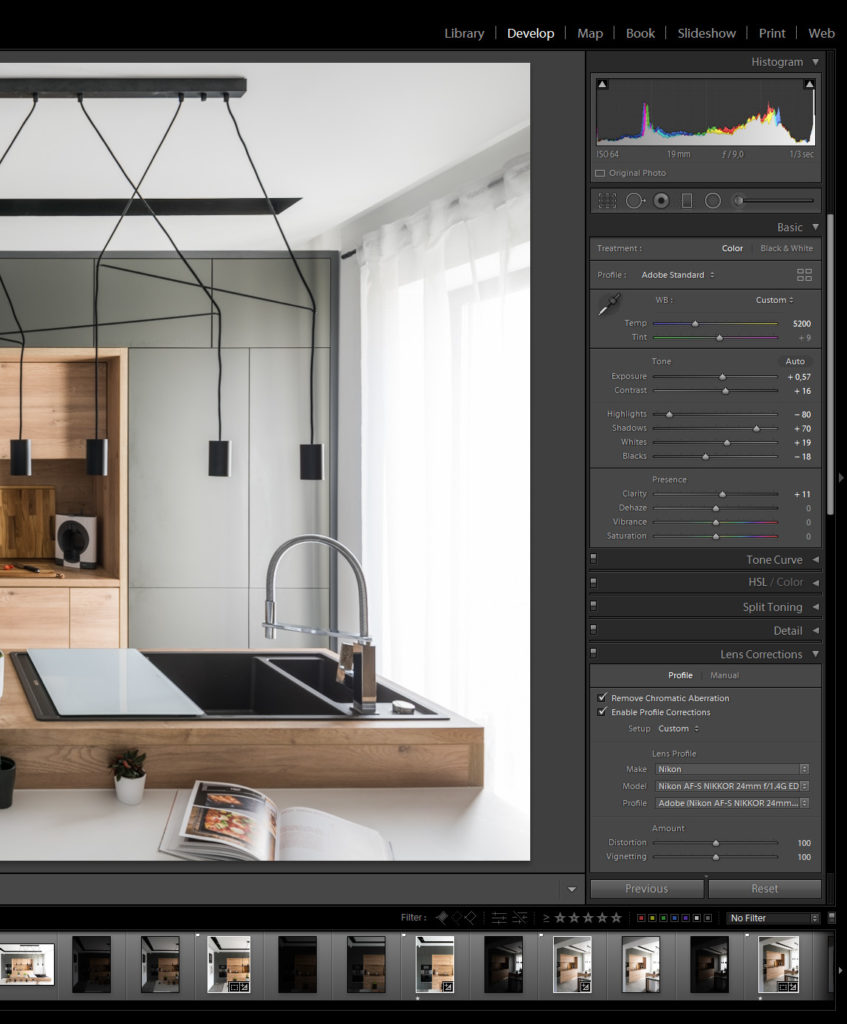
I shot this image higher than usual to show a little more of the space between the kitchen island and the main part. The first image was taken after I took away most of the clutter that bothered me, but you always can declutter more… I’m still not sure about some of the herbs I left in the front, that was the reason later I made some images without them.
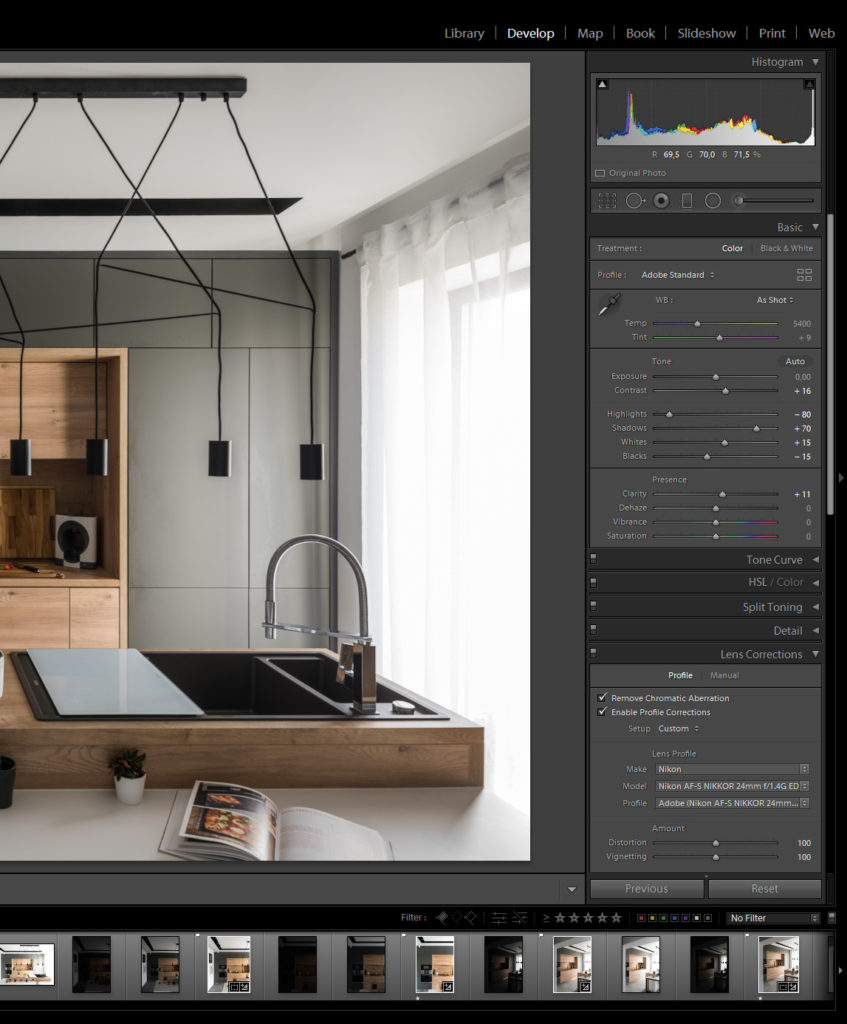
In Lightroom I use presets as a starting point, and I tweak the sliders after for each individual image to achieve my final look. Adjusted elements include:
– Contrast (gently)
– Highlights + Shadows
– Whites + Blacks
– Clarity (just a bit)
– Lens corrections (I wrote a whole article about this here.)

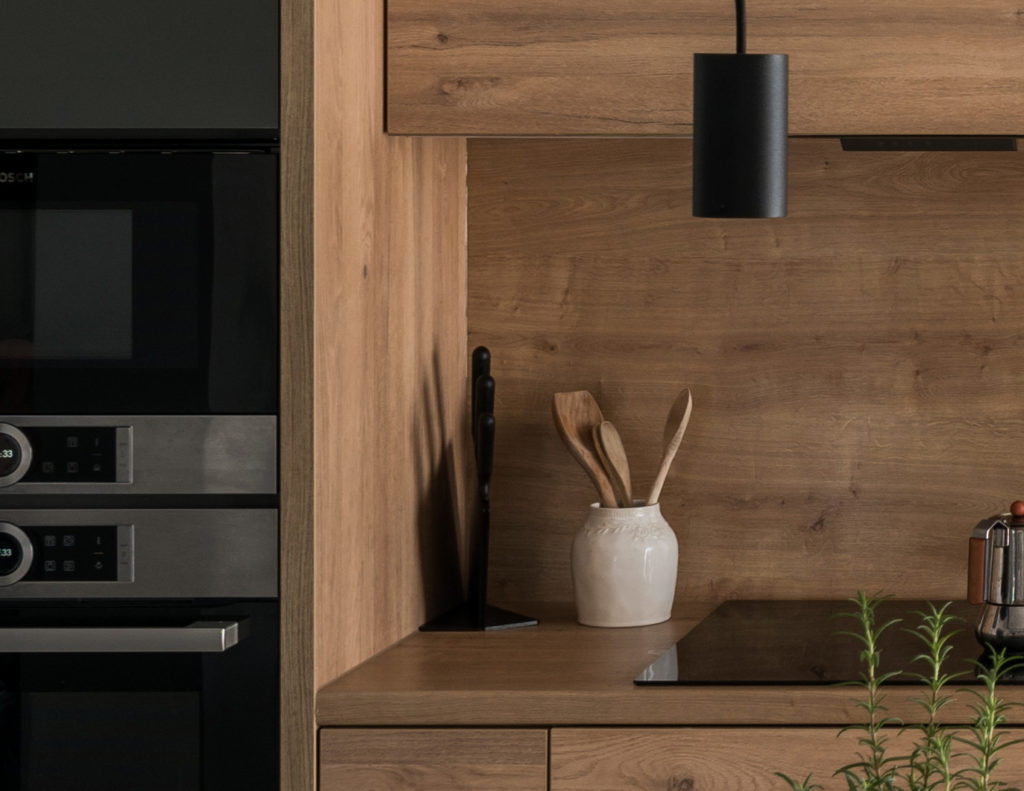
Preset 
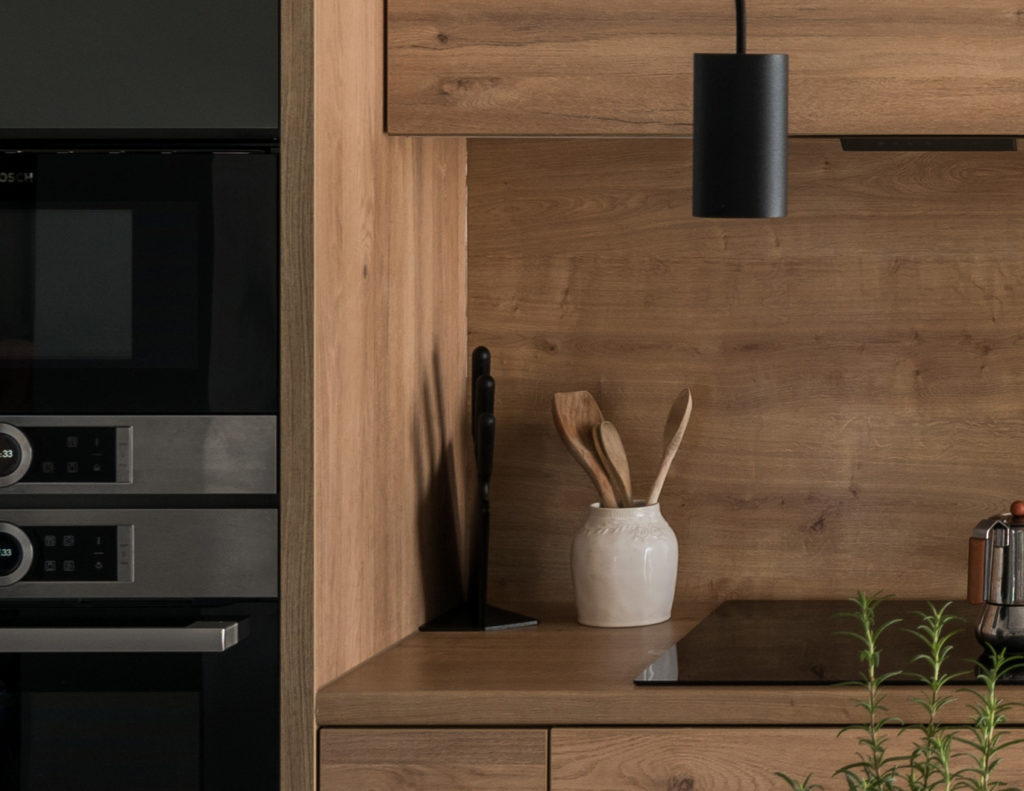
Adjusted image
After I applied the preset, I adjusted white balance, exposure, and whites & blacks. It depends on the image, but all the other sliders I touch only if I feel I need to. This happens mostly with exterior shots, where I tend to lift up the shadows less and less.
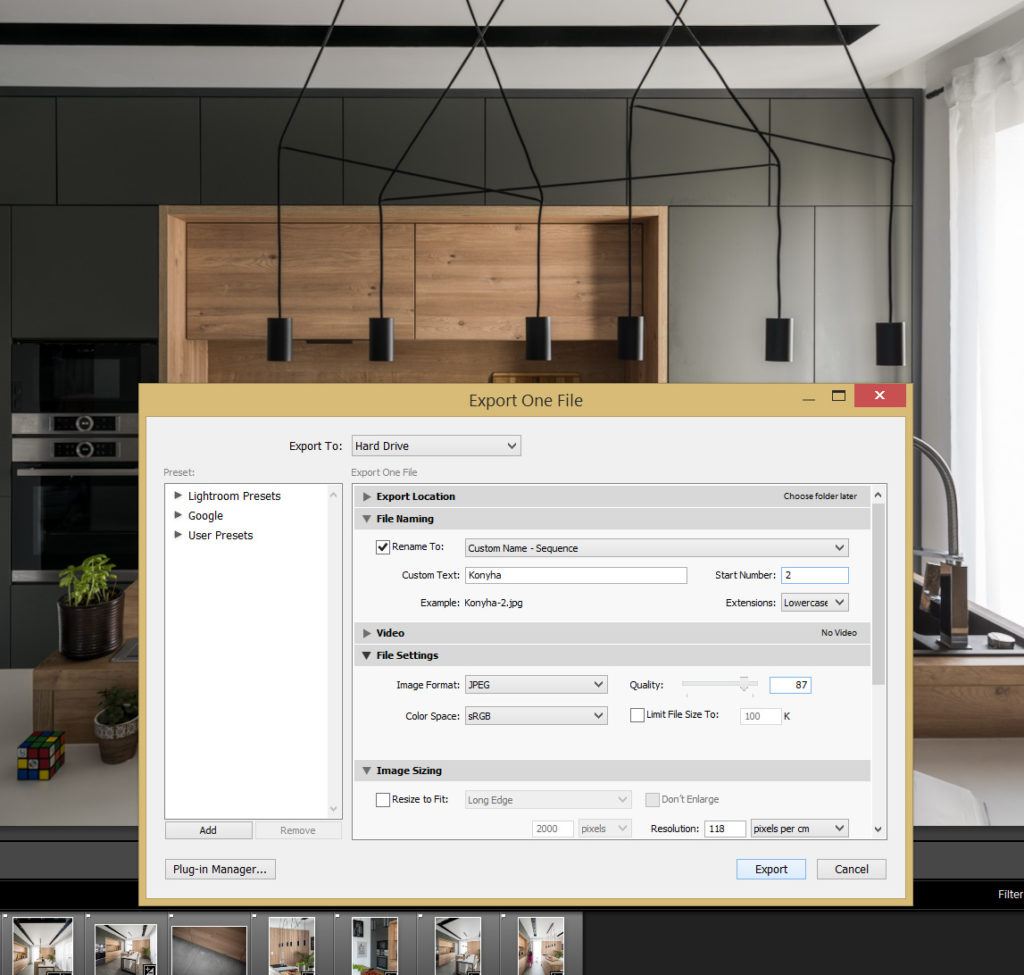
The next step for me is to export this image as a JPEG and in PS I only will clean up.

JPEG quality set at 87% for reducing file size to half without loosing quality! 7MB vs 12.4MB
You can say that the right side of the frame is too hot for your taste, and it is possible to bring some details back from the window frame, but I wanted to have an airy look, and I like it this way, so I’m gonna let it be for this.
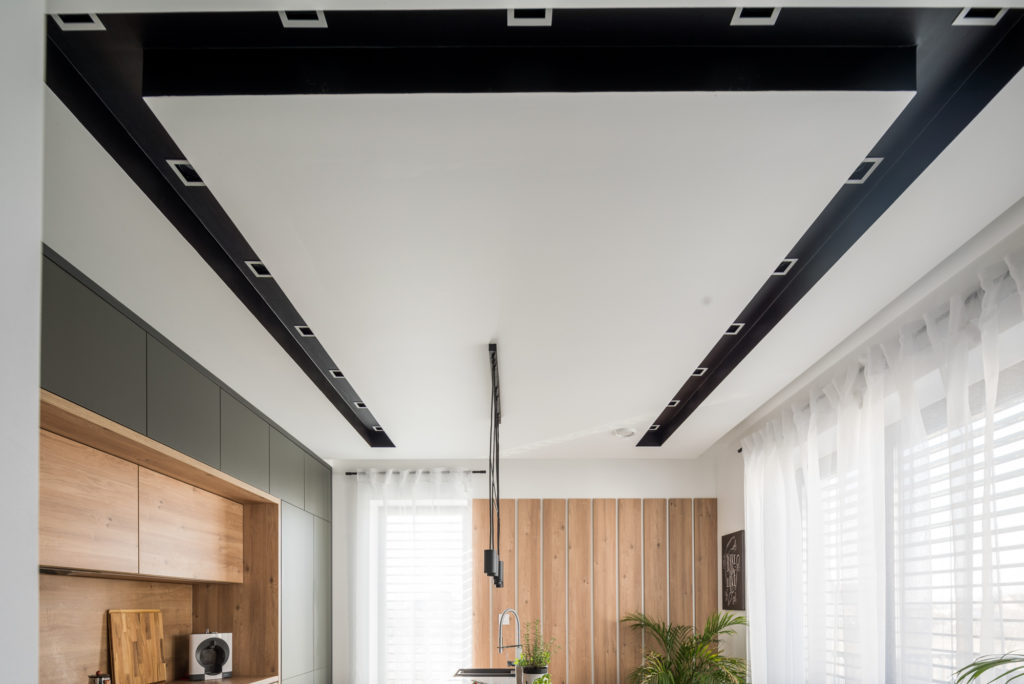
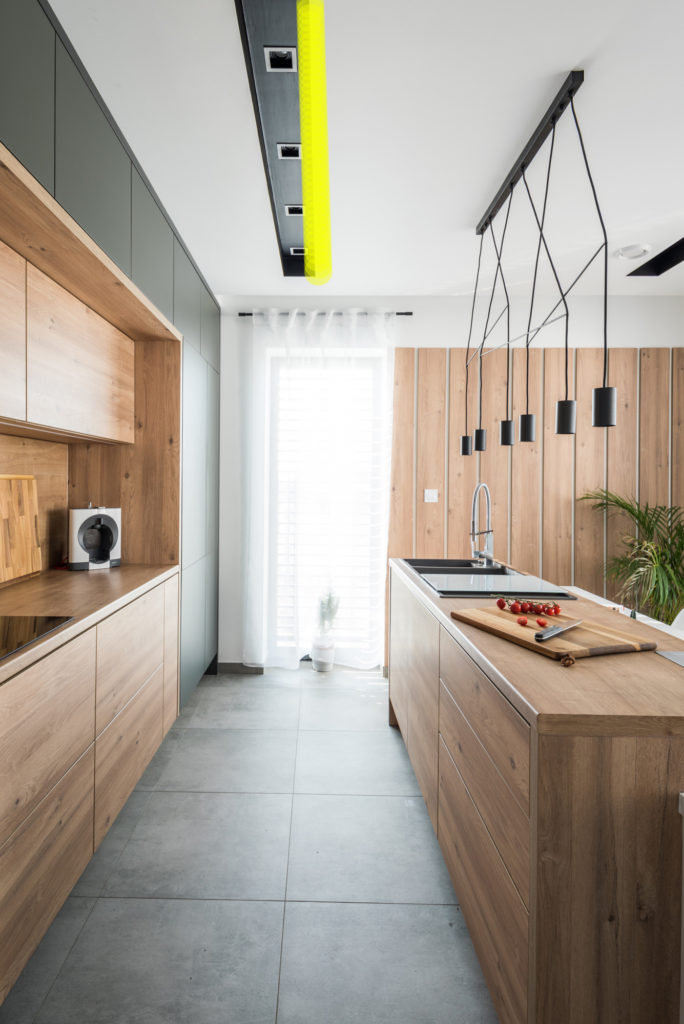
Image 2: Shift-stitch wide overall
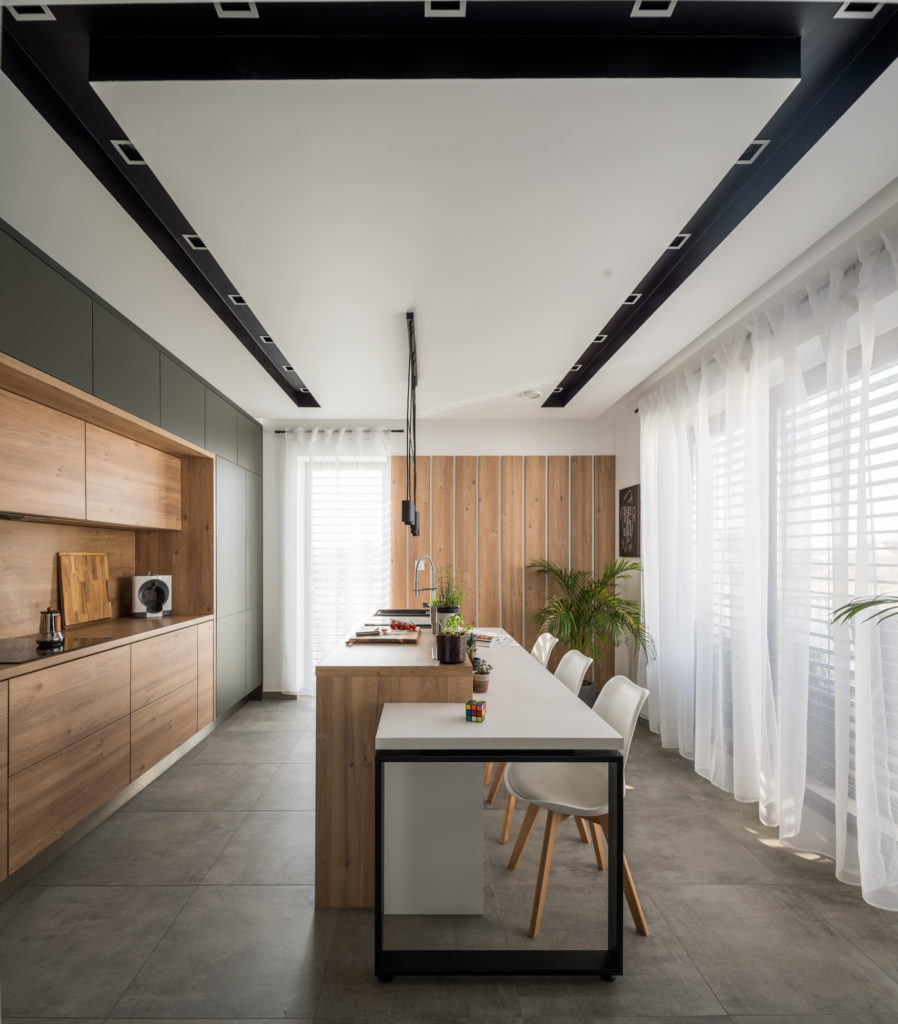
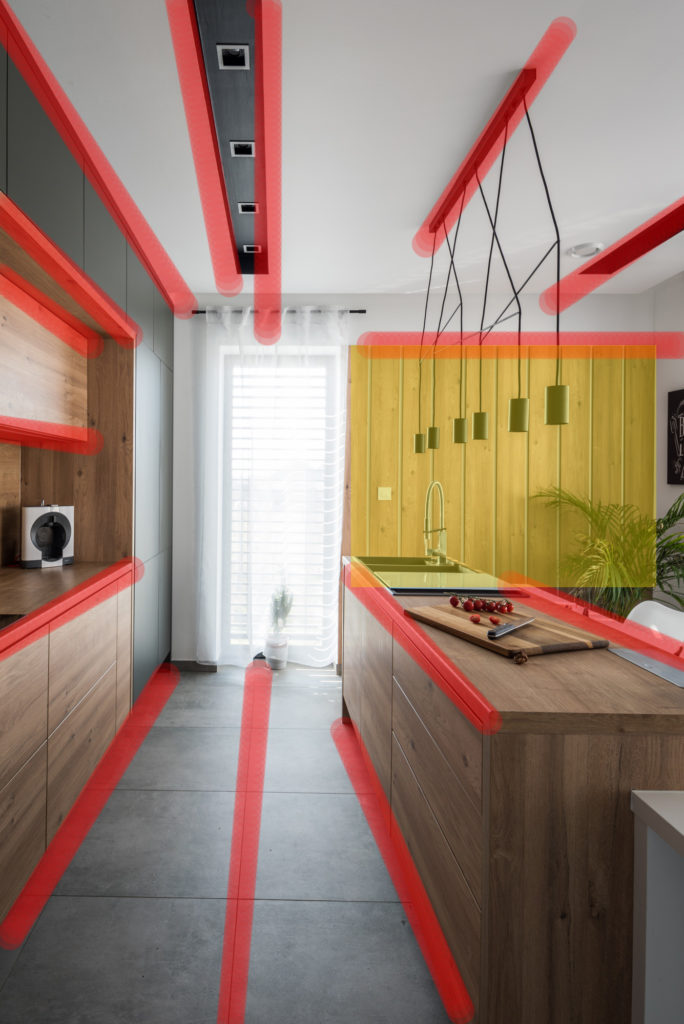
To show how the design of the ceiling, one of my favorite parts of the kitchen, I decided to make a shift pano with the Nikon 19mm PCE. Lightroom does a pretty good job of putting these panoramas together without many errors. The shortcut I use is Shift+M, or Ctrl+Shift+M on a mac.
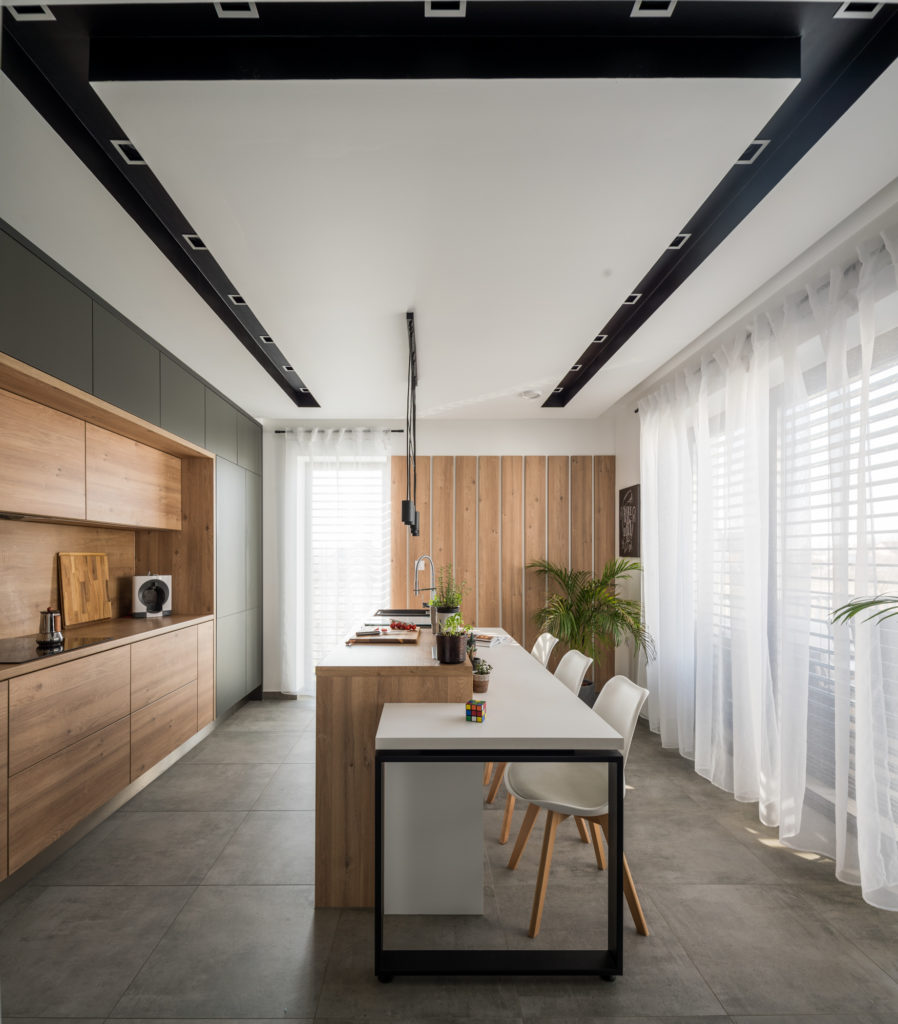
So my idea was to show the whole ceiling, but it didn’t work as I thought it was a little too distorted and dominant in the photograph, so I ended up cropping the picture to get rid of the piece of recessed lighting above the camera which looked pretty goofy. If the series was made for an interior designer, I’d probably hand over both versions. All adjustments are the same as above.
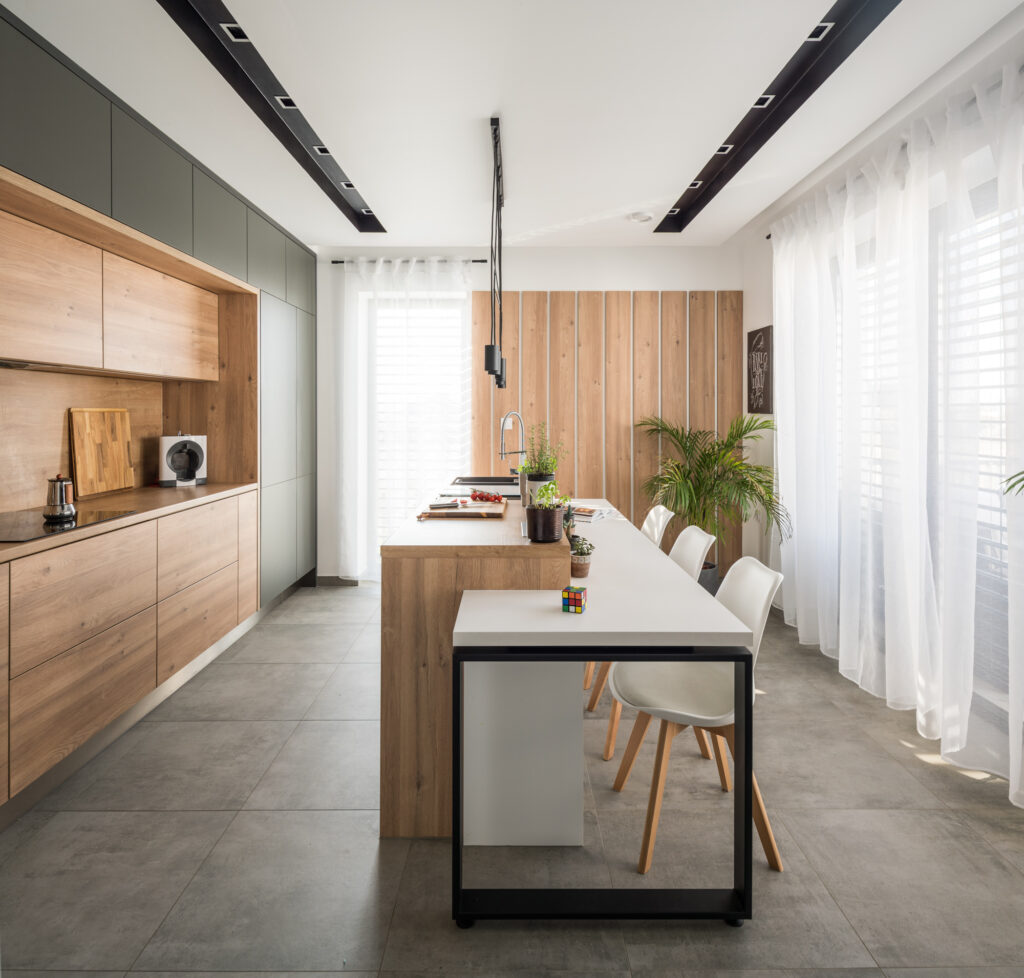
Image 3 – The HERO Shot
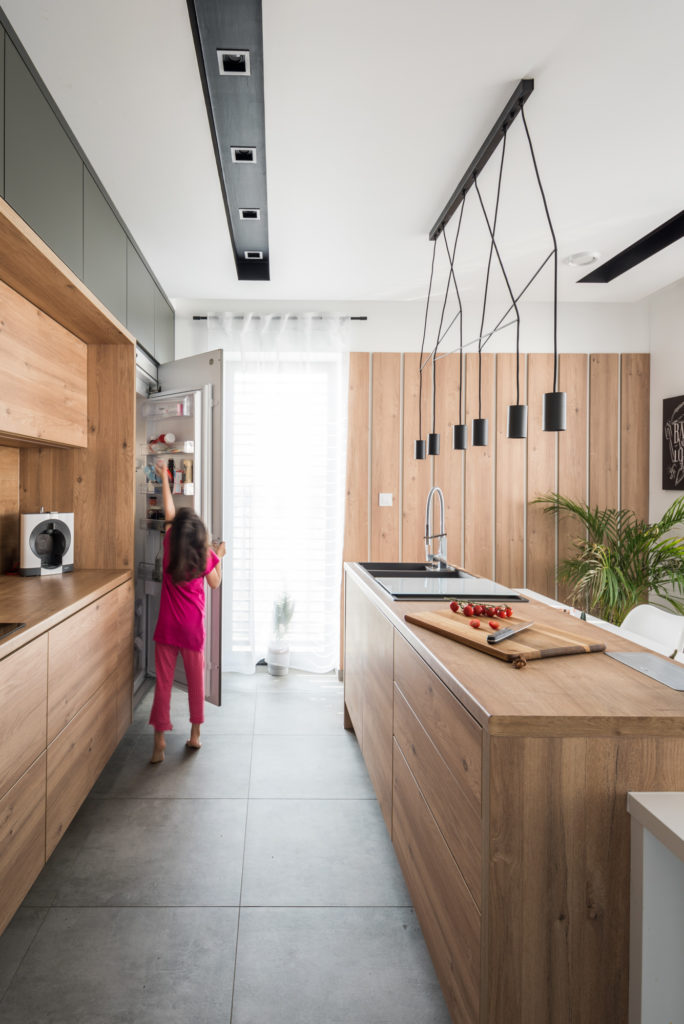
There was one image I had in my mind for 3-4 months. Every time my little daughter run to the fridge and took something out I felt: ‘oh man, this would be a killer shot!’
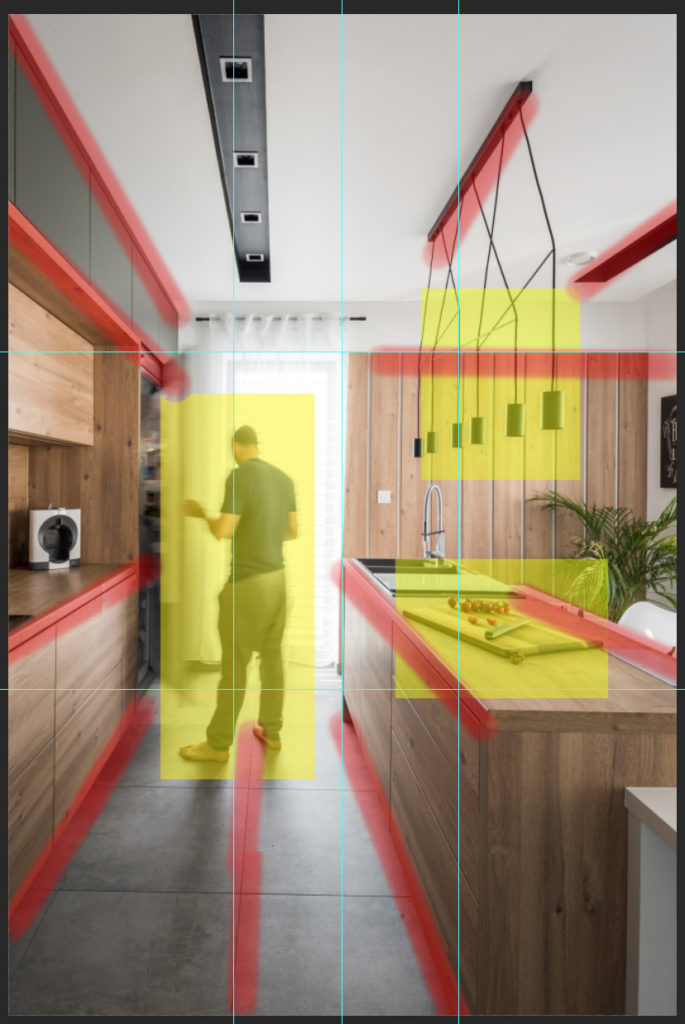
Here is my process to dial in the perfect composition with sample images:
(All images are adjusted in LR as above!)
Now comes the crucial part: beg your daughter to model for 10-15 minutes at 9 o’clock in the morning. Her reward? She gets to eat that Kinder Maxi King right now, that is, if she can reach it!
And that’s it! I think this is the shot I love now, and I will love in 1-5-10 years from now too.
As you can see from these examples, if you shoot in the right conditions it makes post-processing so much easier. It was a total joy to be able to photograph my own home, and if you experiment in your own home during our worldwide shared Corona isolation, I’d love to see what you come up with!
