Lightroom’s HDR Merge in Depth
In my previous article, I admitted to both using Lightroom’s HDR function and showing that it’s a viable solution for professional architectural photography. There are many benefits to post processing with this technique, because what you end up with is still a RAW file, you can play with white balance, shadows and highlights exactly like on a single capture, but with the extended dynamic range offered by a blended HDR file. This option has sped up my post-production process a lot, and it would be hard for me to go back to not using it. If you are not familiar with this, then read this first: How to Use HDR and Get Away With It.
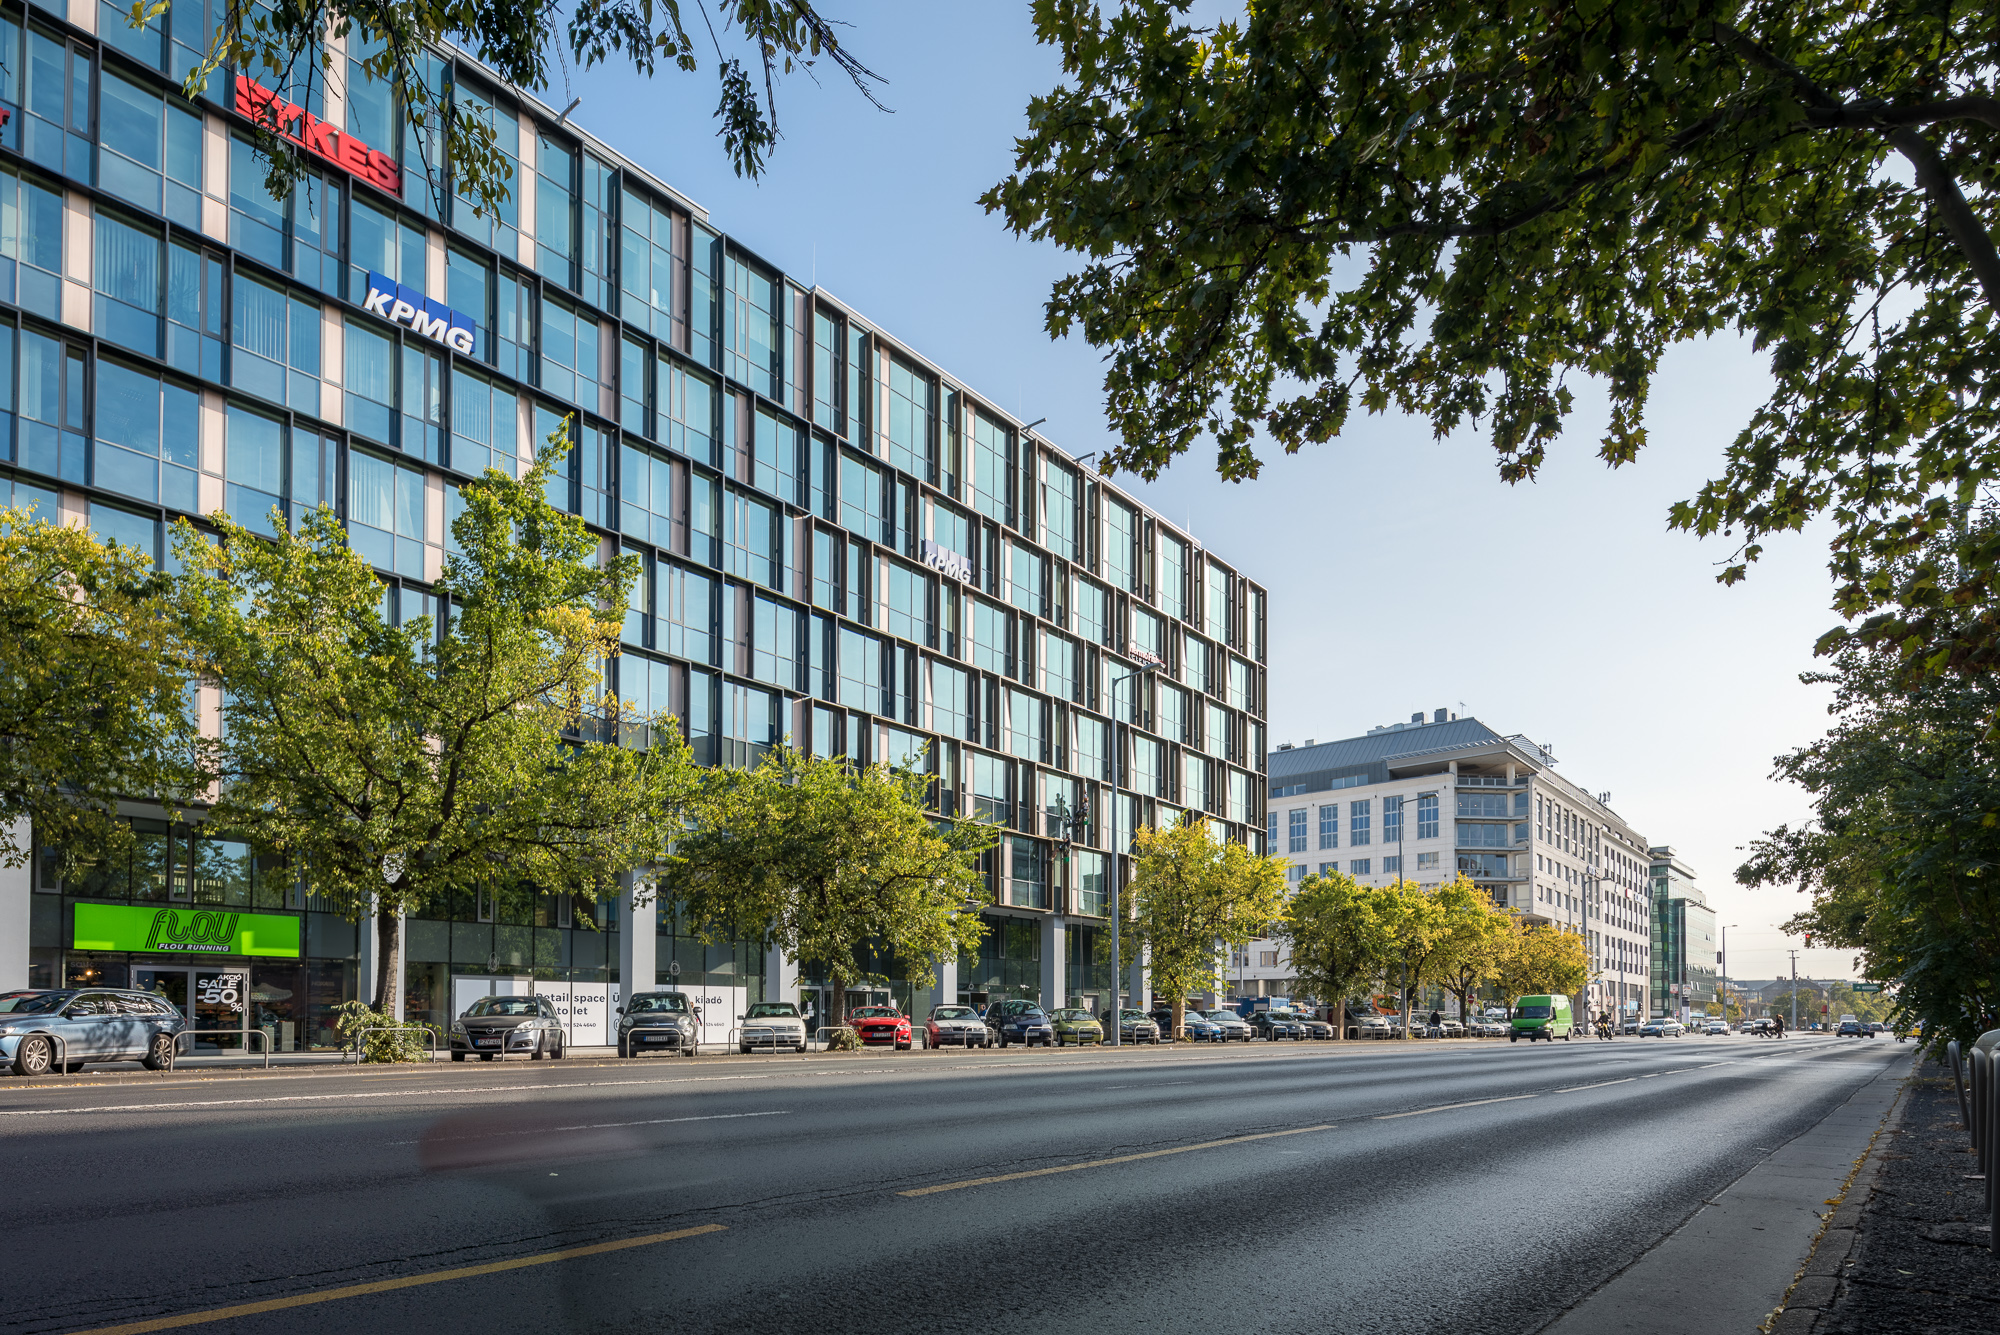
Now I’m going to dig a bit deeper into this process and show some neat tips and tricks for you. Be sure to click on each image to view them larger so you are able to see details and read the text on-screen, if applicable.
Speed Up Your Process
Some of the comments suggested a method that can improve your speed even more. Thankfully with later versions of LR, we are able to do the following:
1. Stack your images by capture time: Library module -> Photo -> Stacking -> Auto-Stack by Capture Time (set a proper time between captures to merge)
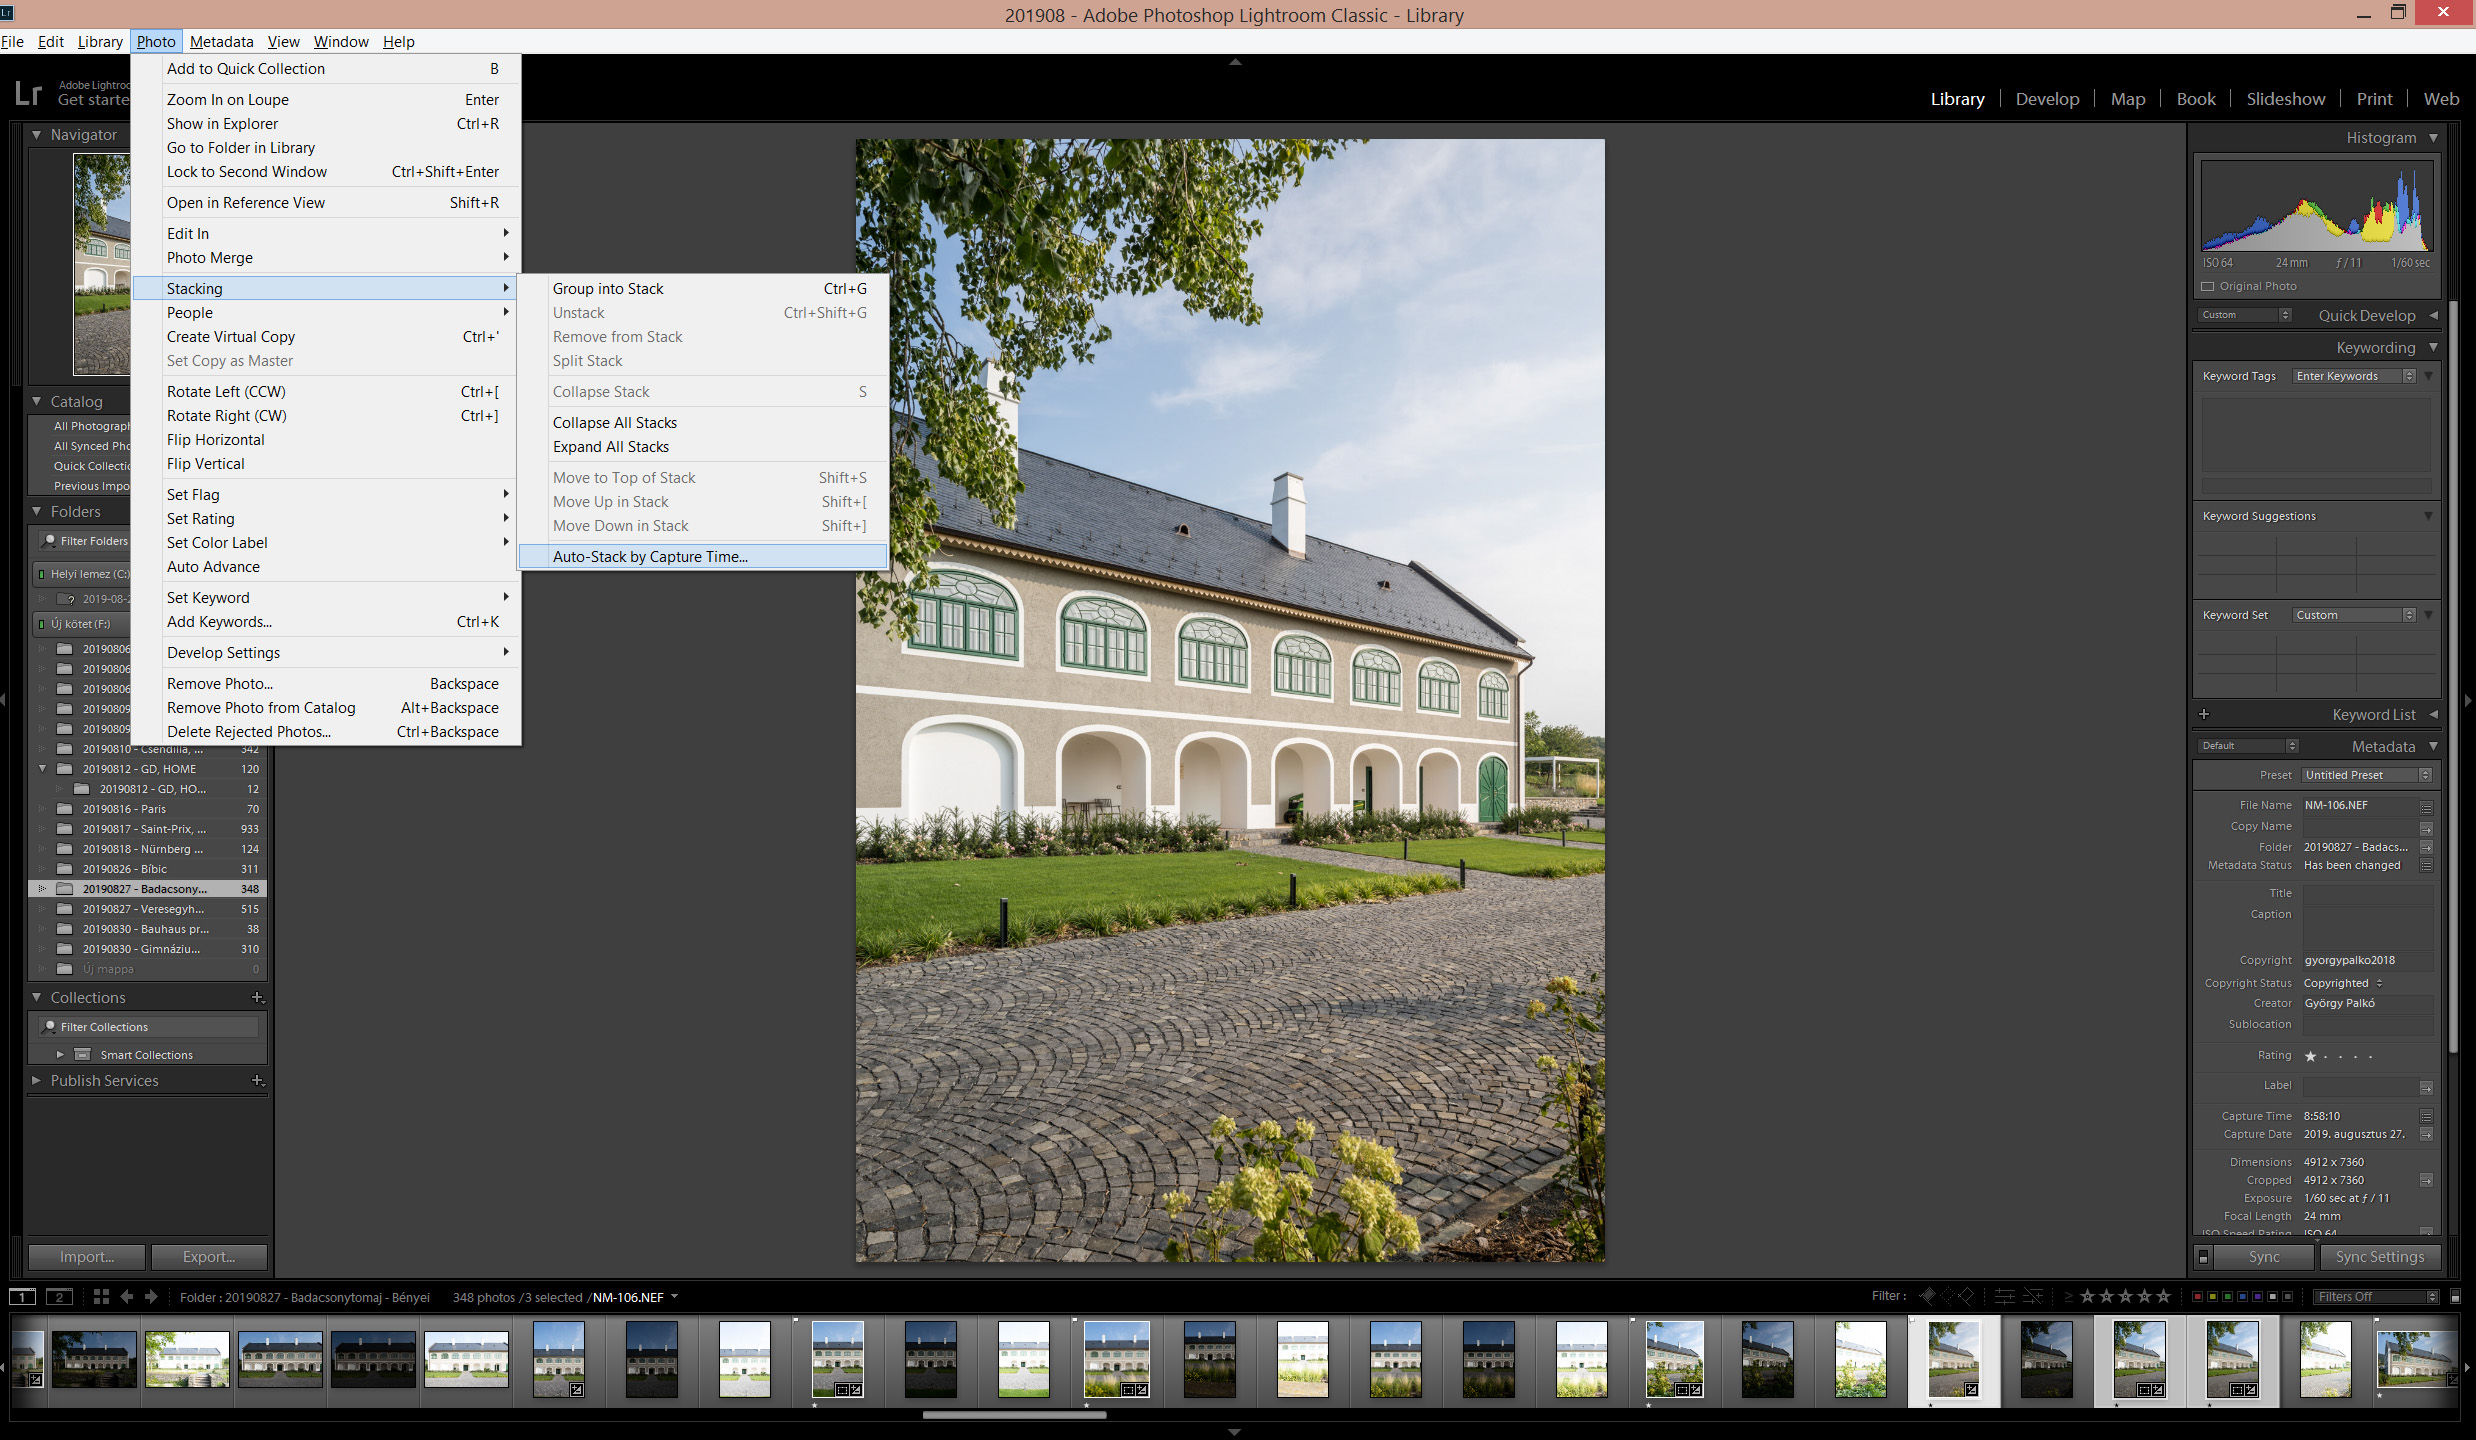
2. Batch processing HDR: Develop module -> Select all the stacked images you want to HDR merge -> Photo -> Photo Merge -> HDR… and it will merge all of the selected images one after the other.
Be careful
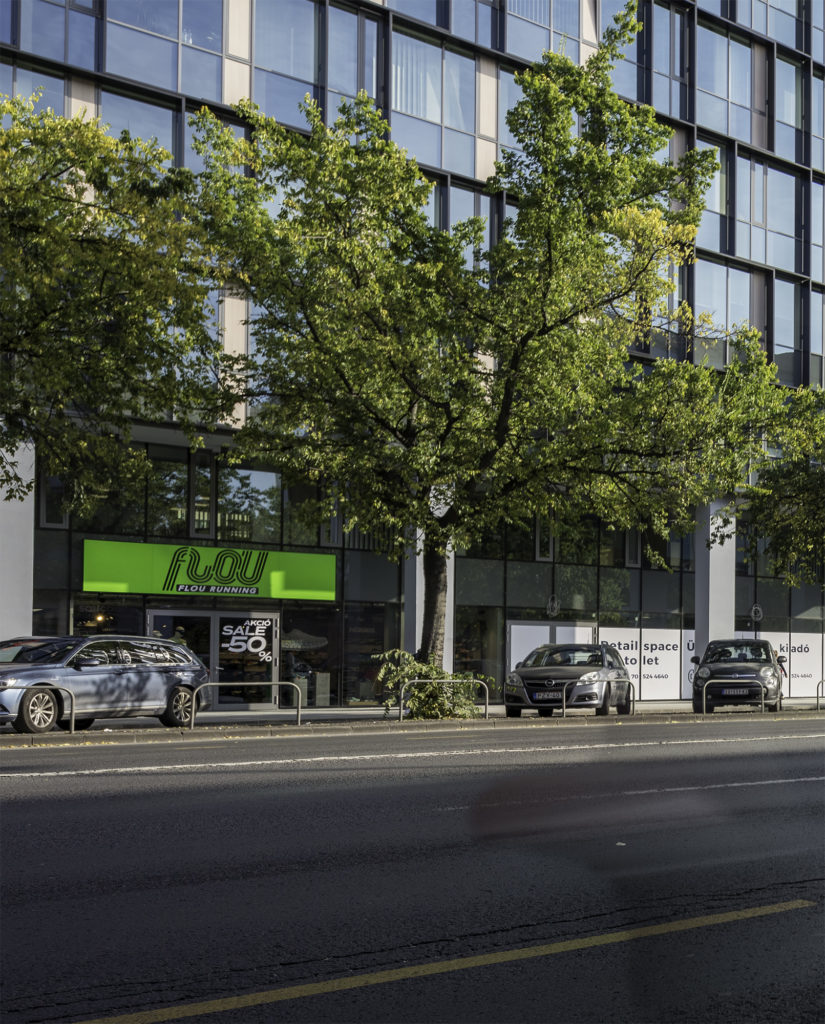
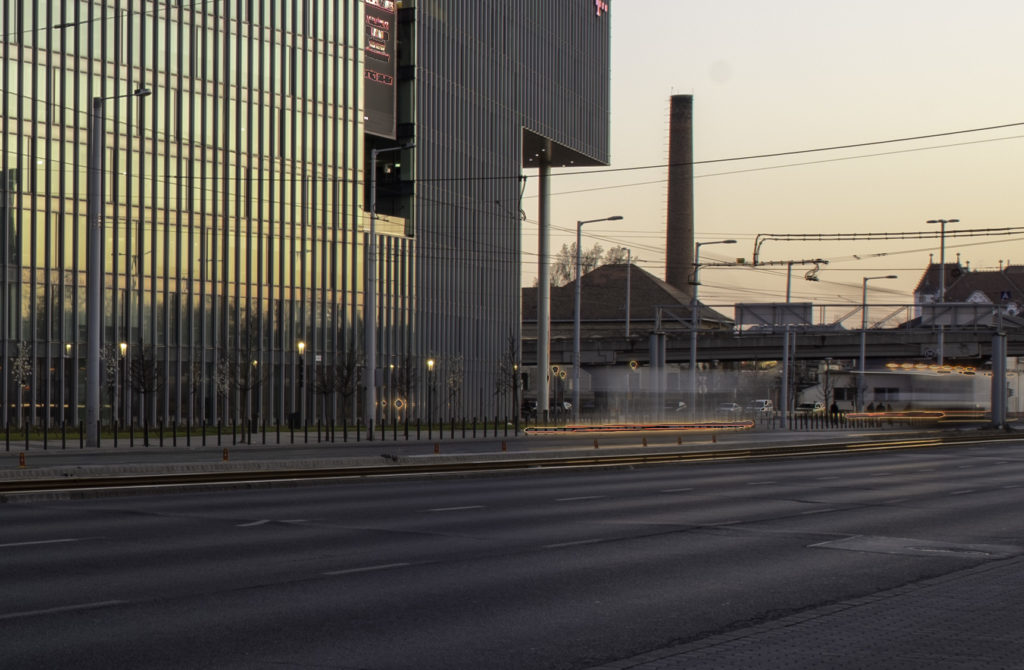
This sounds pretty good, right? LR does merging for us, even gives a good starting point with ‘Auto settings’, this is perfect! Not quite… LR does a well in many cases, but with batch processing images will come some issues. As I mentioned earlier, there are 4 different ‘Deghost amount’, and we have to use at least two of them in different scenarios. The image above looks like this with ‘None’ and ‘Medium’:

Deghosting ‘None’ Deghosting ‘Medium’
I show the problem zoomed in:
So the leaves have been moved by the wind and without deghosting they are blurry because they are not lining up correctly.
Solution: set the ‘Deghosting amount’ to ‘Medium’, and the result will be good. Now you think we can solve this problem easily, we just have to select ‘Medium’ deghosting for every image, and we are done. Here are two examples where that is also a failure:
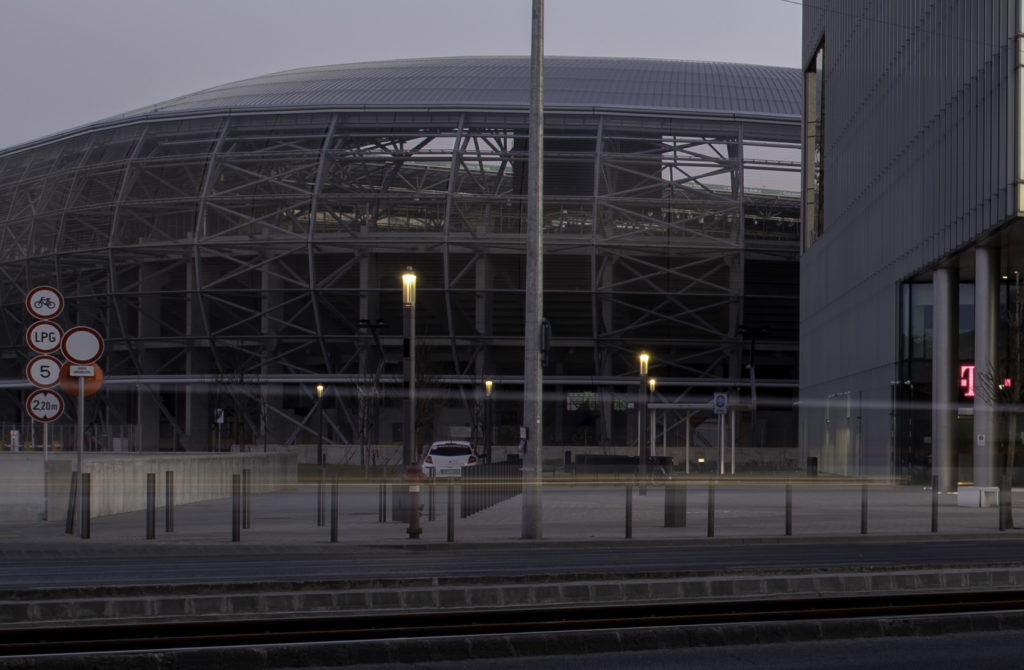
Solution: we can blend these images manually from the beginning or blend in the required parts manually using Photoshop after the merge is done.
These examples above are showing that this method isn’t flawless either, we have to doublecheck what this automated process has done for us every time!
Comparison to Luminosity Mask
We can say now that this method with its limits is at least usable. Let’s see how good is it compared to a much more sophisticated method called luminosity masking. I have to say this is the first time ever I try to compare the two methods because I use them for different situations (luminosity mask when I have to be more precise with my masks, and every other time when LR HDR works fine I use that).
I did write about this before in details (link), but just a short recap:
1. Open bracketed exposures in Photoshop as Layers.
2. Set them in order like this: Dark, Mid, Bright
3. Hide the ‘Dark’ layer and select ‘Mid’
4. Go to Channels, Ctrl + right-click on the ‘RGB’ channel, save this selection as a channel
5. Adjust contrast of the mask (Select ‘Alpha 1’ channel, Crtl+M)
6. Now with this selection add a ‘Layer mask’ to the ‘Dark’ layer
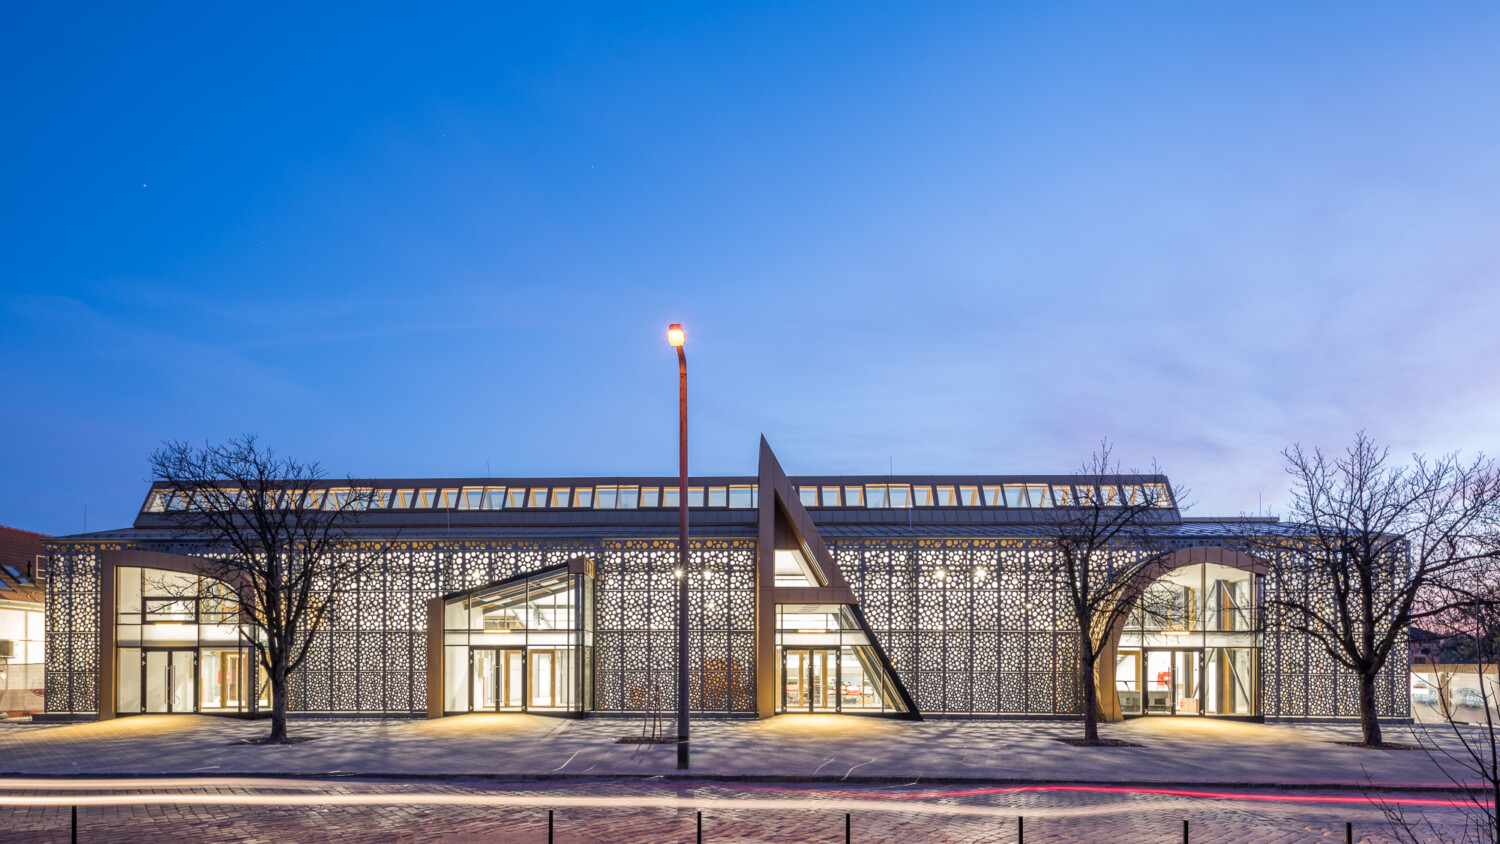
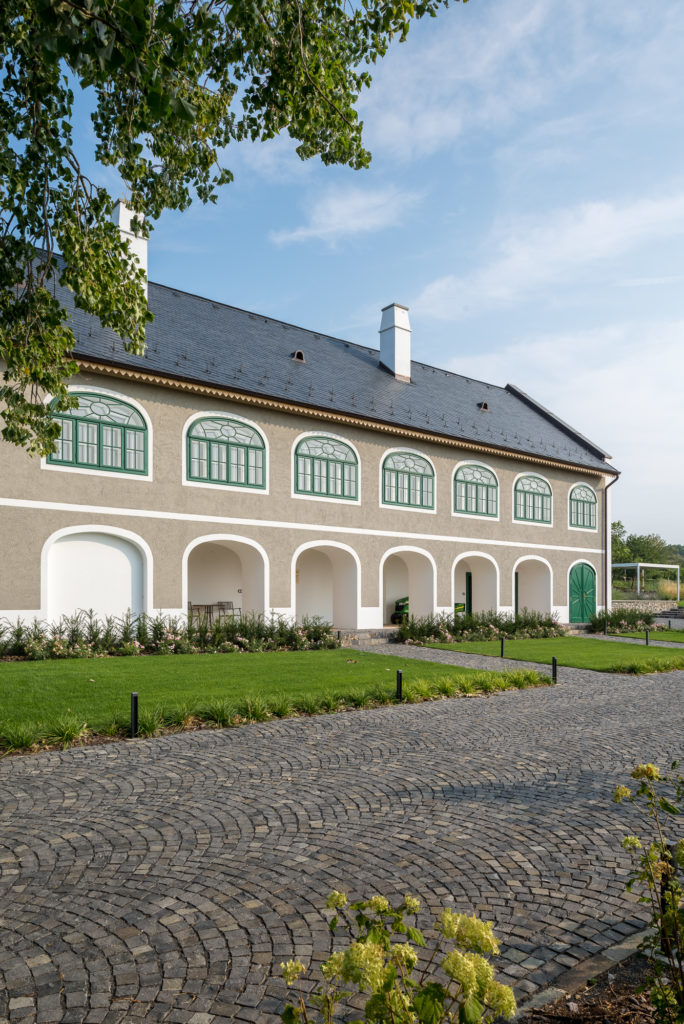
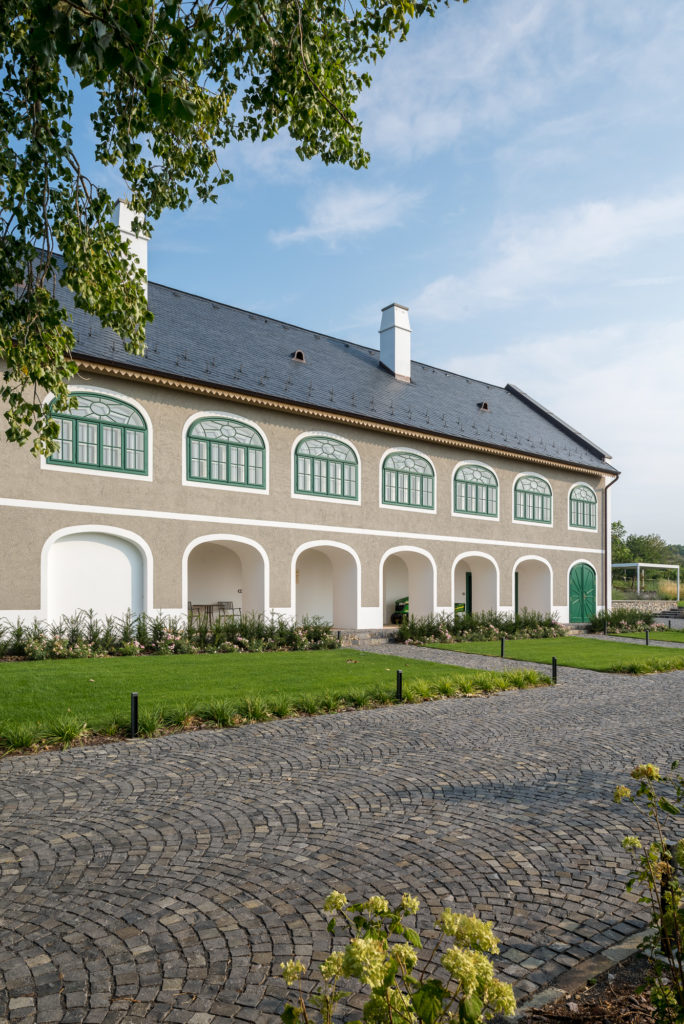
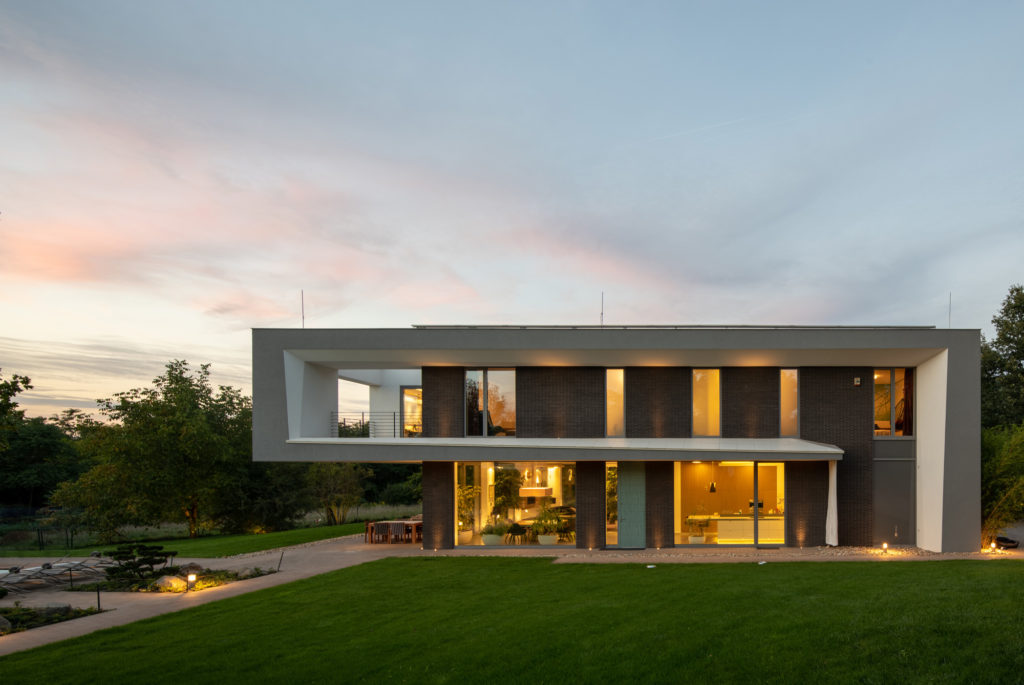
I selected the same image from my first article, and here are the two merged images:

LR HDR with ‘Auto settings’ 
PS Luminosity Mask
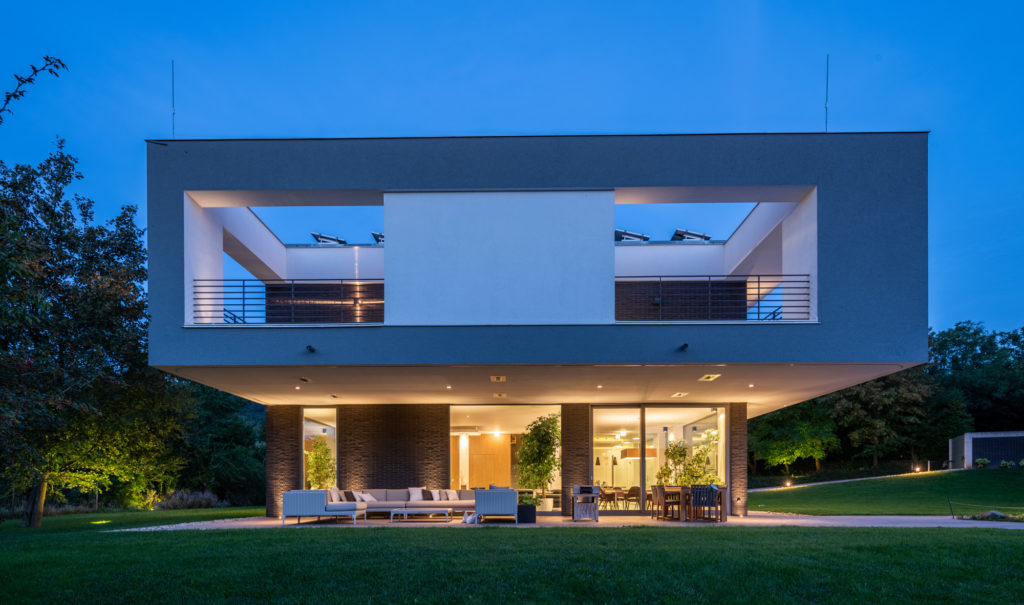
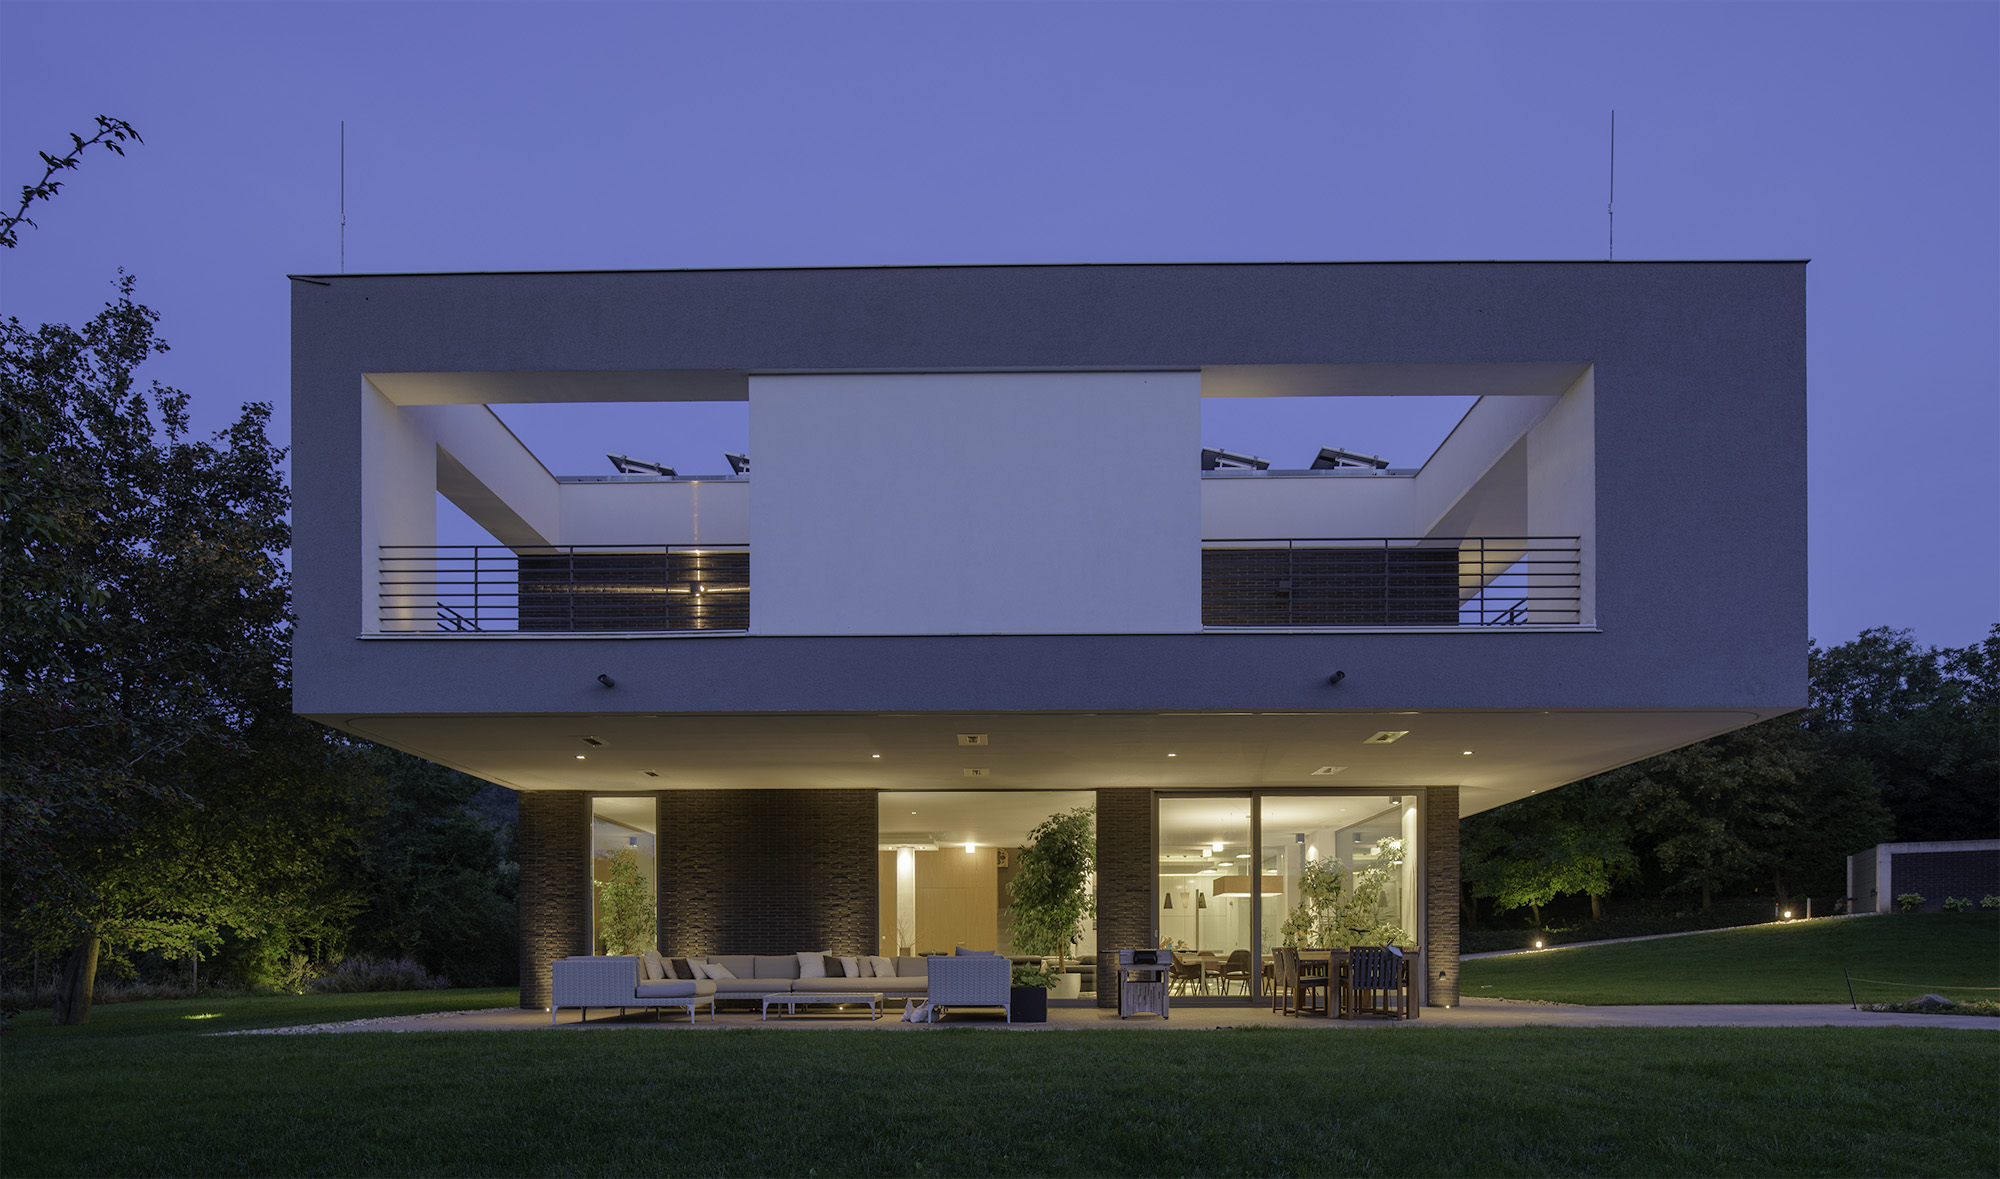
I leave this for you to decide which you would prefer the most. It is clear that with the auto settings the LR HDR image is closer to a finished product color and contrast wise until the luminosity mask image is a very good starting point to do your further editing on.
After the first pair I just wanted to have a quick look at some other image pairs:

LR HDR with ‘Auto settings’ PS Luminosity Mask


LR HDR with ‘Auto settings’ PS Luminosity Mask

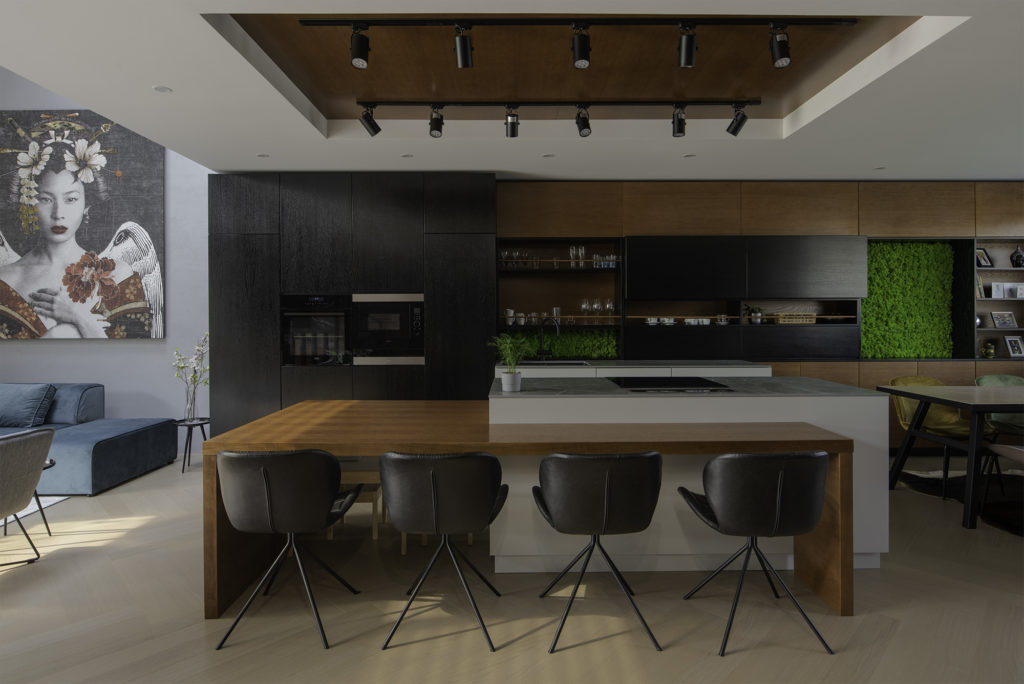
LR HDR with ‘Auto settings’ PS Luminosity Mask

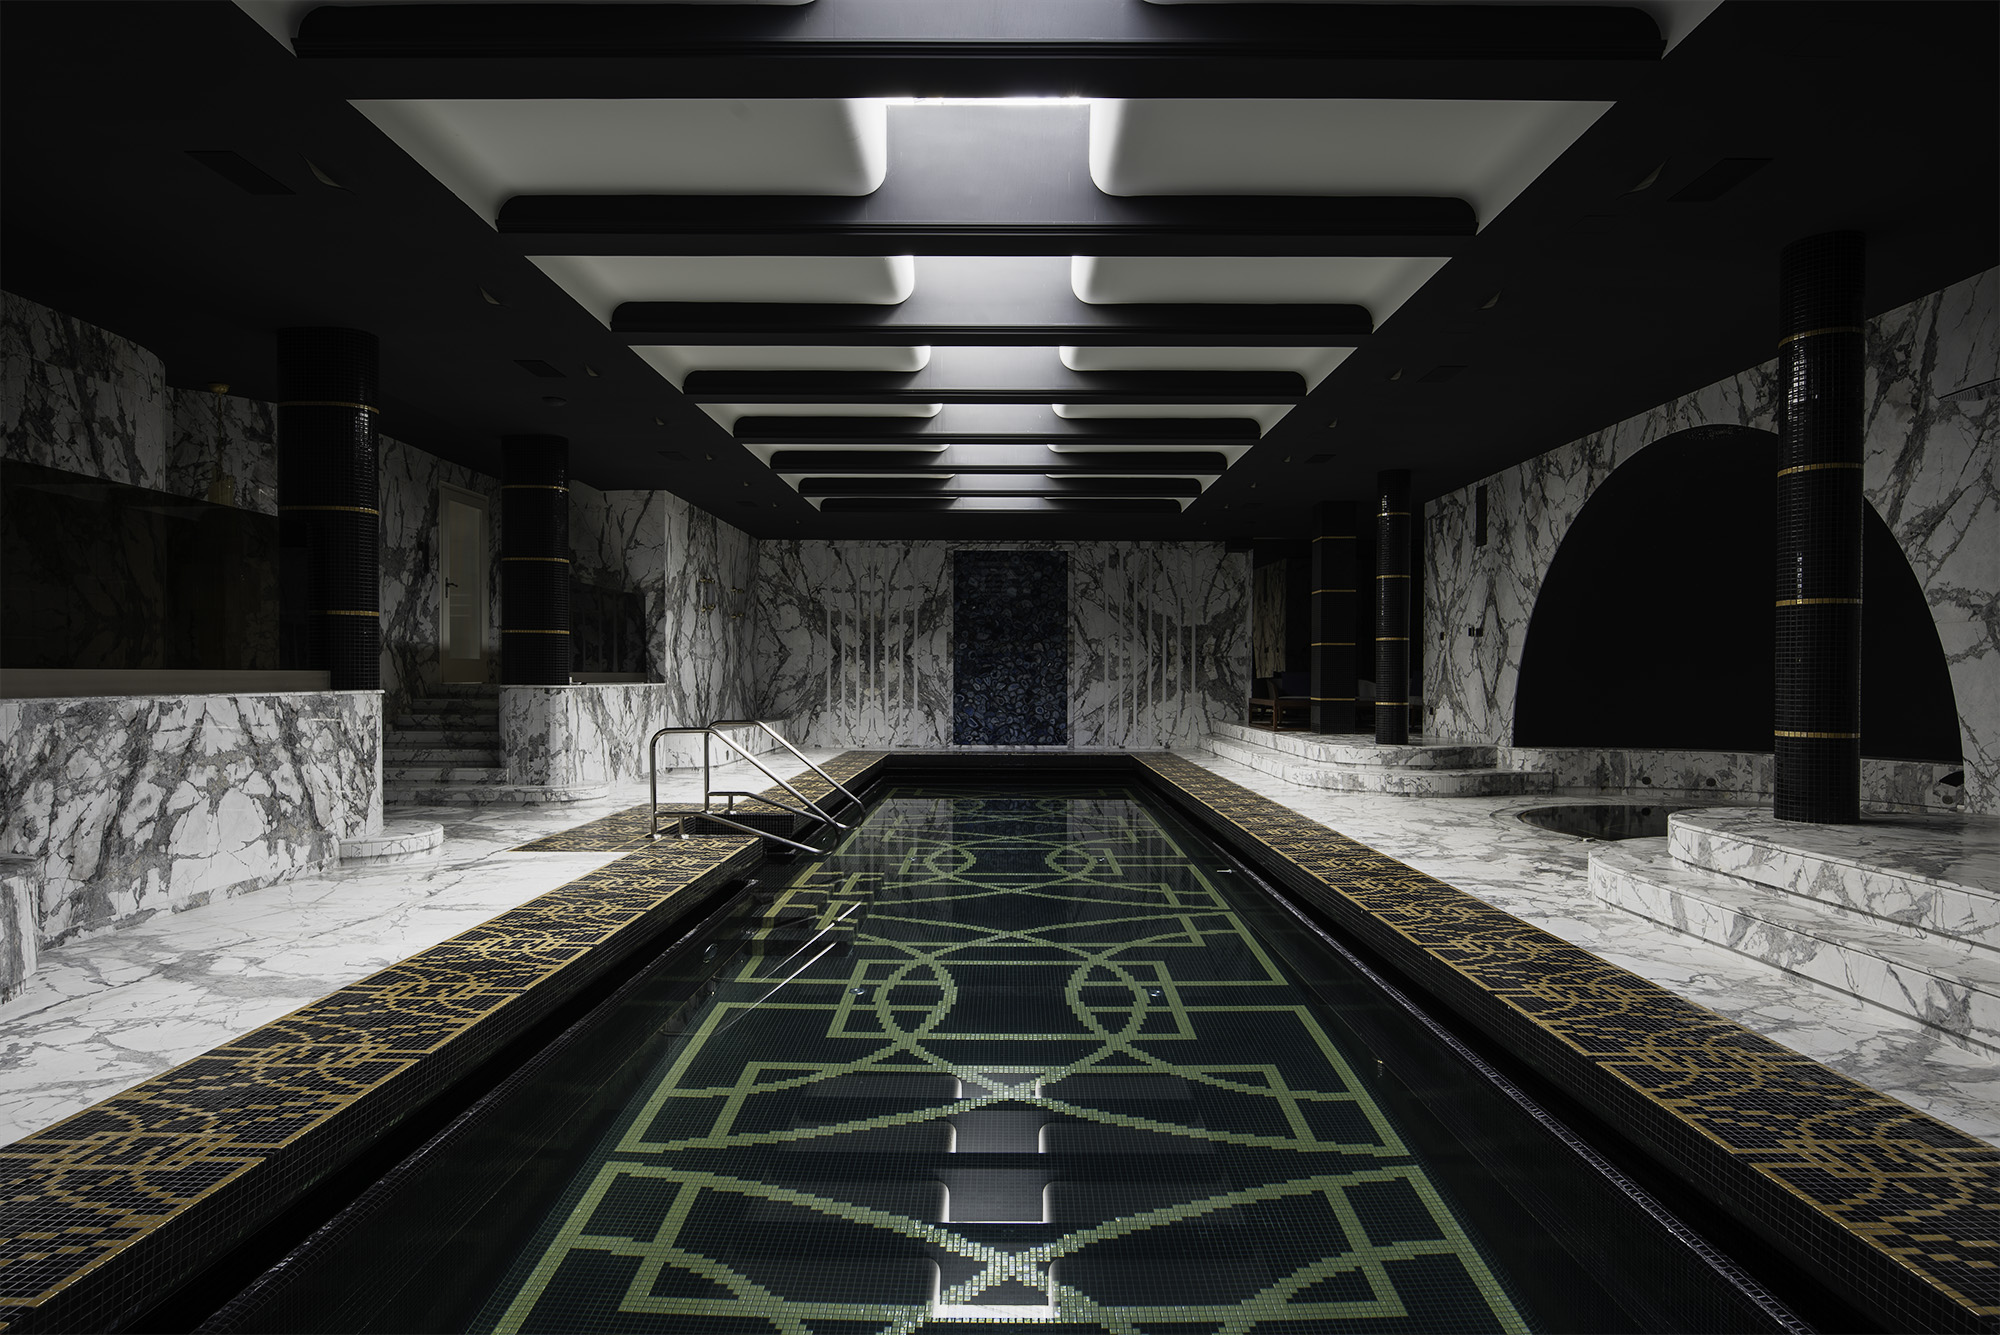
As you can see in these examples LR HDR method holds up quite well when compared to the PS luminosity mask technique. The main difference is that with LR you don’t have the freedom with masking, and making individual adjustments, but you can be much more time-efficient with your editing. There are a lot of corner cases and fringe situations where you’ll need to open up Photoshop to do manual luminosity masking but in many cases the LR HDR solution is quite impressive. If you are a fan of the look you get using this, it’s absolutely a viable option for post production in the majority of cases. Some people do prefer a bit of a more refined look though, which can really only be achieved manually.
Please be kind and share your thoughts and experiences of LR HDR merge feature! If you have any questions feel free to ask in the comment section!