How to Use HDR and Get Away With It
HDR has become a dirty word in professional architectural photography. We’ve all seen the over-processed HDR real estate photos where the colors and tones are off, and everything looks crispy and awful. Don’t get me wrong; tasteful HDR like the work of Trey Ratcliff as an artistic choice, now that can be cool. But in most architecture and interior work, conventional HDR run through an app or action usually turns out pretty ugly.
Now I have to admit that I do use HDR techniques in the majority of my work, but not necessarily the kind that immediately pops into most people’s heads. Why doesn’t my work scream “HDR”? I’ll tell you why: I used Lightroom’s “HDR Merge” instead of a third-party HDR Software. This simple program, mixed with subtle techniques, creates a much more convincing picture. Let me show you how I do it!
*Disclosure: This is very much my personal opinion. I’m not saying it is perfect or absolutely better than other methods, but I will show you what works for me!
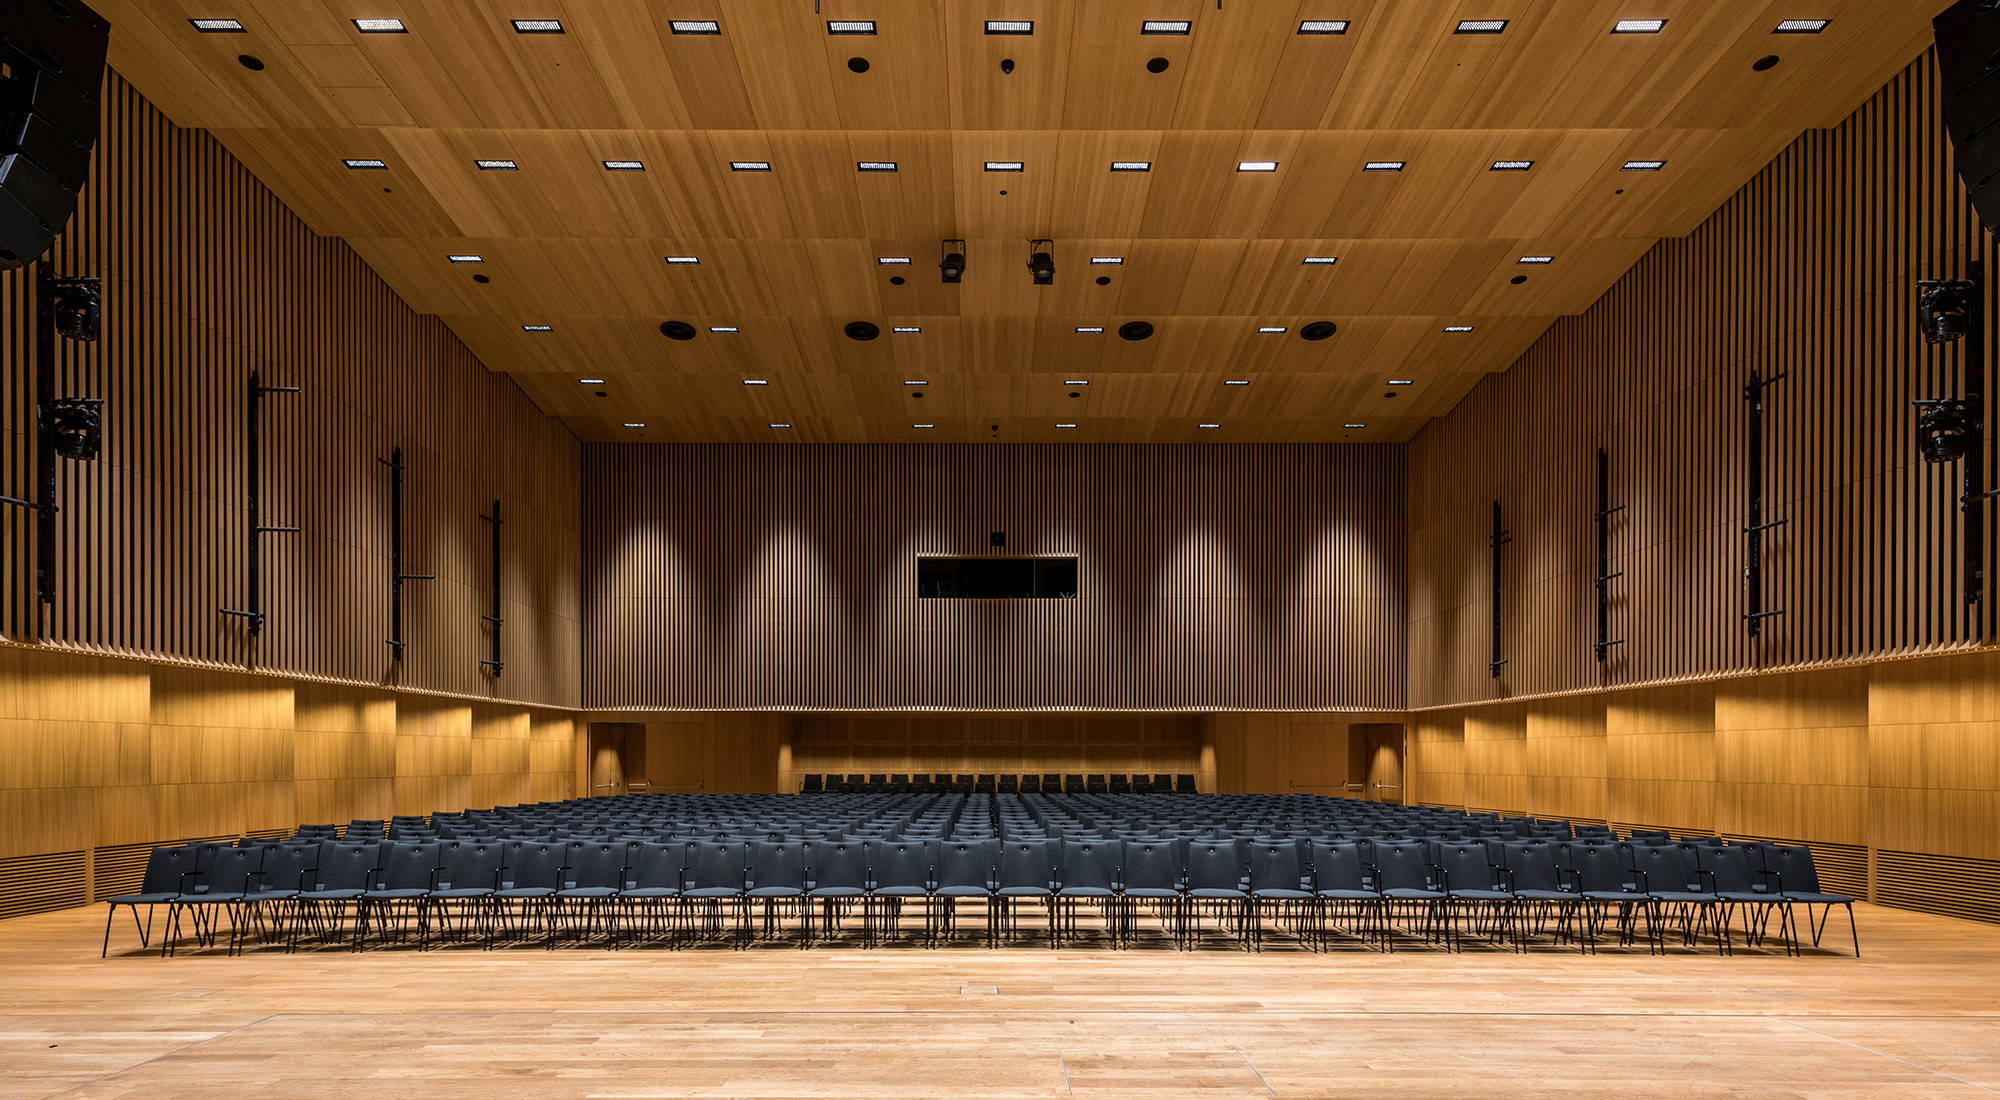
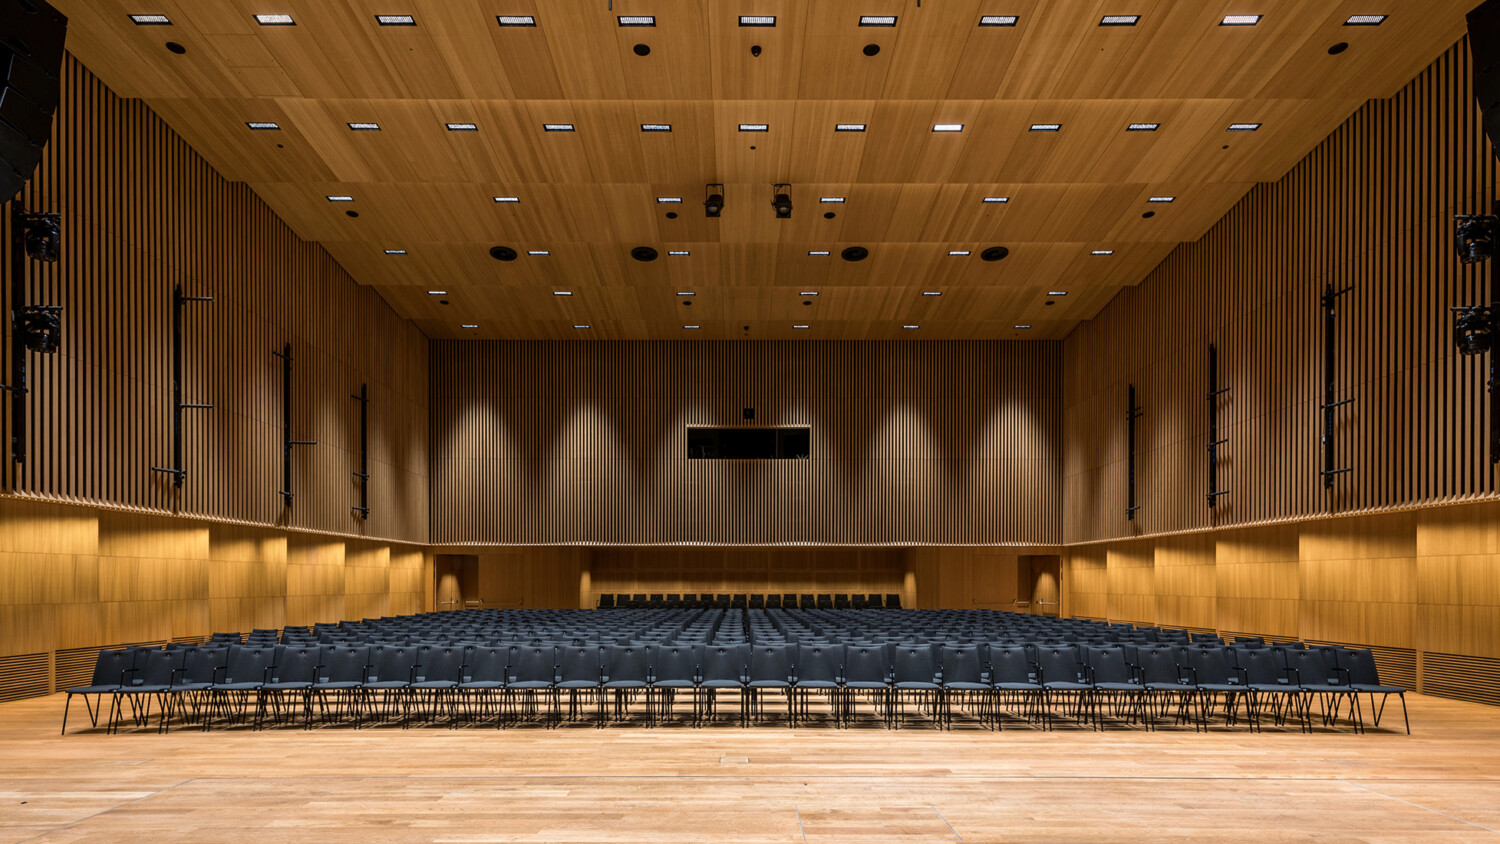
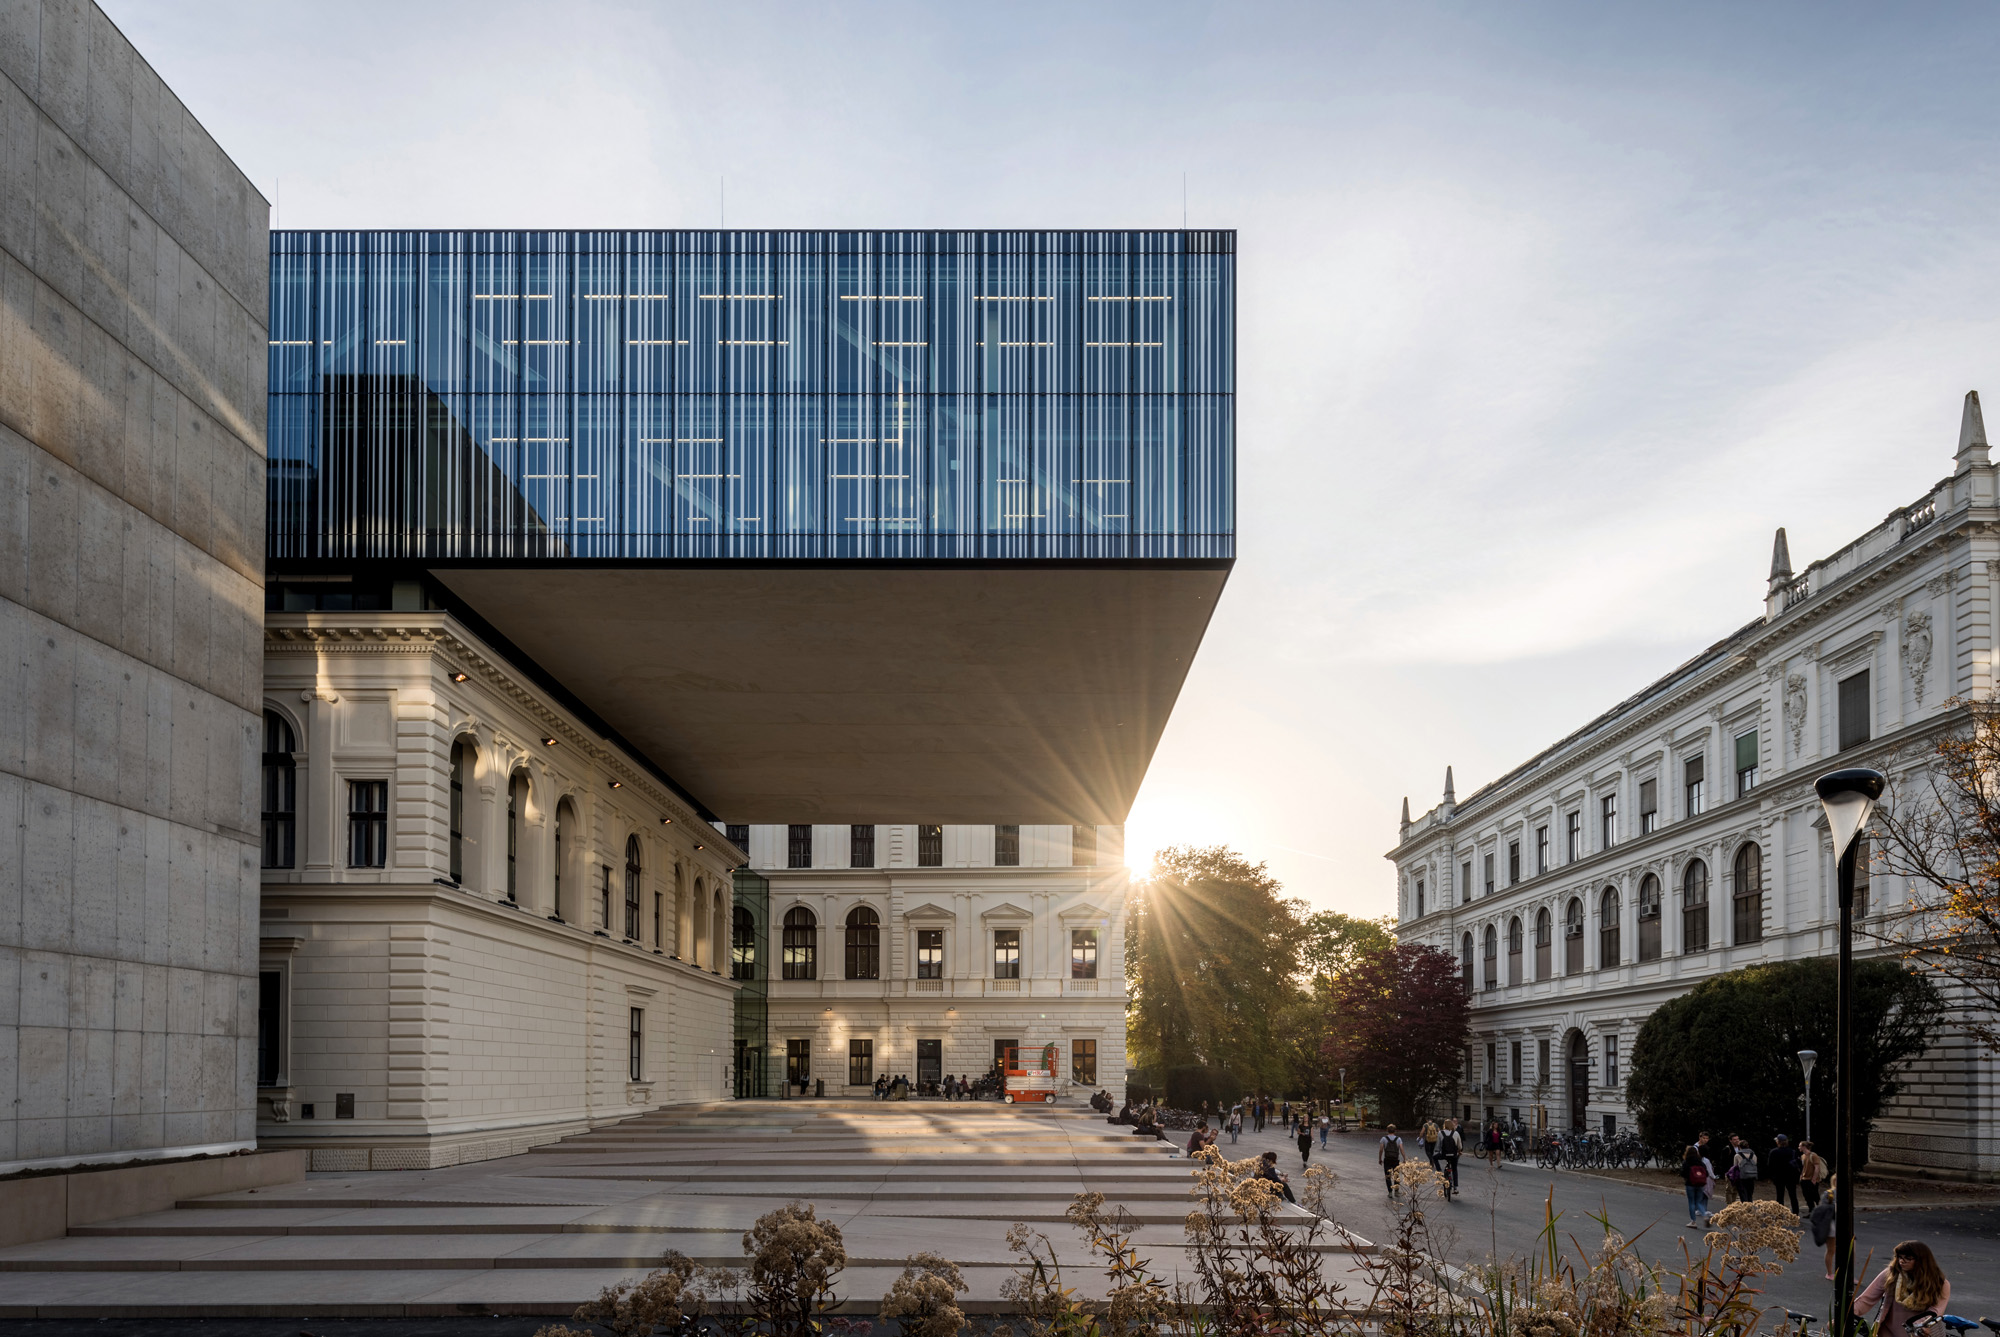
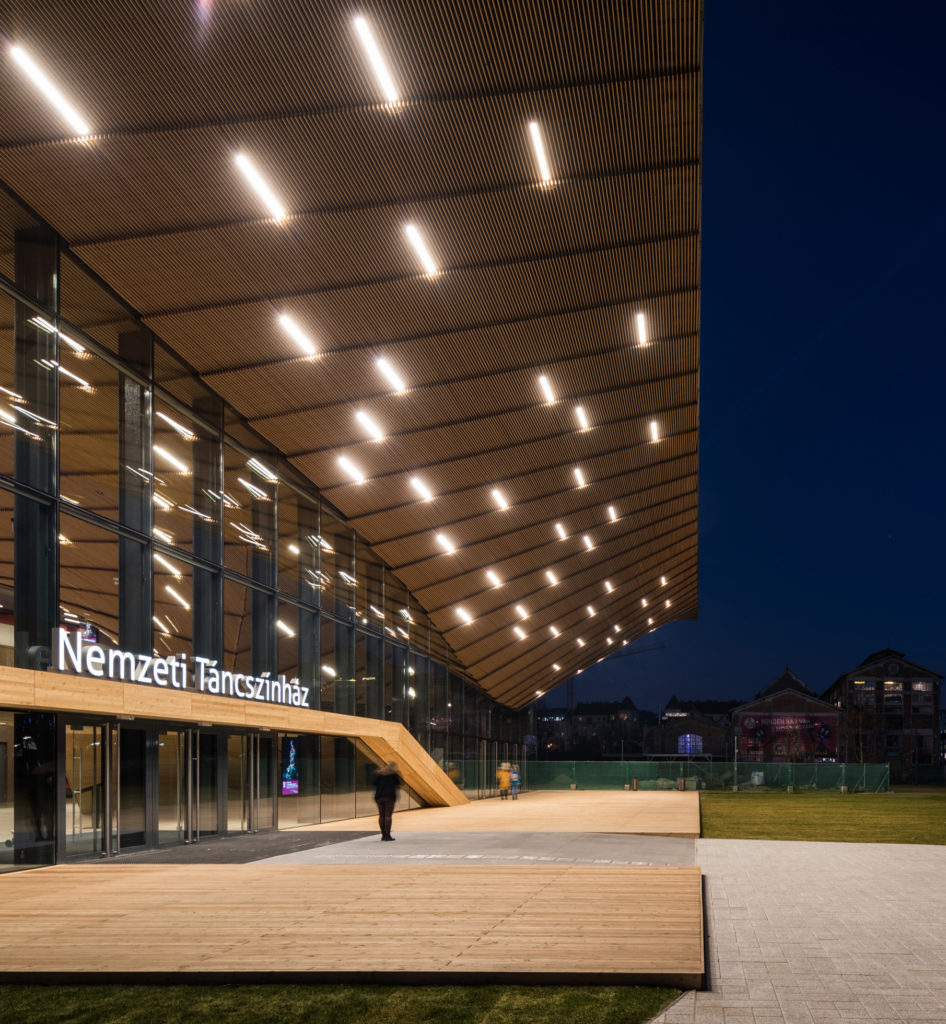
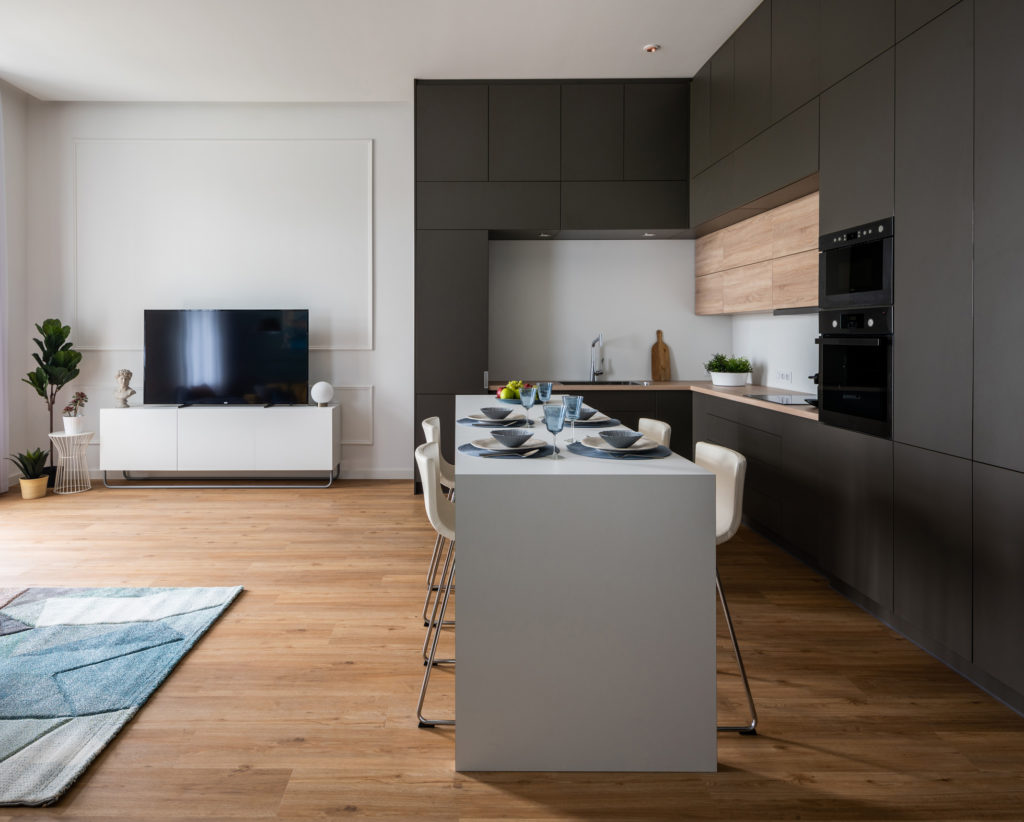
Dietrich | Untertrifaller Architekten
Lightroom has a feature called “Photo Merge” where you can create either a panorama (Ctrl+M) or HDR (Ctril+H) image from a group of photos. It combines your bracketed exposures into one HDR file while leaving the raw information in a DNG file. This lets you edit it after merging them as a single raw file, while containing all of the data from each of your exposures. When editing the stack, you can even change white balance and other small details, which usually isn’t possible when using other merging programs (please share with us in the comments if you have a preferred merging software that allows you to control factors like this).
So why am I merging these layers into an HDR through Lightroom? Why not just open three exposures, export them to Photoshop, run scripts and load the files into the stack, then blend with luminosity masks and save? That is SO many steps, and merging to HDR through Lightroom is just one command. By pressing Ctrl+Shift+H, the selection of exposures is merged. That’s all it takes! If your photo includes any objects that move from frame to frame (leaves, cars, people), you can experiment with the “Deghost amount” to fine-tune it. I’ve found that, in general, it is much faster to skip deghosting.
I shot A LOT. So I have to be efficient with my edit time, otherwise, I’ll be sitting in front of the computer for what feels like forever. When I do a day-long shoot at one house, I can create upwards of 50 images. This method allows me to edit and deliver them in roughly 3 to 5 hours. My clients are very happy with this method, and I am too! There are of course times when more detail work needs to happen and I have to really dedicate time to the slower ways of doing things, but as long as the end result is what I like, I don’t have a problem with editing less!
How does this work?
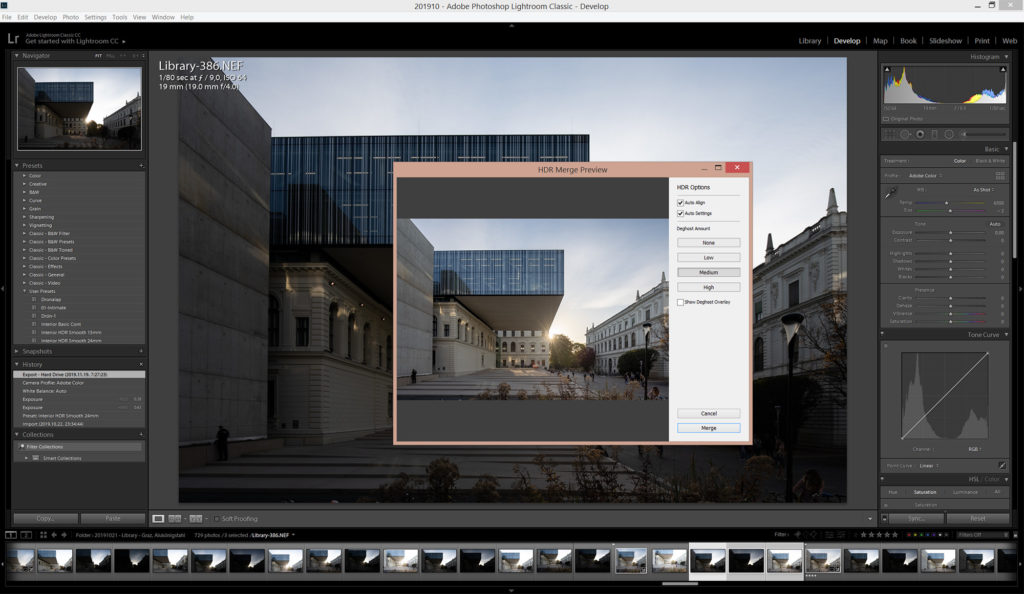
In Lightroom you have to be in the Develop module panel, select the three (or five) bracketed exposures, and go to ‘Photo’ -> ‘Photo Merge’ -> HDR (Short key is Ctrl+H).
Now you will see a panel with not many options:
– ‘Auto Align’ should be always on. This will align your layers, especially if your brackets were taken handheld
– ‘Auto Settings’ is another option I leave on. This gives me a good starting point after the merge
– ‘Deghost Amount’ I typically only ever choose two of the four options:
– ‘None’ is perfect if it is — for example — an interior where there are no moving elements in the image
– ‘Medium’ works best if it is a street view where cars and people are moving, or tree leaves are blown by the wind


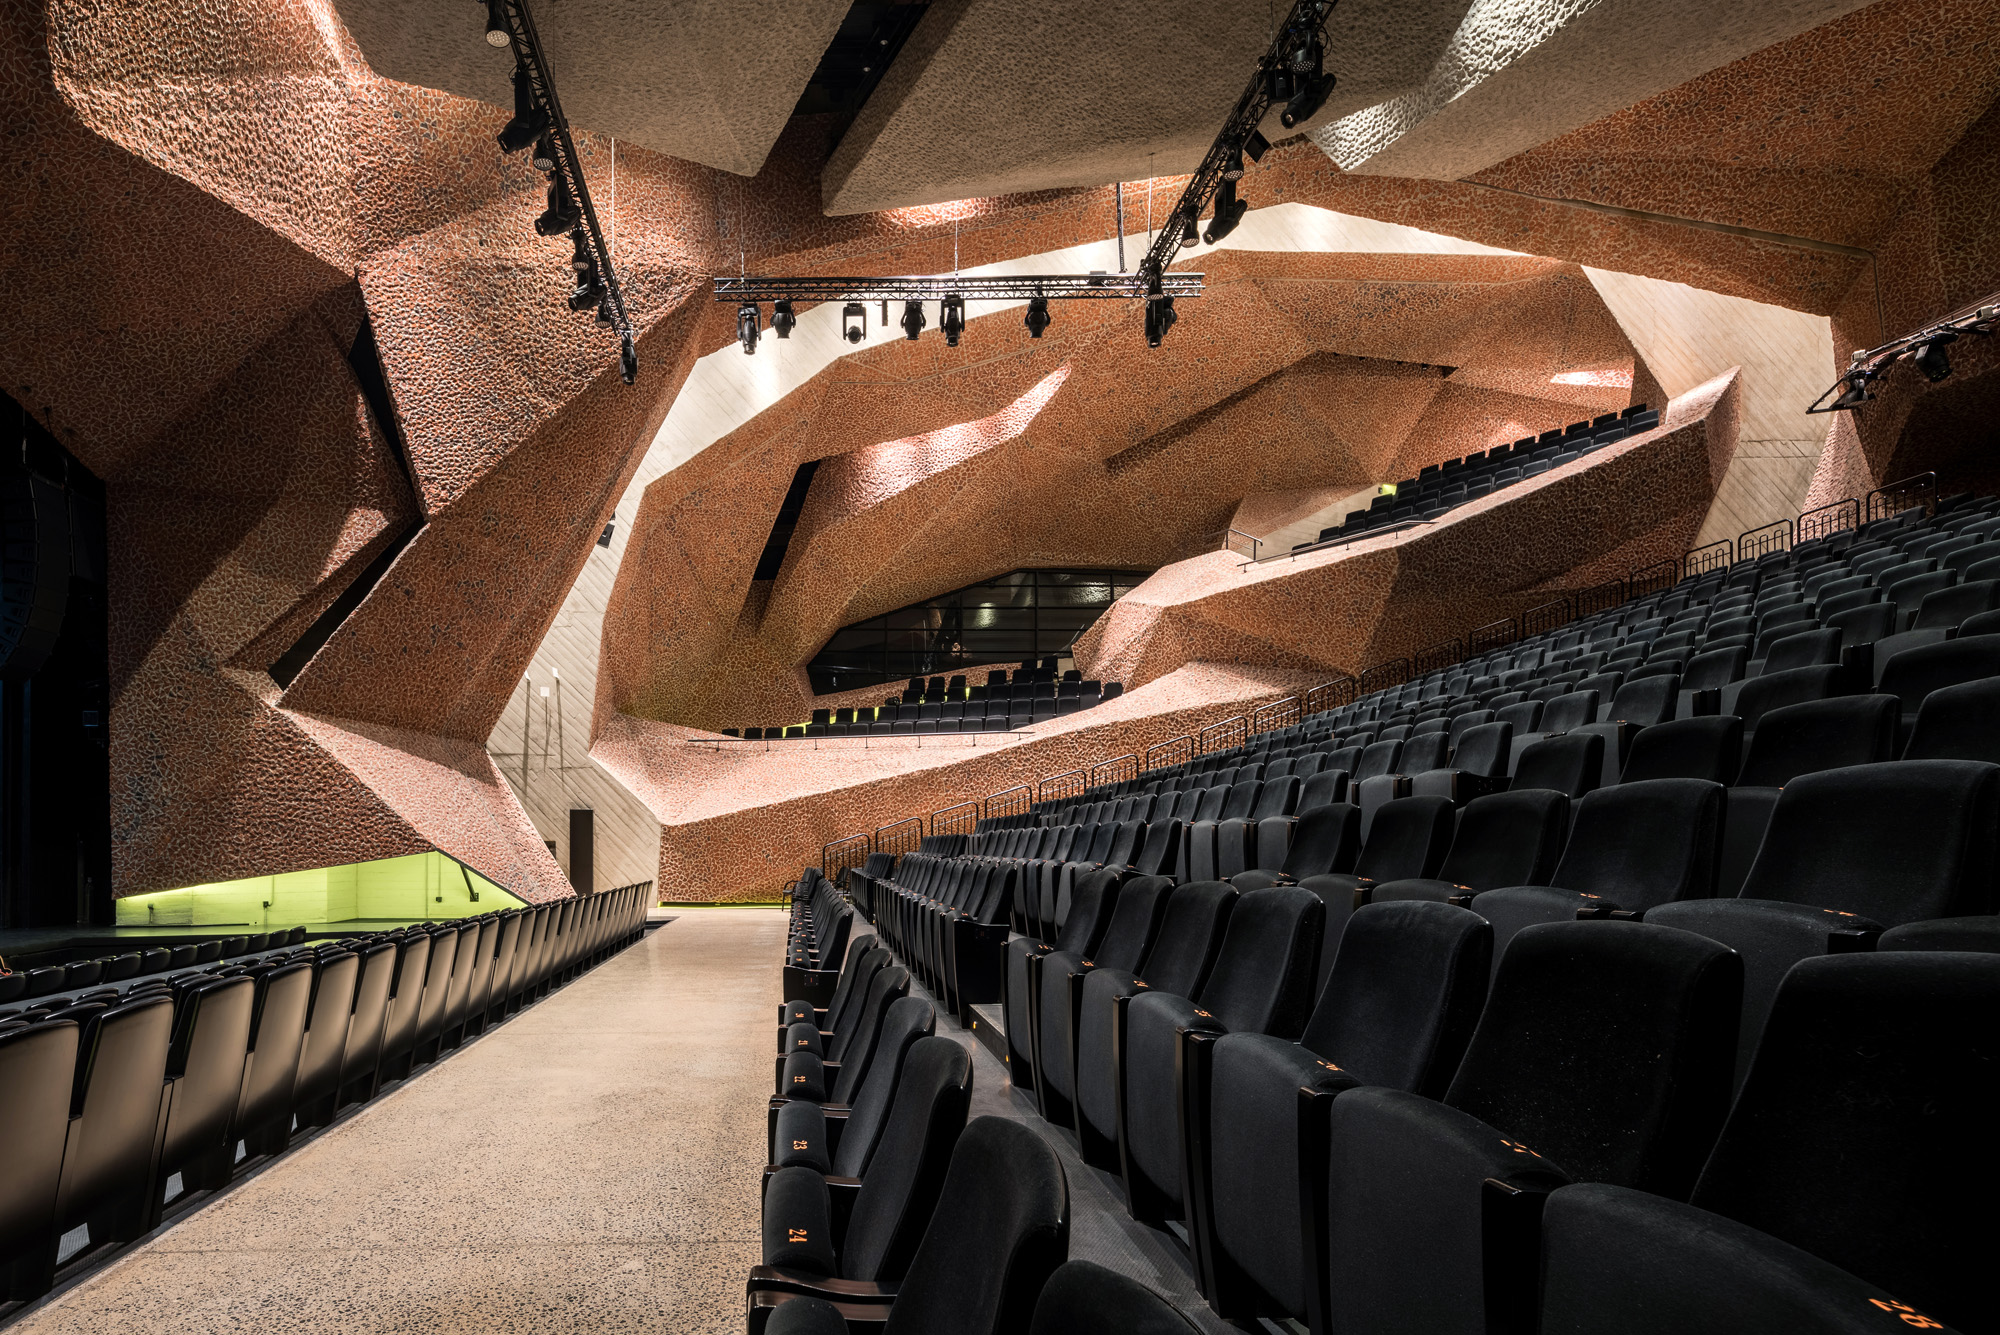
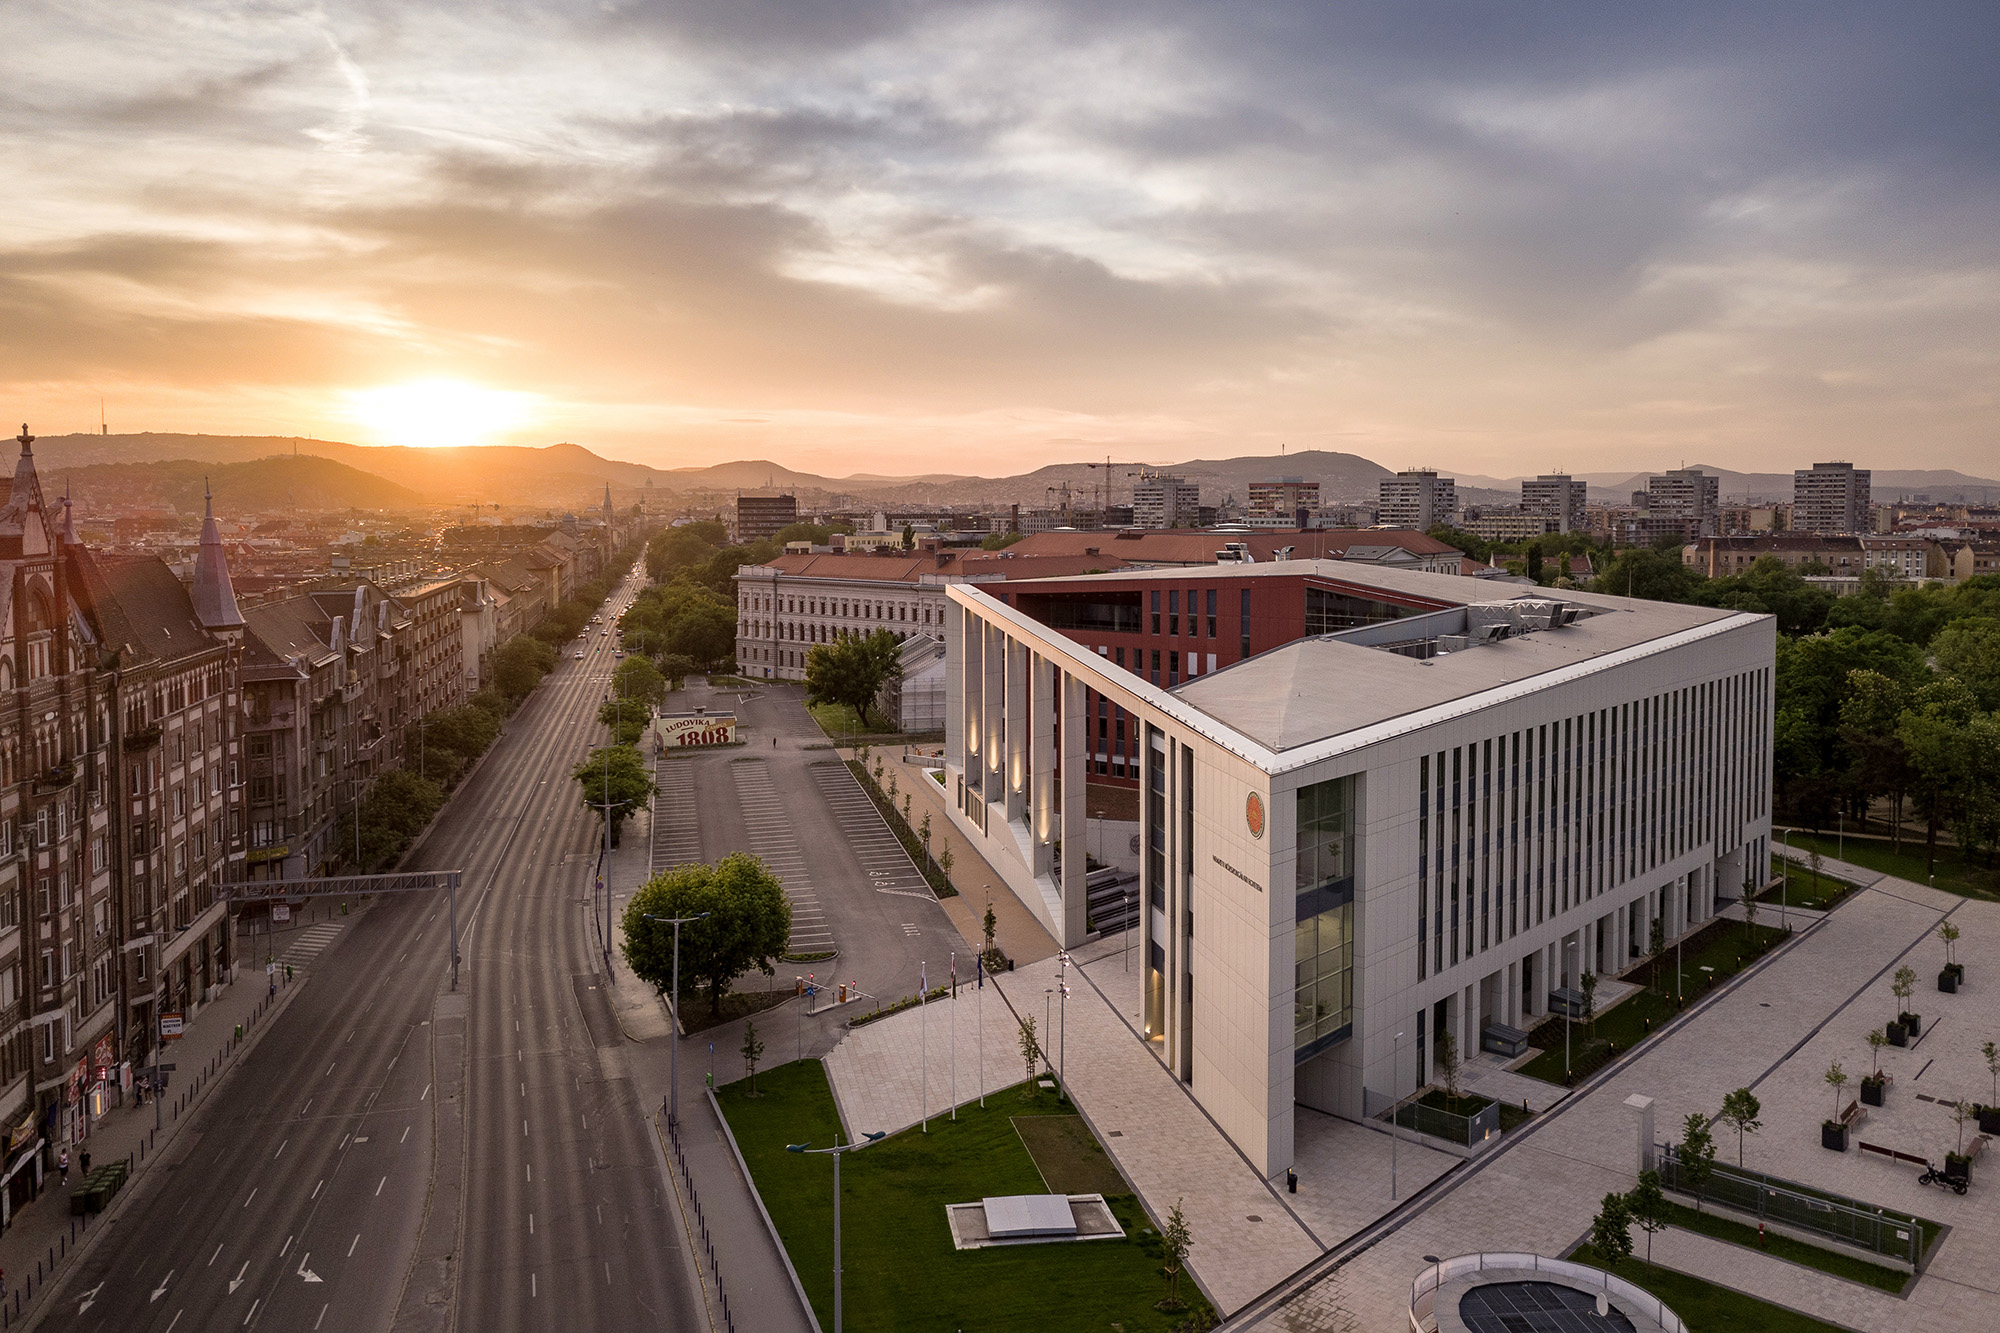
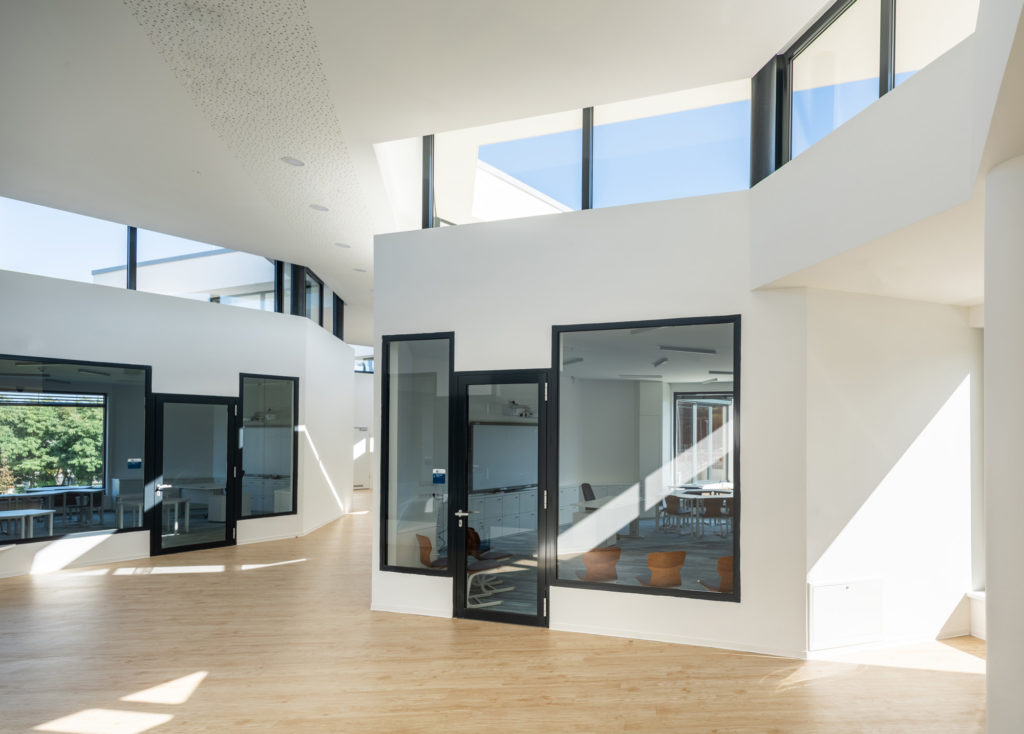
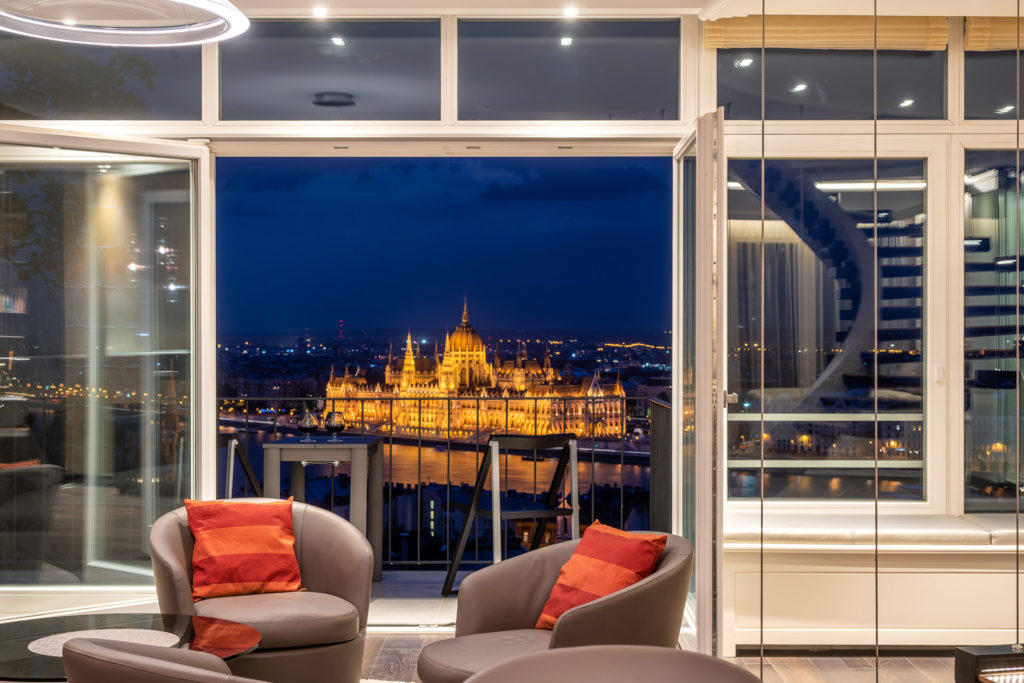
Atelier Thomas Pucher
But what about editing images that are a blend of flashed and ambient light, or interiors that have had extensive light painting? This is definitely not your go-to method. However, if you are like me and like to represent the true to life nature of a space (and carry as little lighting equipment as possible), then I suggest you give it a try. Test out playing with a set of HDR Raw files in Lightroom on your next shoot and tell me what you think!
There are many cases where an HDR Lightroom merge just simply doesn’t work. There are also lots of ways you can improve them to make them look their best. I’ll be creating a series of articles that explores this deeper, so check back in!
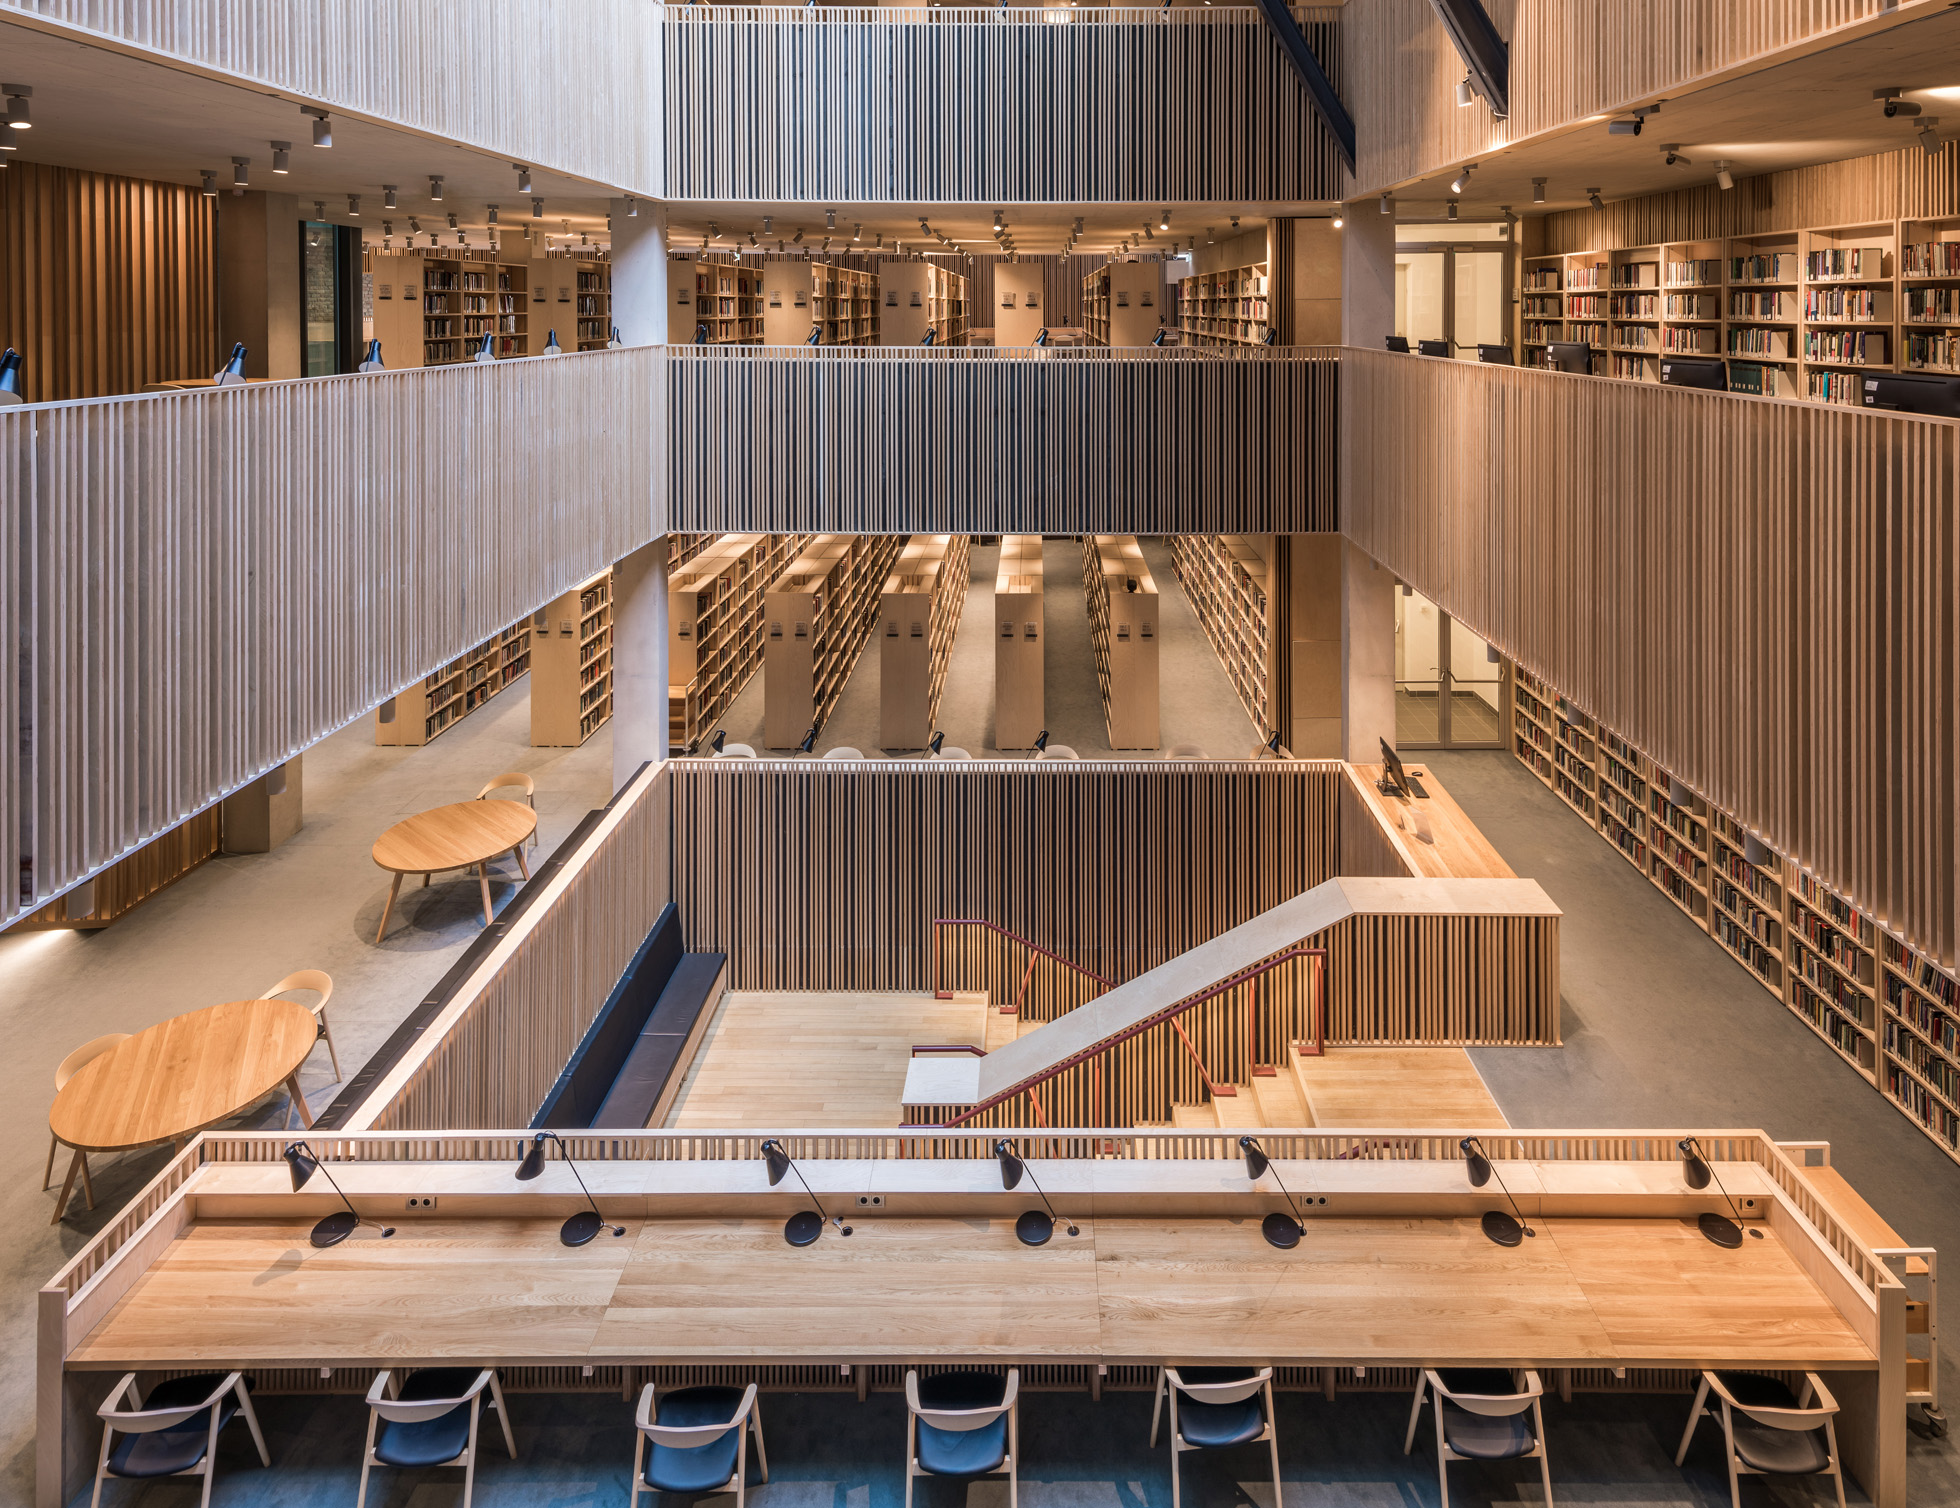
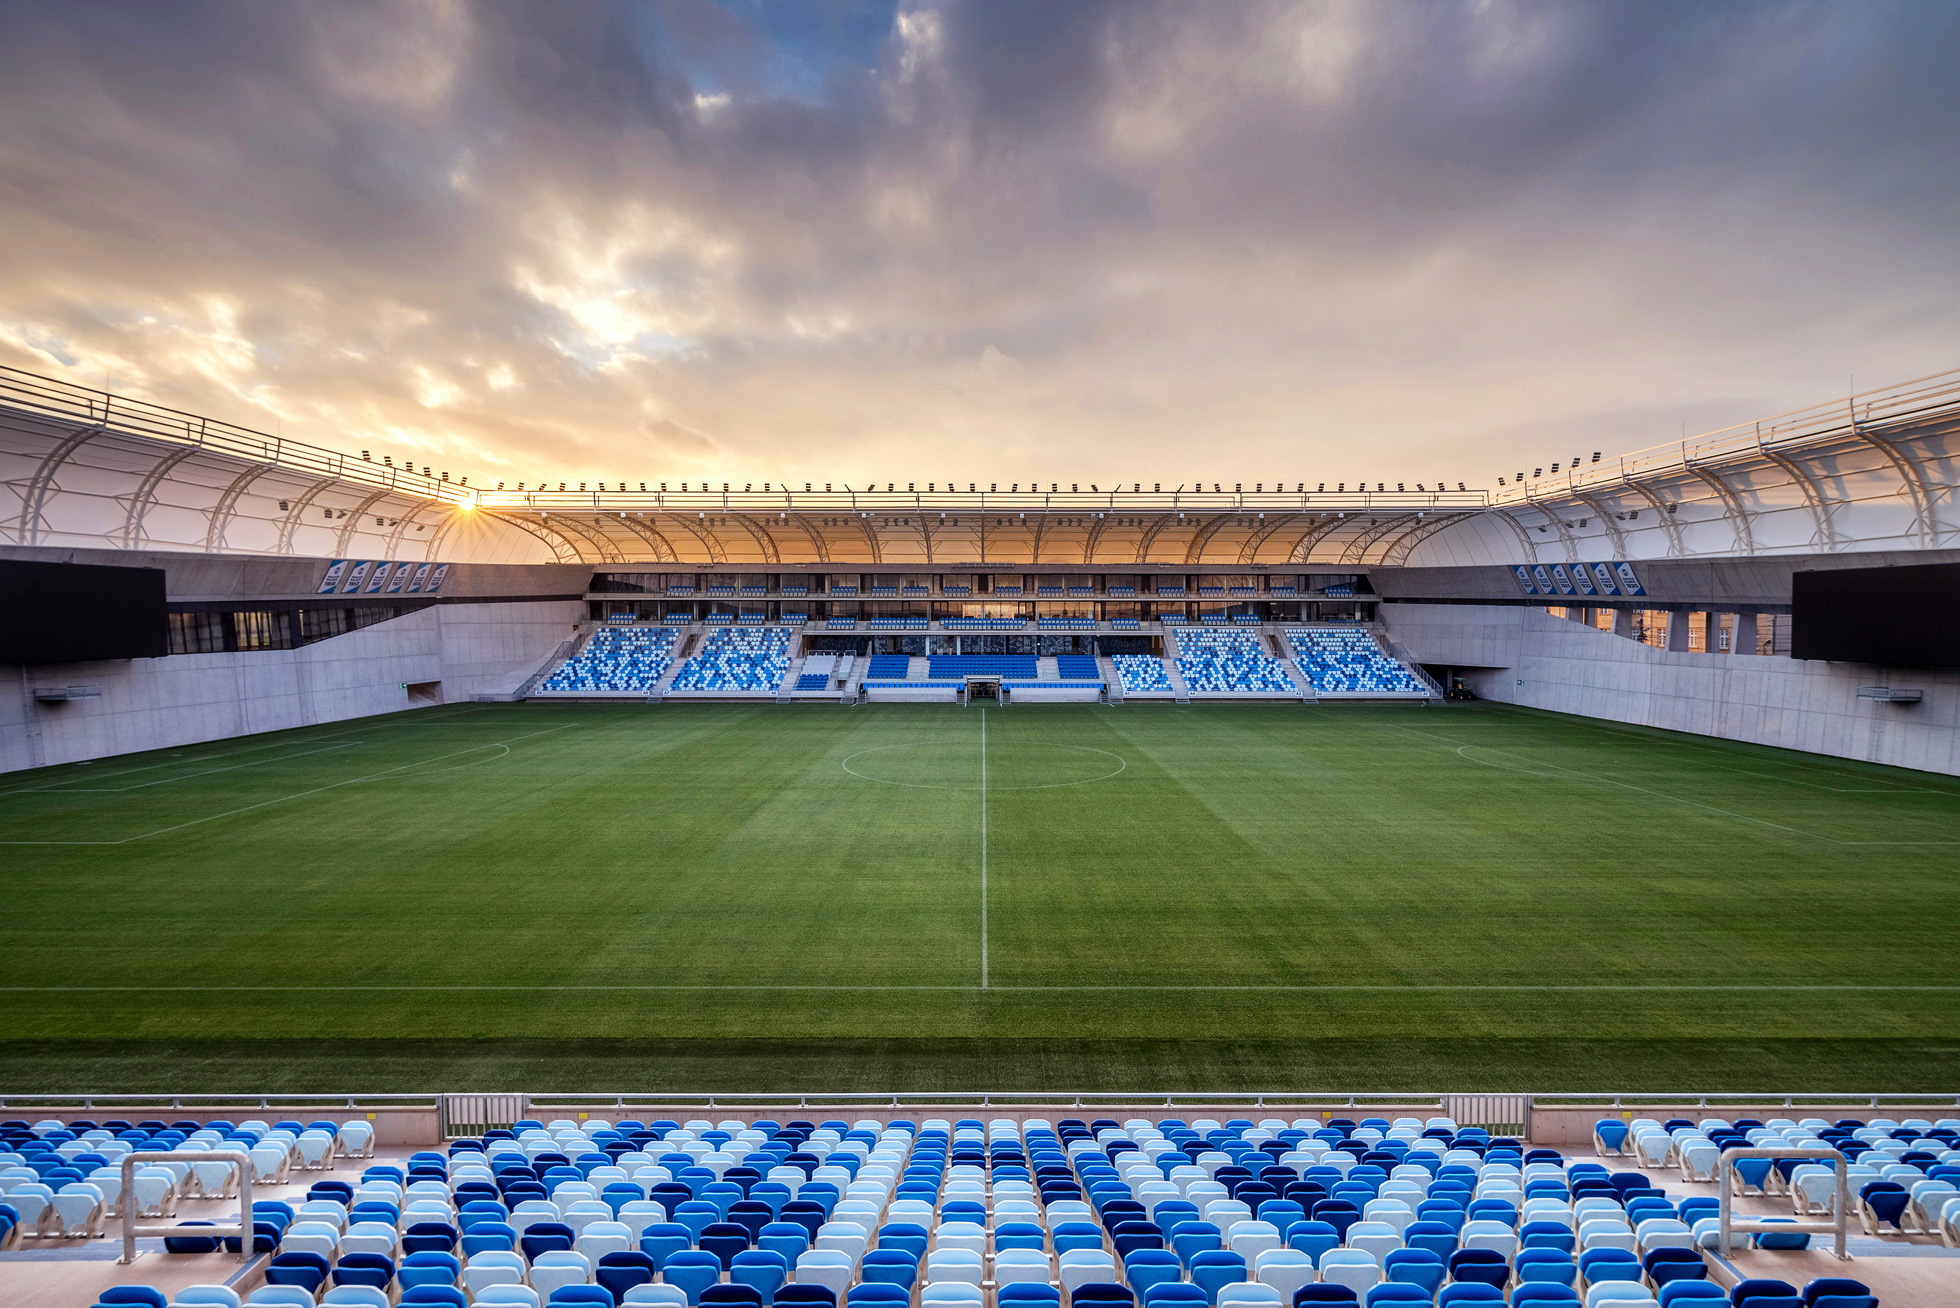
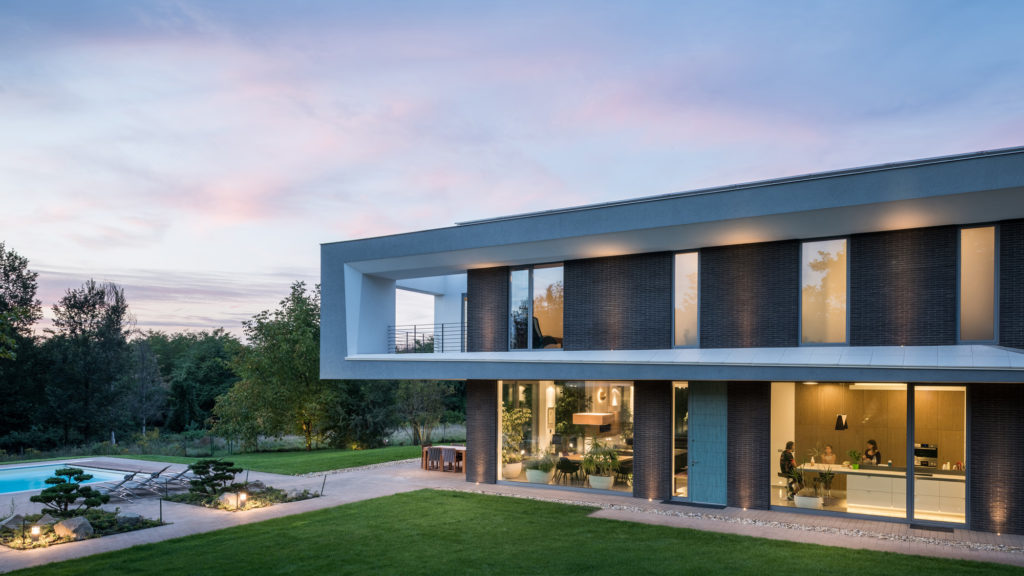
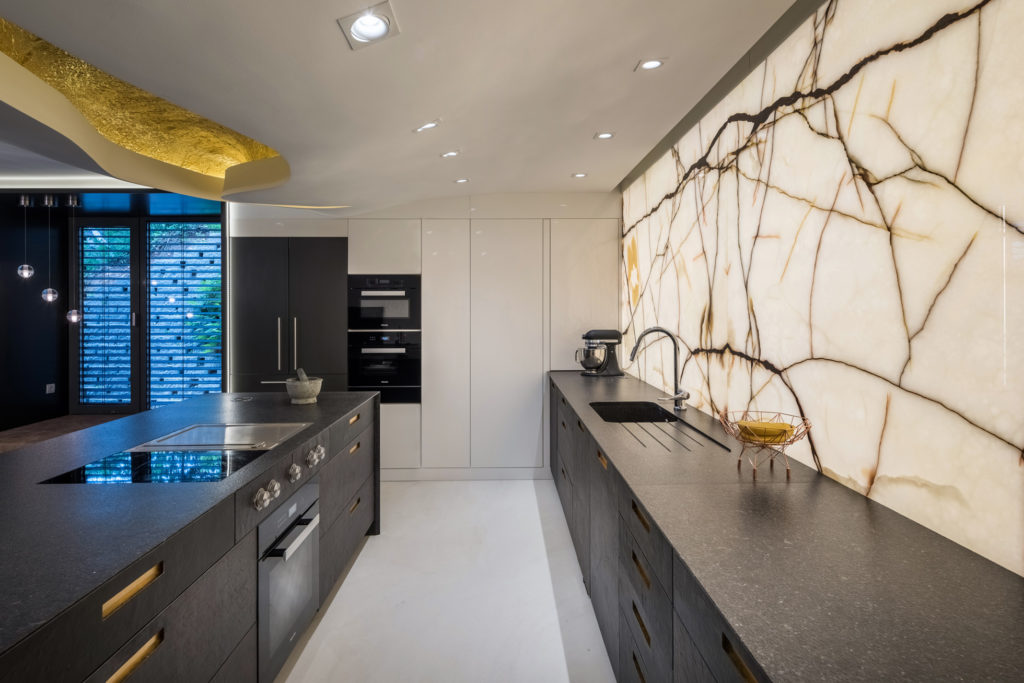
Need even more proof that Lightroom’s HDR merge can look great? Check out some of the most recent projects that I’ve used this technique on:


On the whole, this can be a very efficient method that doesn’t look too cheap or overprocessed. You just have to know how to apply it and what cases it excels in. Like anything in photography, processing is a matter of taste and finding a method that works for you and your clients. At the end of the day, that is the most important thing.