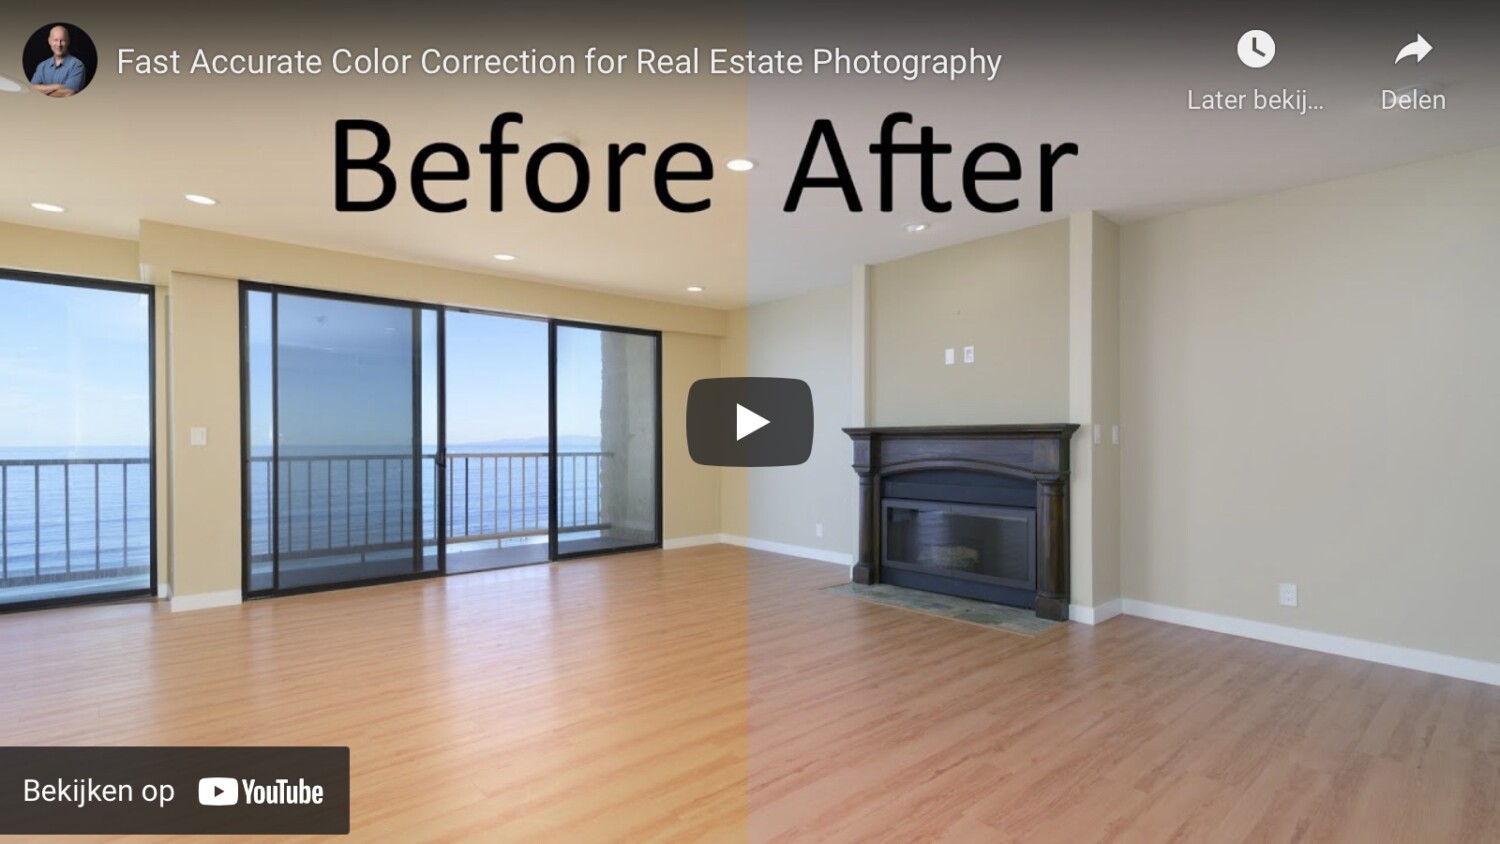
An Unconventional but Fast Method for Color Correction
I don’t know how you balance the colors in your images, but here is one thing that I can guess – You are correcting colors differently than I am, and you are doing it differently than you were five years ago in your own workflow.
There are so many tools in Photoshop that keep changing and evolving to help you achieve the right color balance in your images. You can use adjustment layers with LUTs, gradients, color fill layers, curves, saturation…the list goes on and on.
There is no silver bullet for color correction. Each photograph requires its own solution, so handy tools and tricks are always welcome in our art of architectural photography. That being said, I thought you all might find this video helpful.
In this video by Nathan Cool, he explains how to use an interesting process to achieve a good color balance and neutralize complex color casts in an image. This method essentially imitates the algorithm used by cameras to achieve an auto-white balance in a scene. It is applied by adding an average blur to the image, resulting in one overall color. That color is neutralized and turned to a true neutral gray via the curves adjustment tool.
I’ve tried this on many of my images now, and I can say: it works and it’s easy.
Cool, Nathan! 🙂
