Post-Production From Start To Finish: My Workflow on Location
When I wrote the first part of this series, I intended to only talk about post-production, but the way I tend to photograph projects affects a lot of my post-production techniques. I’m the guy who likes to shoot as many angels as I found interesting enough to photograph, which ends up being a selection nightmare as I sit in front of the computer. It boils down to a simple fact: I need to be quick in post-production to retouch the large amount of images I make.
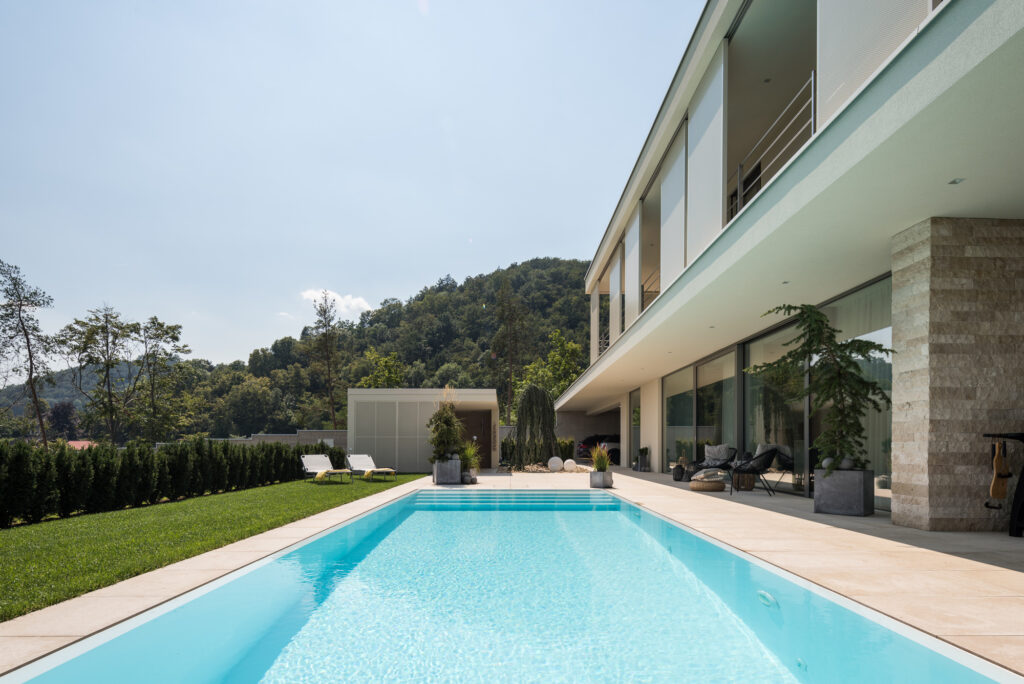
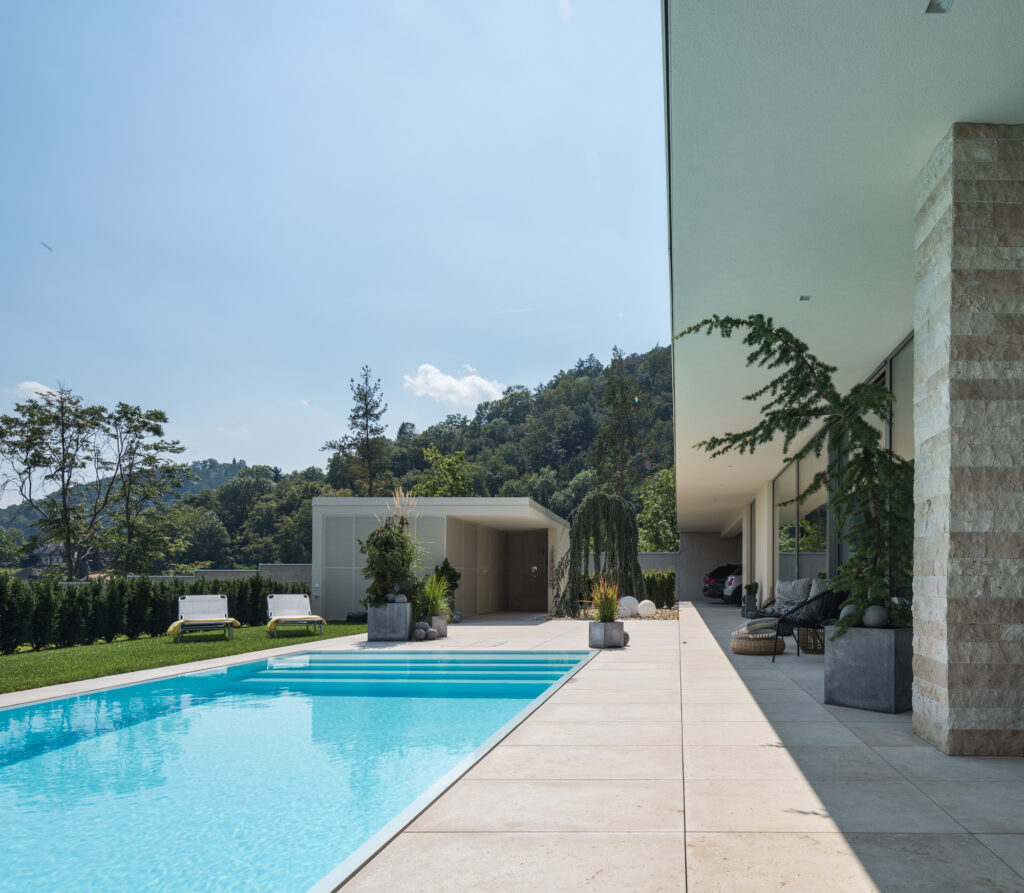
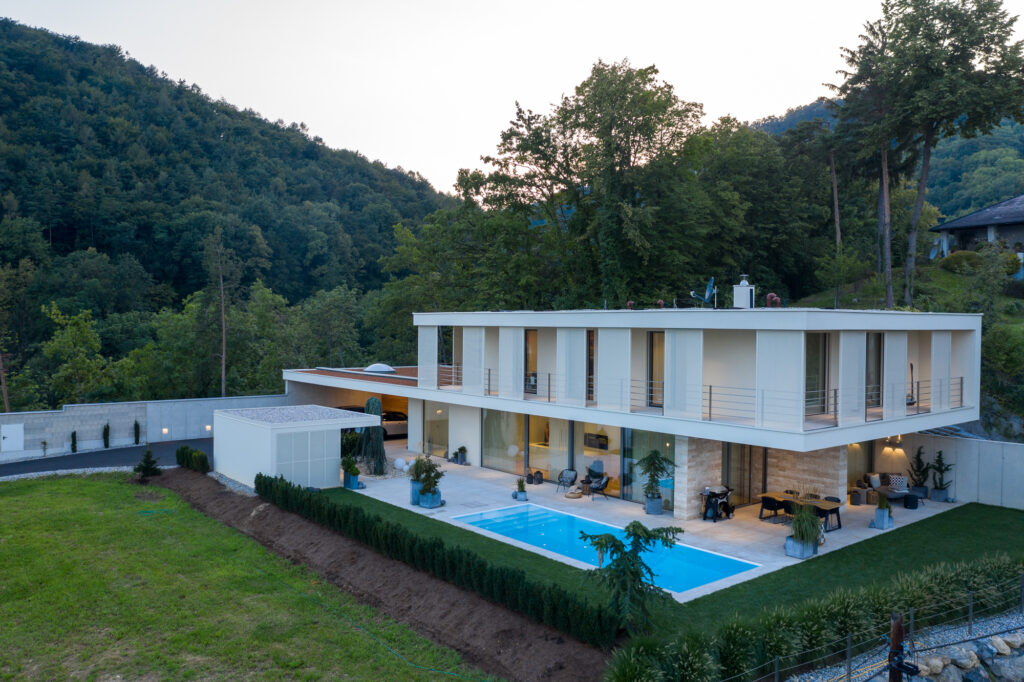
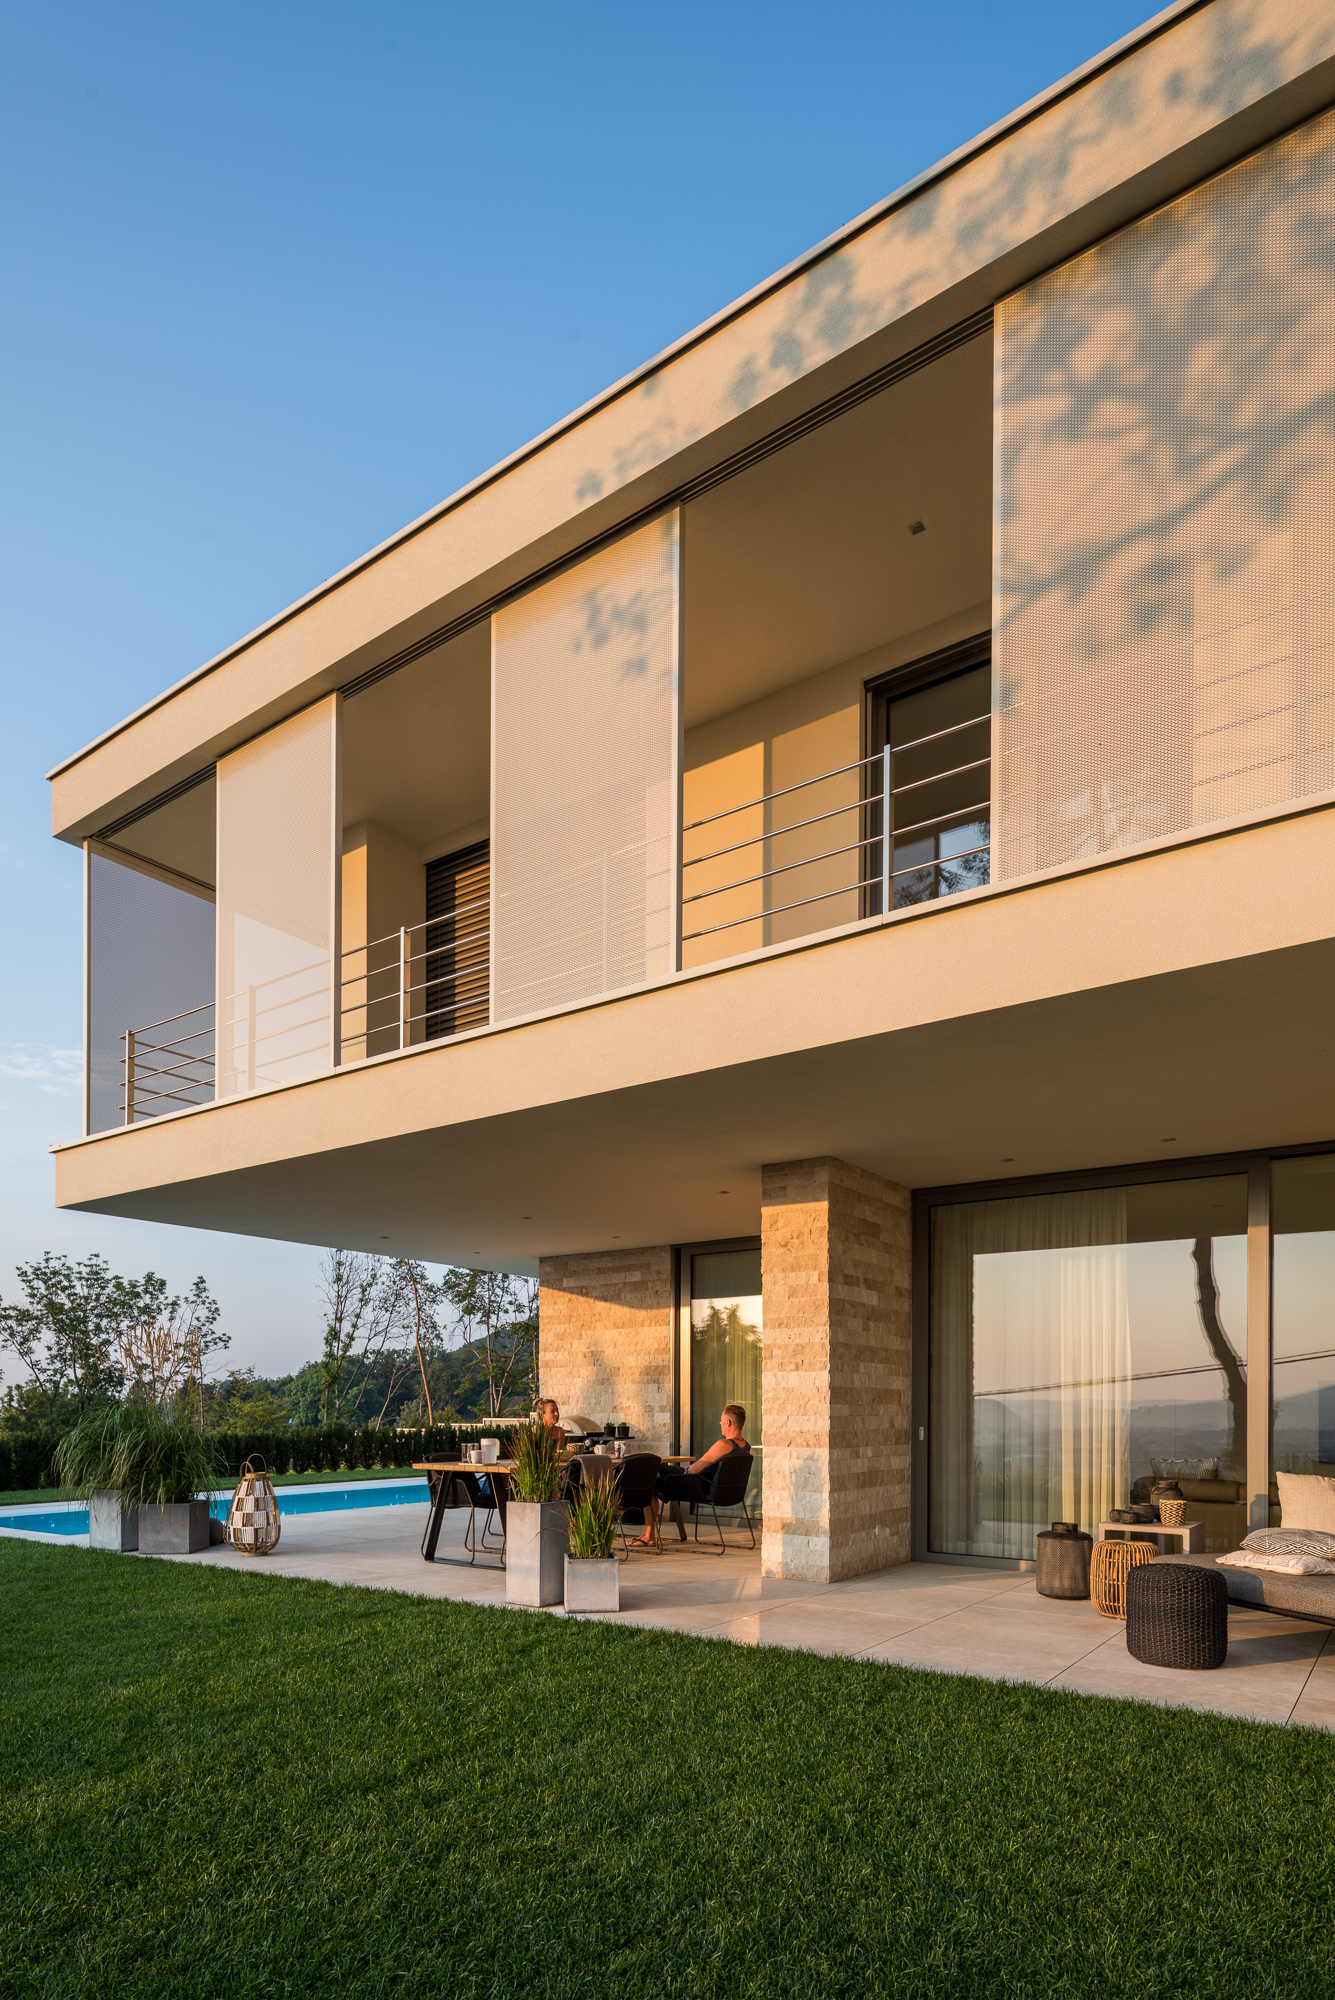
So, for those of you who have been waiting for the “next step” after the first article in my post-processing series, this may seem like a step backward, but I think you’ll find some helpful intel here. In this article, I will show you one of my favorite residential projects from last year — a house is in Graz, Austria.
This project was a 7-hour drive away from my home in Ajak, Hungary. When I’m working in Austria, I always try to aim for a two-day shoot, especially on those long summer days. I usually arrive around 1 p.m., shoot until dusk, start again before sunrise, and around 10 o’clock, I’m done. Then I’m available for another project, or I just drive back and arrive home early enough to pick up my little daughter at kindergarten.
So I spent two days — roughly 12 hours — at this particular house, which was broken up in two parts. That allowed me to get familiar with the place, look for compositions, and not be in a hurry. The gear I was using on this shoot was my trusty Nikon D810, Nikon 19mm TS, Nikon 24mm TS, Nikon 1.7x extender, as well as my Nikon D750 with Nikon 50mm 1.8G and Sigma 105mm Macro (for closeups), a Camranger, and a DJI Mavic 2 Pro.
Preparing for the Shoot and My Photographic Process
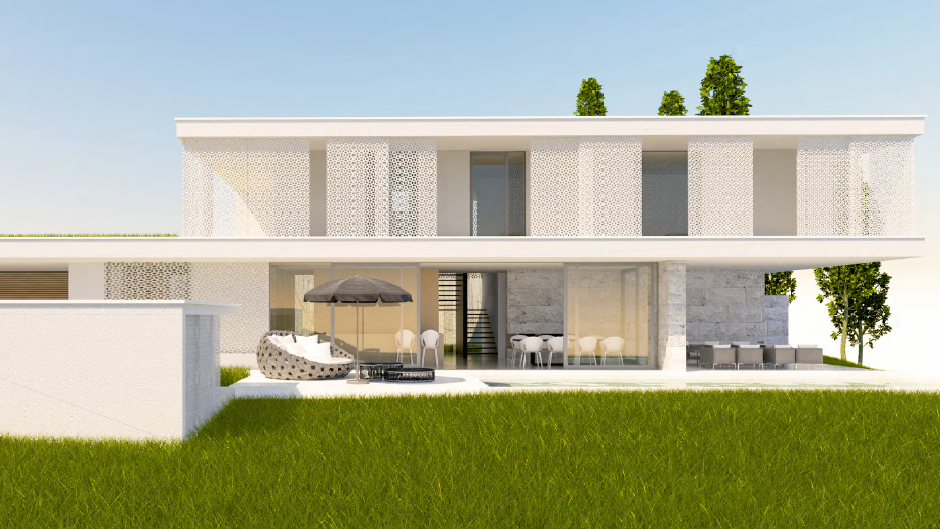
Let’s talk about logistics. At the beginning of the project, I hadn’t even met with the architect yet, but somehow gained his trust to shoot his work. After the building was complete, the architect visited the house and took a few iPhone photos, which he sent over to me to give me an idea for the scale and perspectives that he gravitates towards. The architect also sent over a document that explained the house’s main features, which gave me insight into the important elements that the architect would want to see highlighted in my images.
Every time I’m on a shoot, I try to ensure that the architect has their required image material but also, that I take photographs that would interest the primary builder and other professional contractors (window, shading, furniture, floor, and tile manufacturing companies) as well. I do this even if they express that they are not interested in cost-sharing on the shoot in the first place, just because it usually pays off later to have the required perspectives and set of images or to have that one detail in addition to the main set of photographs I make. If the additional contractors do end up being interested in purchasing those photographs, all I have to do is develop and export the appropriate pictures and issue the invoice. This may sound a little weird, but if you want a really well-run business then you need to think ahead and make sure you aren’t missing out on easy opportunities to make more money and gain more clients.
On Location – This is How I Work
Note 1: I want to highlight that there isn't an end-all-be-all perfect way to photograph a project. There are many different approaches that succesfull photographers are using according to their style.
Note 2: If you are viewing this on mobile, it is maybe better to propone reading this until you're at your computer due to the sheer amount of photos and co-insiding captions :)
Let’s jump on it. When I arrive on location, I like to walk through the house for the first time. By the time I’m finished, I’ve started to come up with ideas and have a good handle on which rooms/images will be light-dependent and in what order. For example, when I arrived, the sun was already beyond the point where it could directly shine into the rooms, so this ranked them behind the exterior shots, where I had around an hour left before the sun turned away from the main facade.
When I started writing this article, I thought this would be about post-processing, but before we get into the nitty-gritty of Lightroom and Photoshop, I have to share my thought process from the time I arrived until I packed my bag. I found my first good composition pretty soon after arriving, which ended not as I expected.

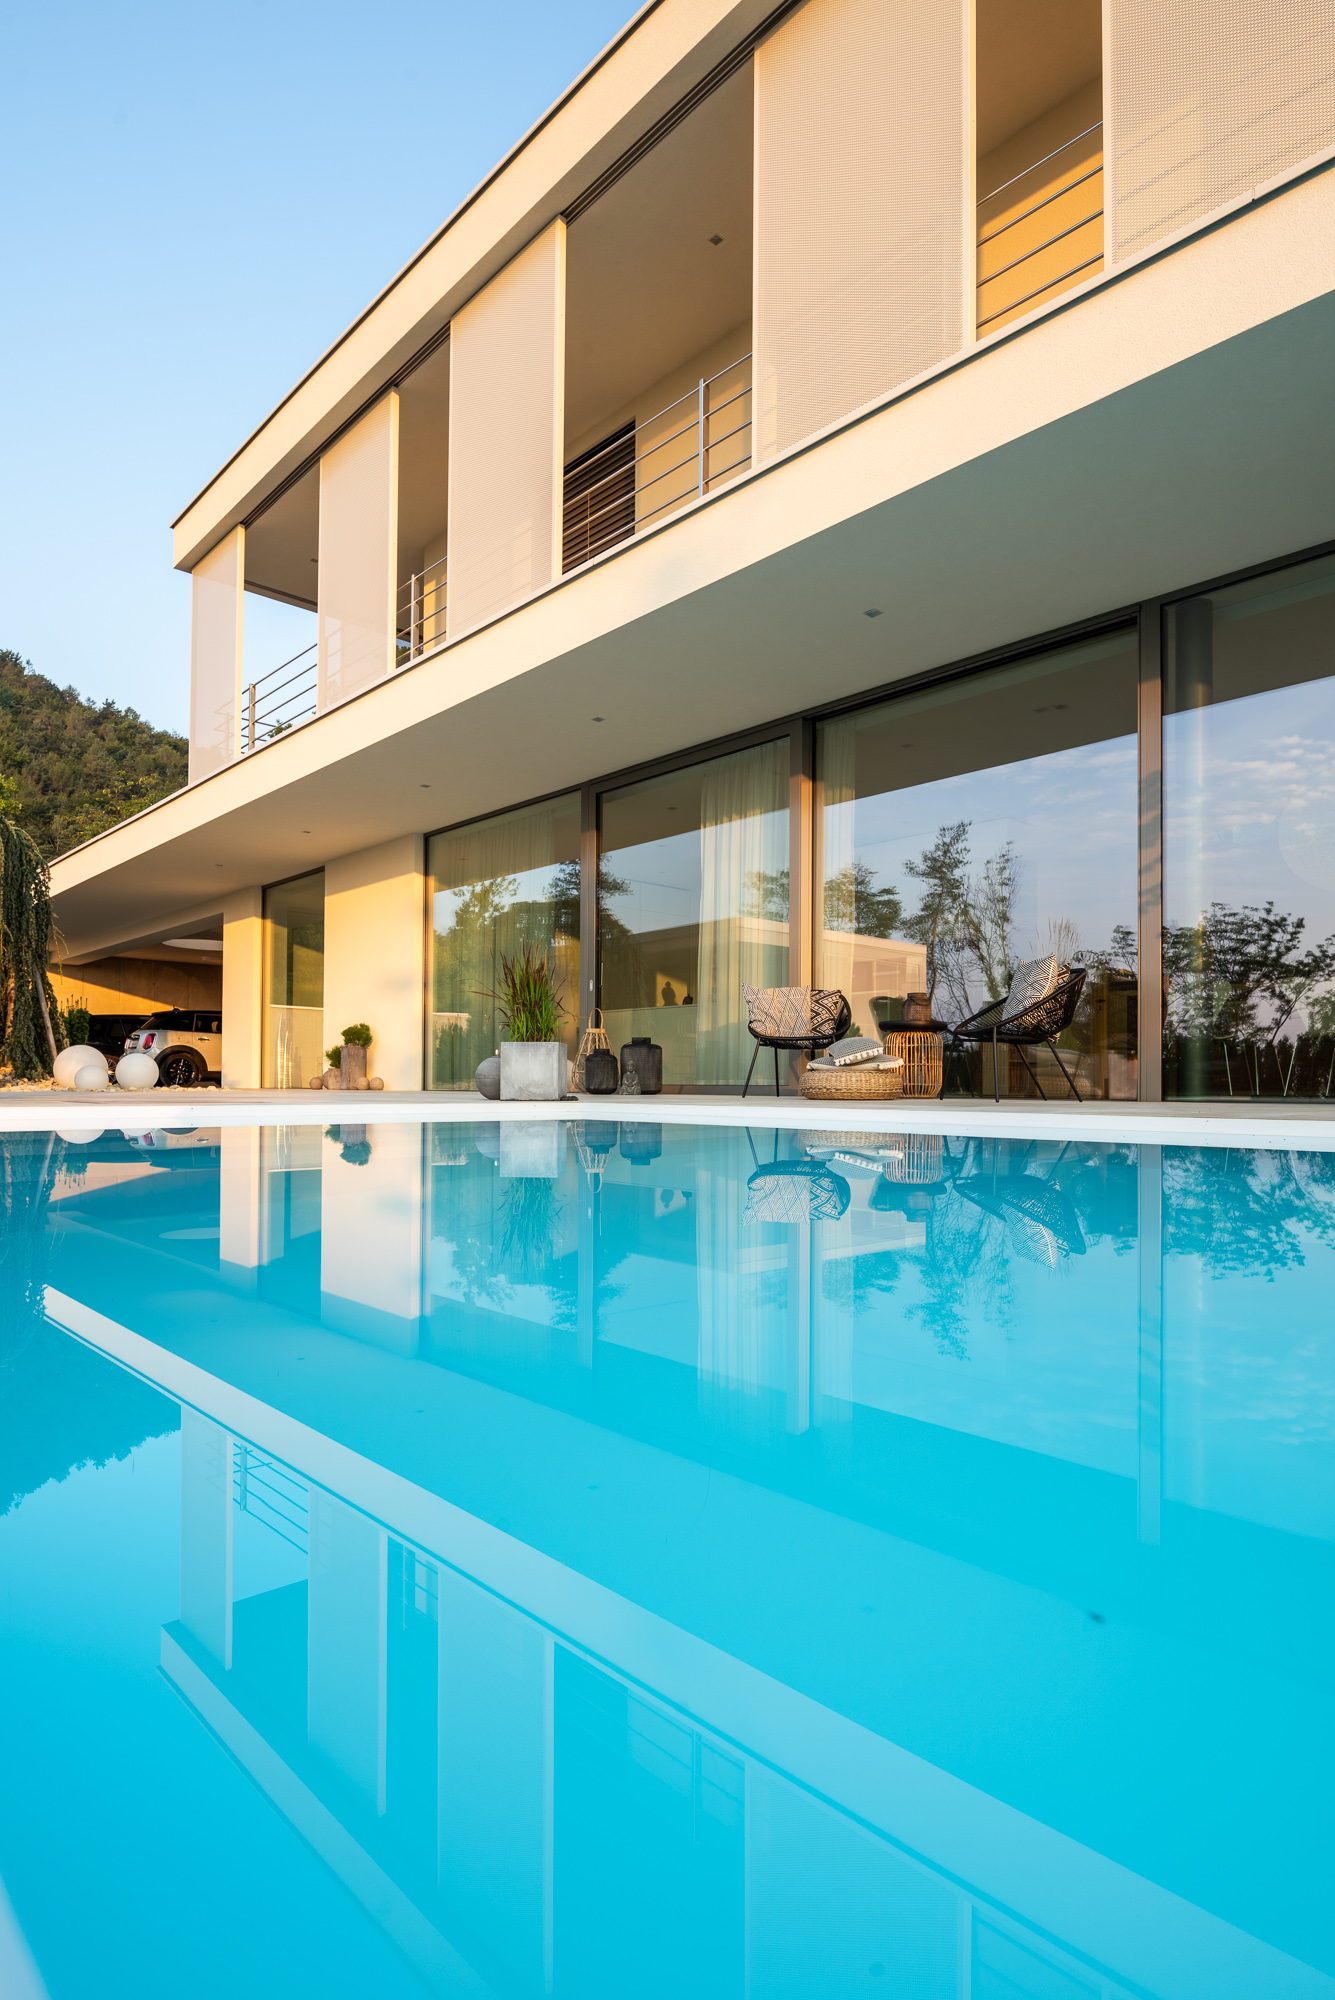
I like this one — it could be great for the pool company, but the light is not the best on the house. 
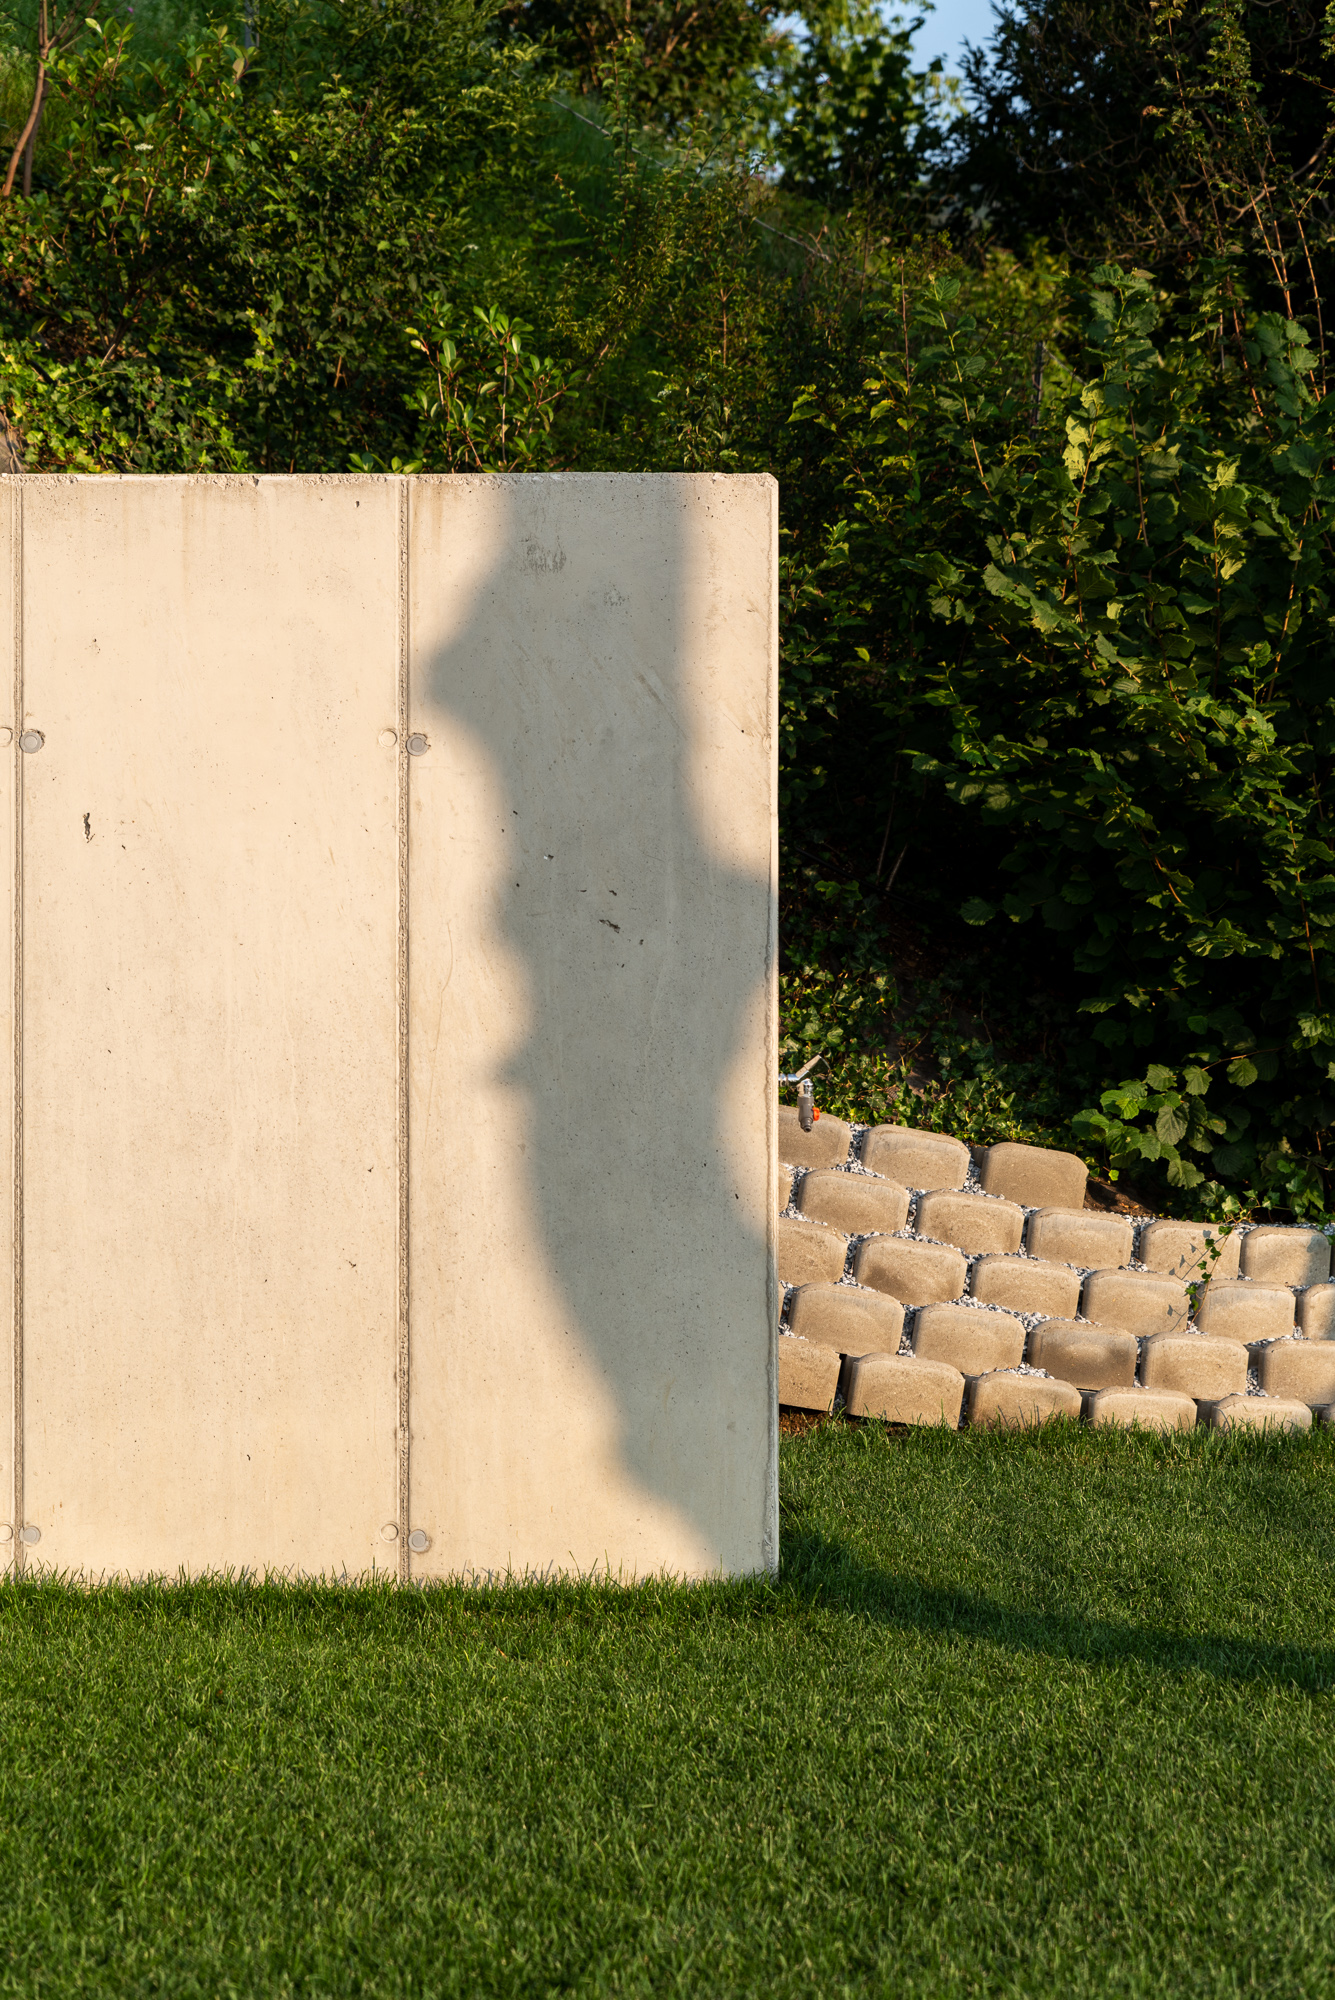
Here I saw some opportunity to create my first proper architectural photograph of the day. I had to wait around 20 minutes for the shadow to move. I grabbed my other camera with the 24-70 lens for some detail shots while I waited. 
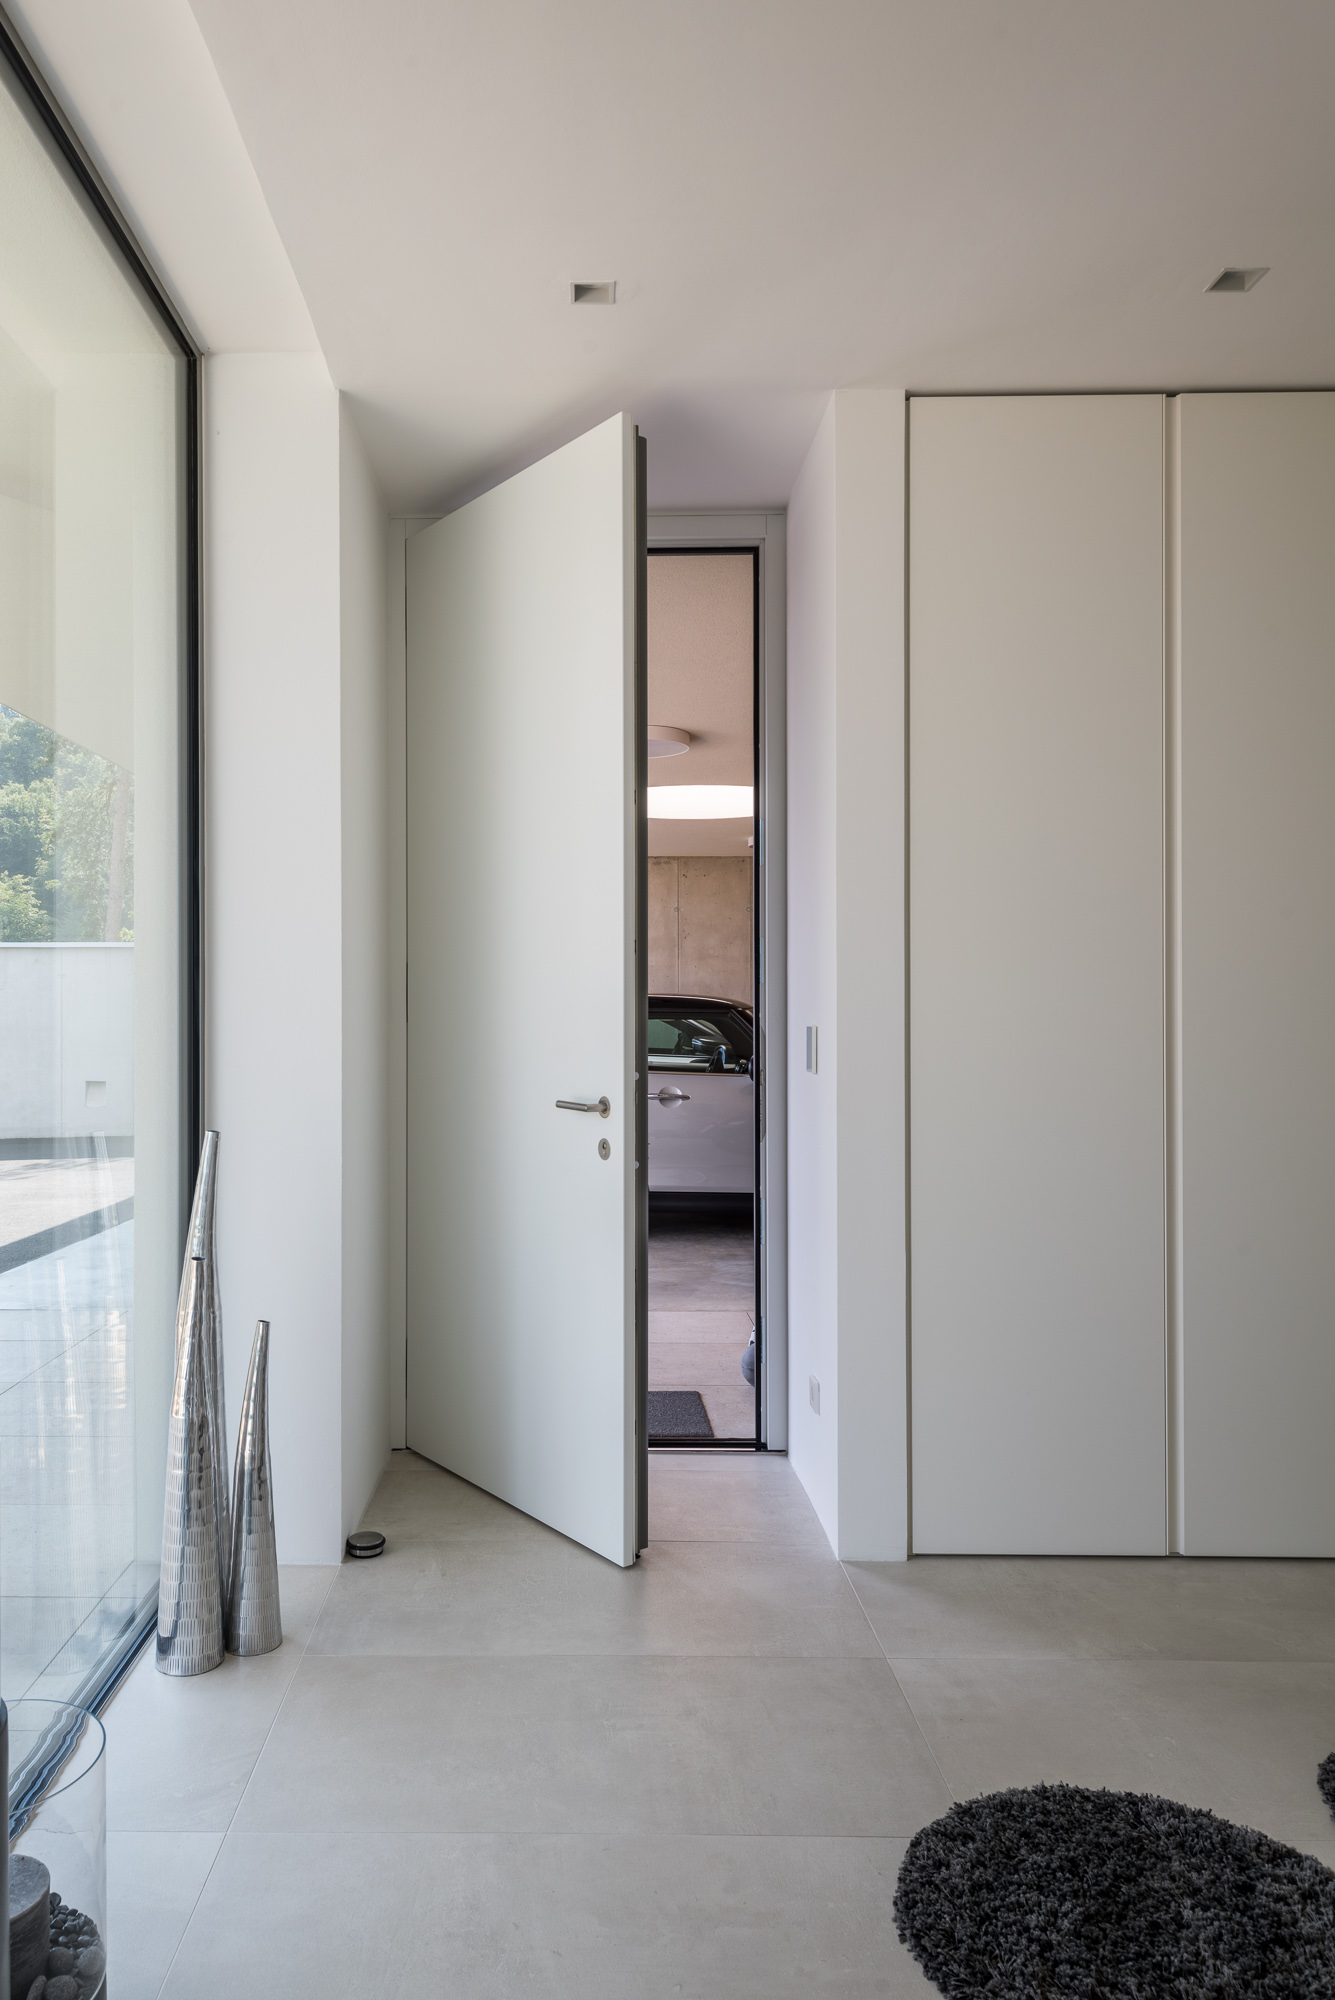
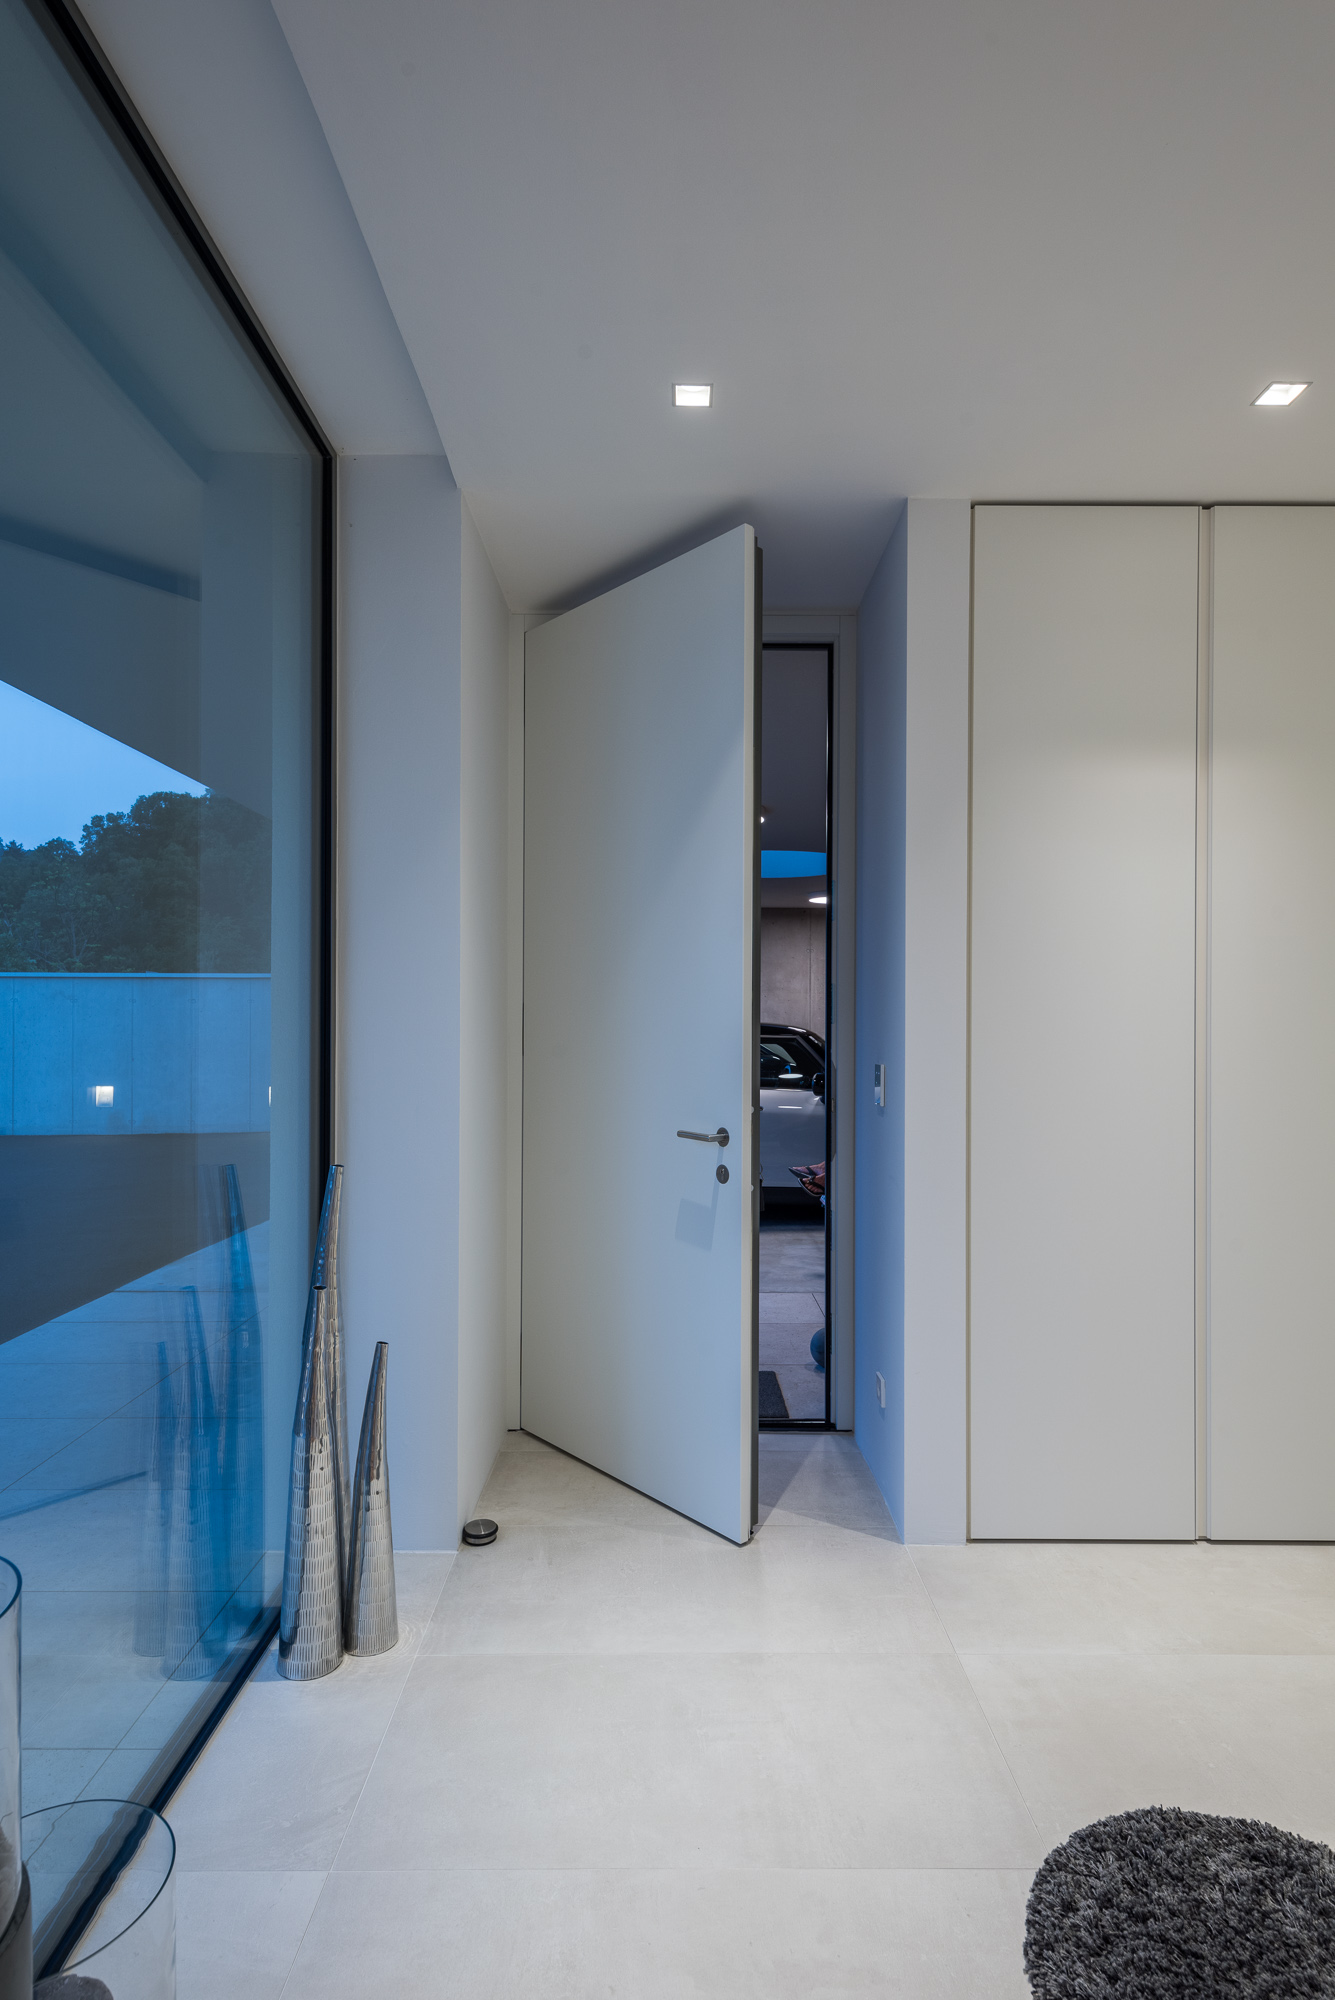
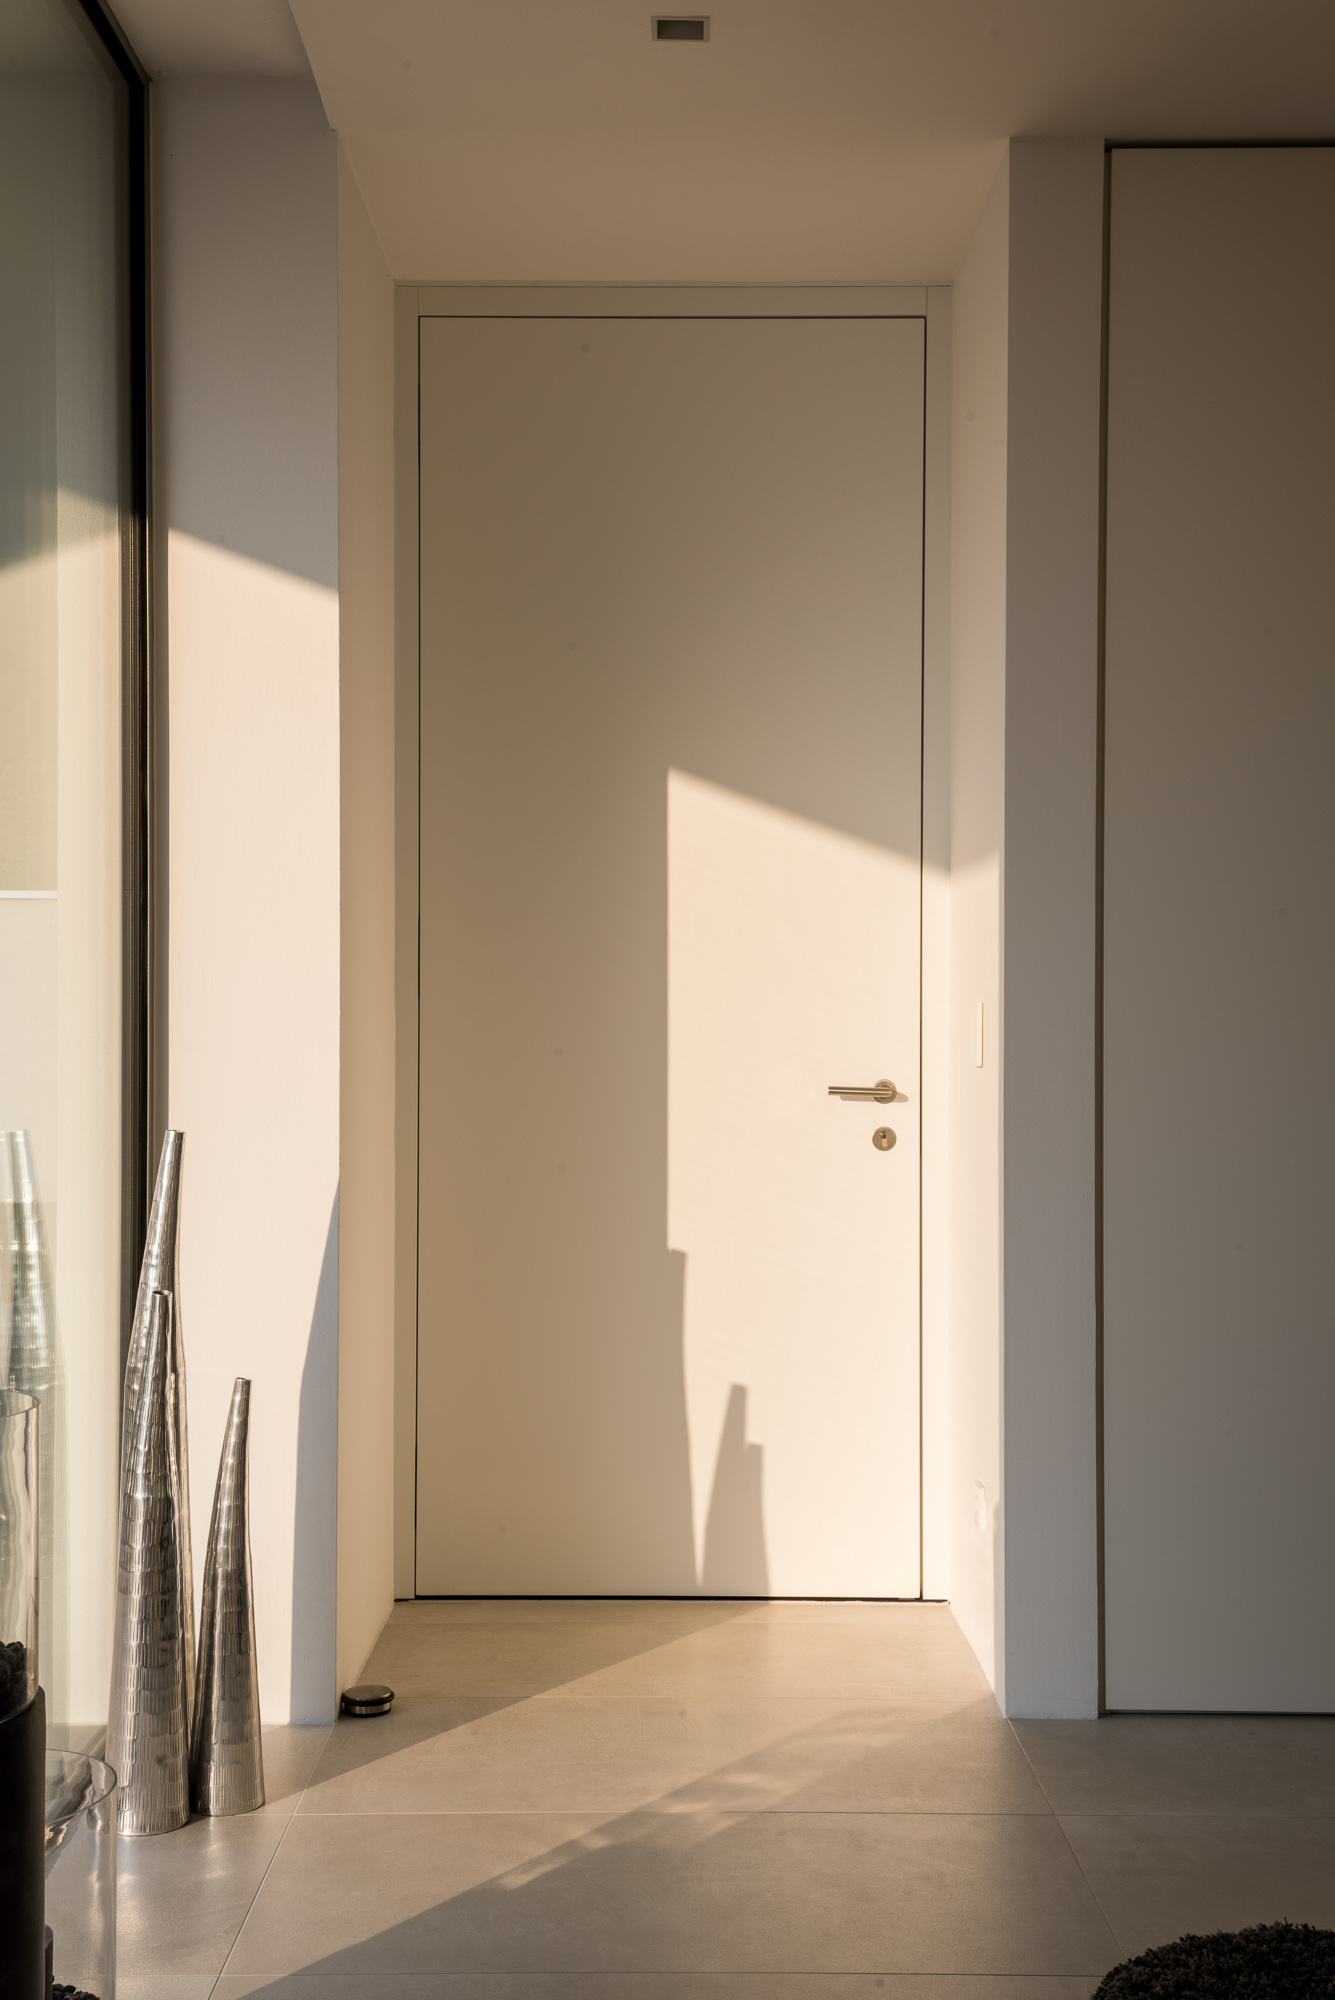
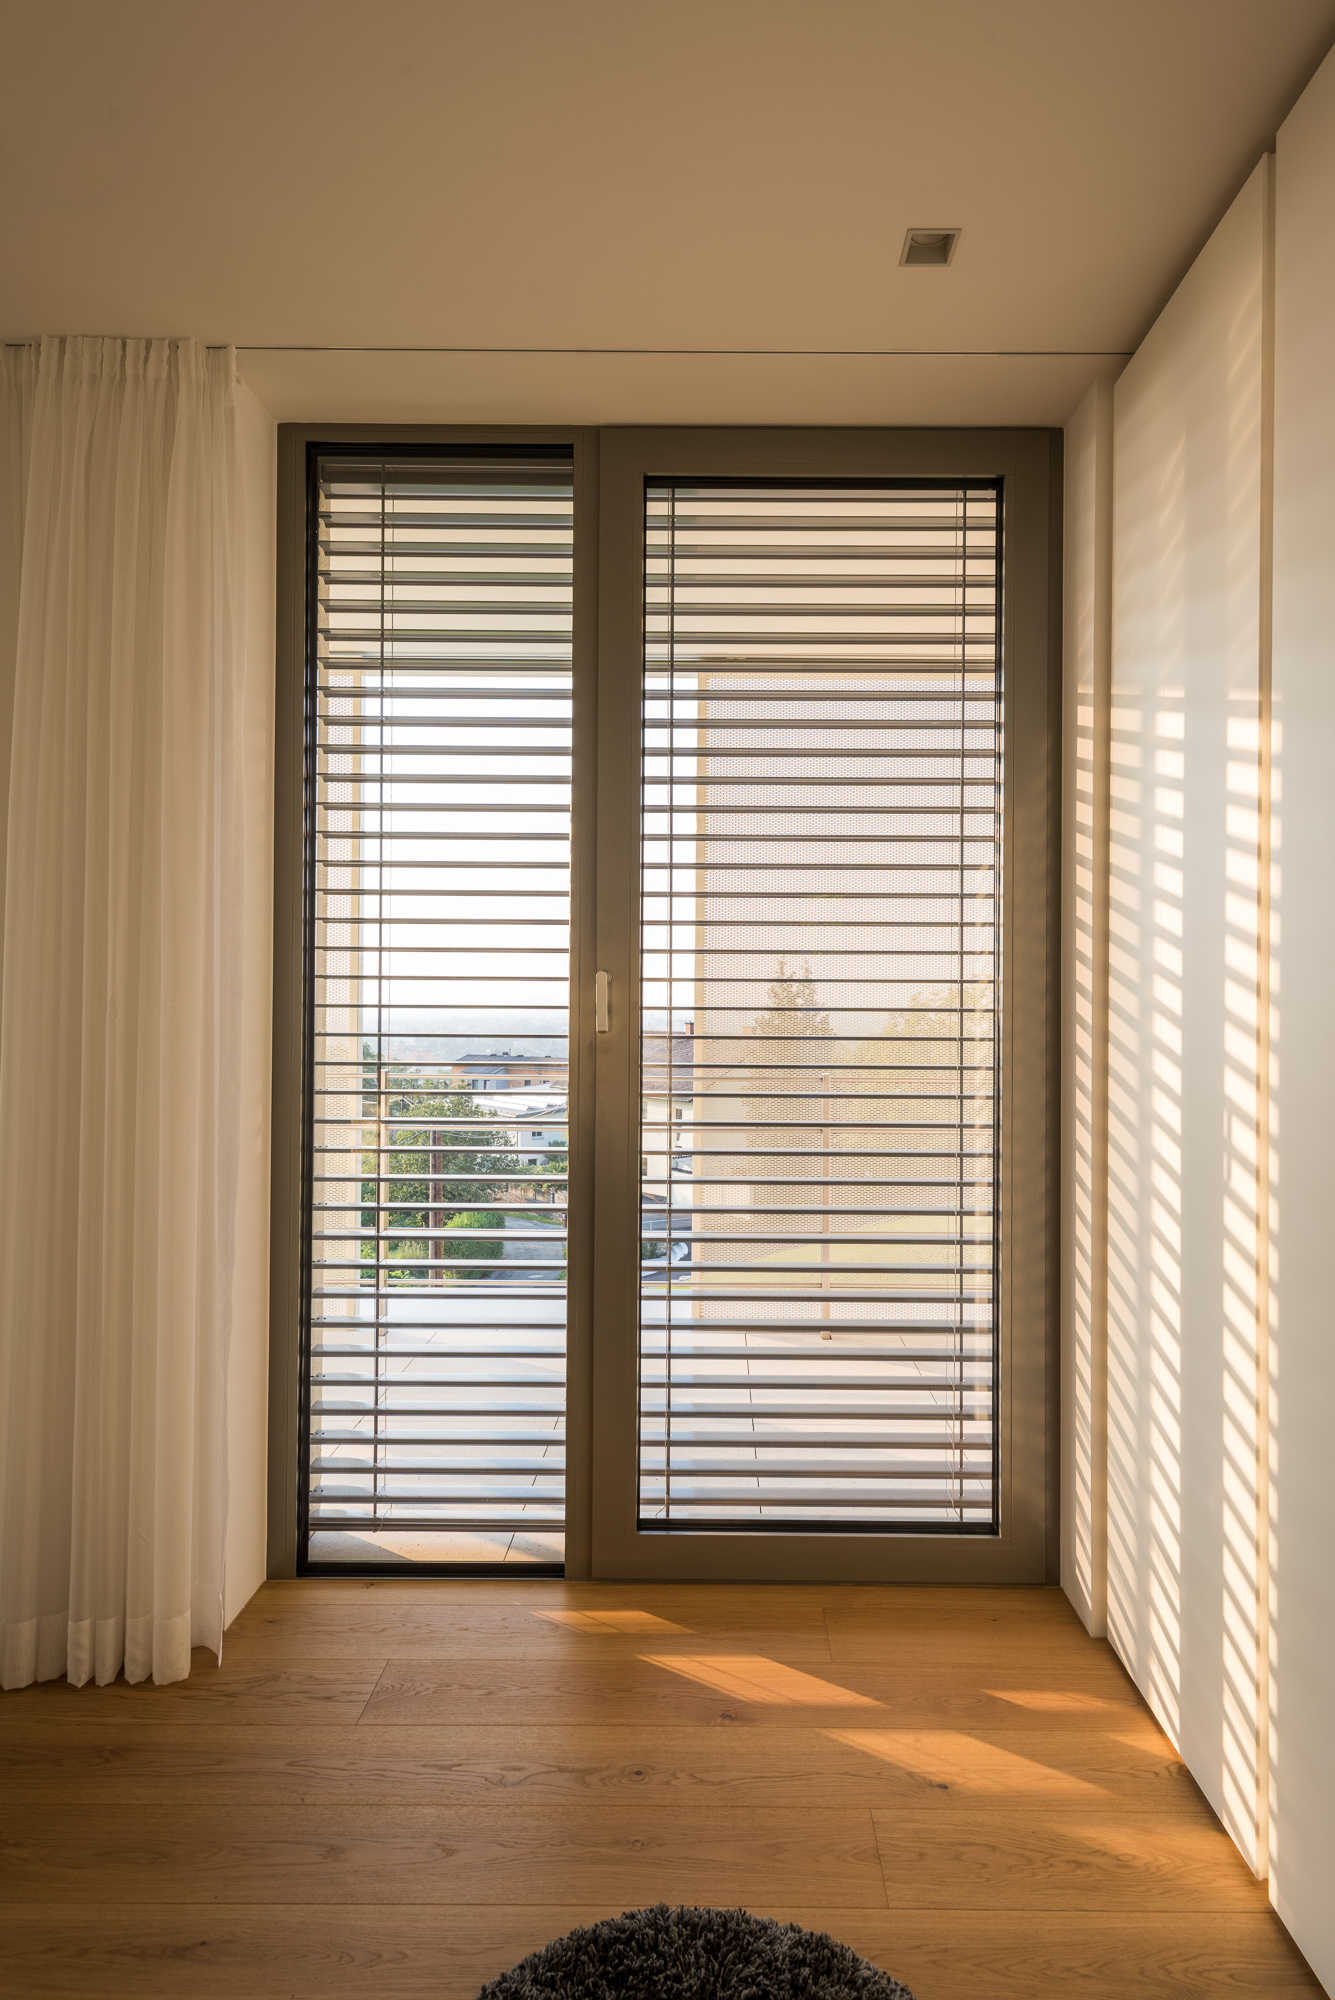
That little white metal cover on the top was the reason why my idea with the shadow didn’t play out how it was supposed to. The company that makes these doors is my old customer, so there was no question in my mind that detail photos of the doors and windows would also need to be made. Just a random detail. 
Almost there! Something I didn’t foresee was that the lines I wanted to meet can’t line up perfectly. The shadow was aligned with the ceiling line 30 seconds later, but it was off from the ground line. An epic failure for my very first planed image.


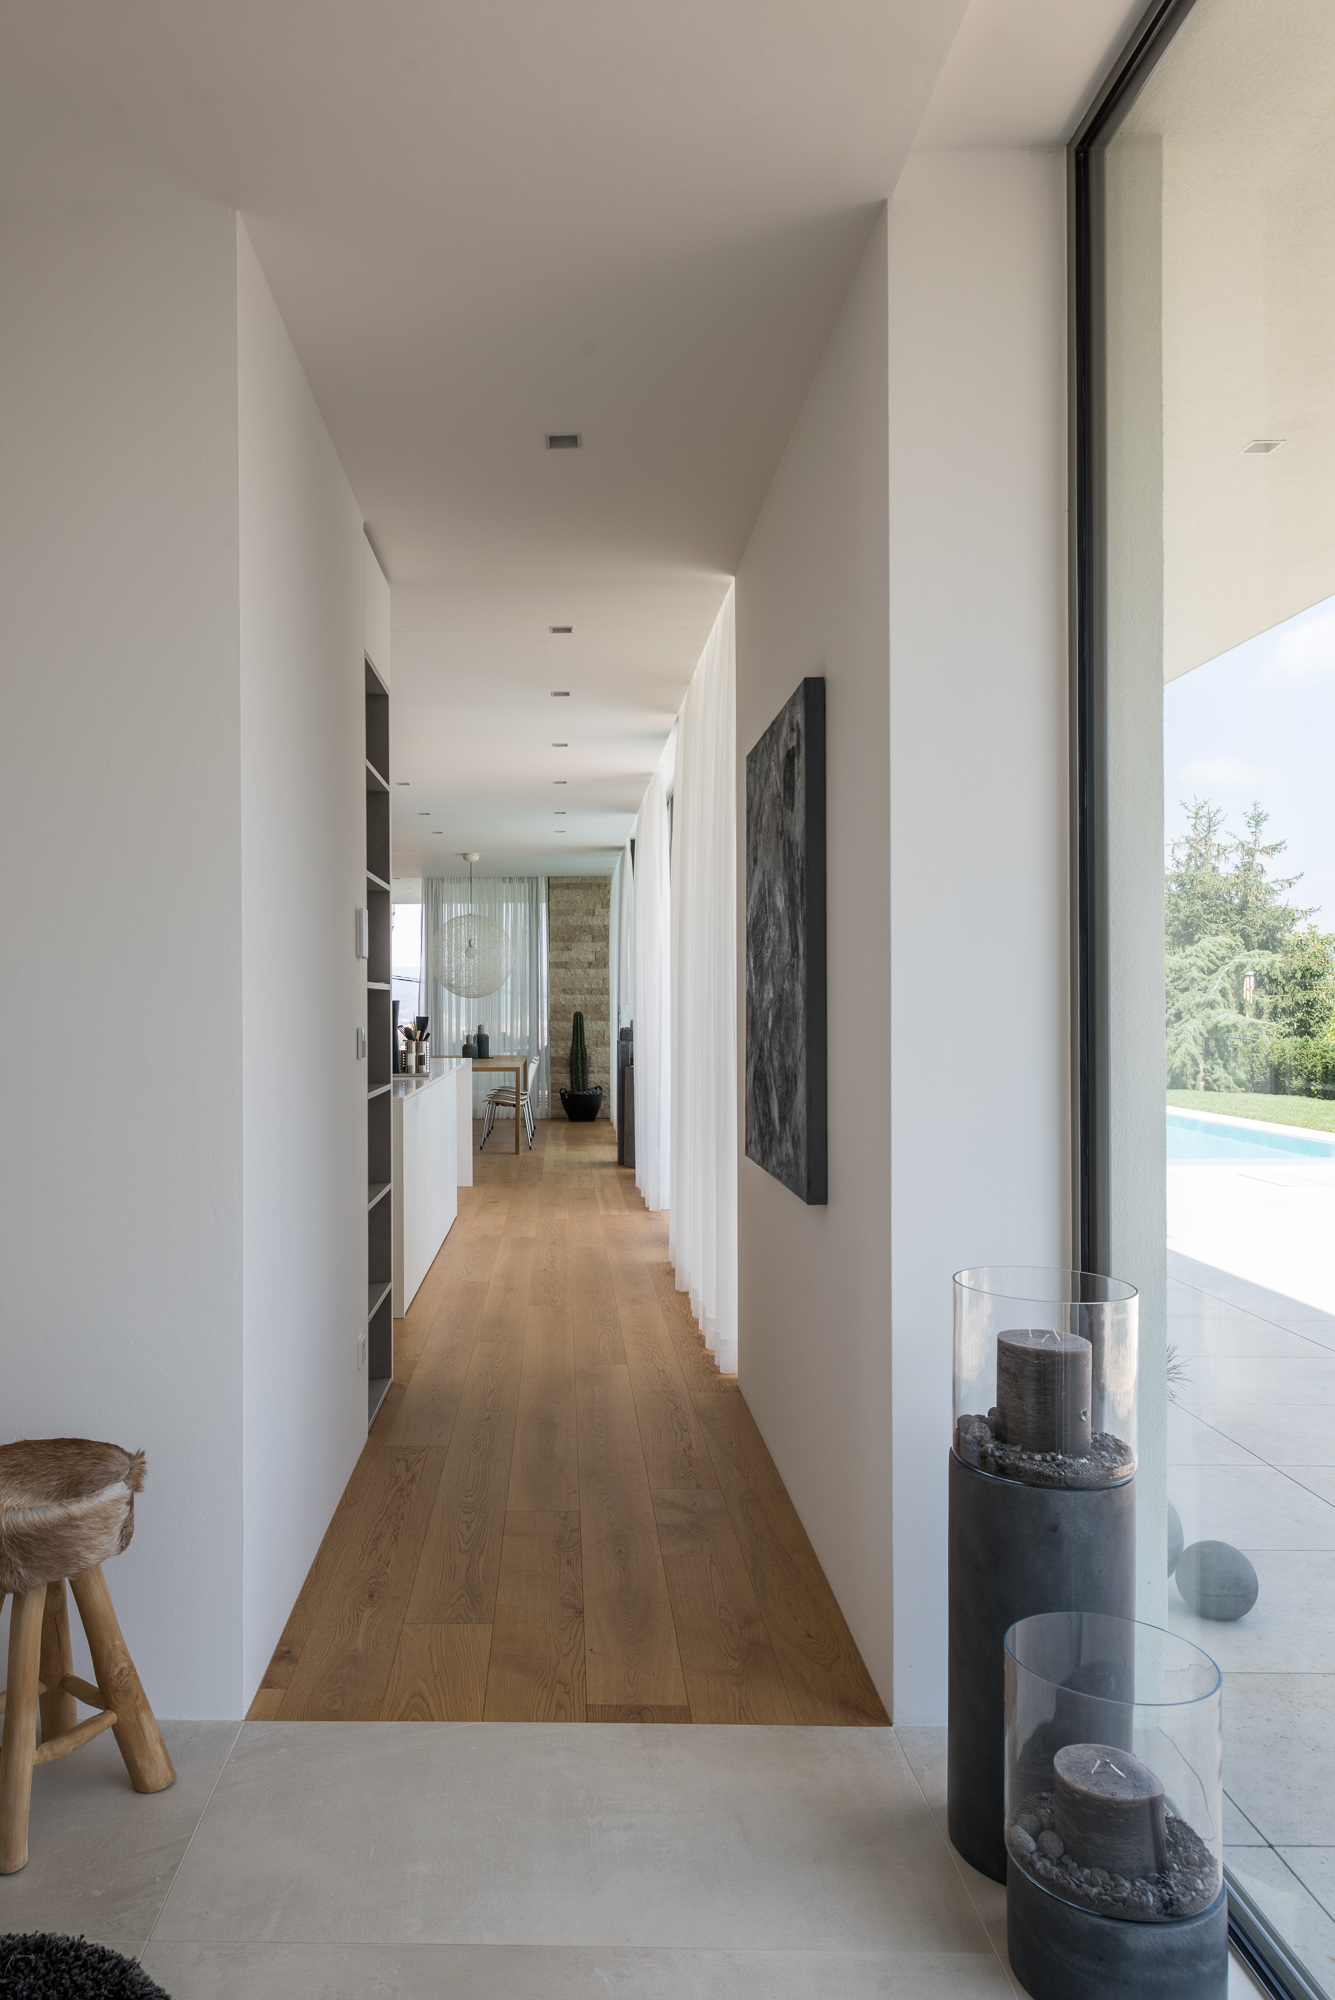
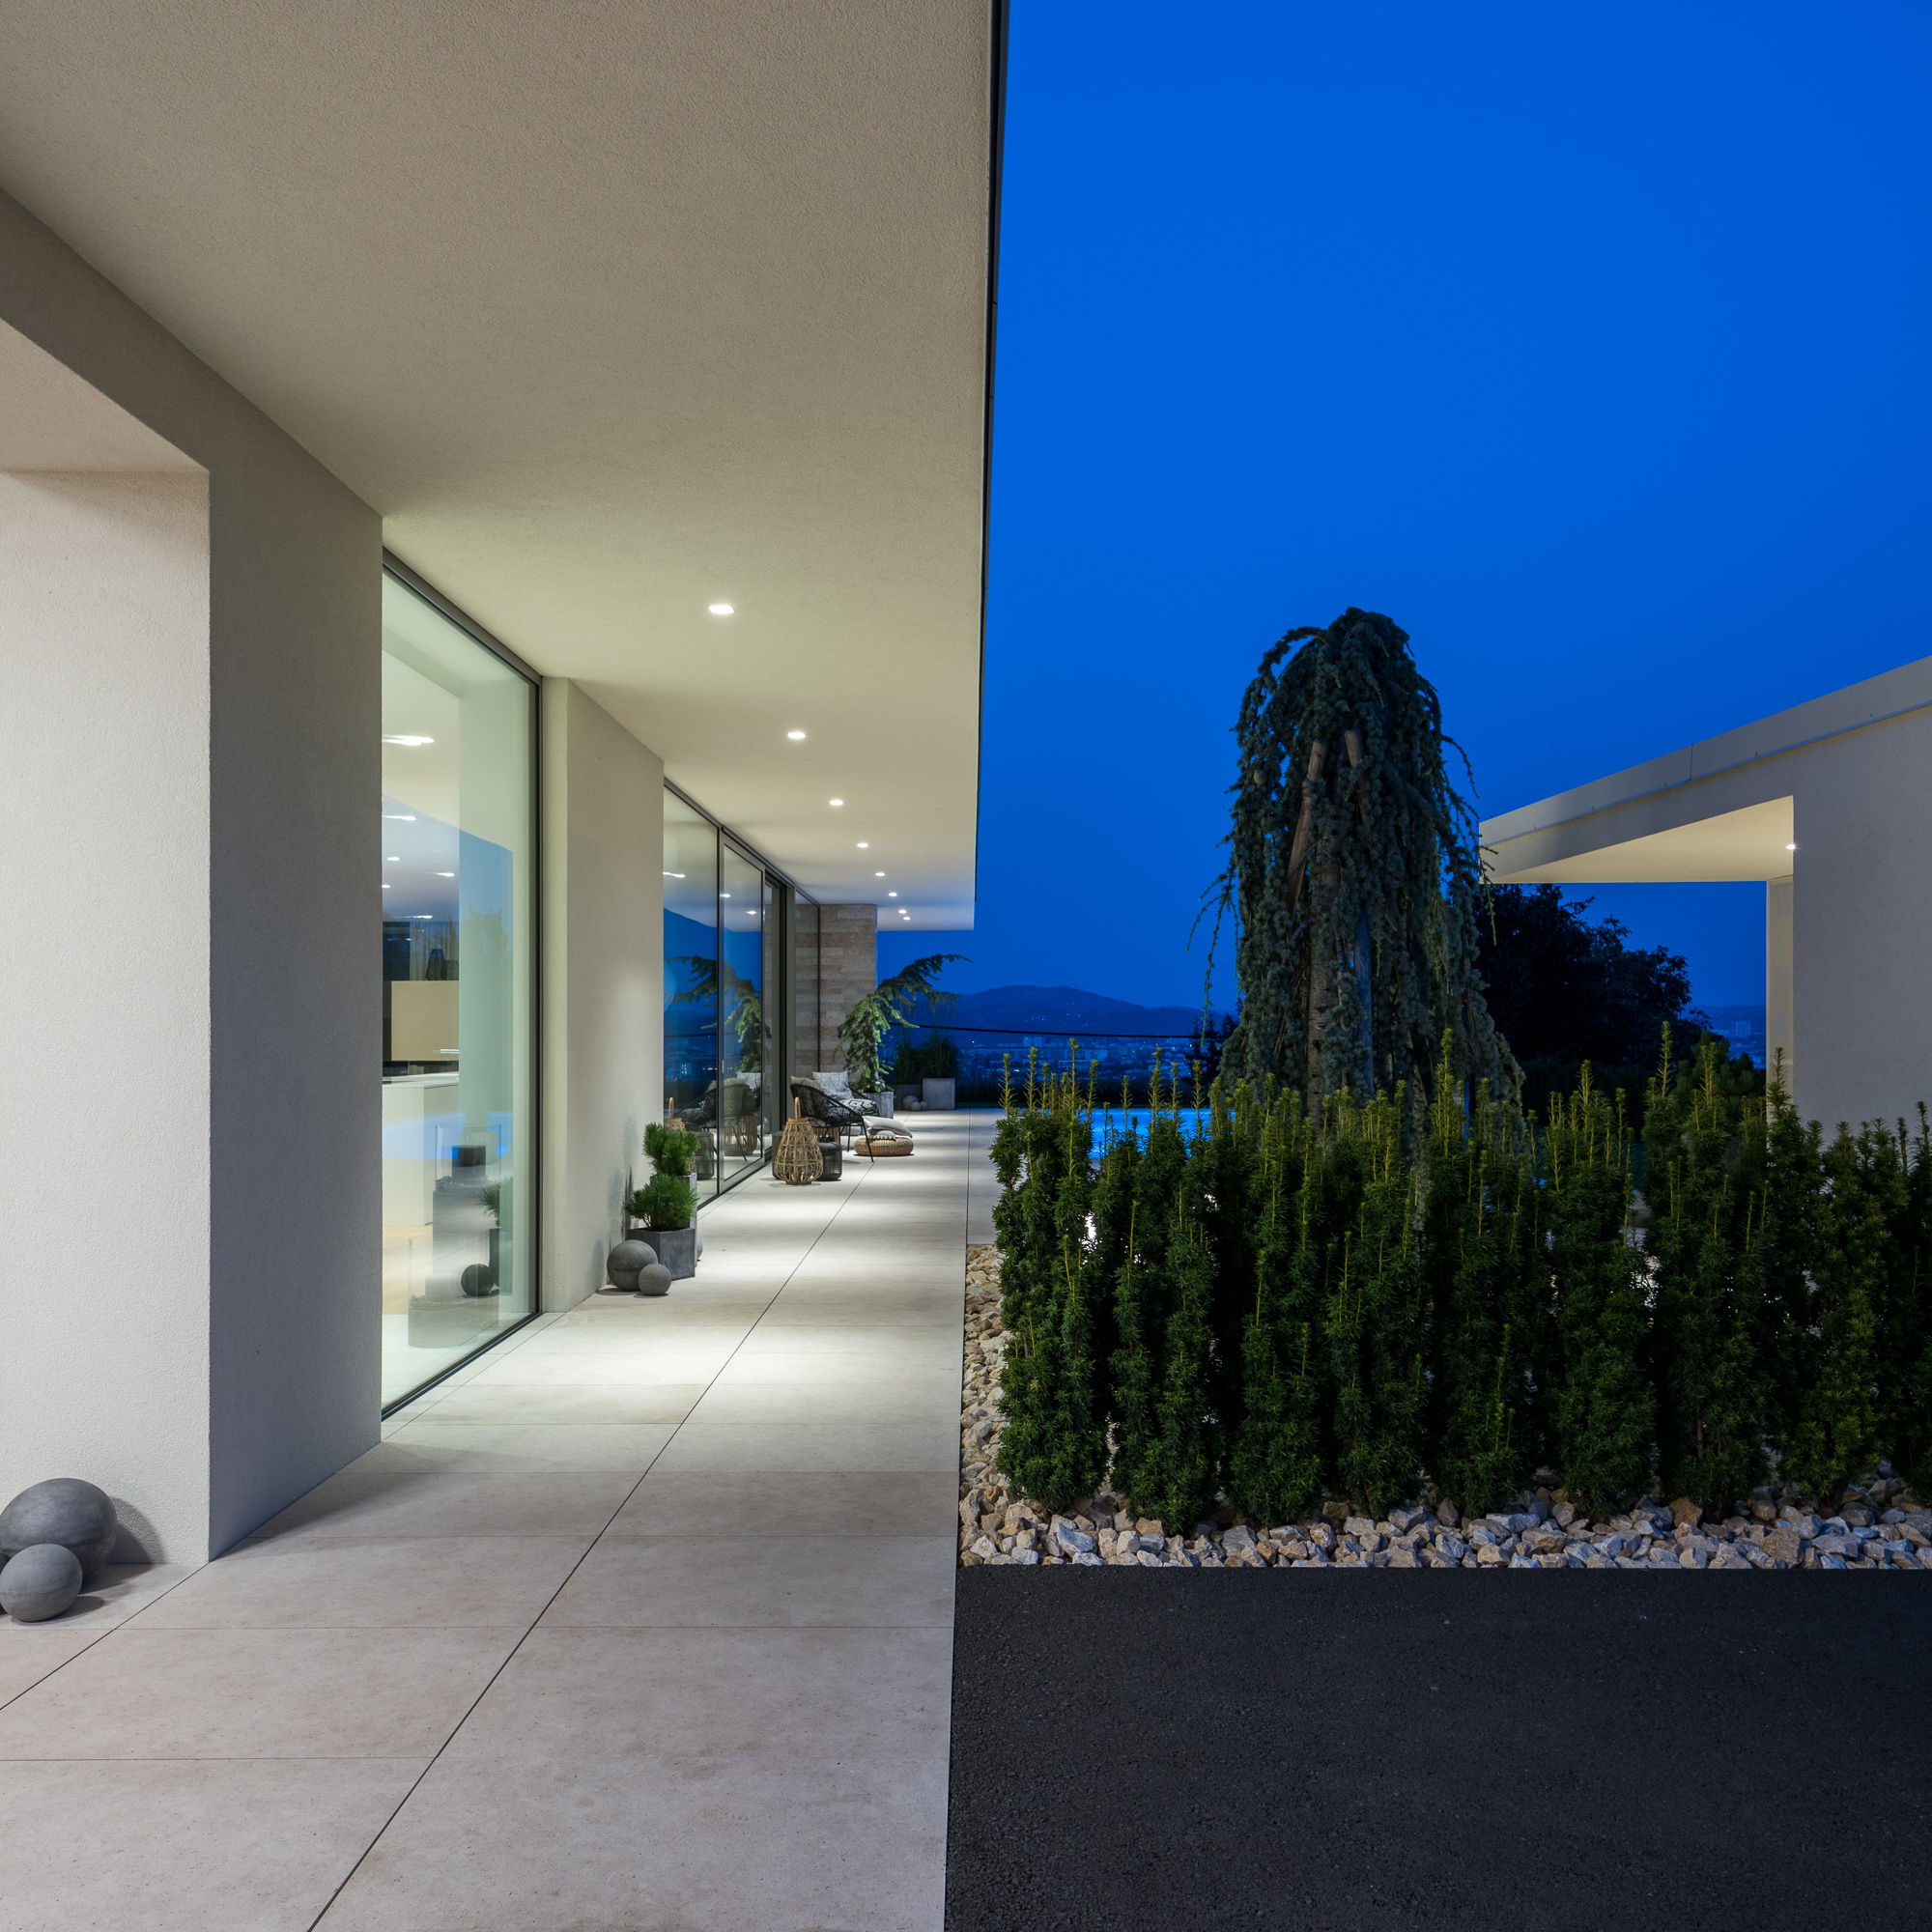
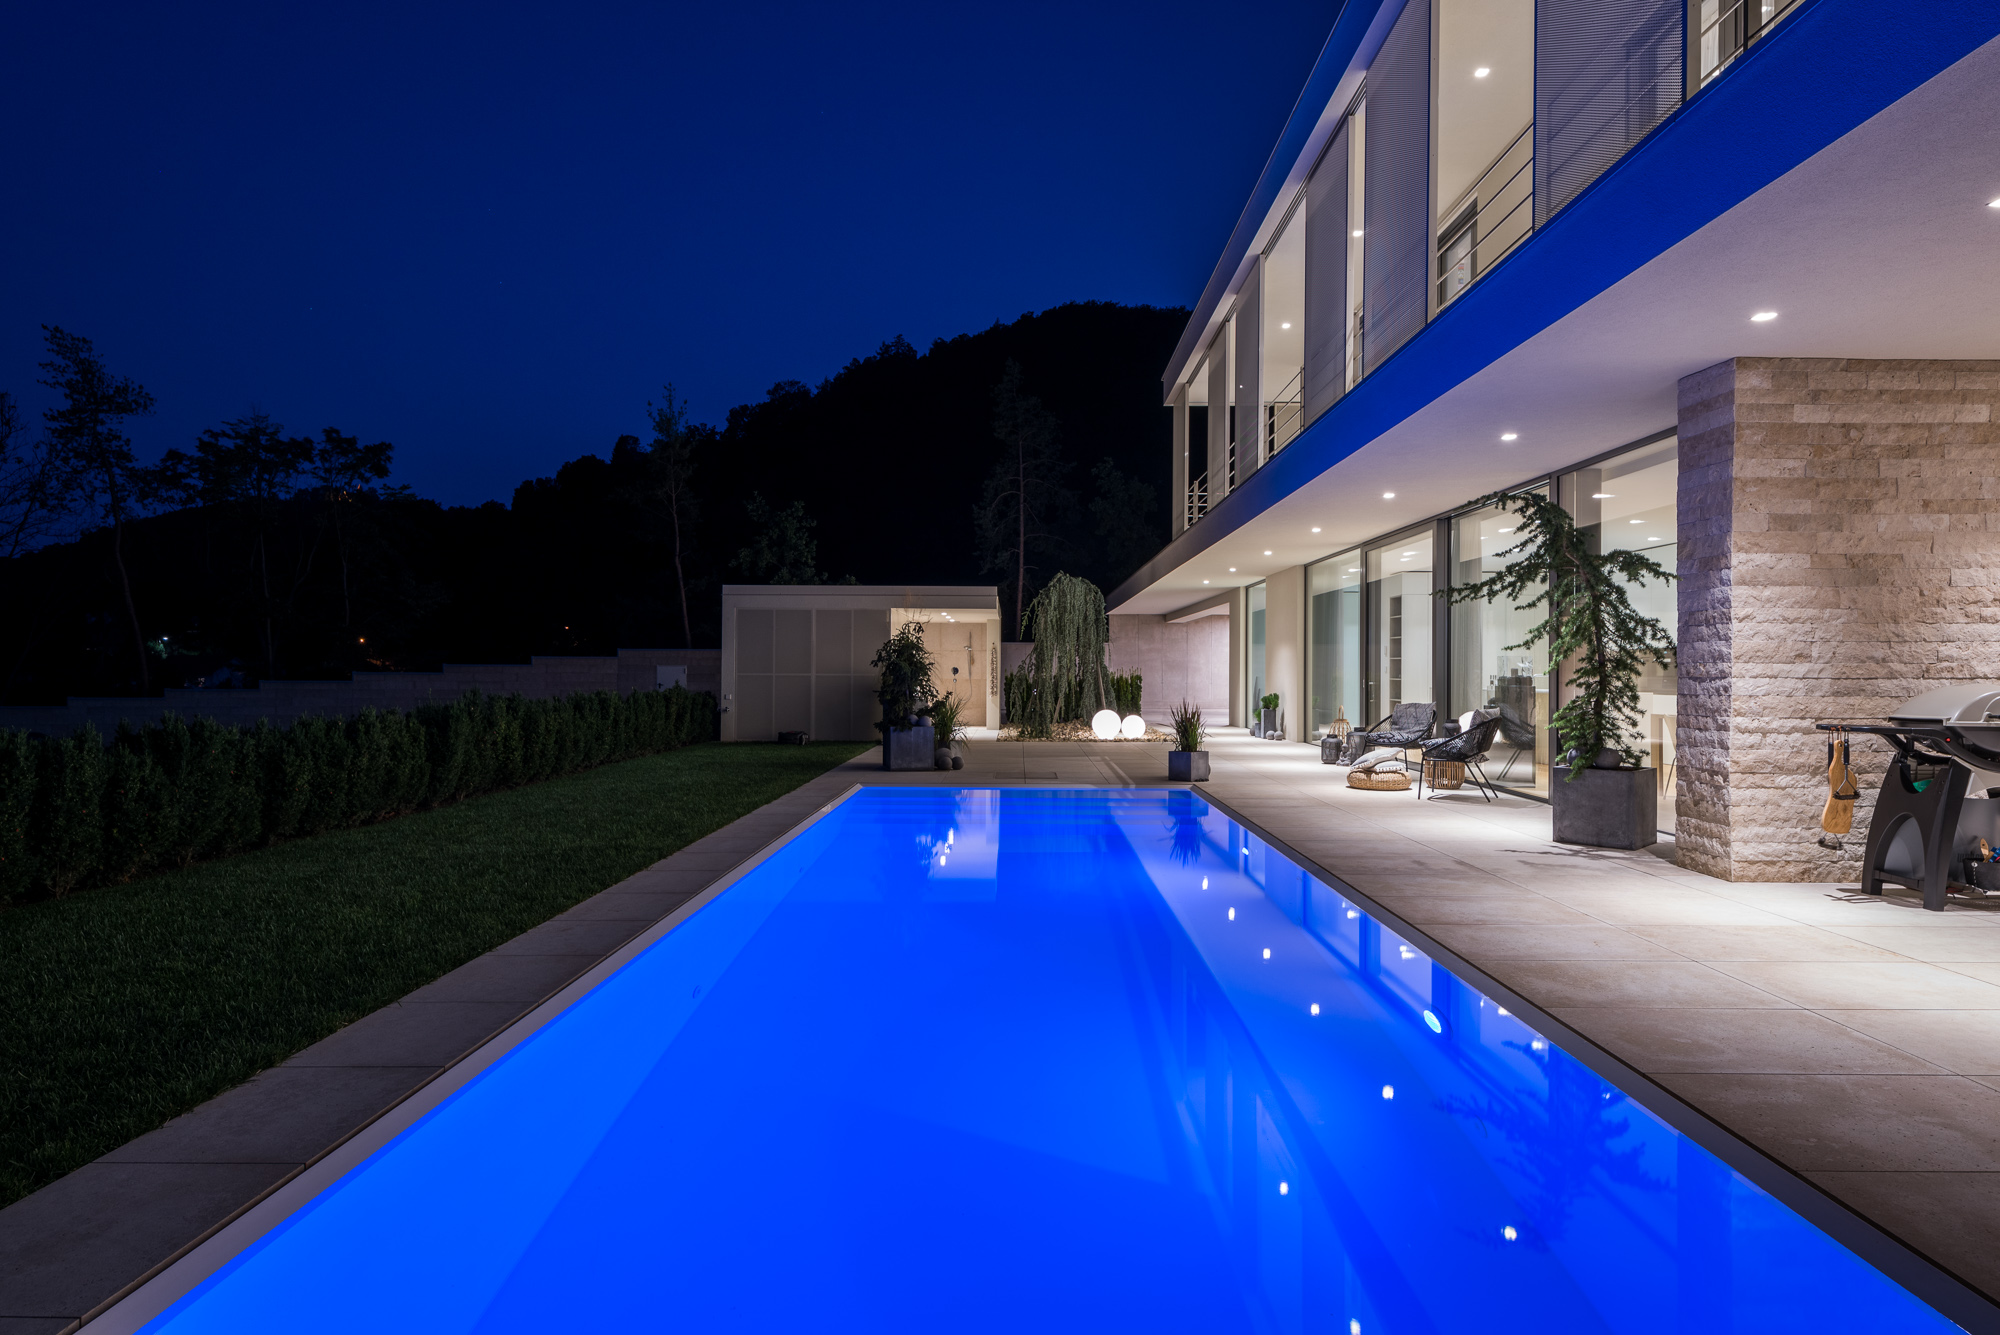
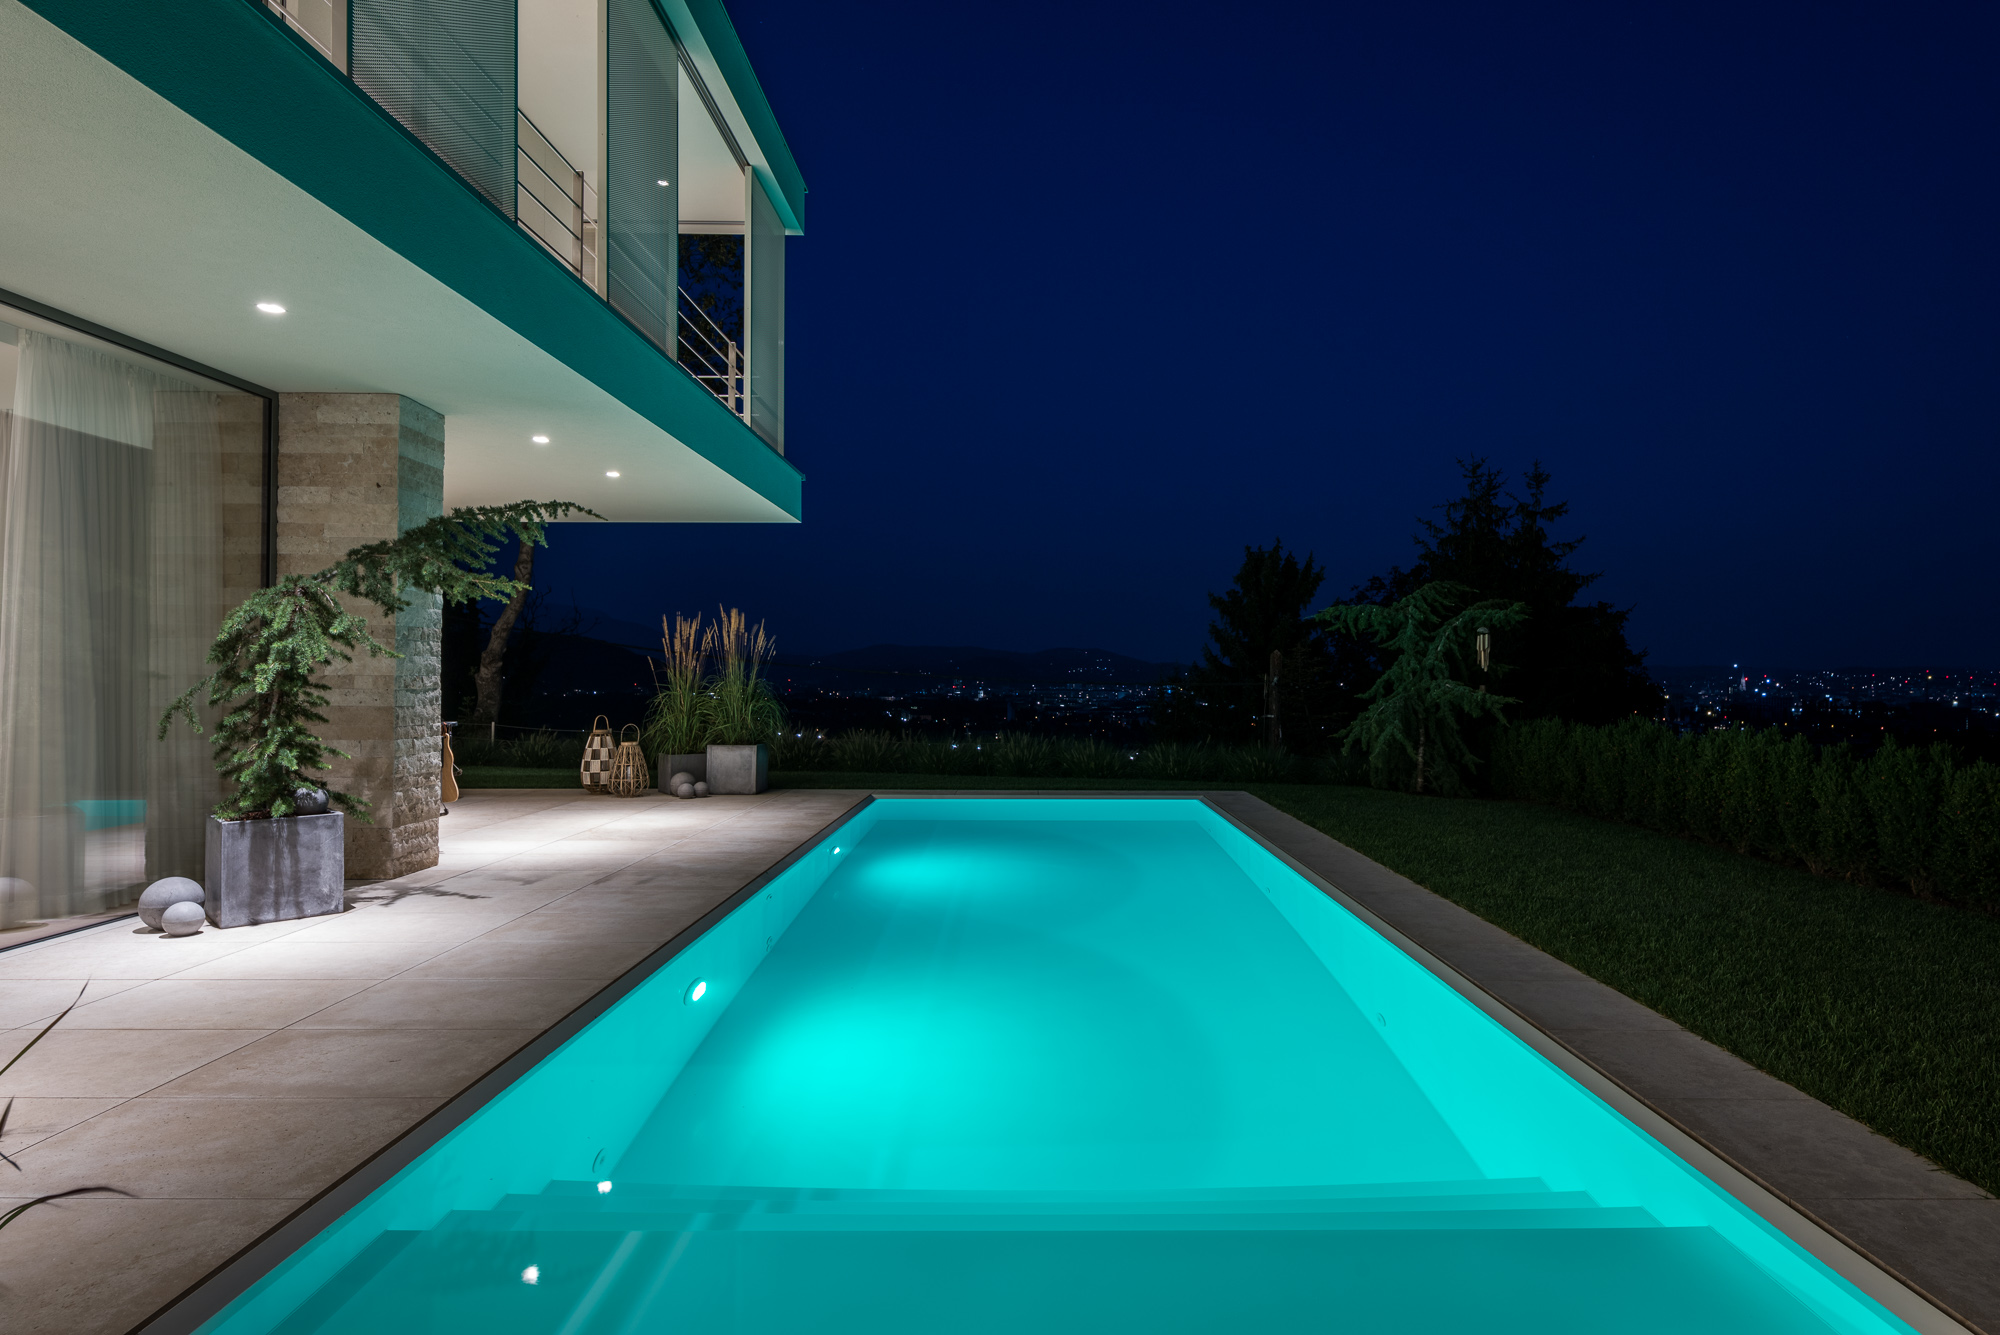
During my first round outside, I looked for interesting compositions, regardless of the current light situation. In this way, I got familiar with the design and the main views of the house, then around sunset, when I had a narrow window to photograph, I knew exactly where to put my camera. With this practice, I was able to create sets of images to show how the house looks at different times of the day. Here is an example:


On to Photographing the Interior!
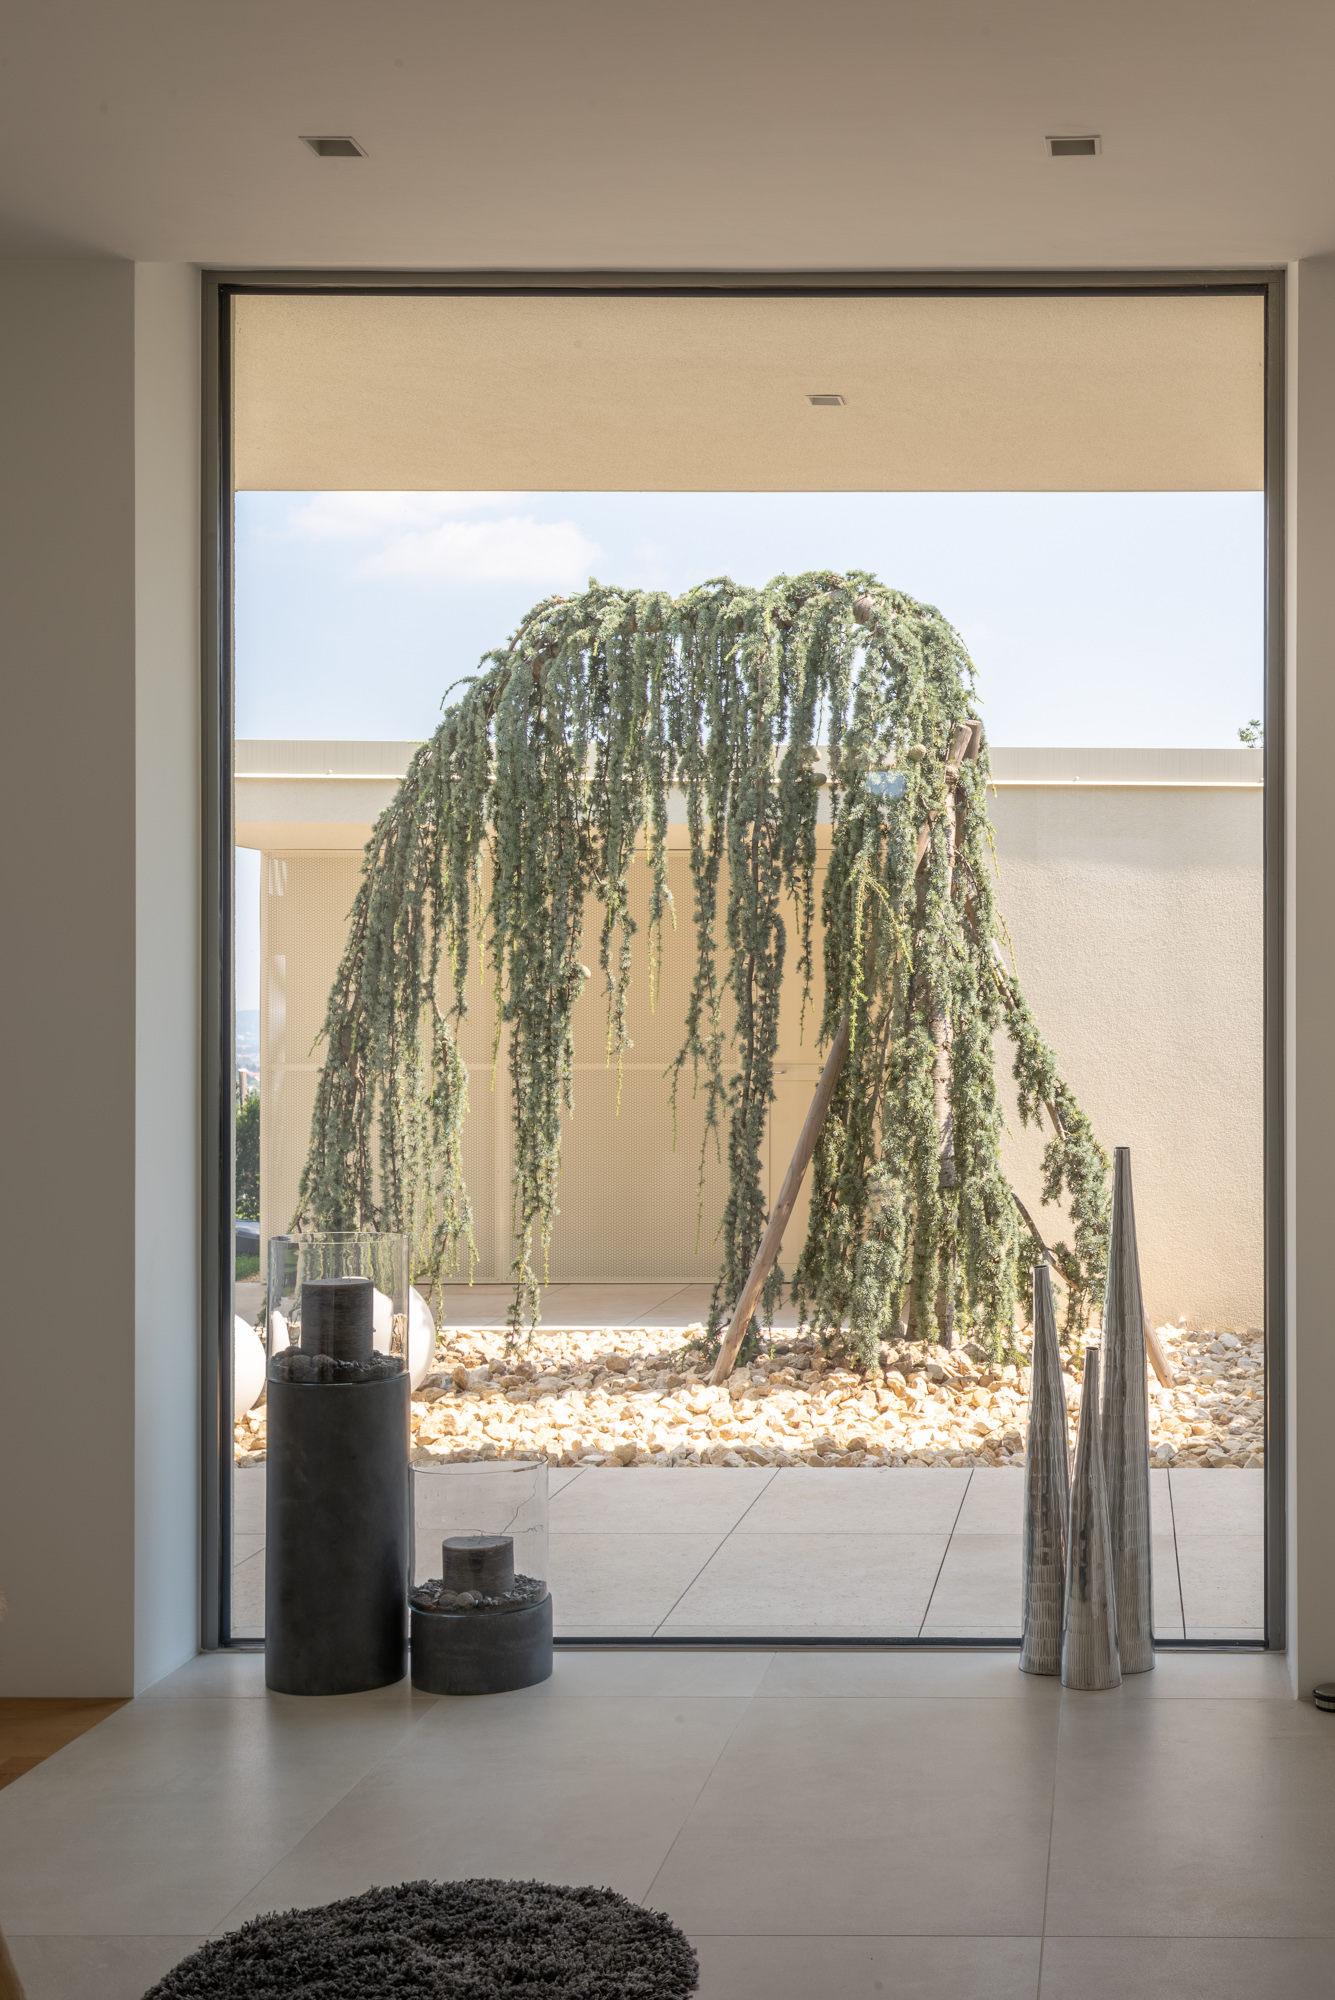
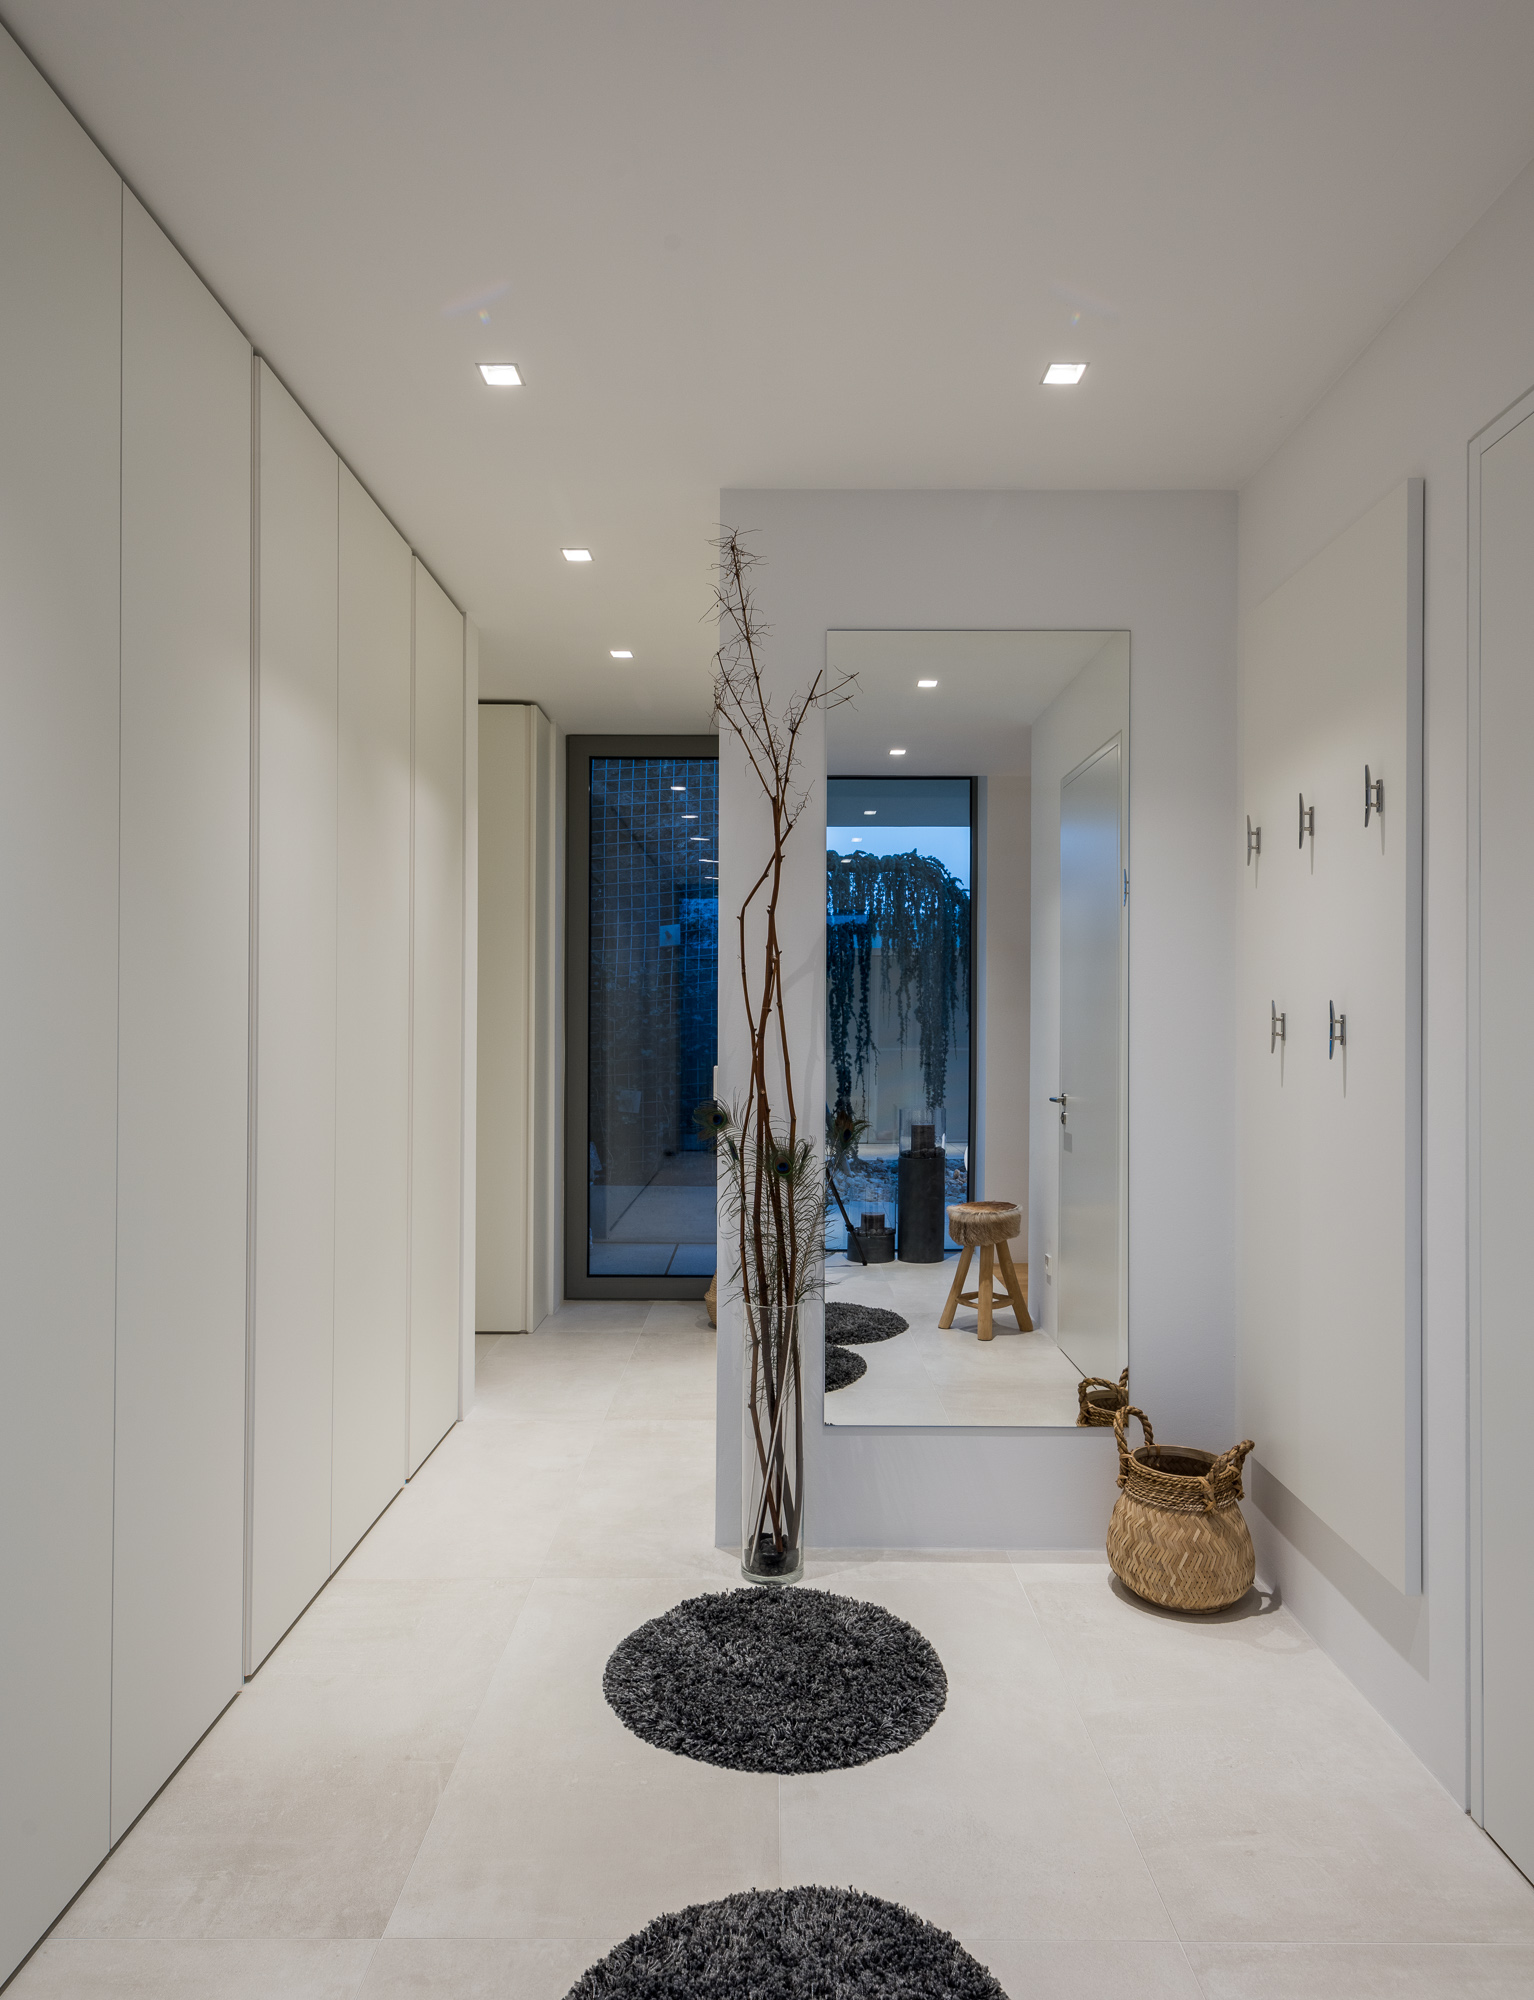
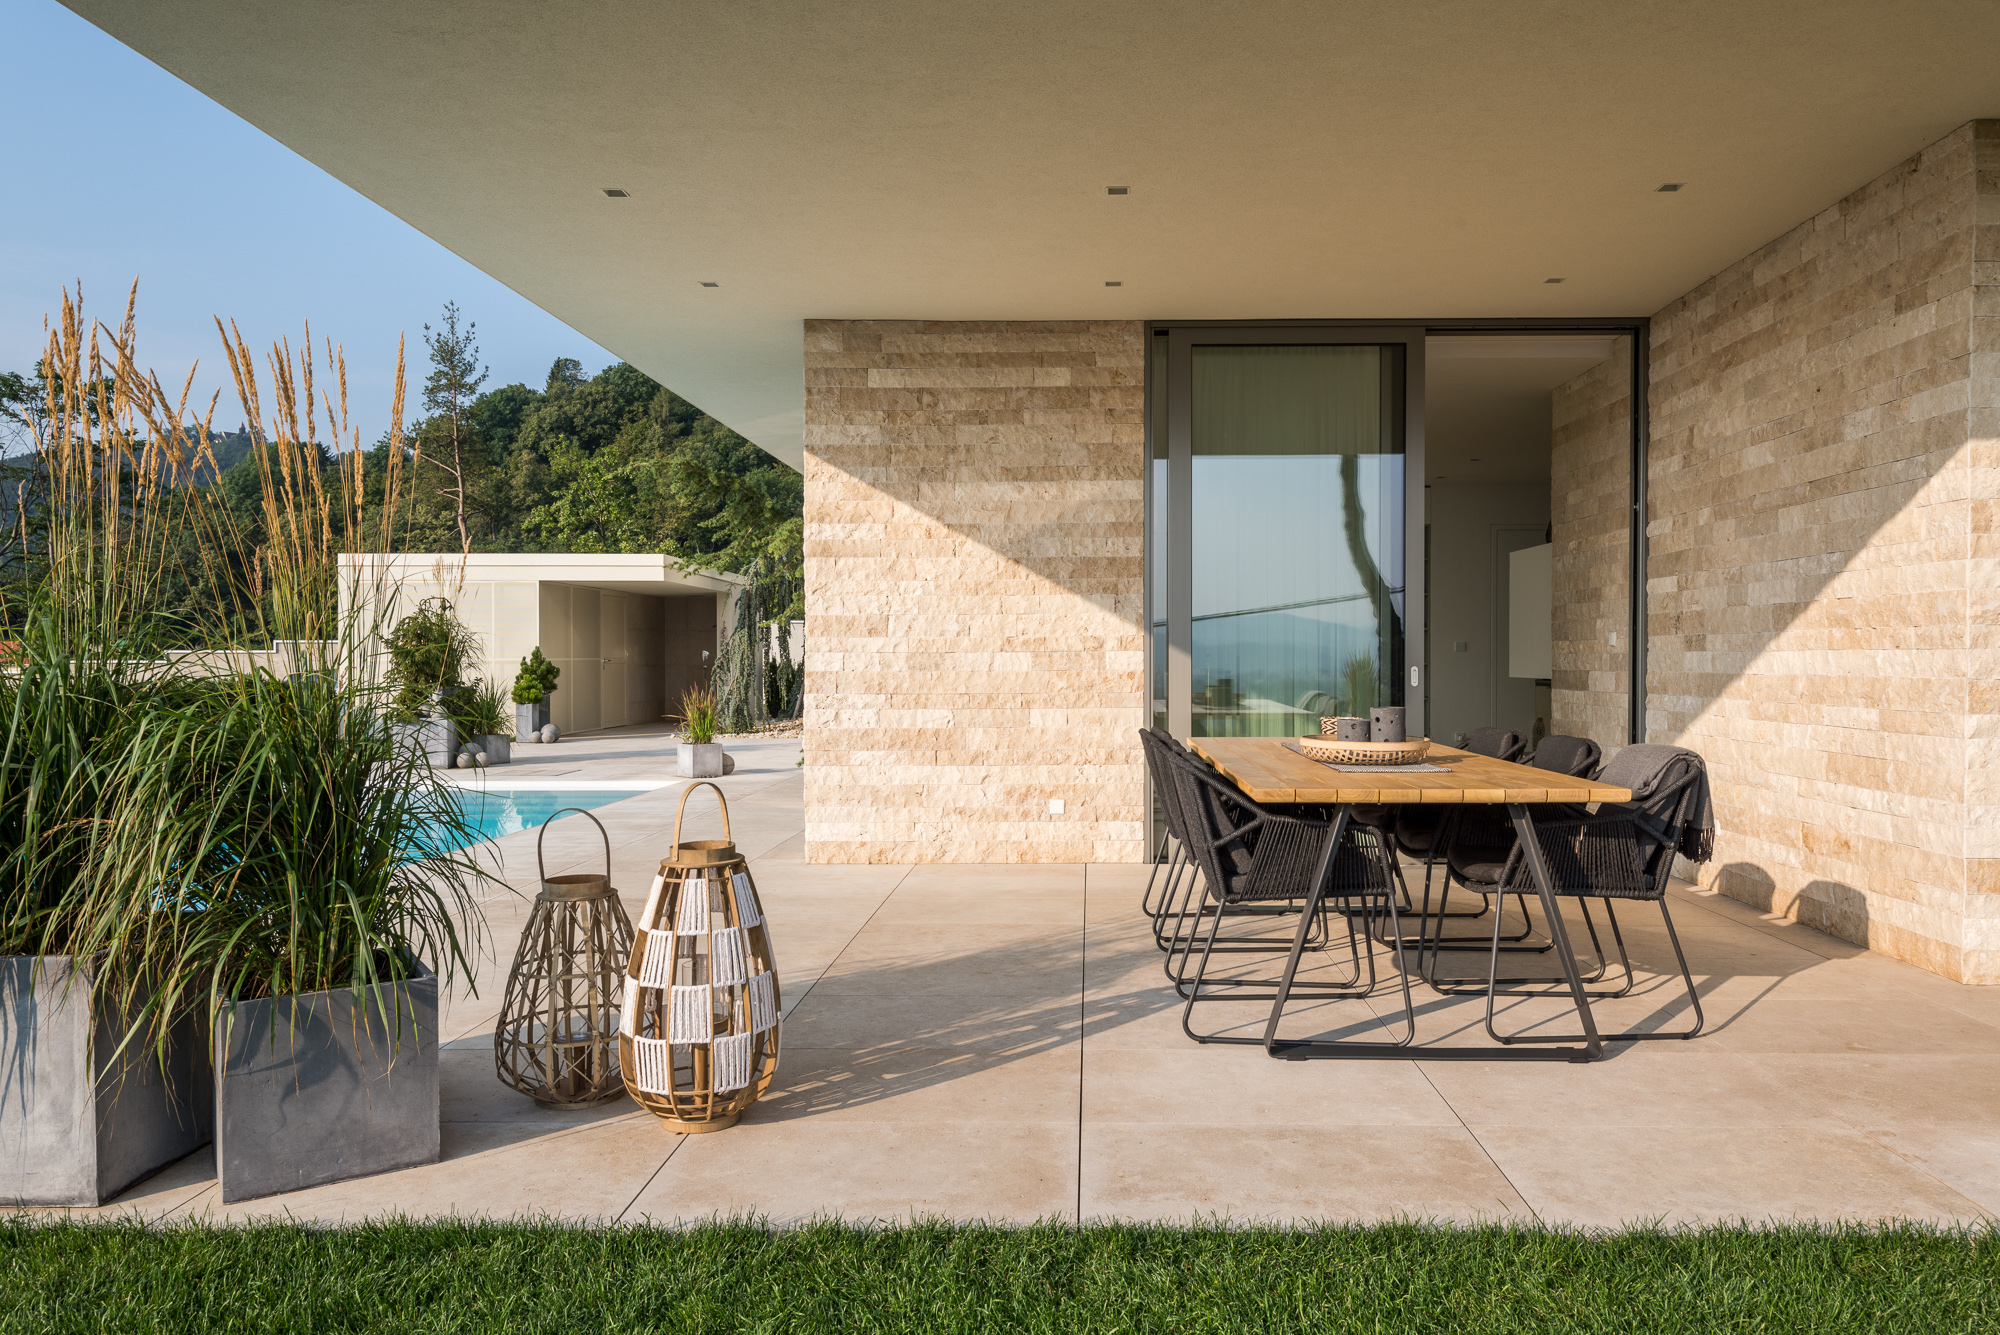
My favorite time to photograph interiors is the early morning and late afternoon periods when the sun is low and casts beautiful long shadows into the rooms. However, if I am photographing a very simple and restrained interior with huge windows, I also like to take advantage of the periods when the sun is not shining directly into the room. This house’s entrance has a giant window that frames a beautiful tree, almost like a painting in the garden. When the architect sent me his photos, this area grabbed my attention first.

The plan was to highlight the tree and how the window frames this view. 
With my beloved 24mm TS+1.7x extender combo. The soft light gives some mood. Simple, soft light. Opening the door was great for my long term client to showcase their product. Same in the evening. A different perspective. 
And again at night. This ended up being my favorite!


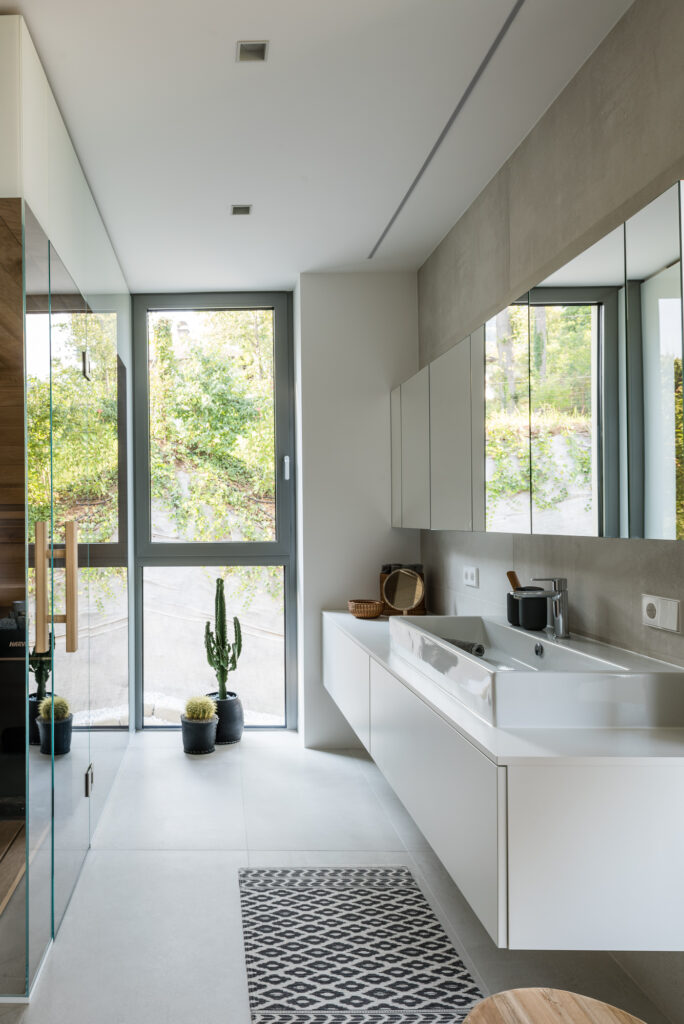
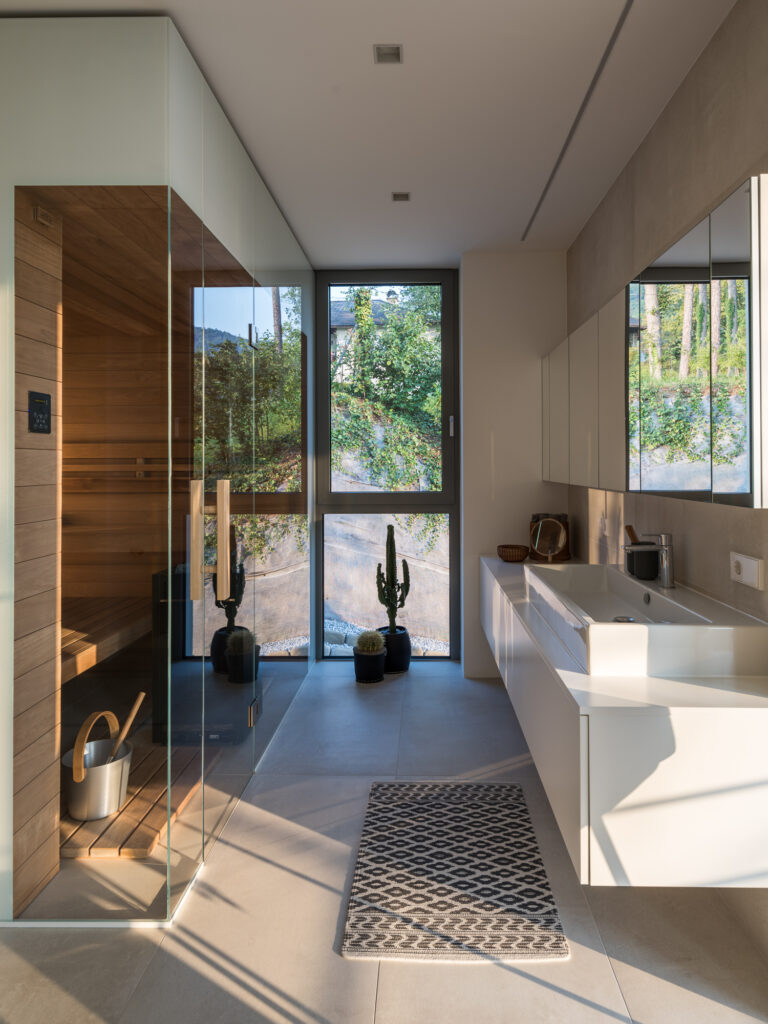
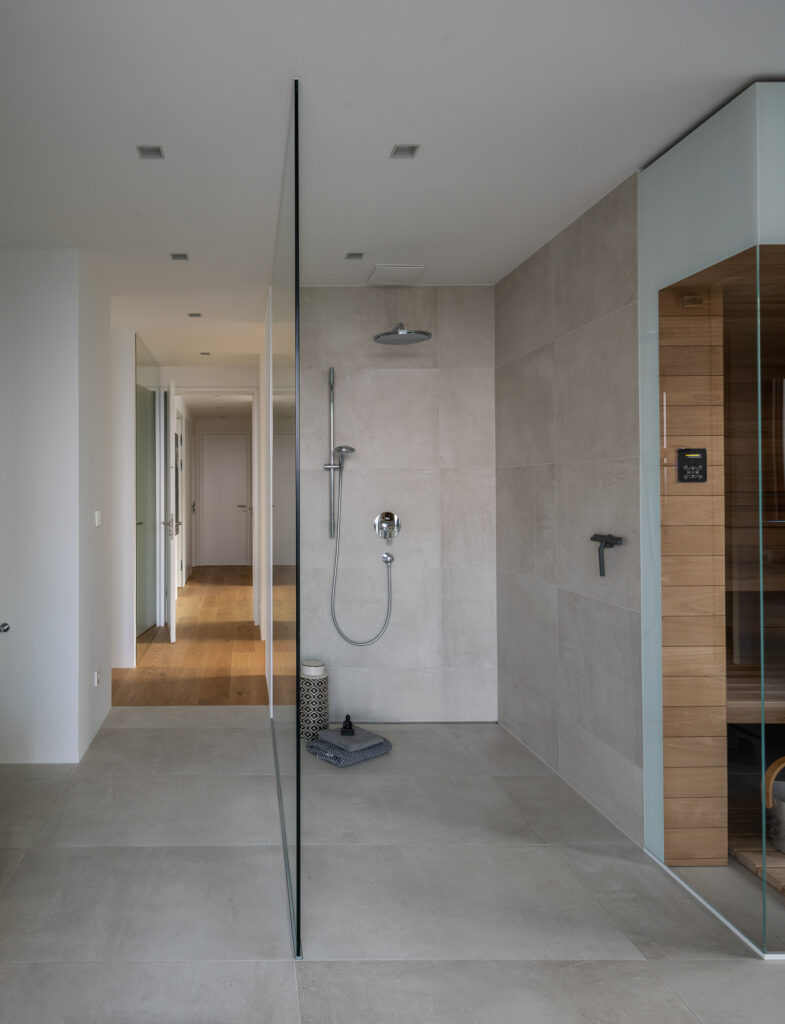
On to the next room! Typically I find that bathrooms are a challenge to photograph. They are usually cramped and filled with mirrors and reflective glass which is a nightmare combination, but since interior designers spend so much time on them, it is necessary for us to be able to represent them pleasingly. One tip I try to keep in mind when photographing bathrooms is from Barry MacKenzie on the BAAM podcast. He mentioned that our first reaction when shooting a small space is to put on a wide lens, but, “the smaller a room is, the longer the focal length should be” — here is an example in the children’s bathroom:

24mm TS pano – shows it all, but is kind of wonky The lines and overall mood feels so much better when you zoom on in. (55mm on the Tamron)


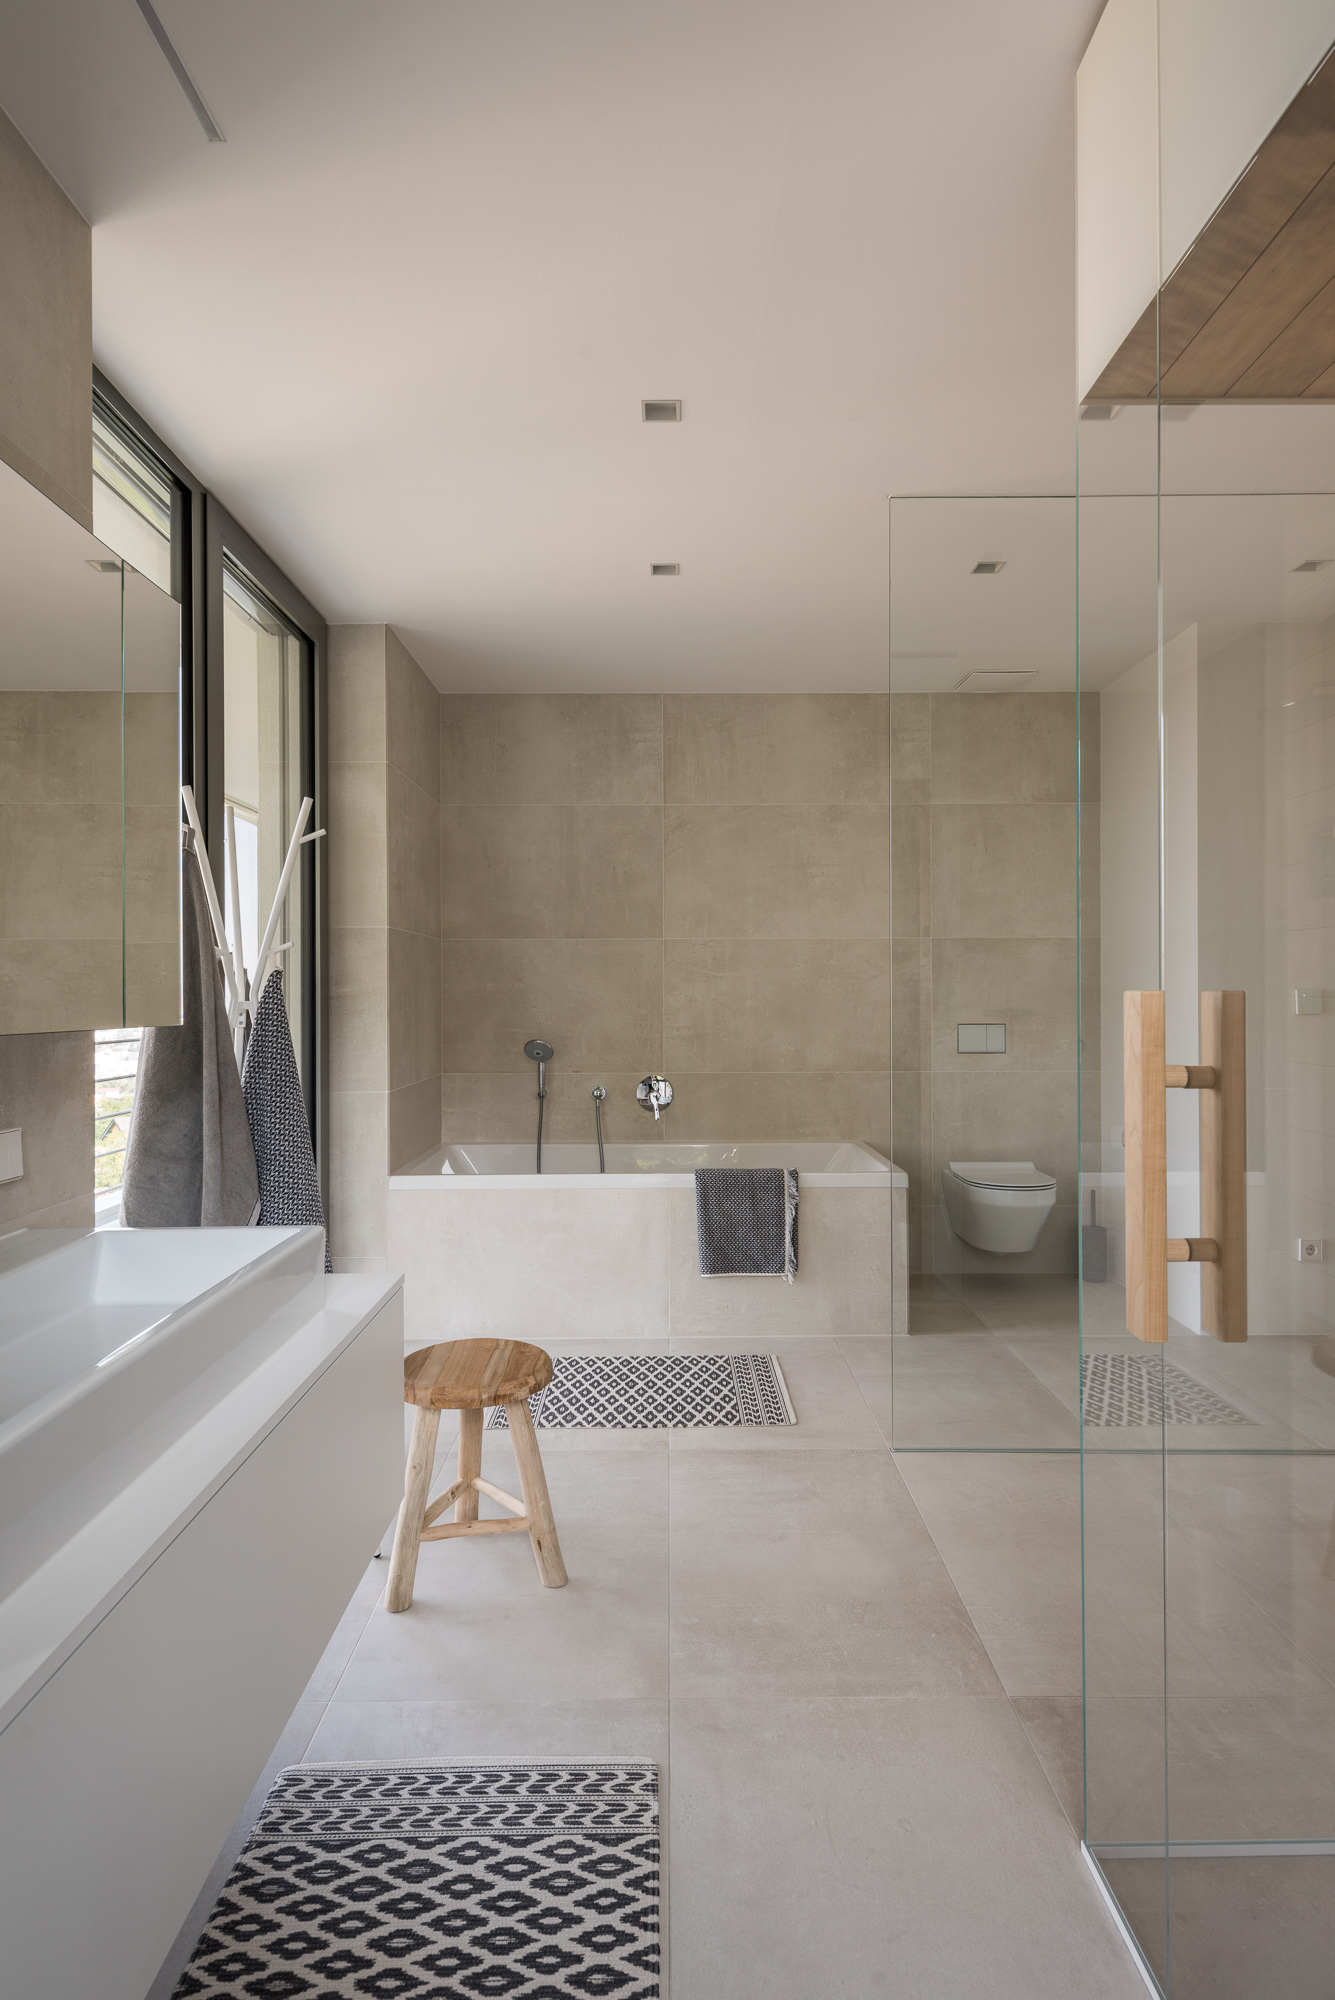
Here are my shots of the master bathroom. Check out how I select my favorite compositions:
My first image when I walked in — not my favorite. 
The next morning almost the same composition, but with much better light. Flagged as Pick! 
Meh. I like the composition, and this is another example with soft light. (Maybe I should have removed the towels) – Picked! Too late, nothing special in it, not bad for lighting desing (Two of my clients would love this) Morning again…my favorite. PICKED! After sunrise with interesting light. Picked (I have one more with half-opened door for the window manufacturer client). I shoot a vertical and a horizontal image of the same composition many times. This is important when a project gets published. Picked!

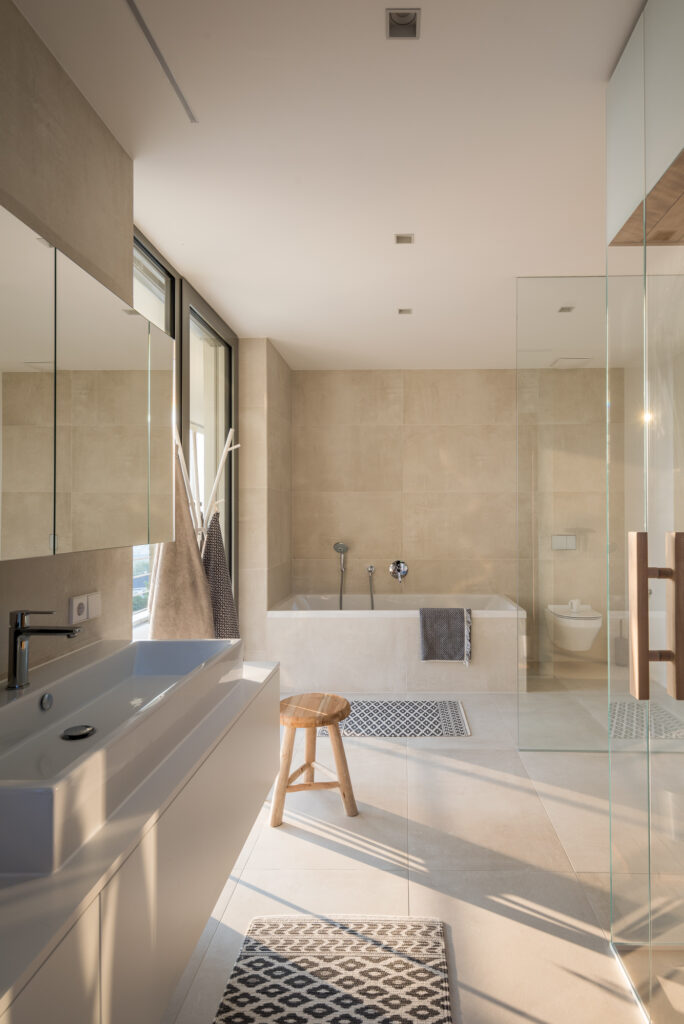
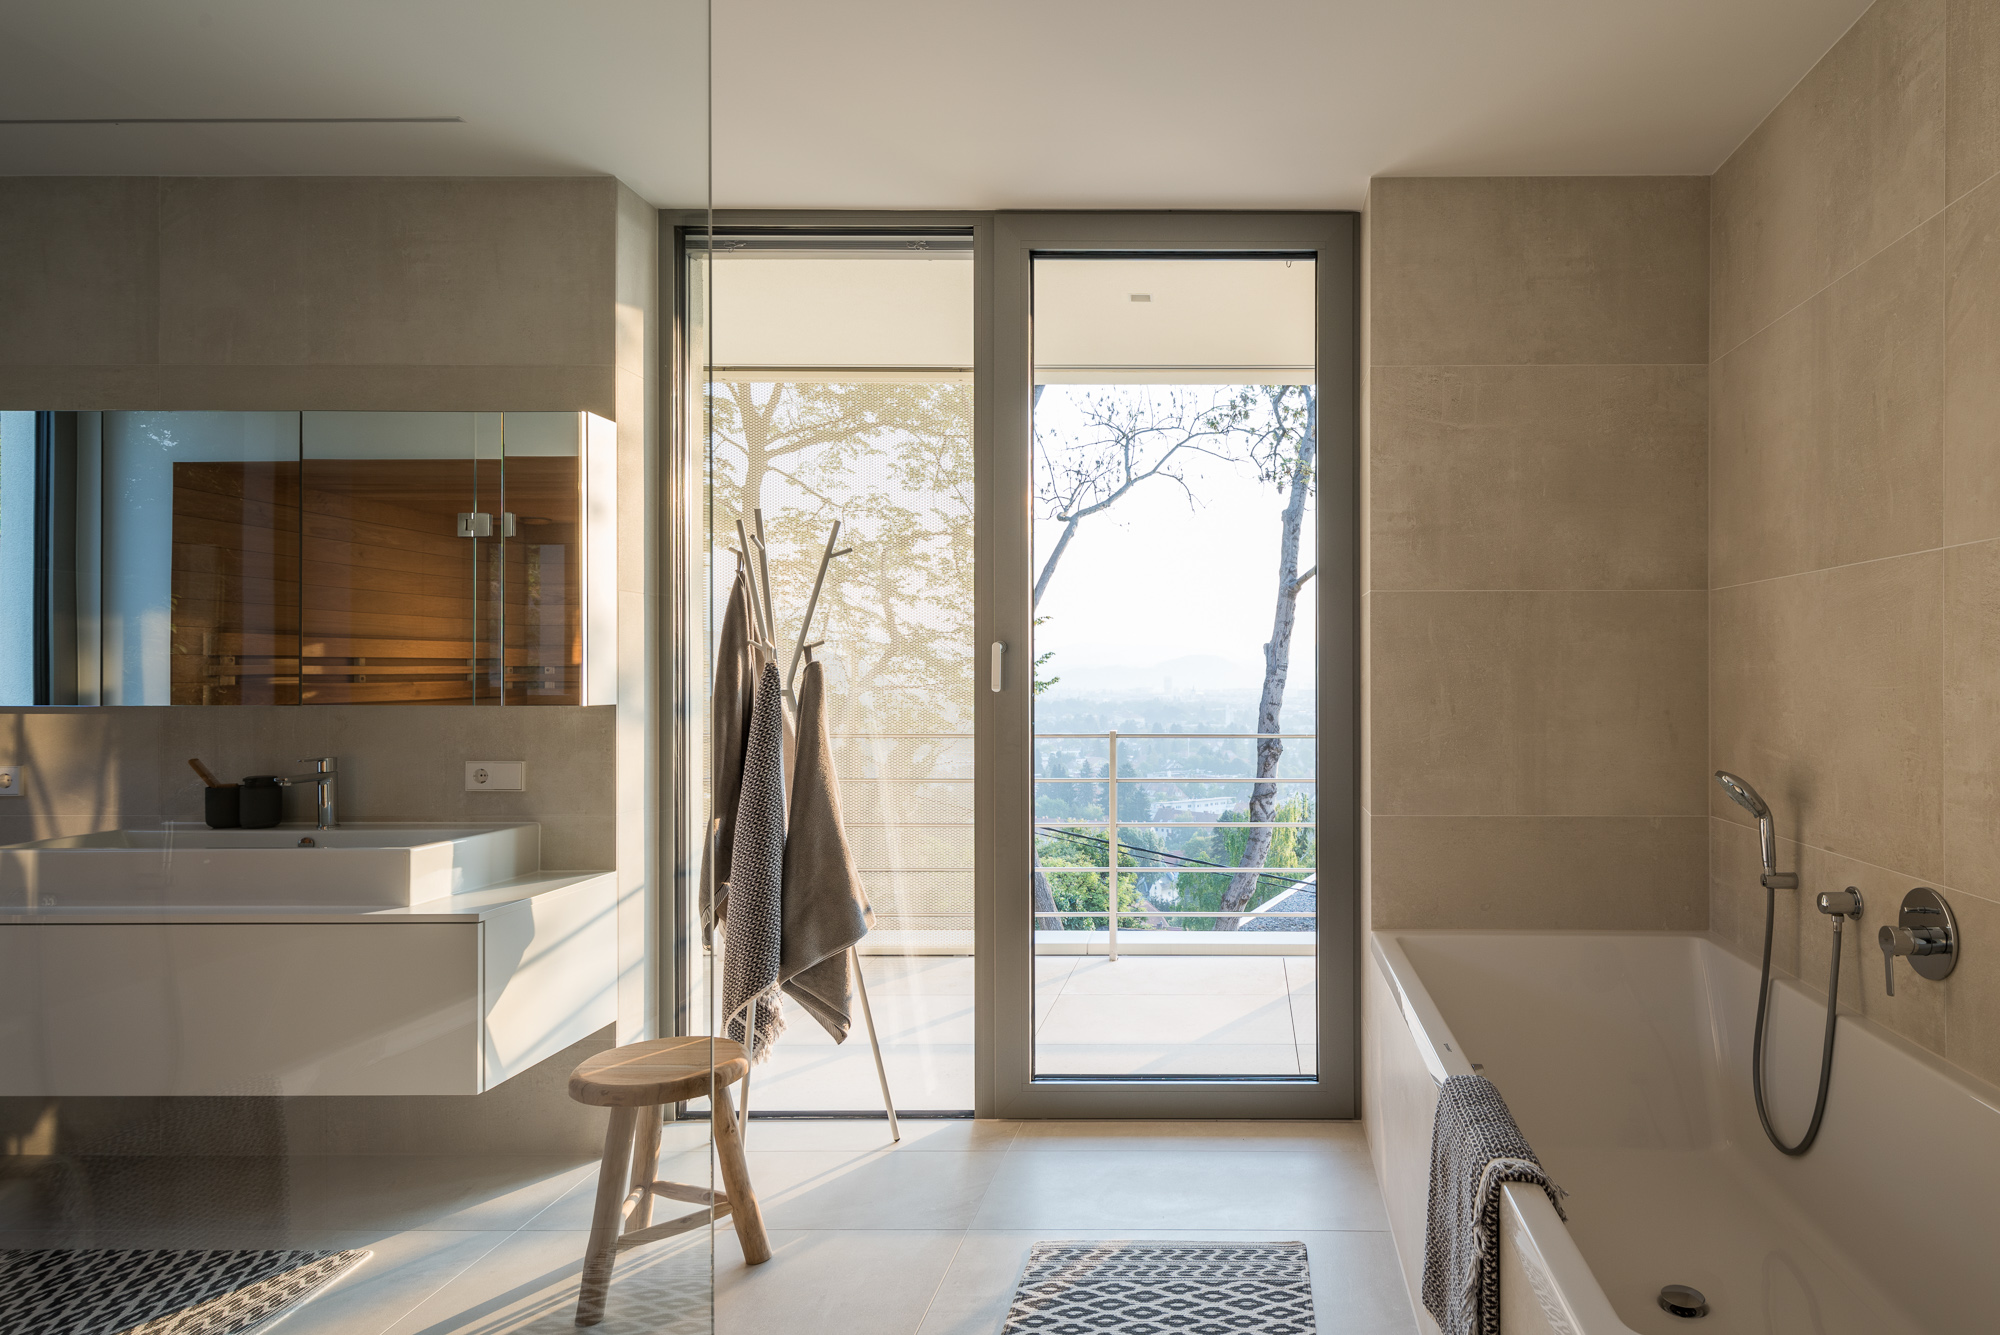

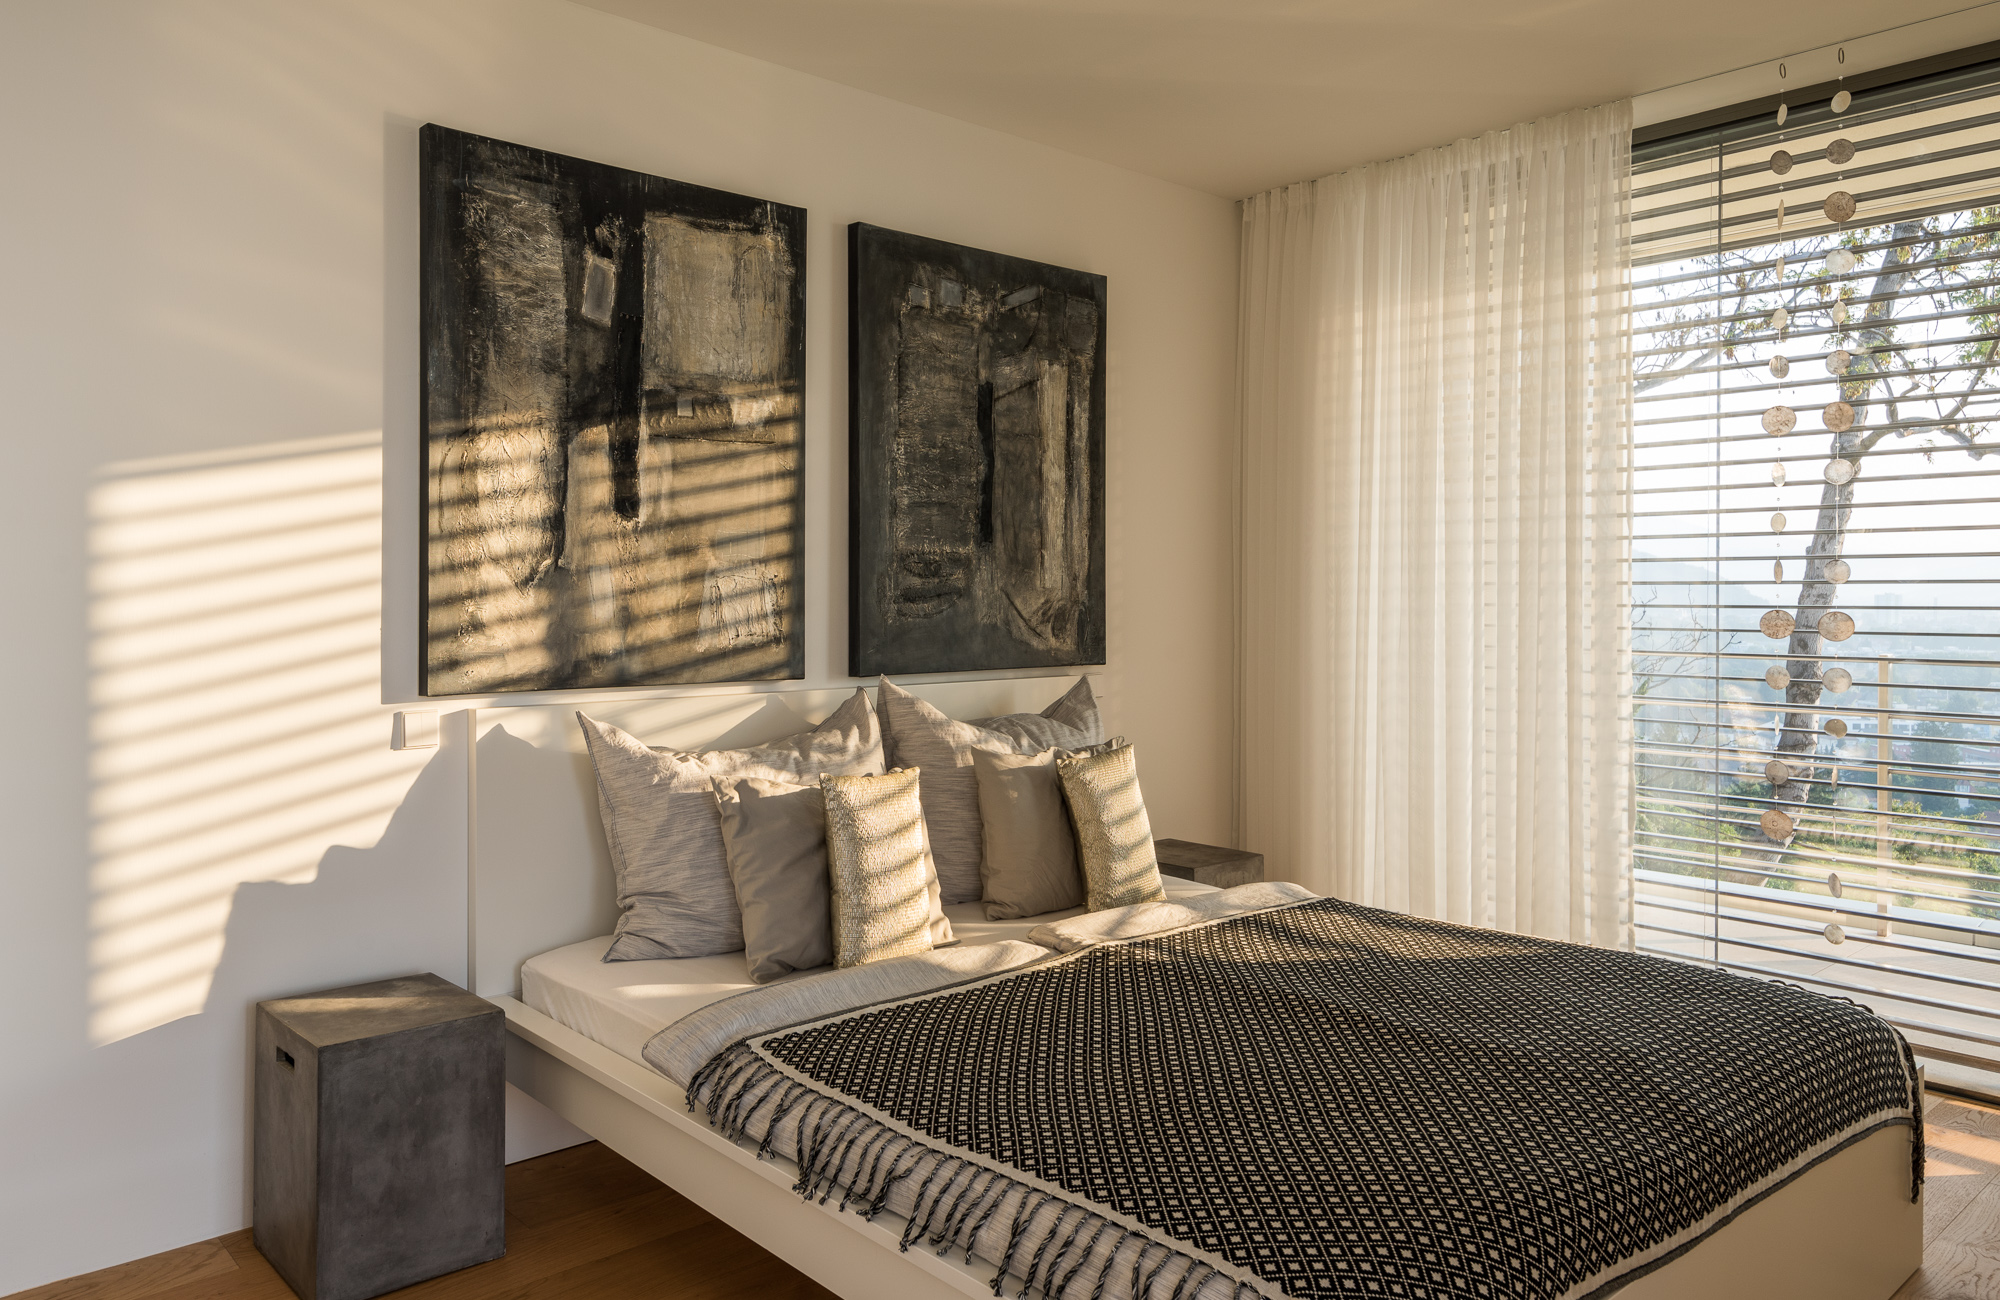
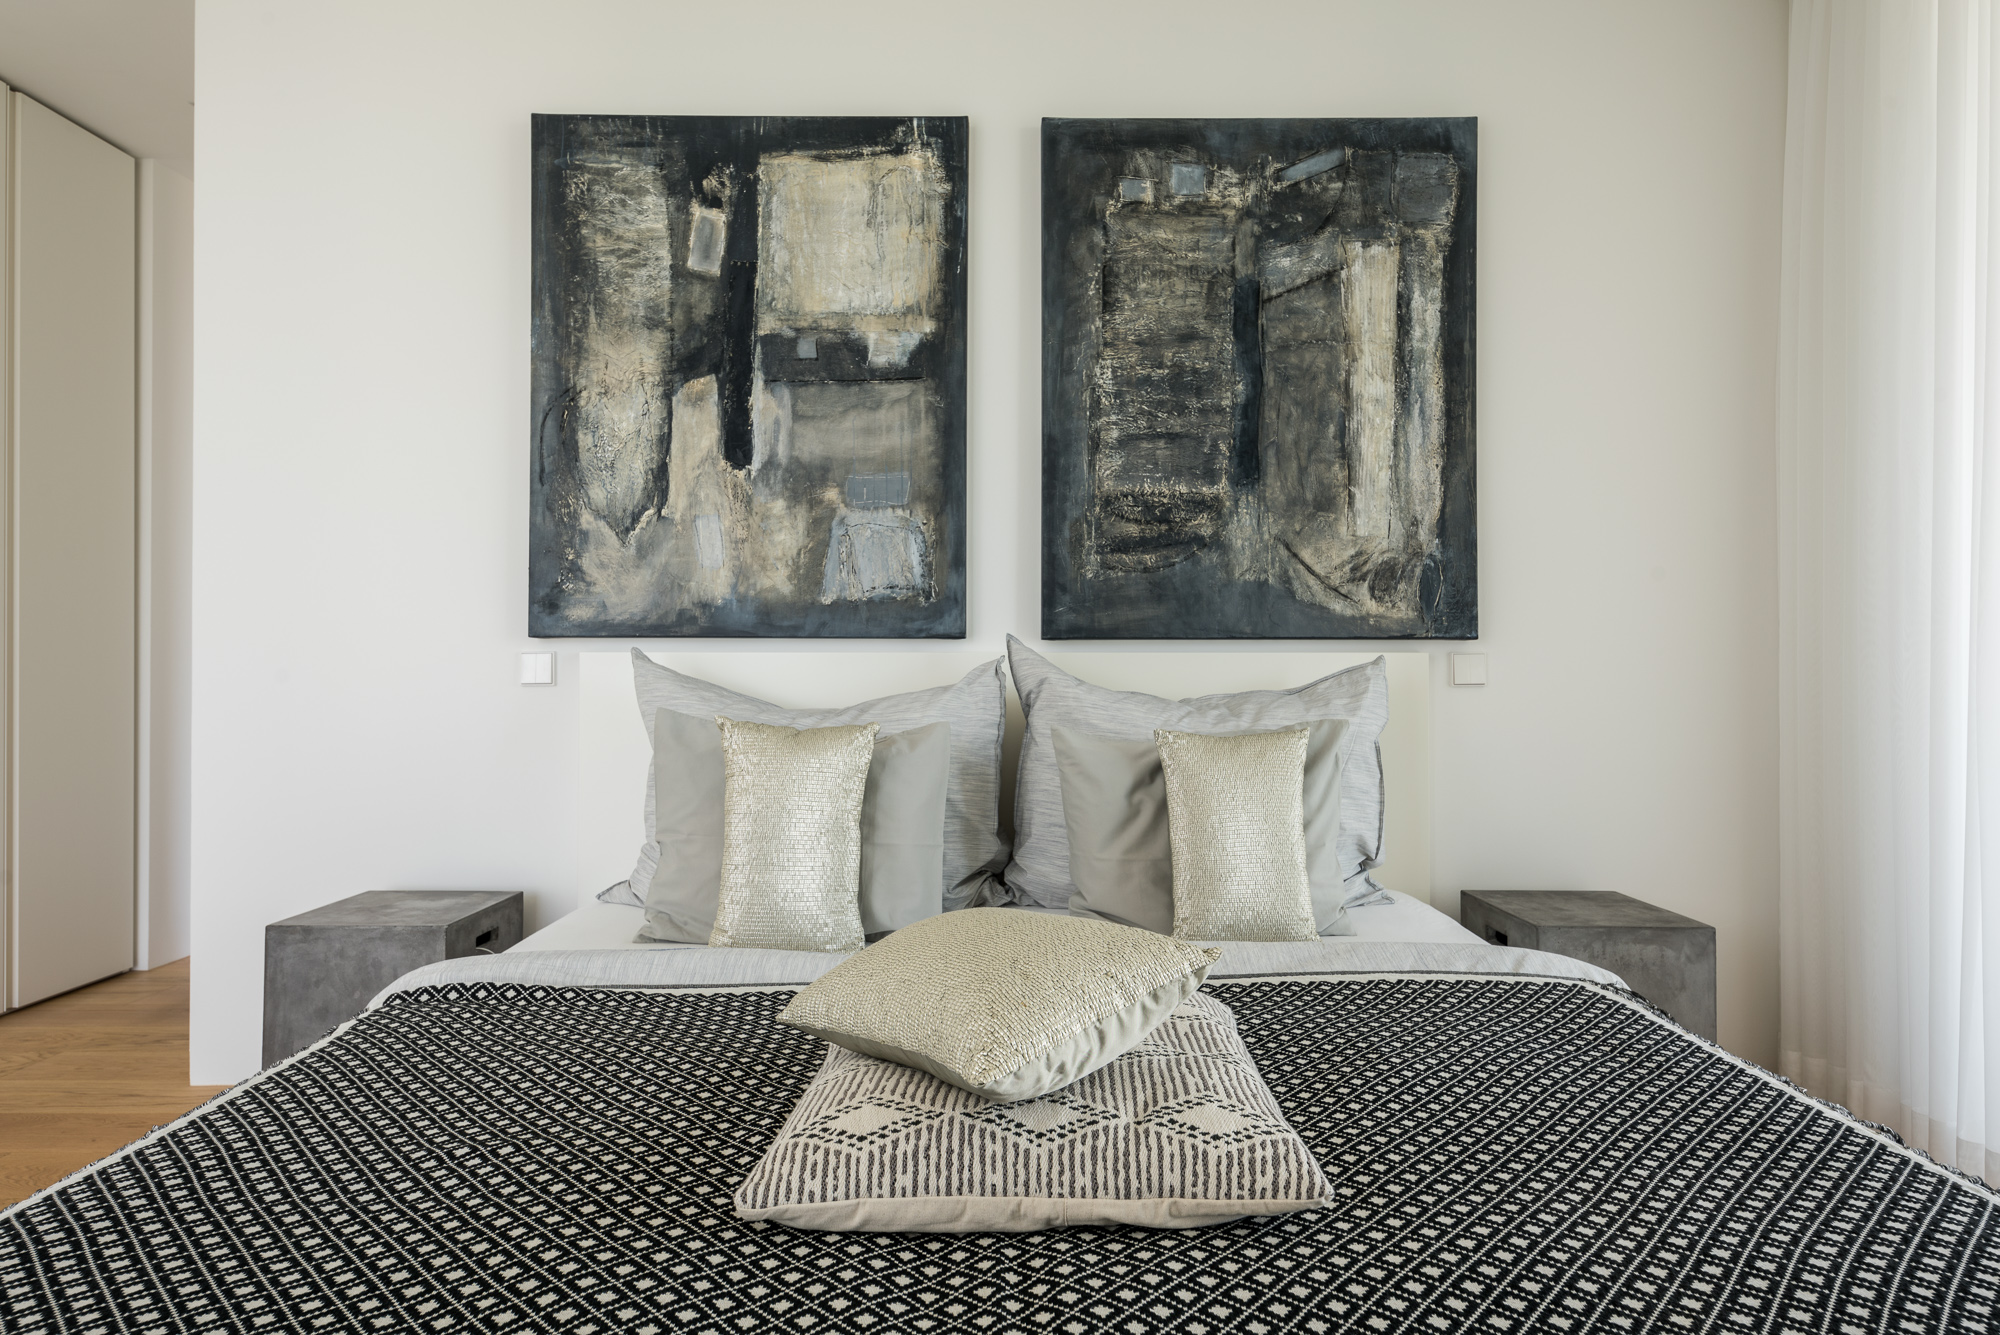
Now you can see how huge of a difference it makes when you shoot at the right time of the day. Here comes the next example, the the master bedroom and my choices:
Early afternoon with the sun at the other end of the house. The important view of Graz is nuclear right now. (19mm) 
Almost the same, but I like it more as a one-point perspective. Picked. (24mm)
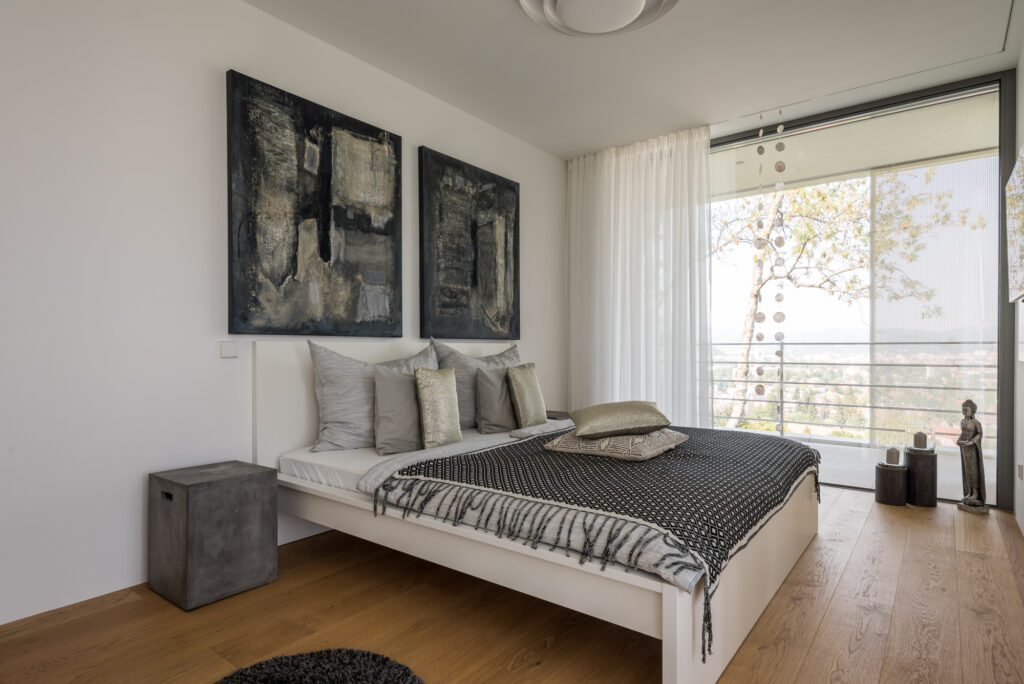
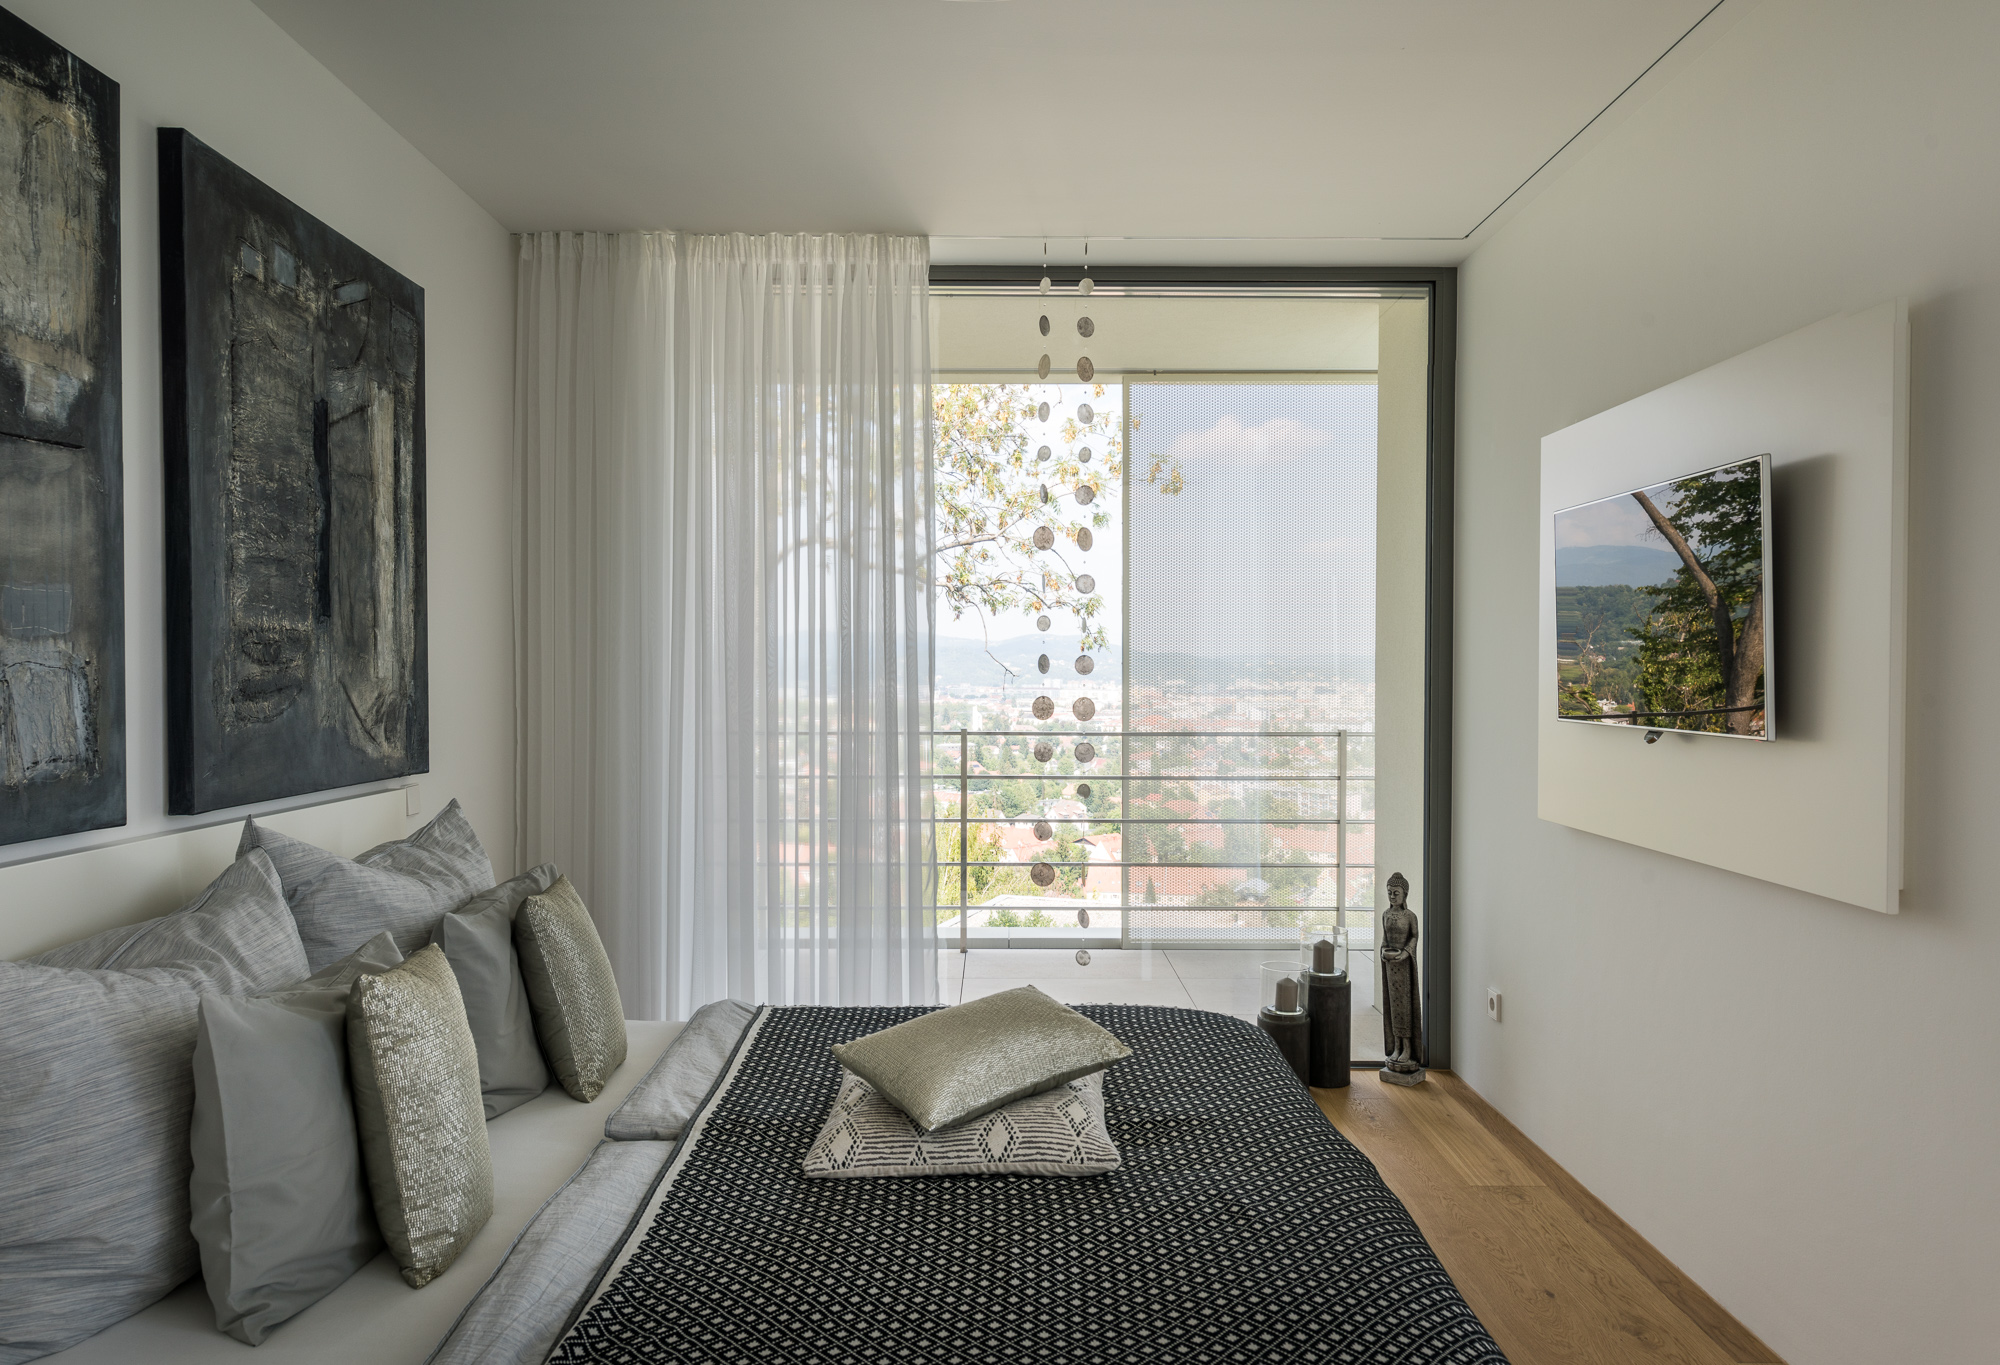

I like this 1PP a lot. Picked (19mm cropped) Not the right time of the day for a shot like this. (19mm)

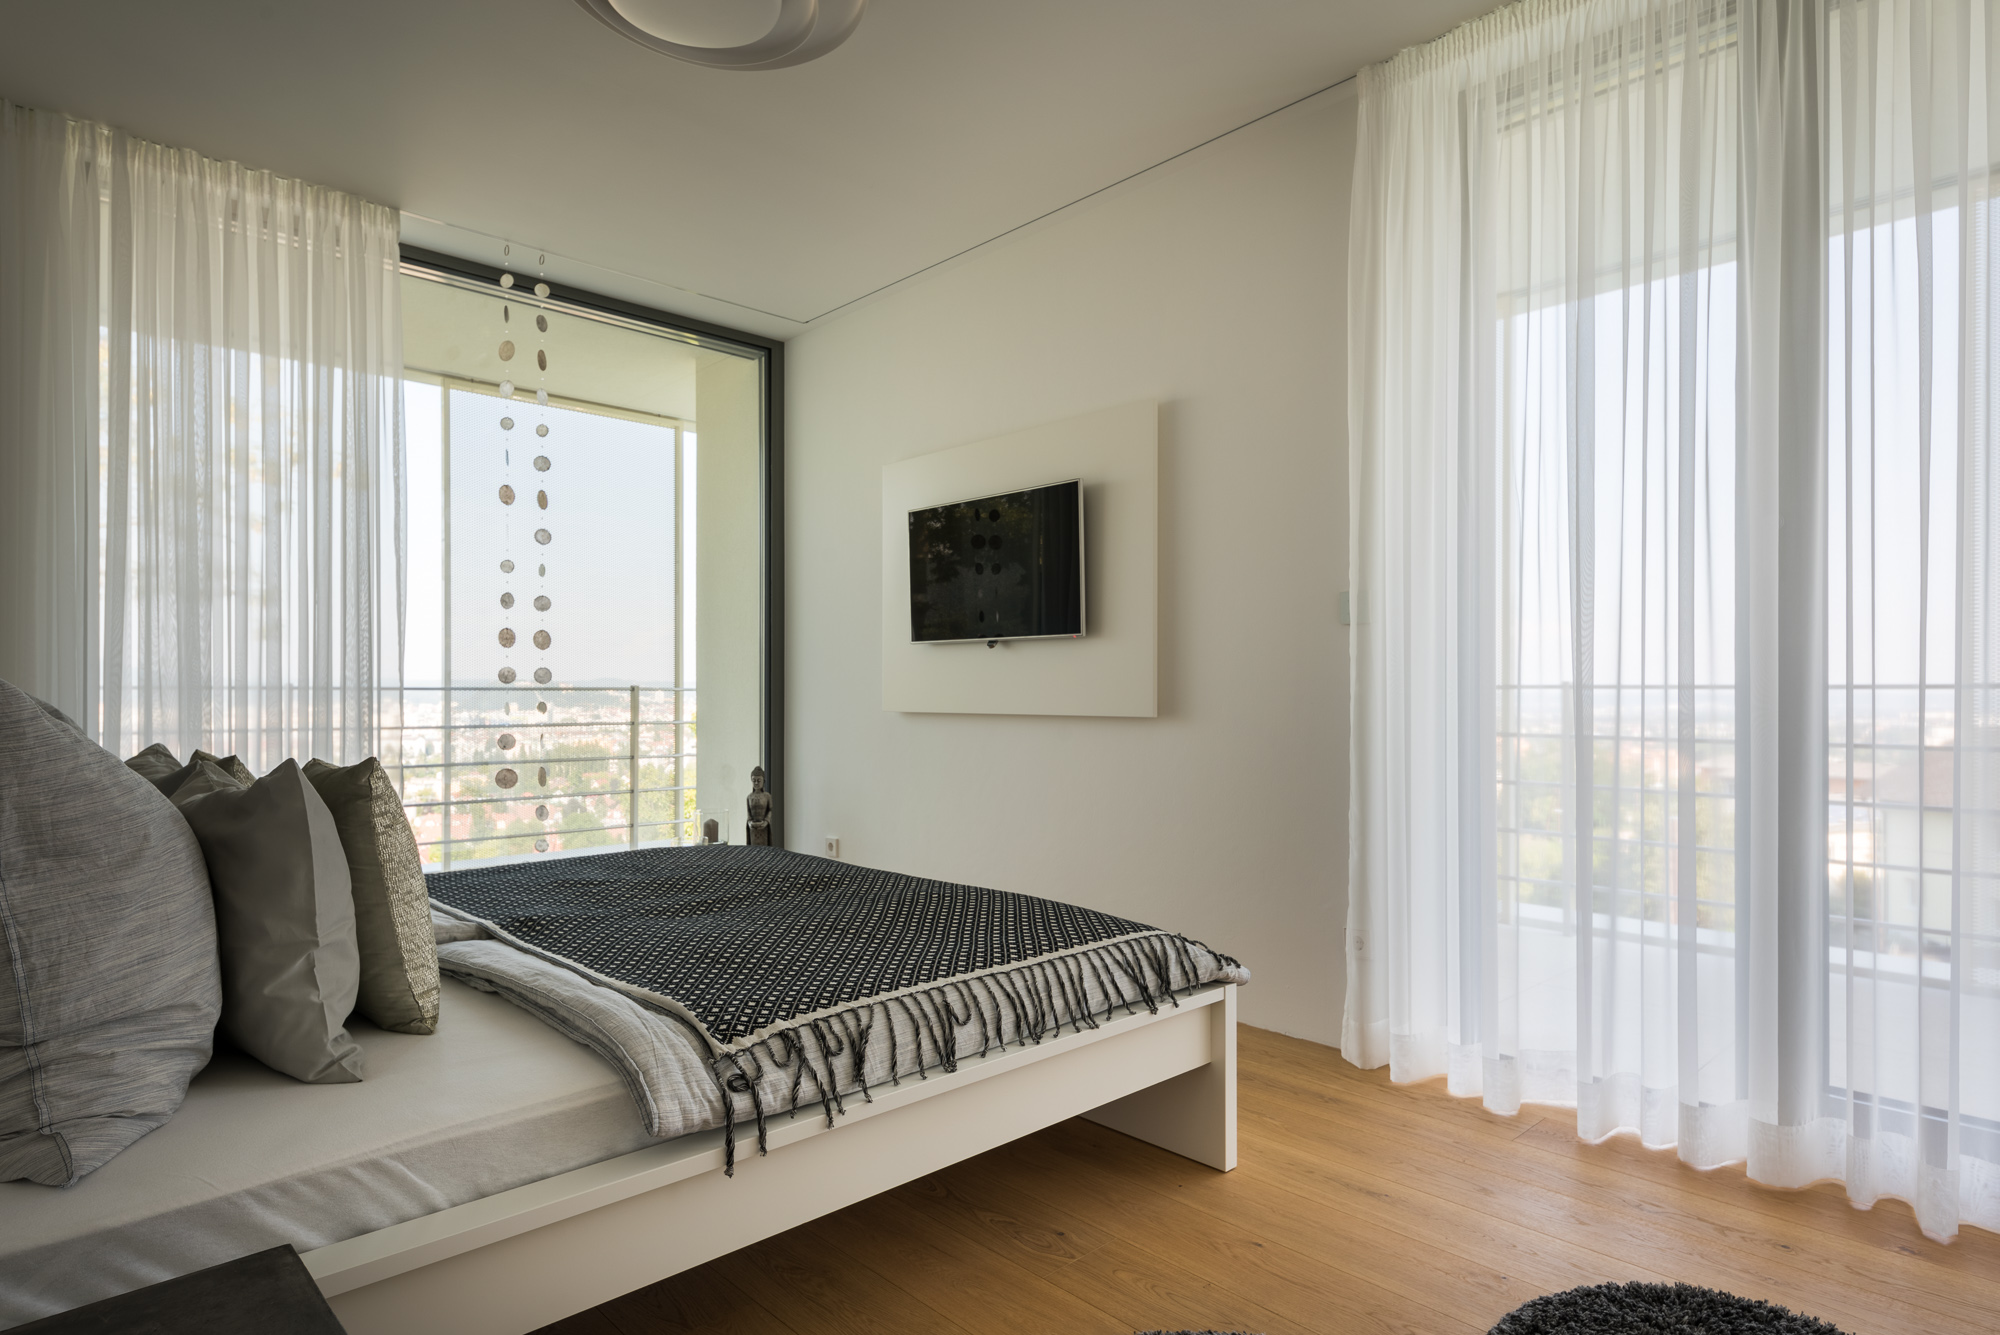
When the sun shines in it makes a huge difference in the mood. Picked (19mm) 
And this was my favorite, picked as well. (19mm, croped)

I started as a professional for a shading company first. Would you have figured that out? This is useful for the window manufacturer and the company that installed the shadings. Click on it! this is a horizontal image 🙂 Almost a detail like image, this was for the women of the house who is making the bed look like this every day!
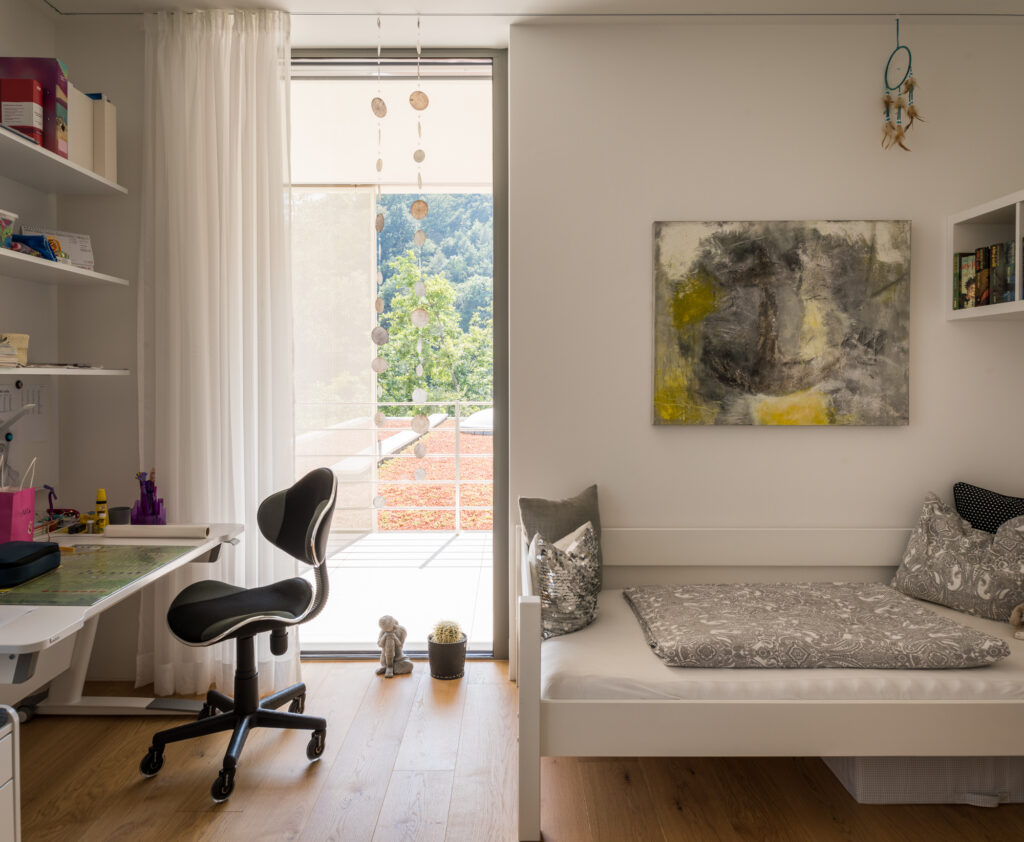
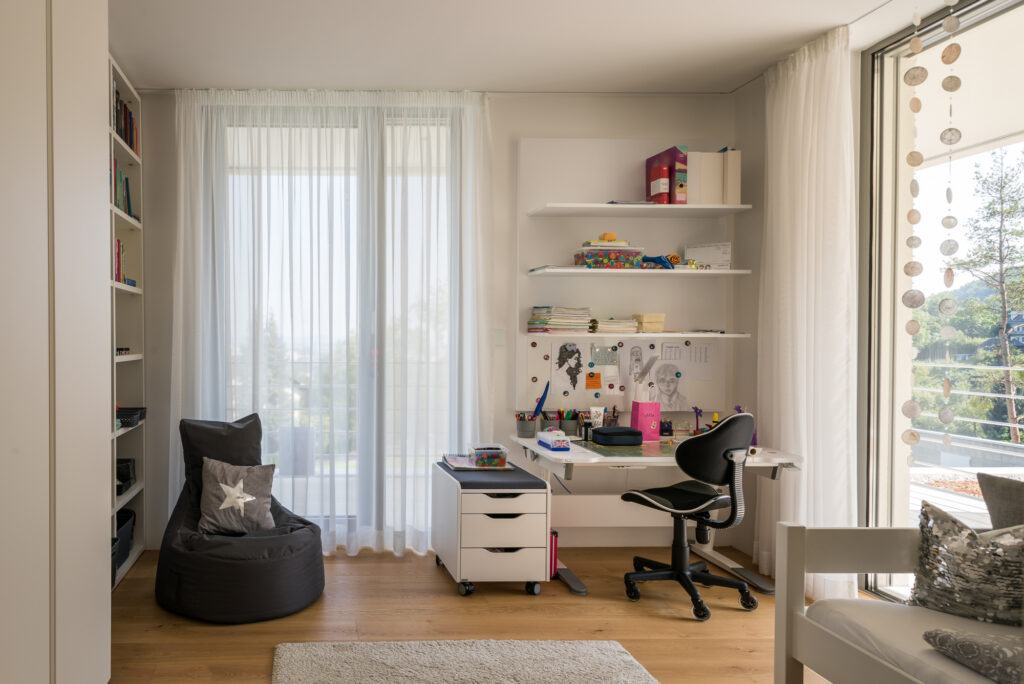
Sometimes kids rooms cause some headaches too. There are many toys and things that you don’t really want to see in the images. If I don’t have time, I skip these rooms from time to time, but if I’m there for a full day, I will take one or two photographs for sure. Two wide-angle shots tell the story, and you can place the room on the layout right away.

24mm 24mm TS lens, 1PP shifted to the right
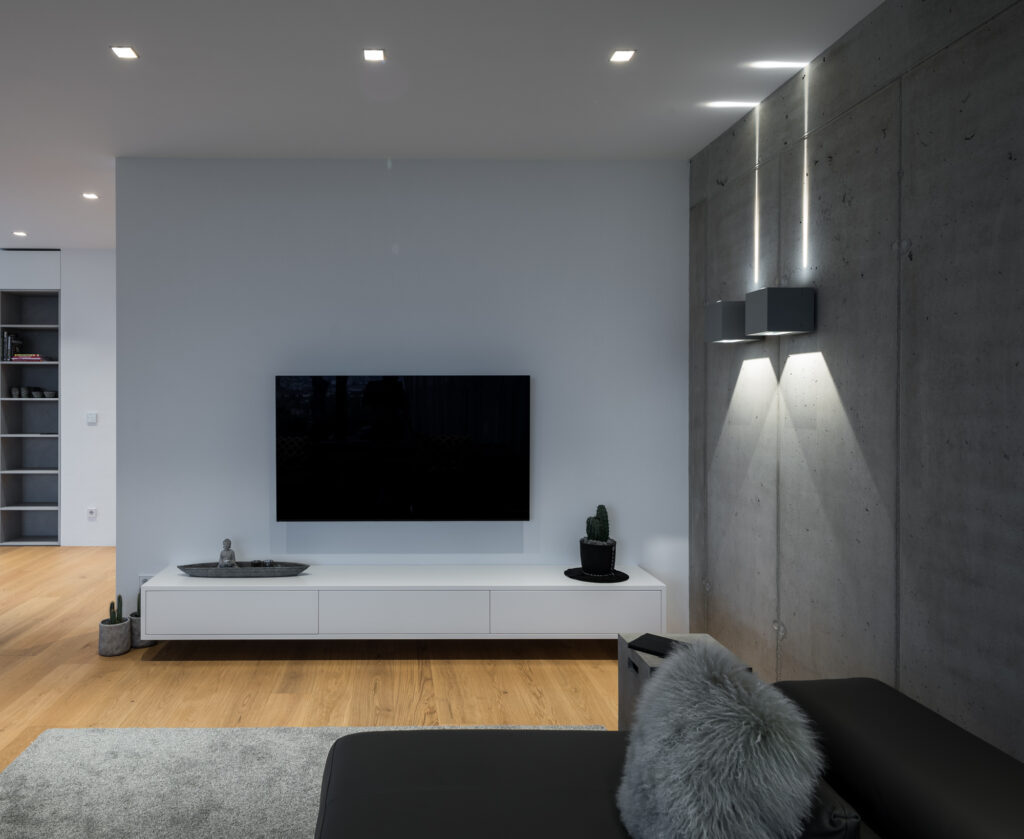
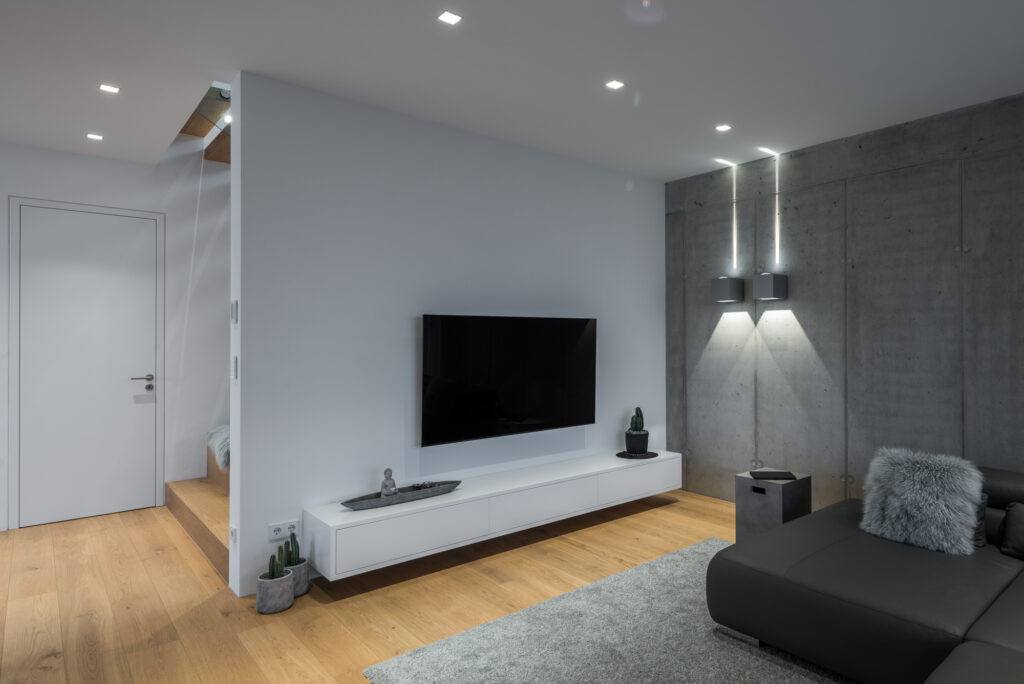
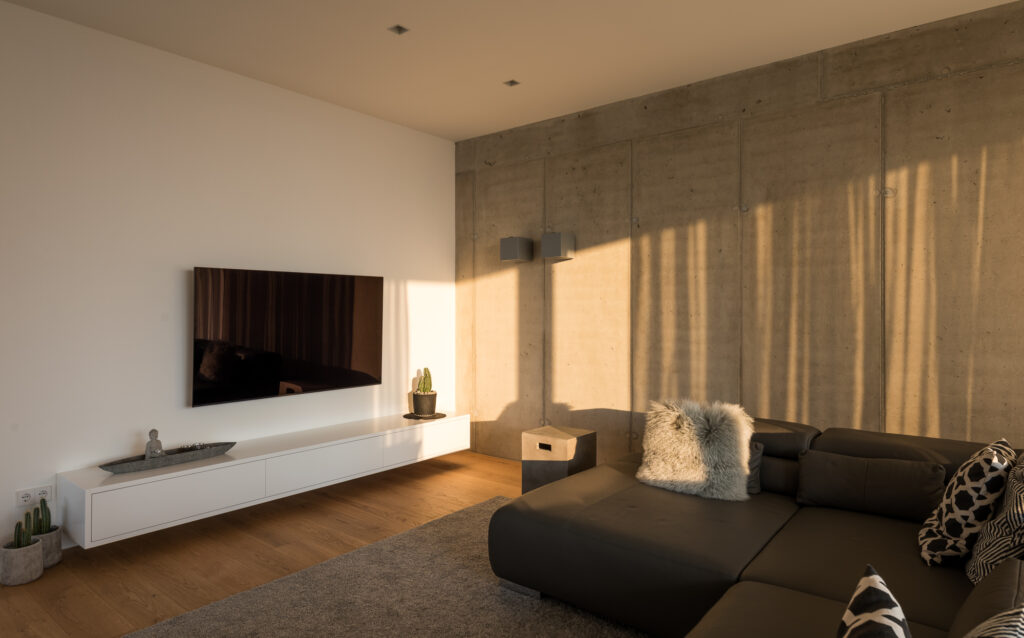
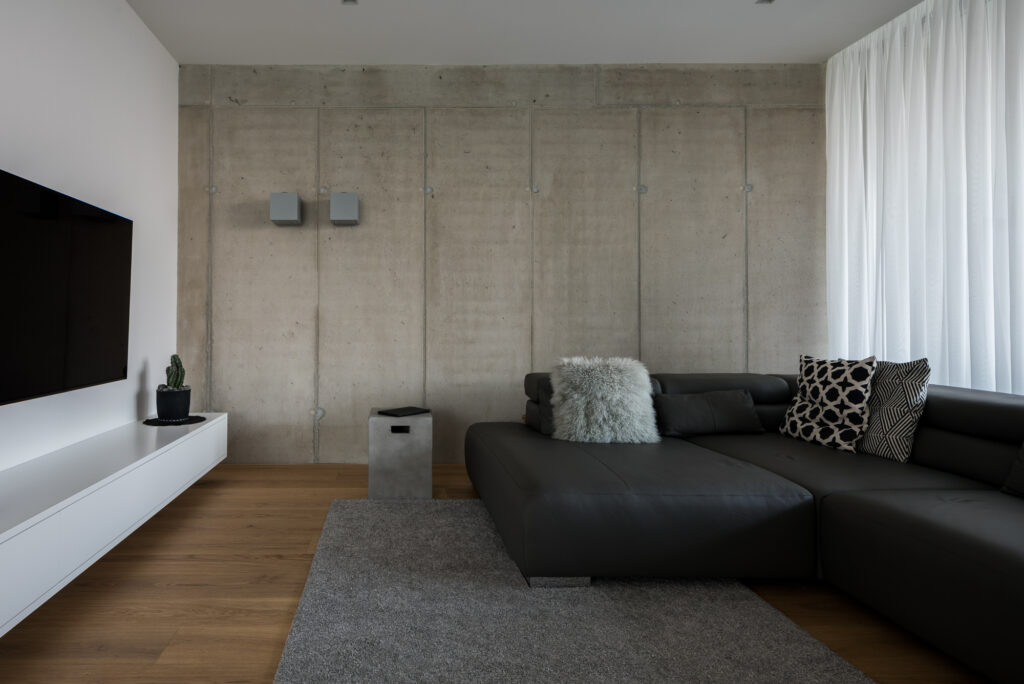
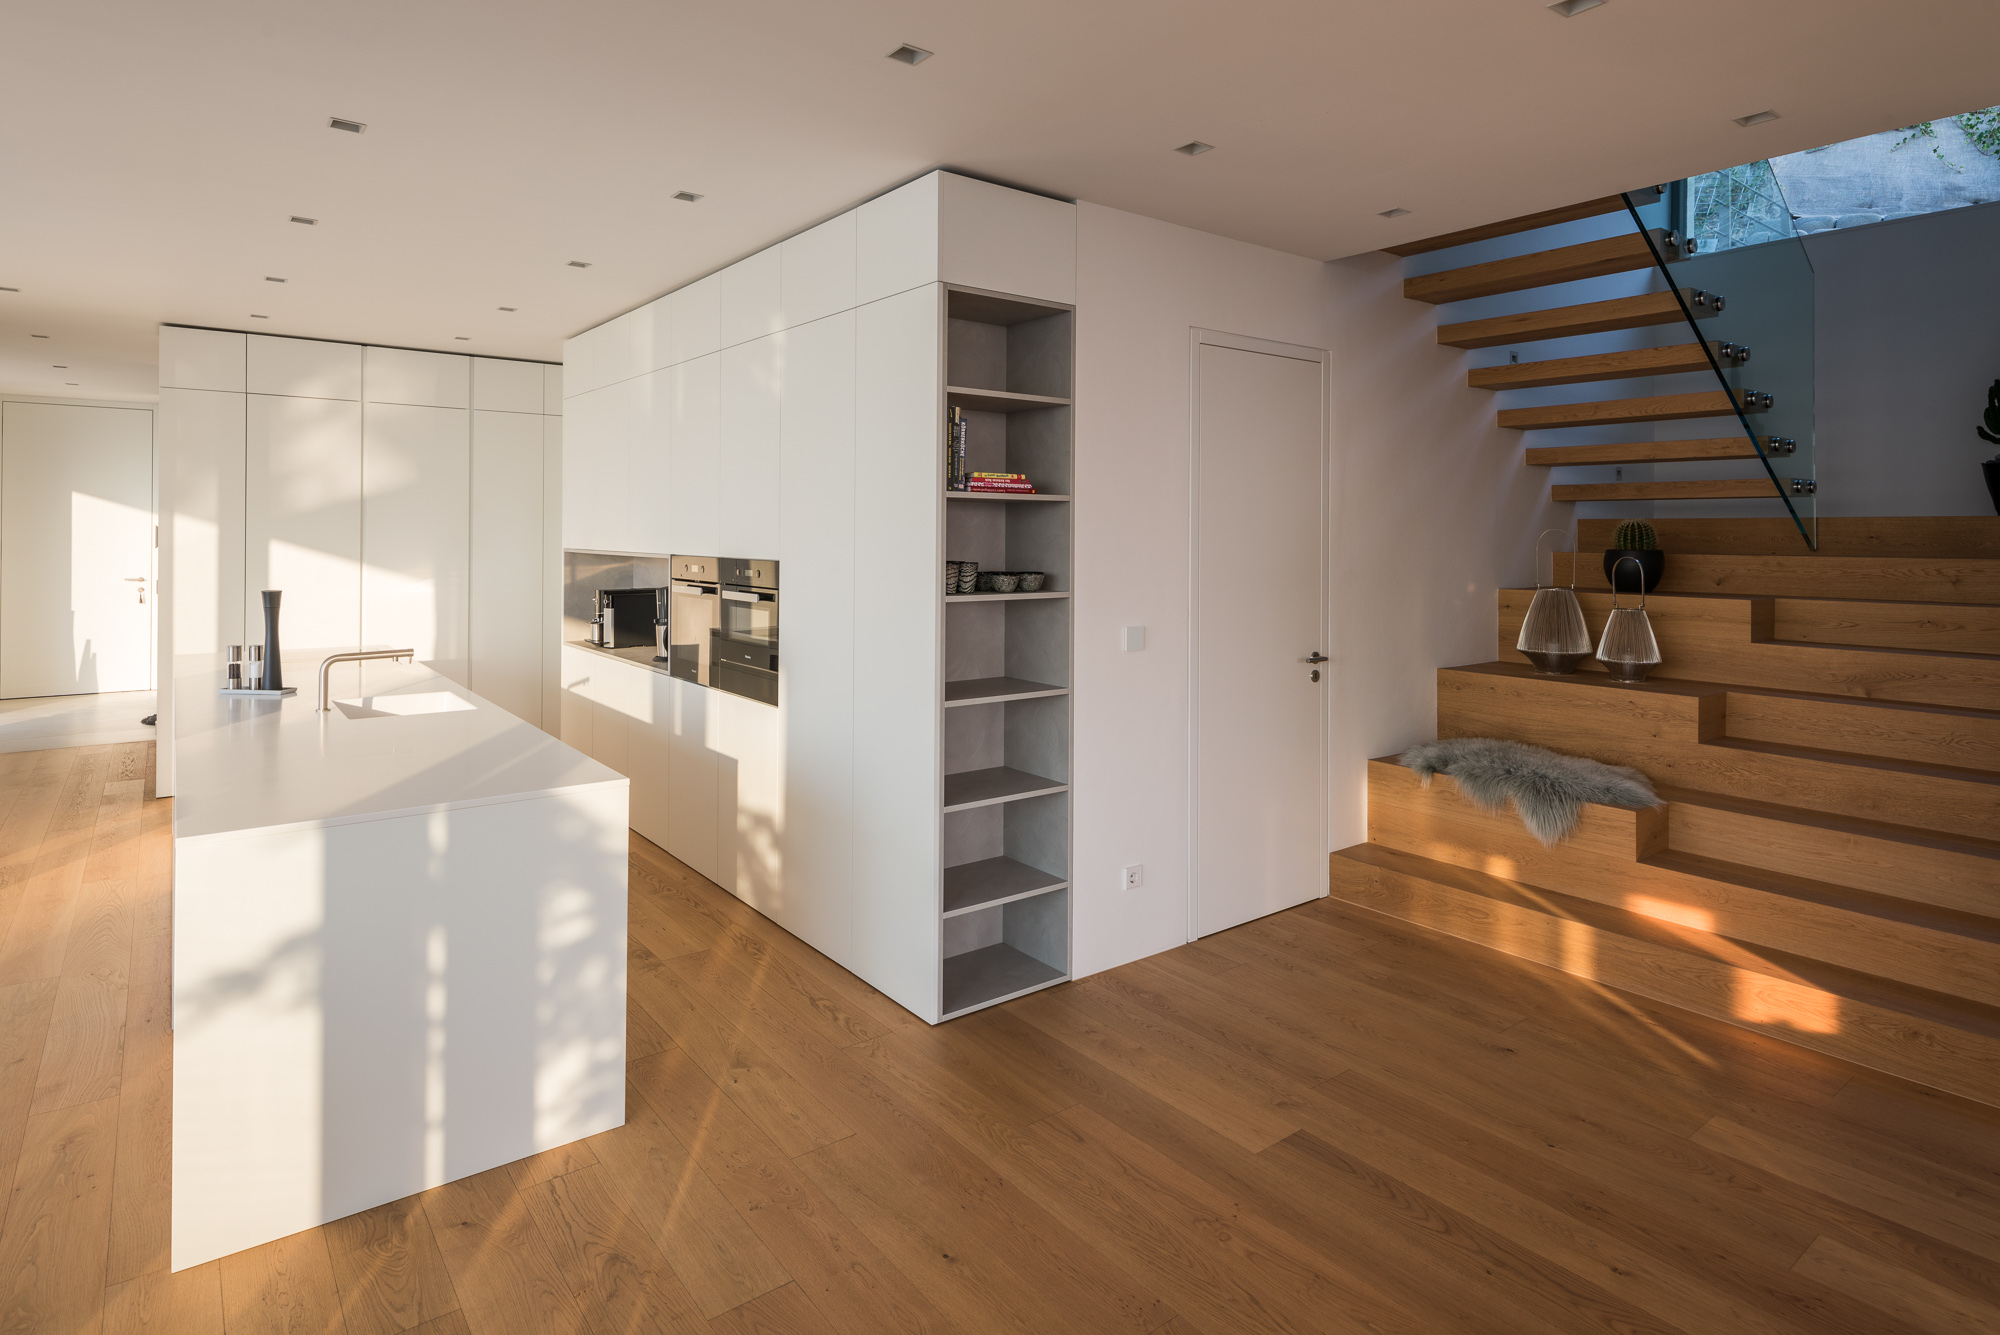
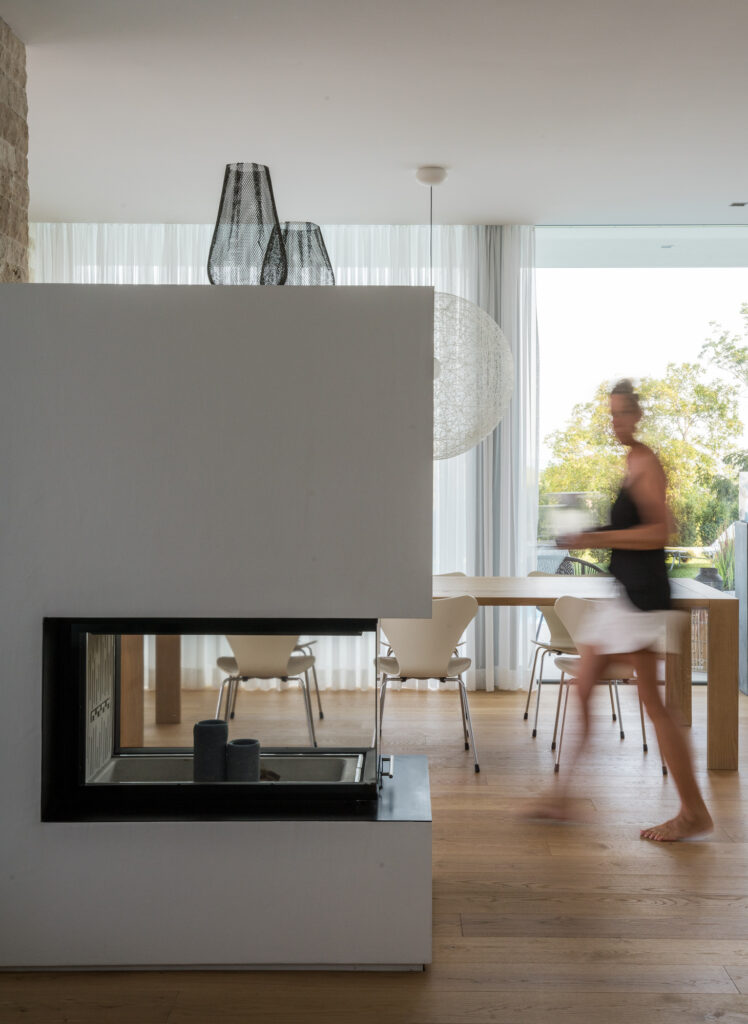
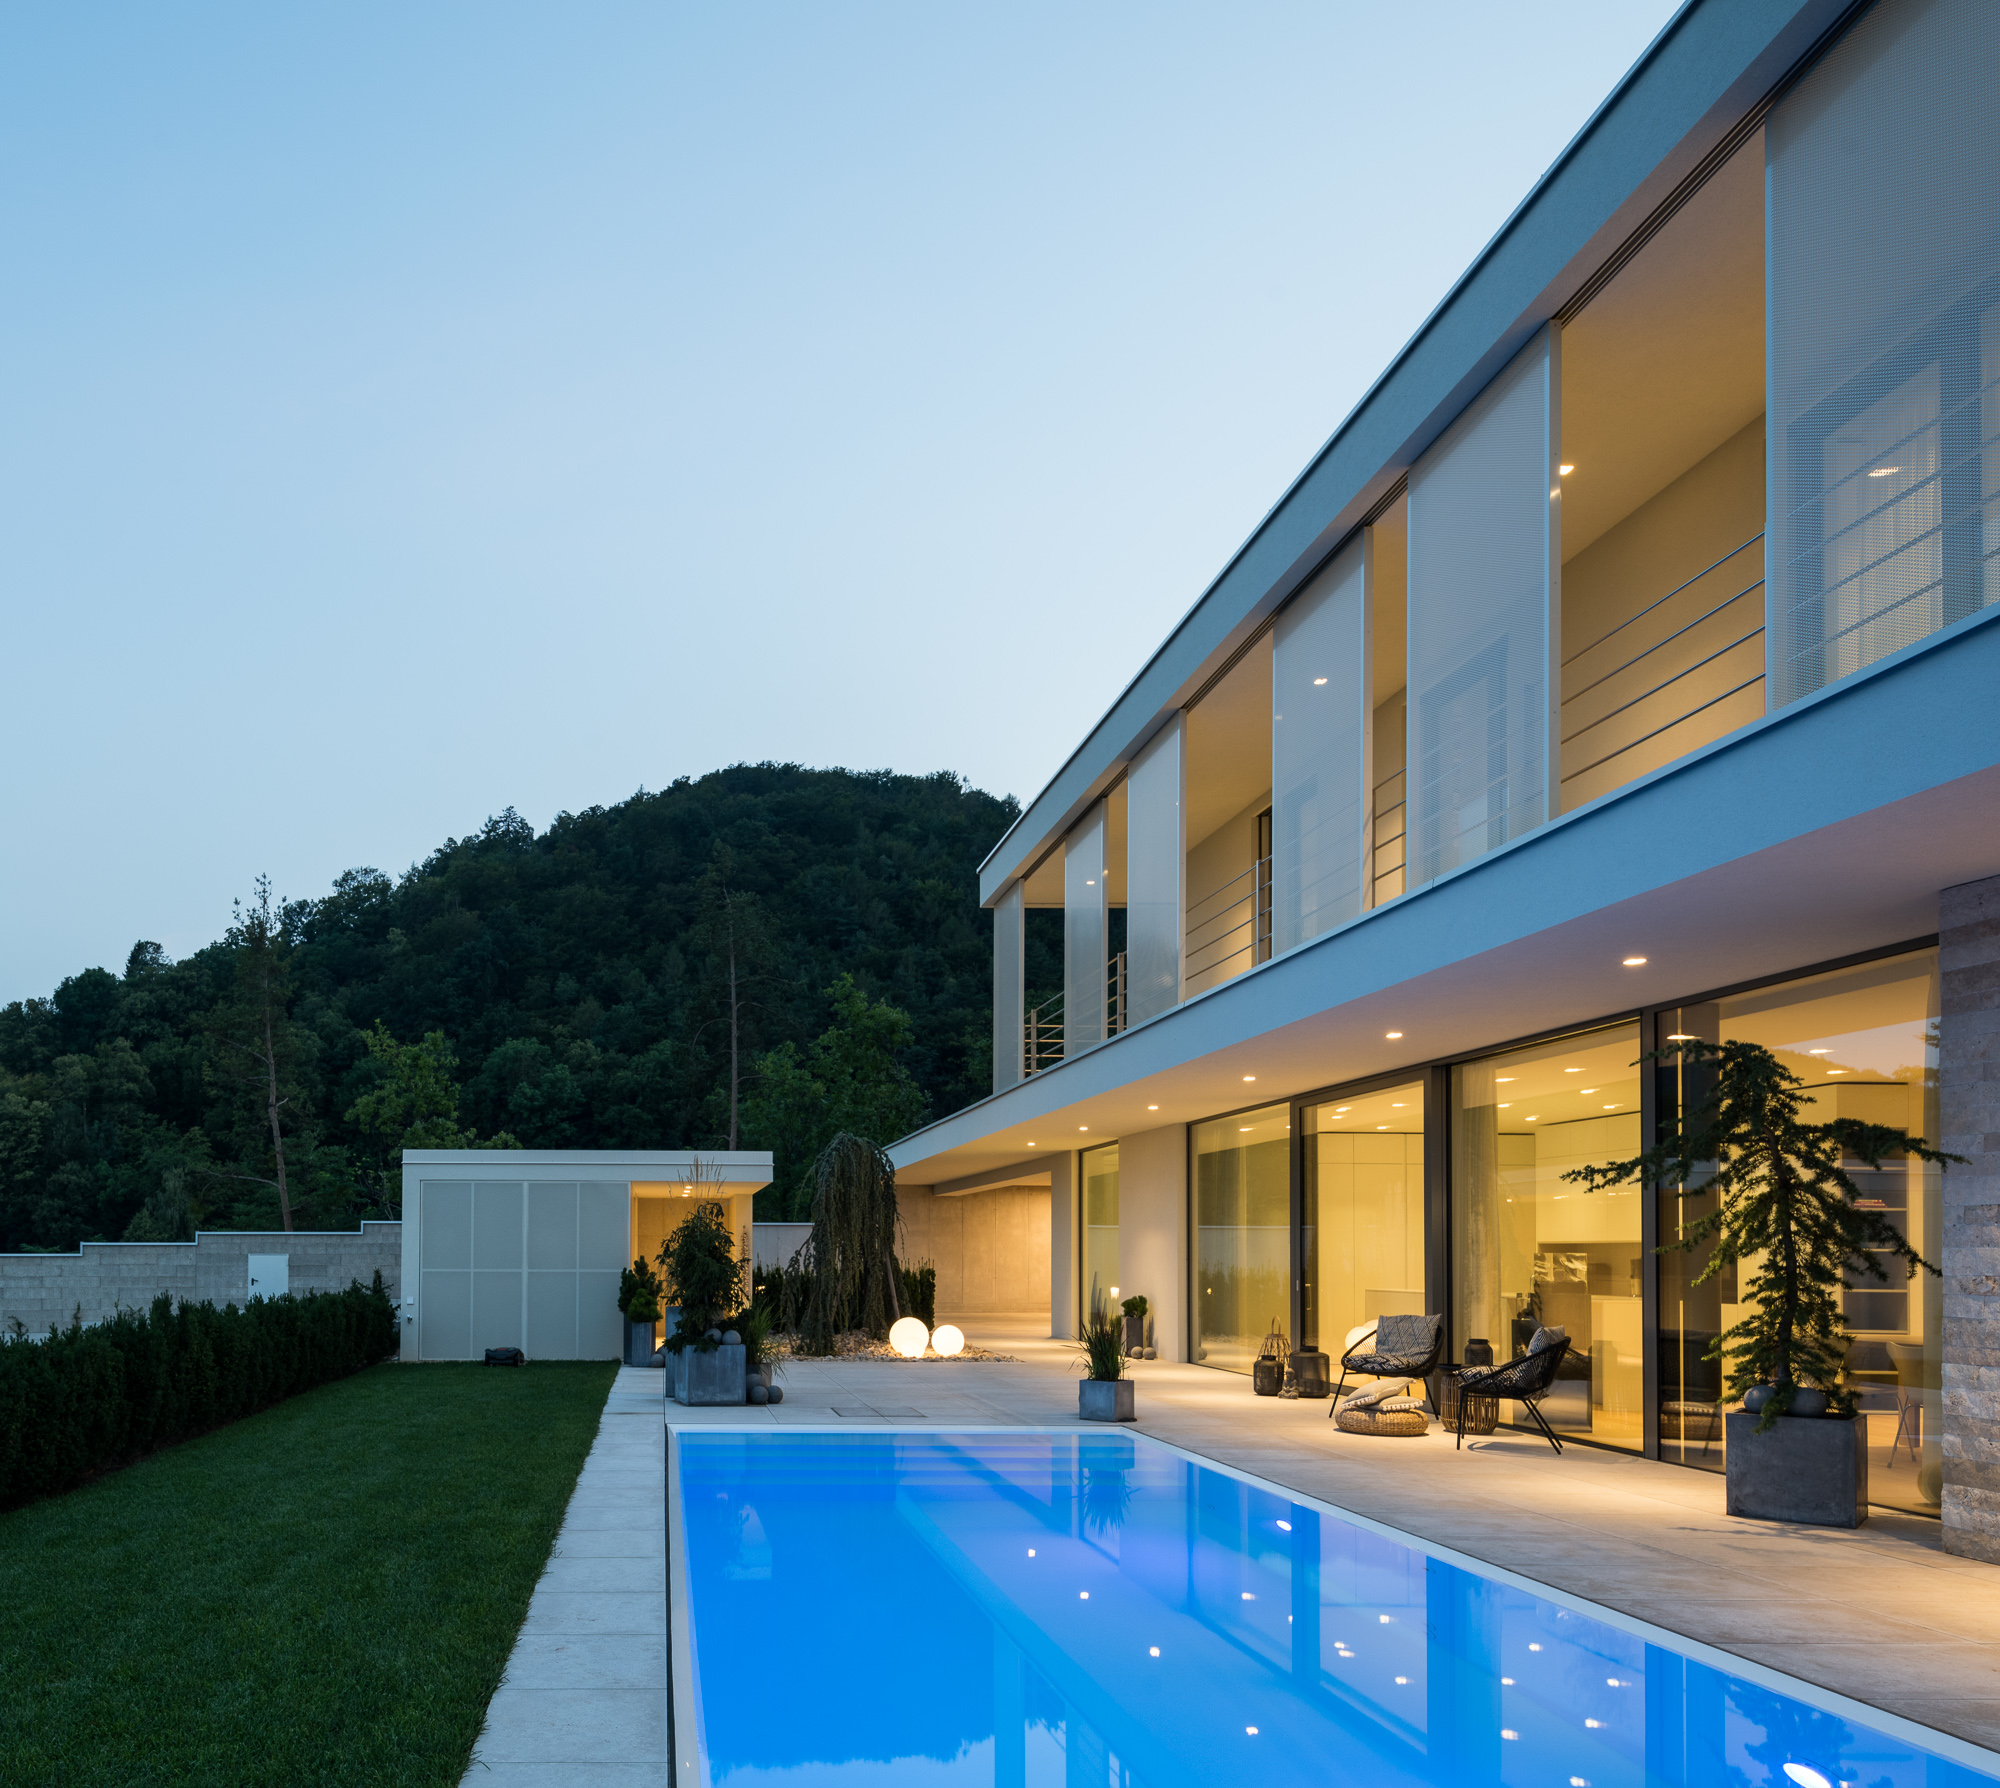
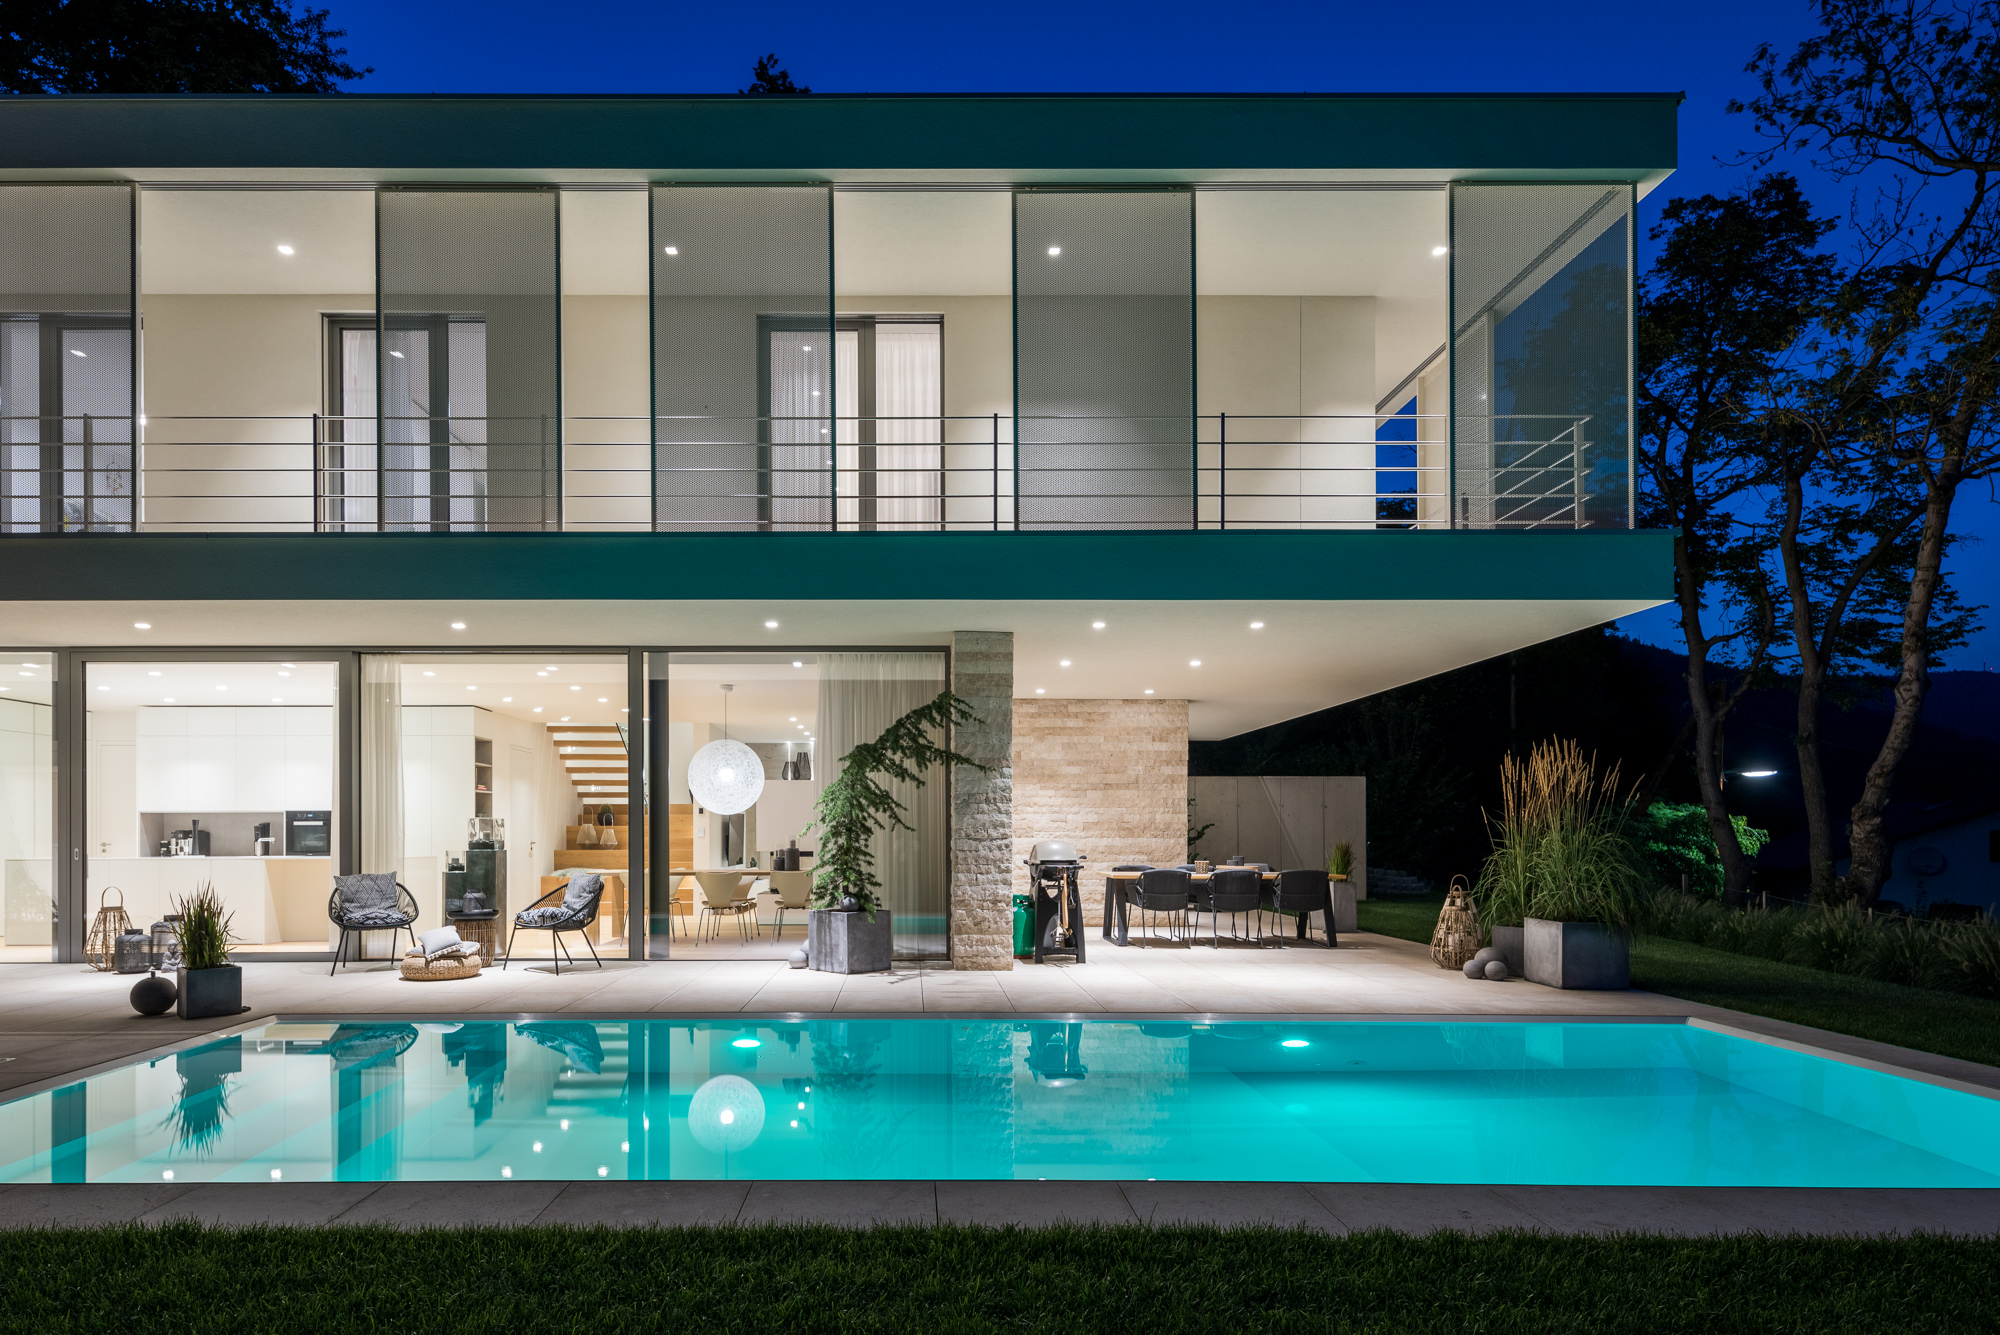
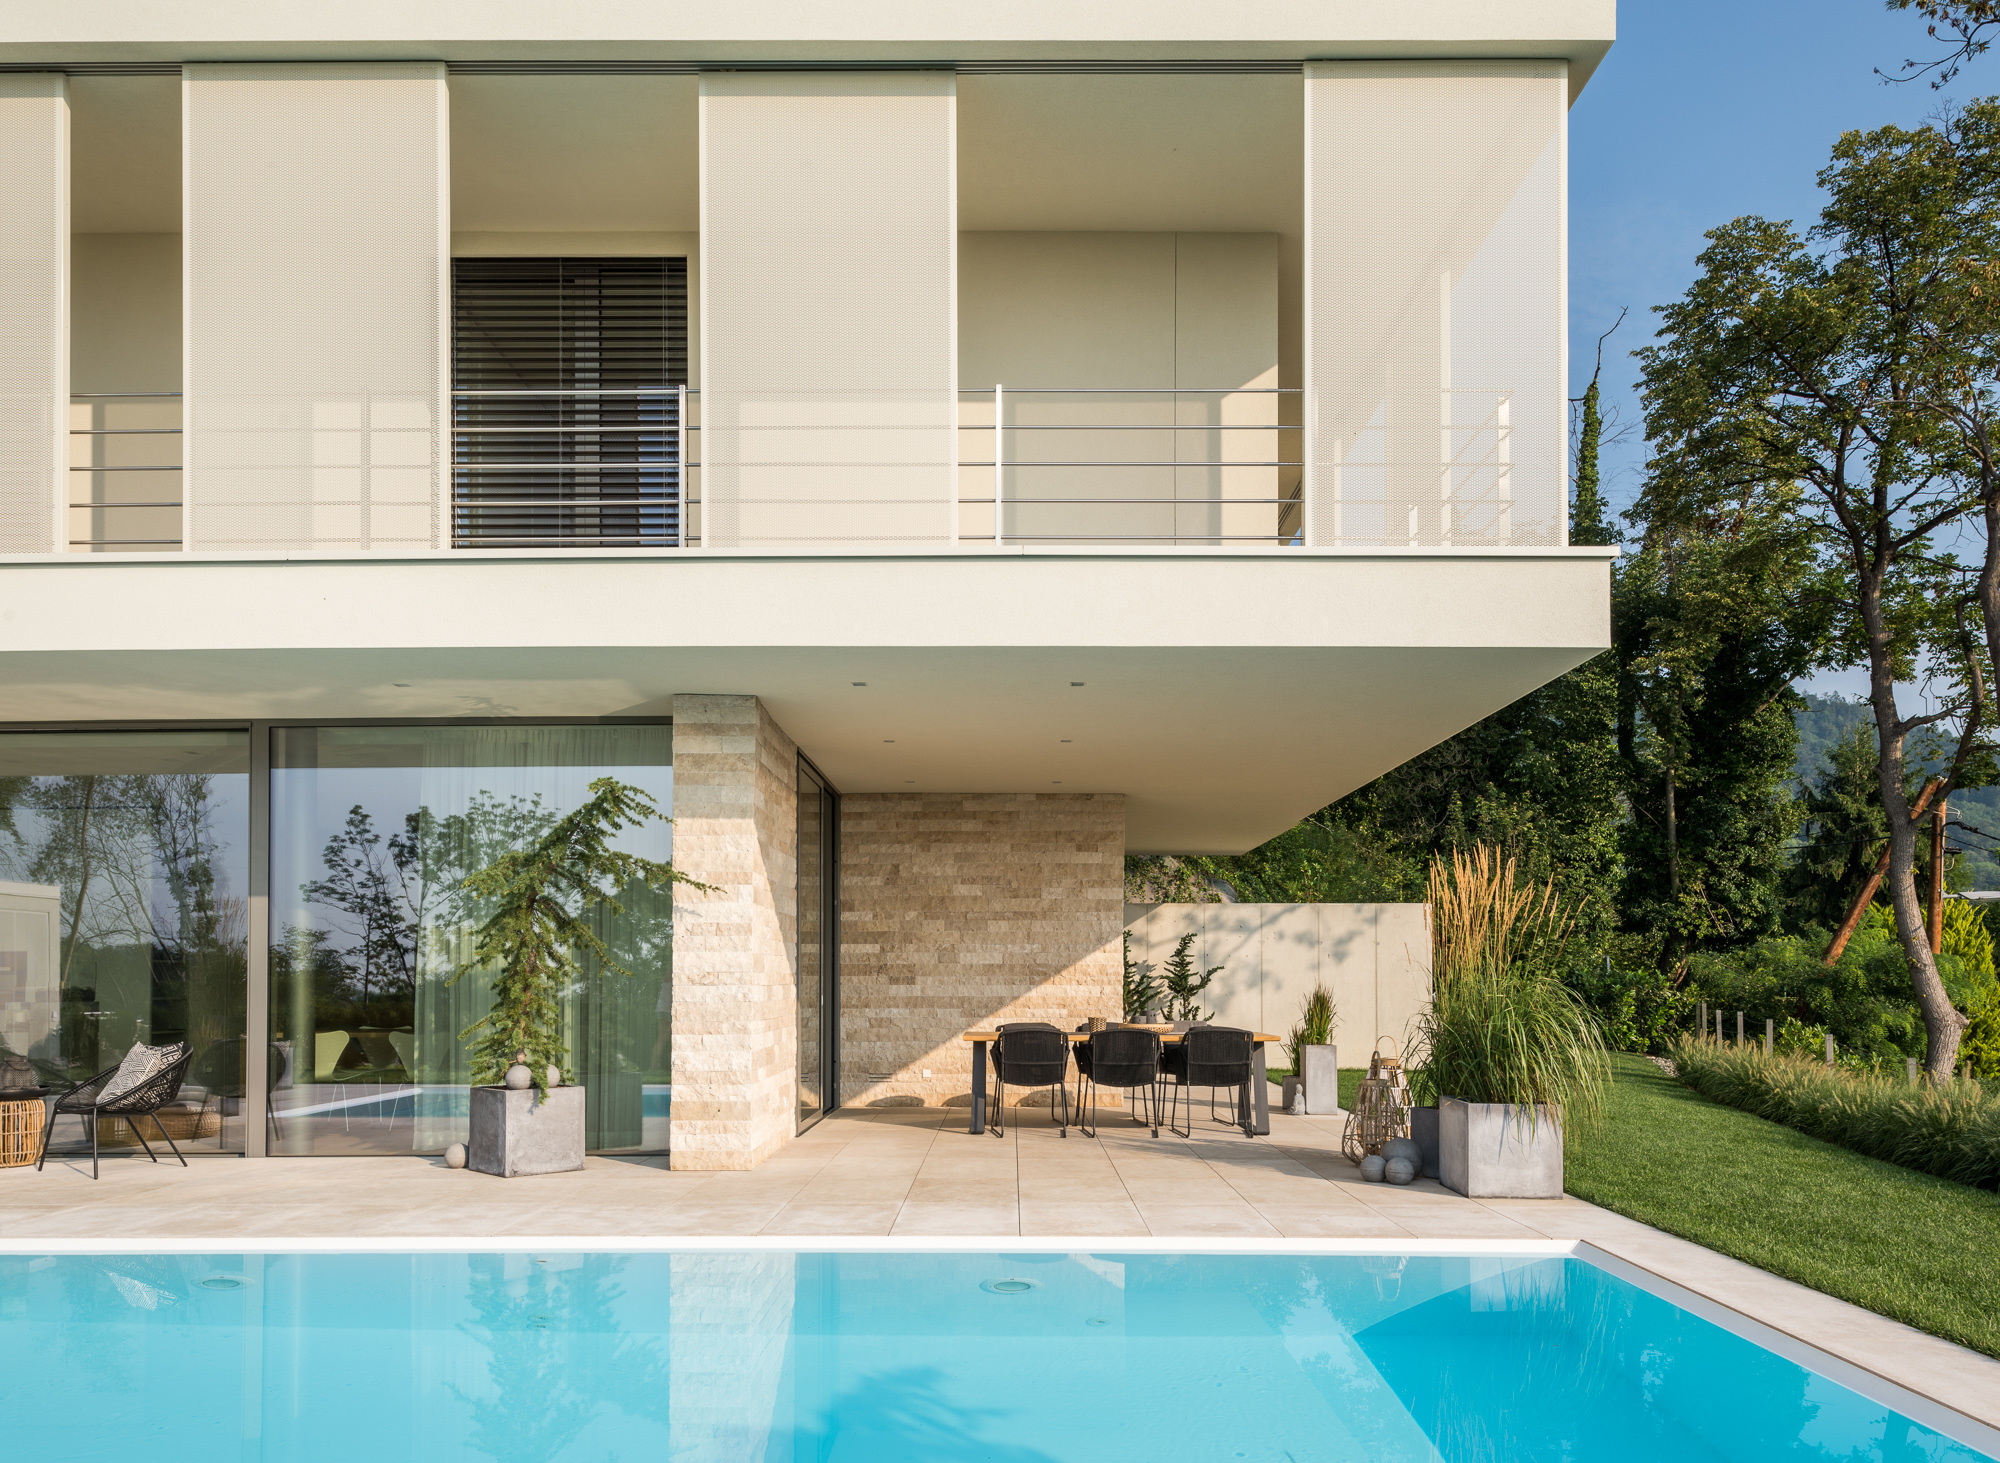
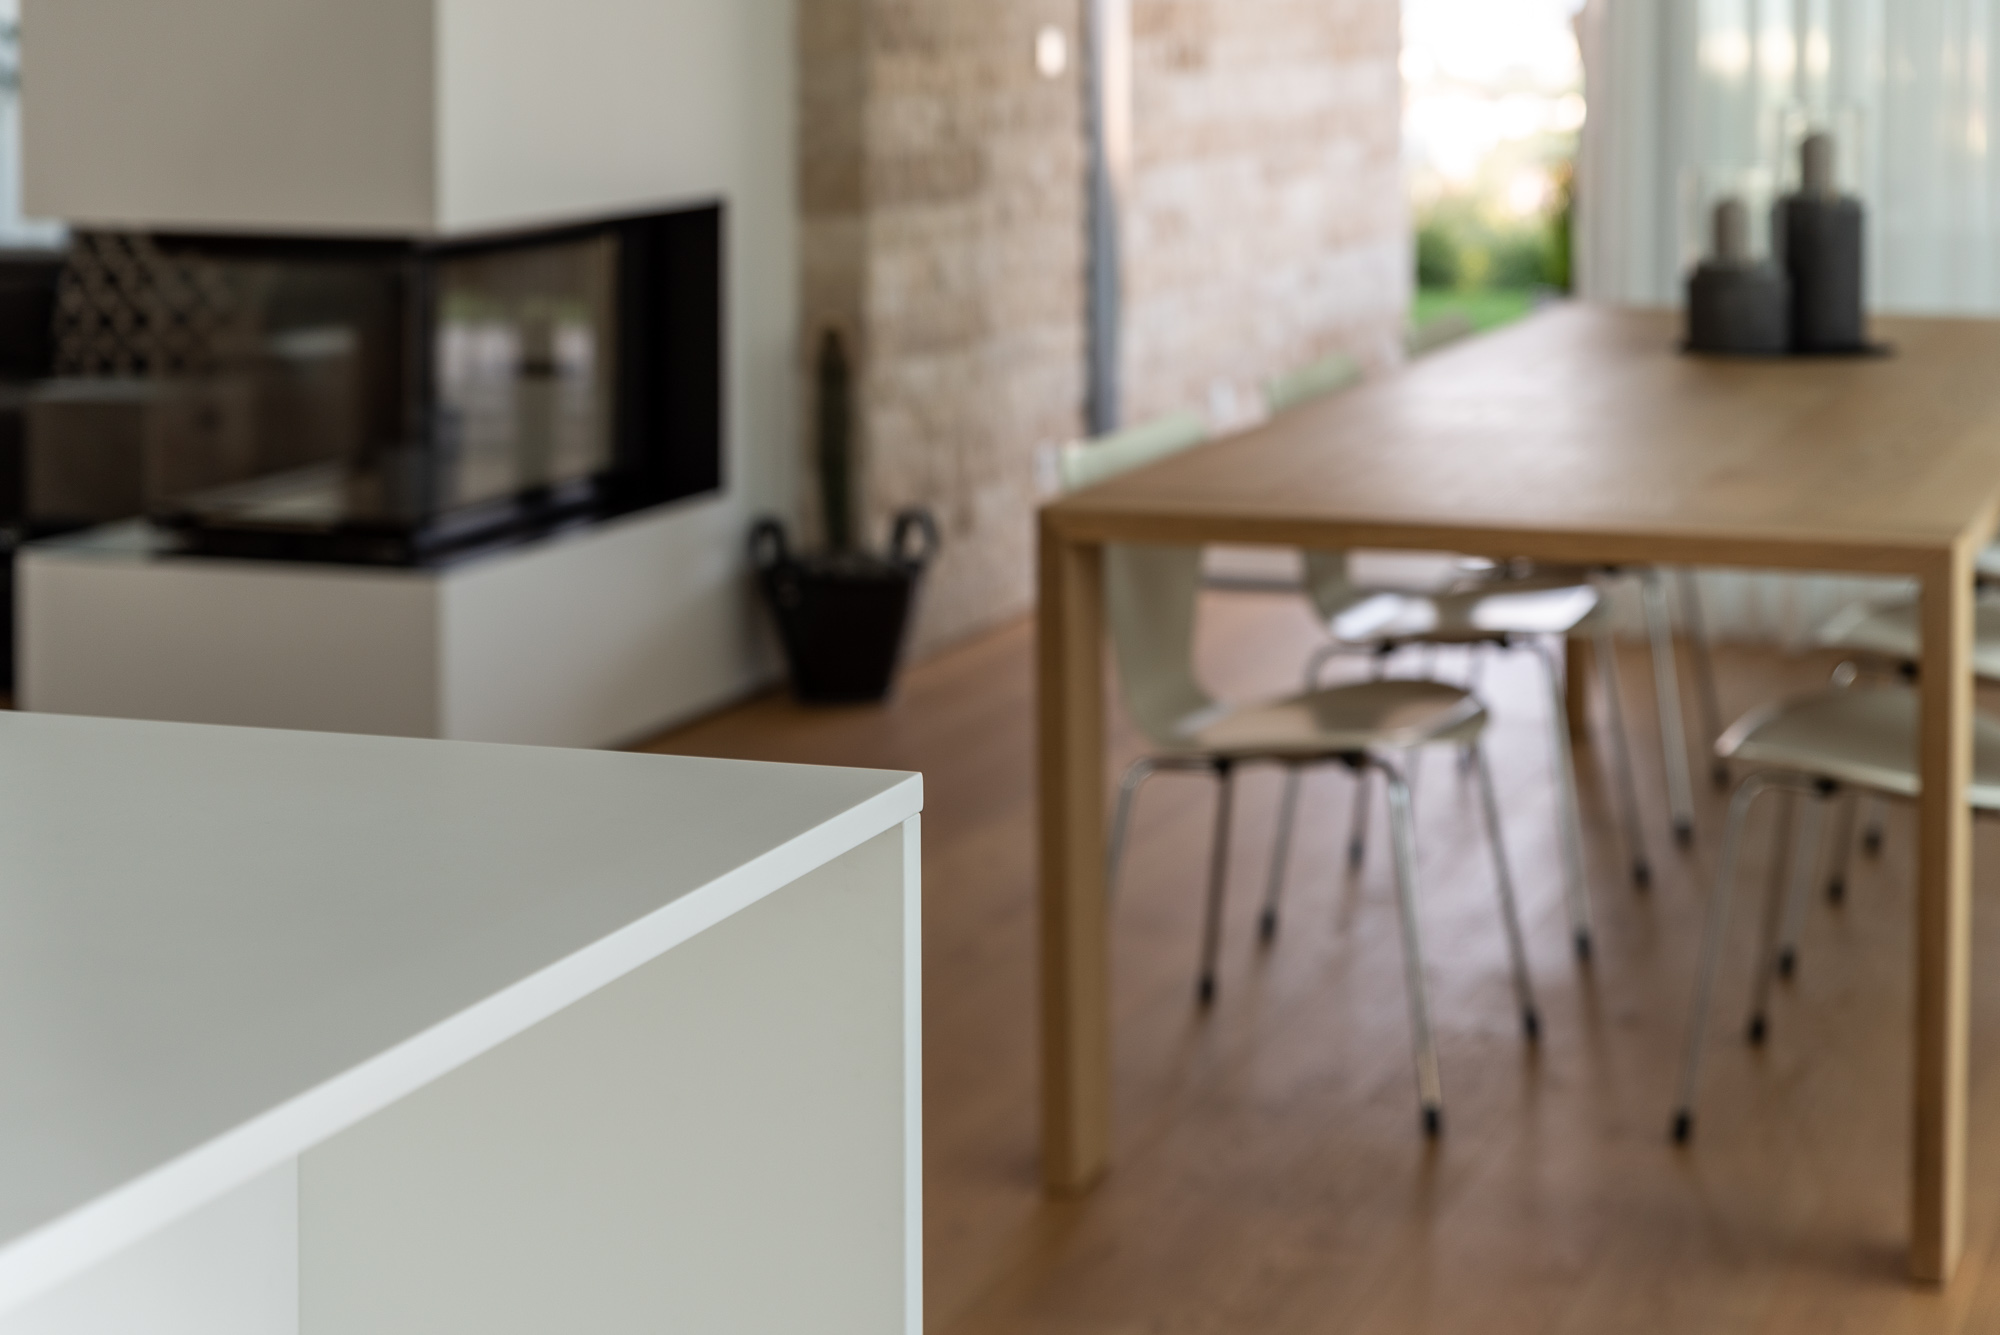
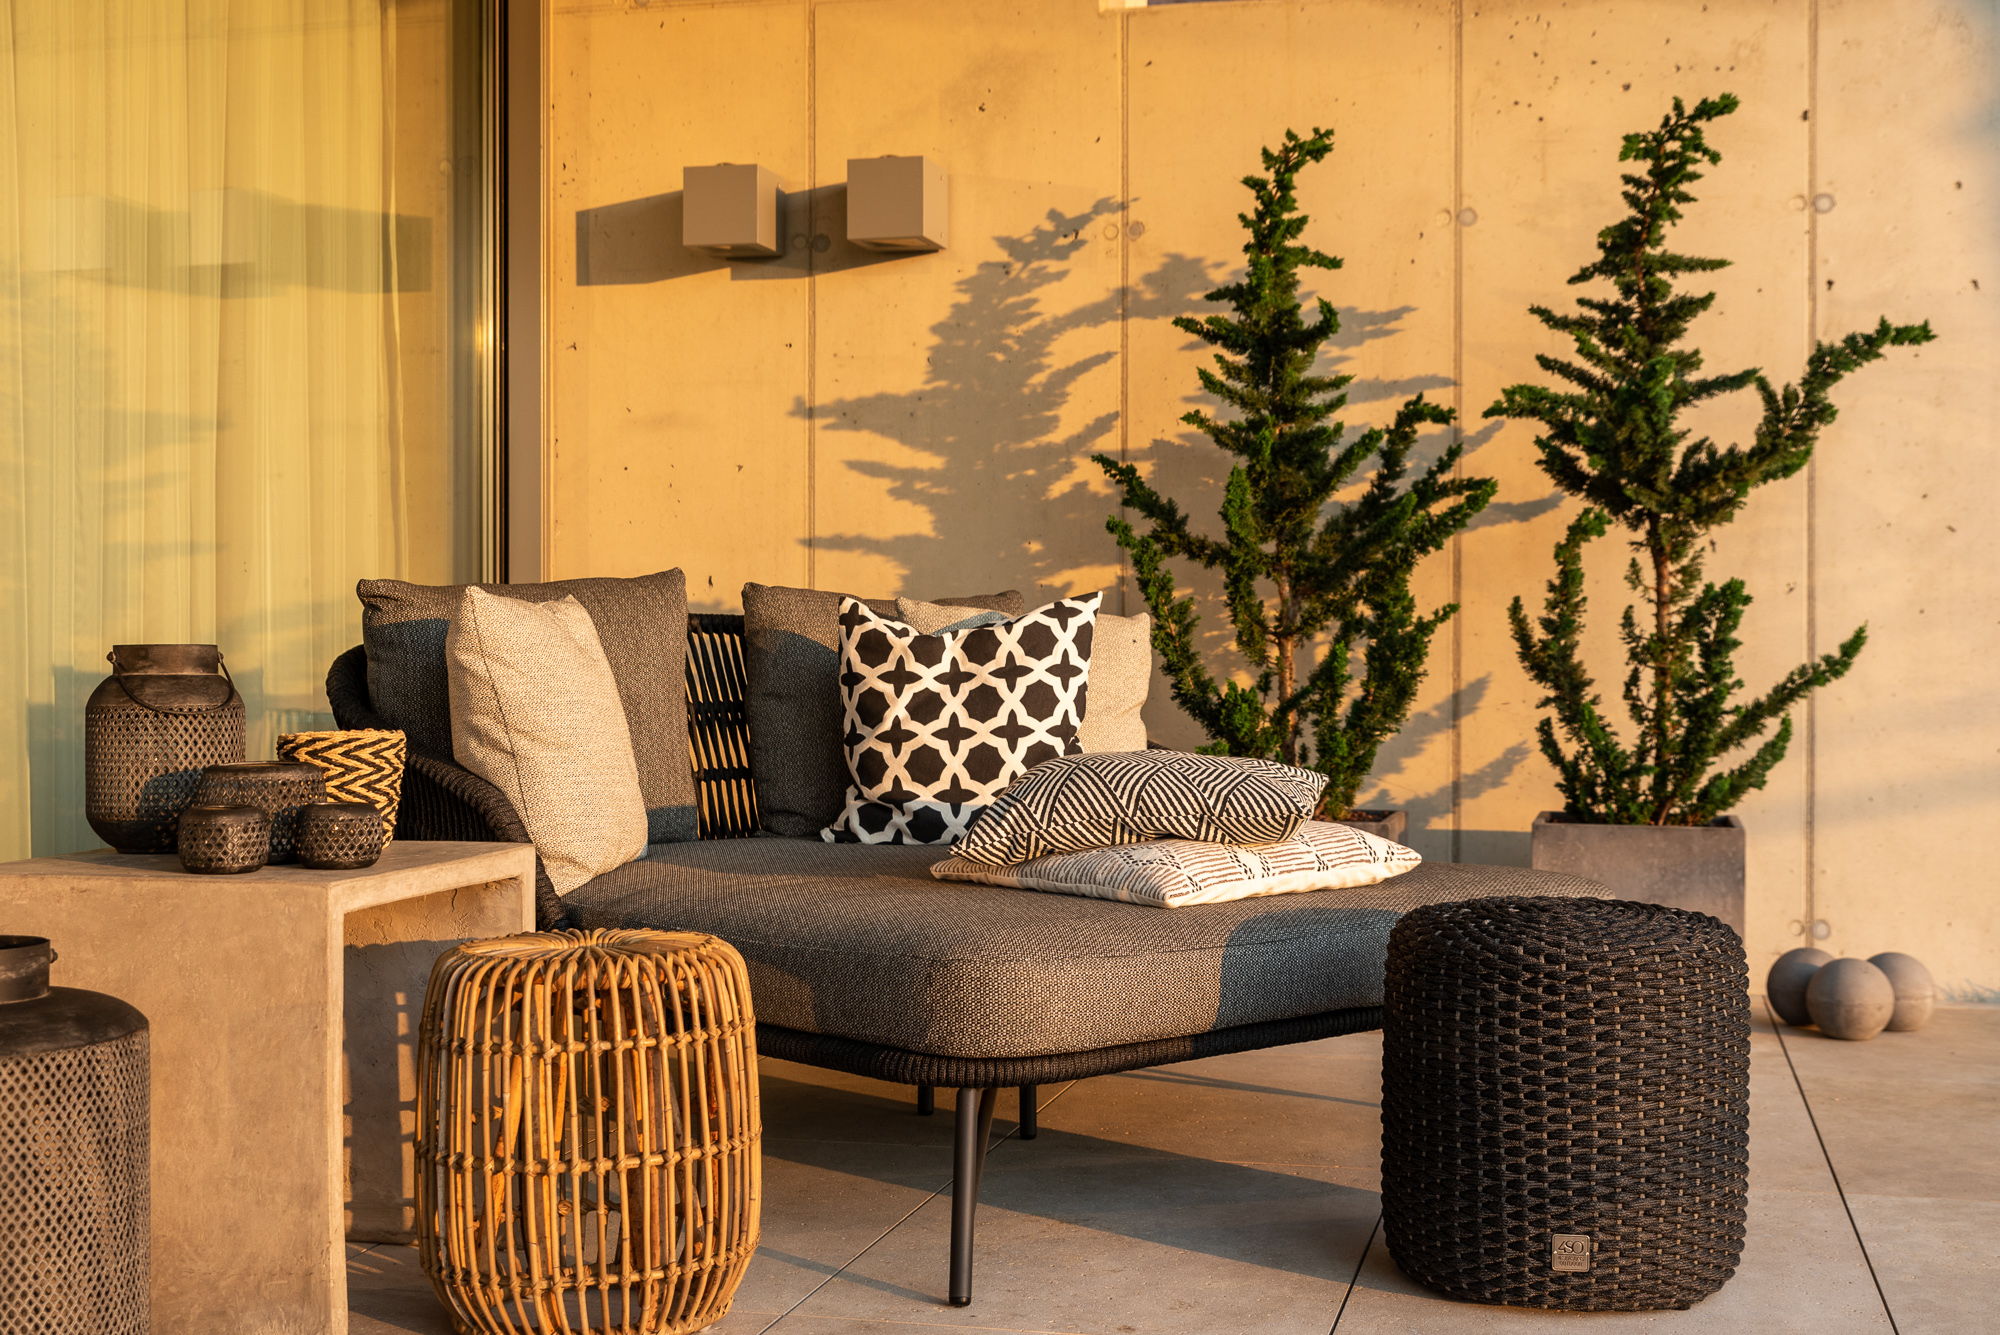
This house has a very simple living room with a giant couch and a nice concrete wall. That’s our next stop:
This is a composition to understand how the rooms are connected. (19mm) – Picked The same with lights on later on the day.

When it comes to interior design a lot of times I can sell images to lighting companies. This image and the previous one could be great for them.

Warm, morning light is still my favorite
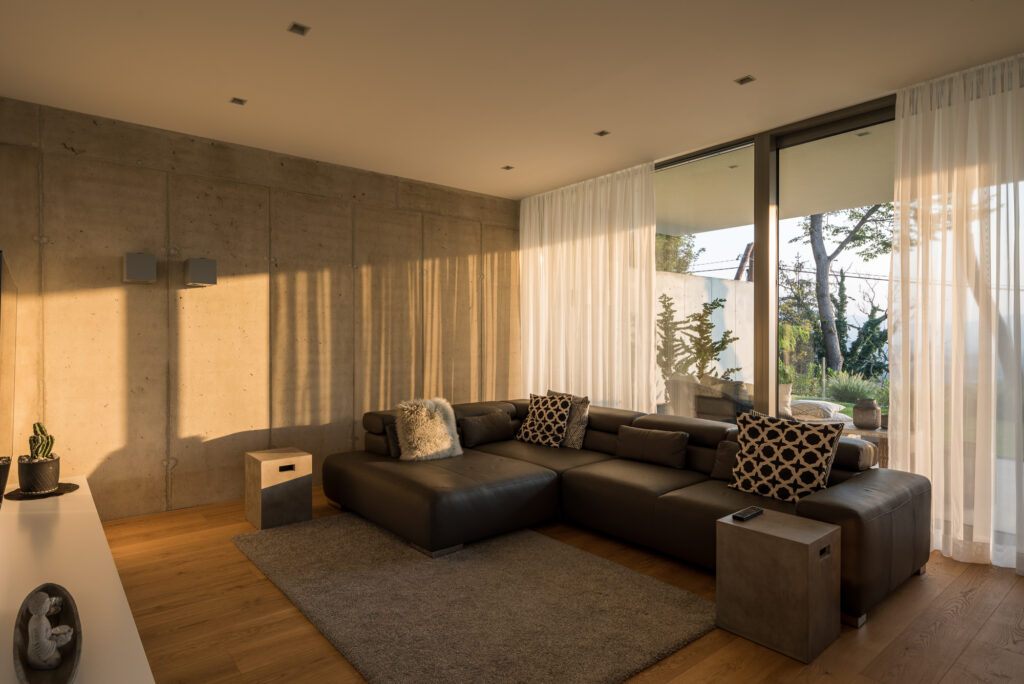
— PickedGreat light, but a 1PP would be better
for this.Picked! 
These last two images are moody but inviting to me. I think these are great additions to the whole set. Picked These last two images are moody but inviting to me. I think these are great additions to the whole set. Picked

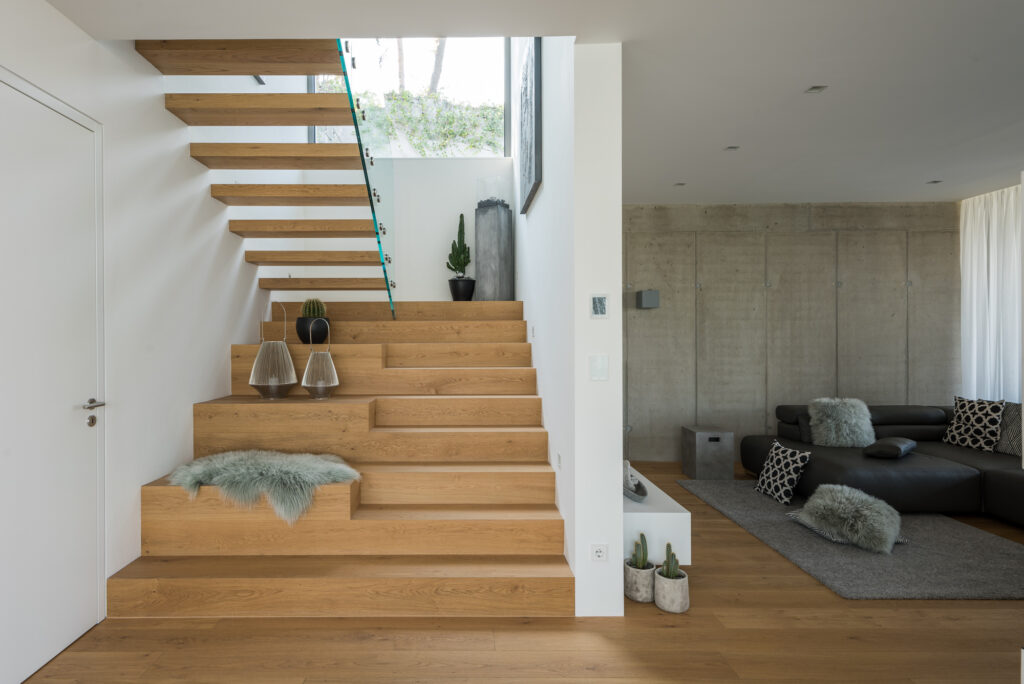
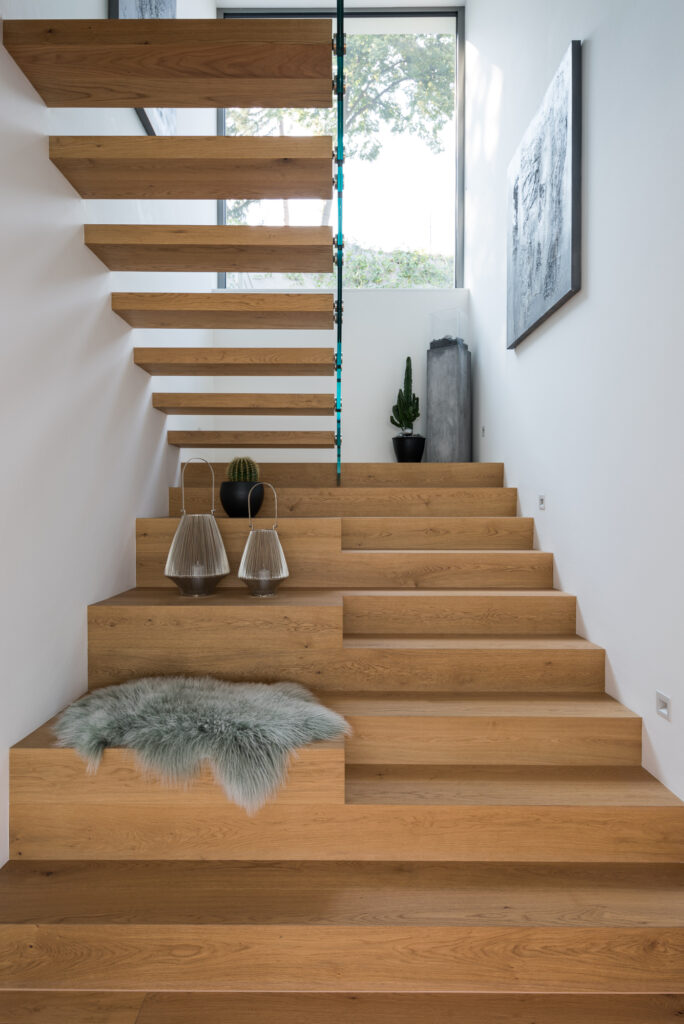
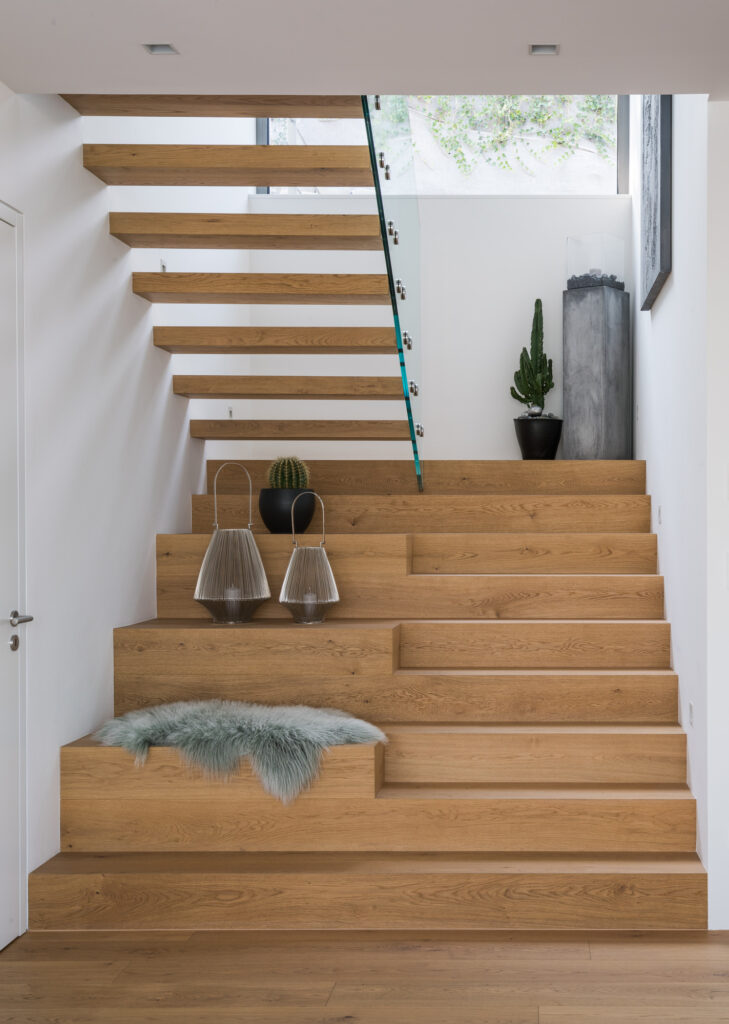
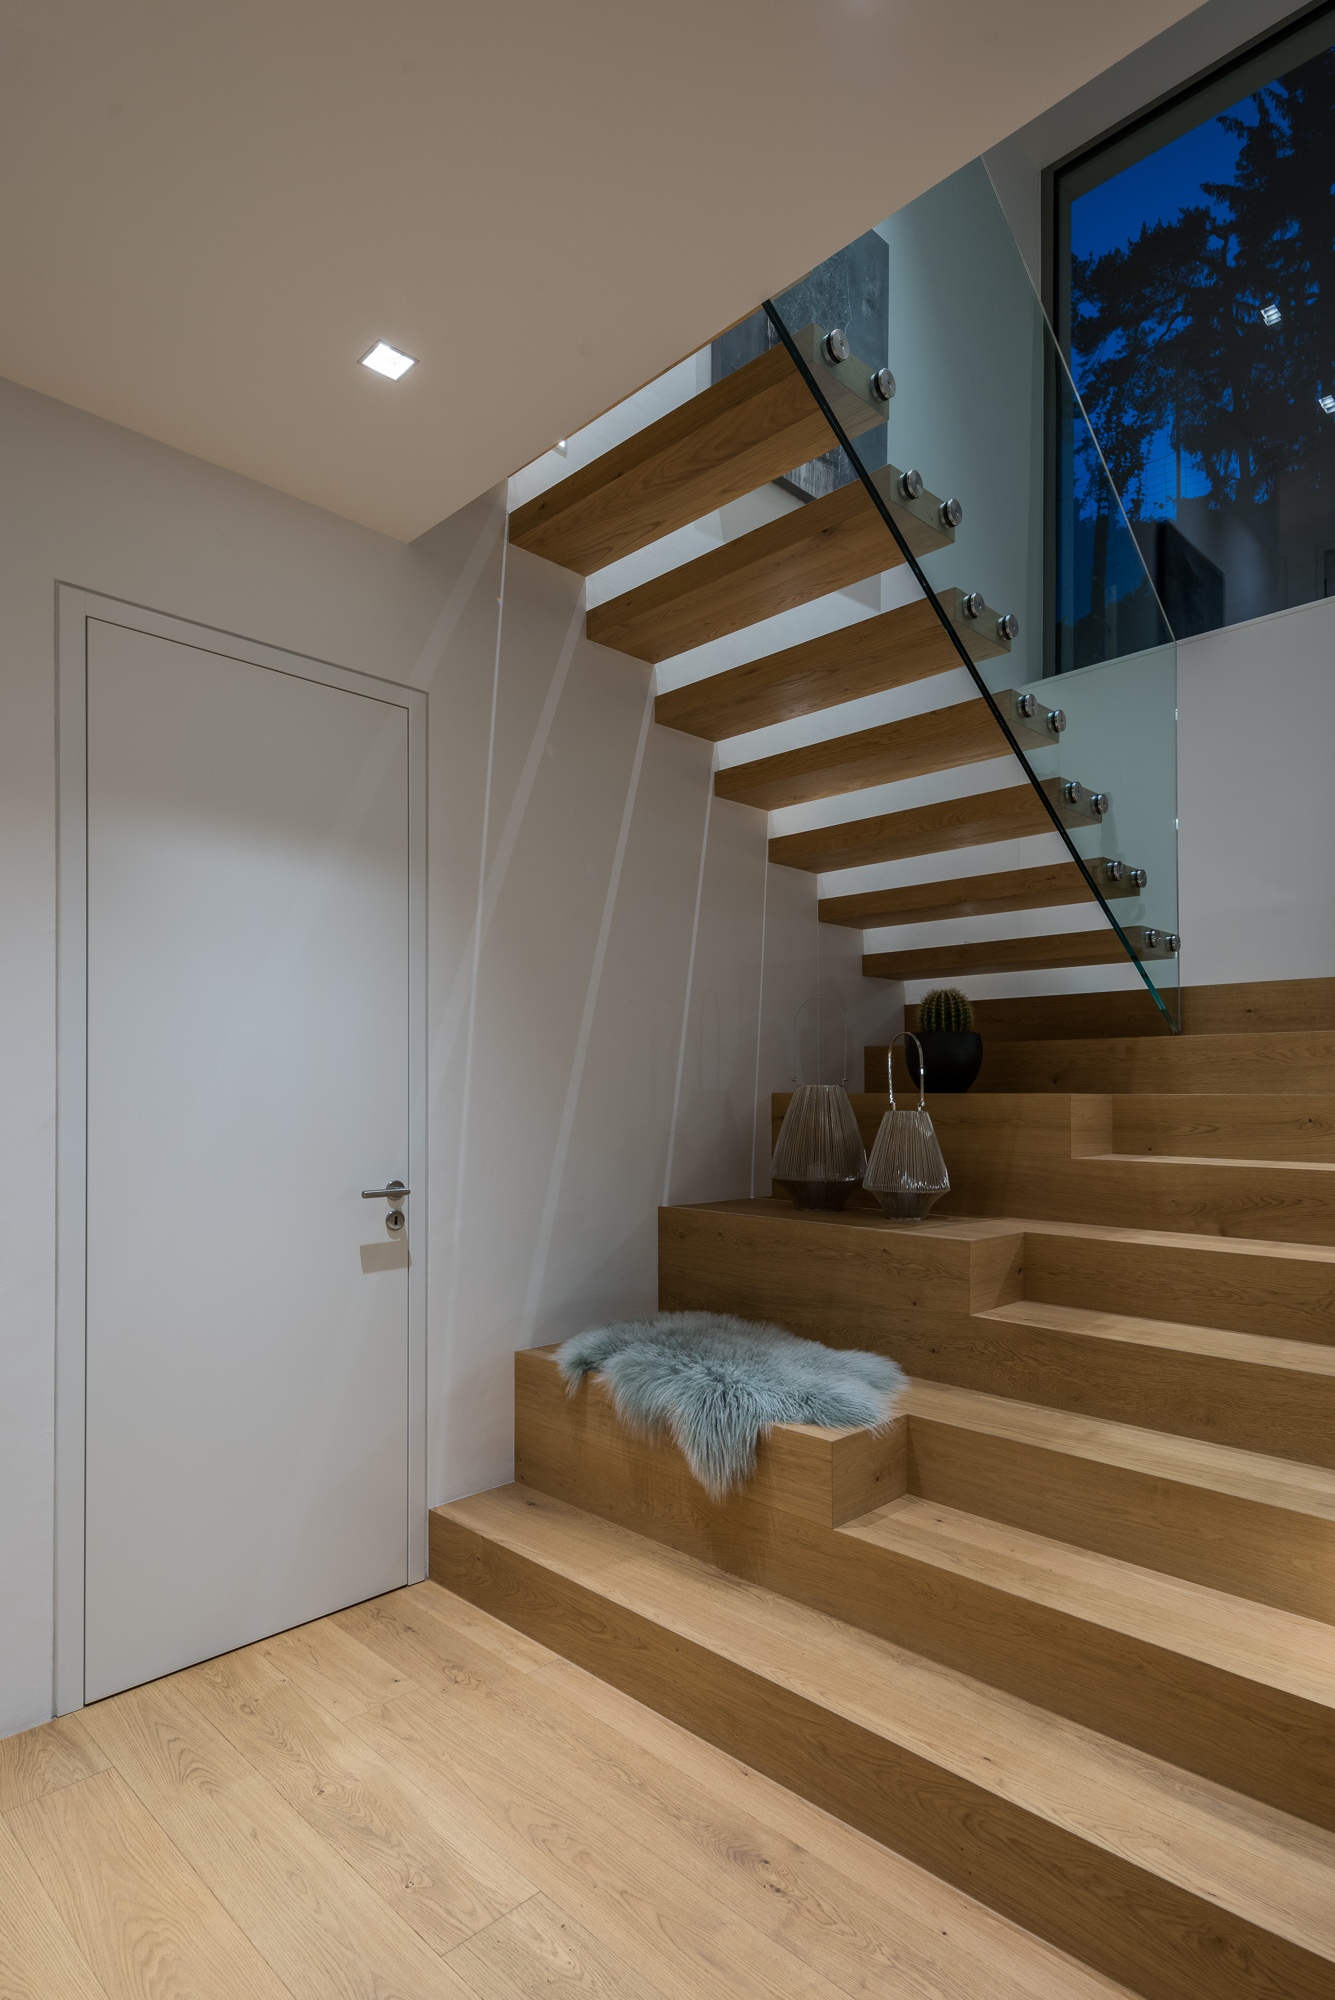
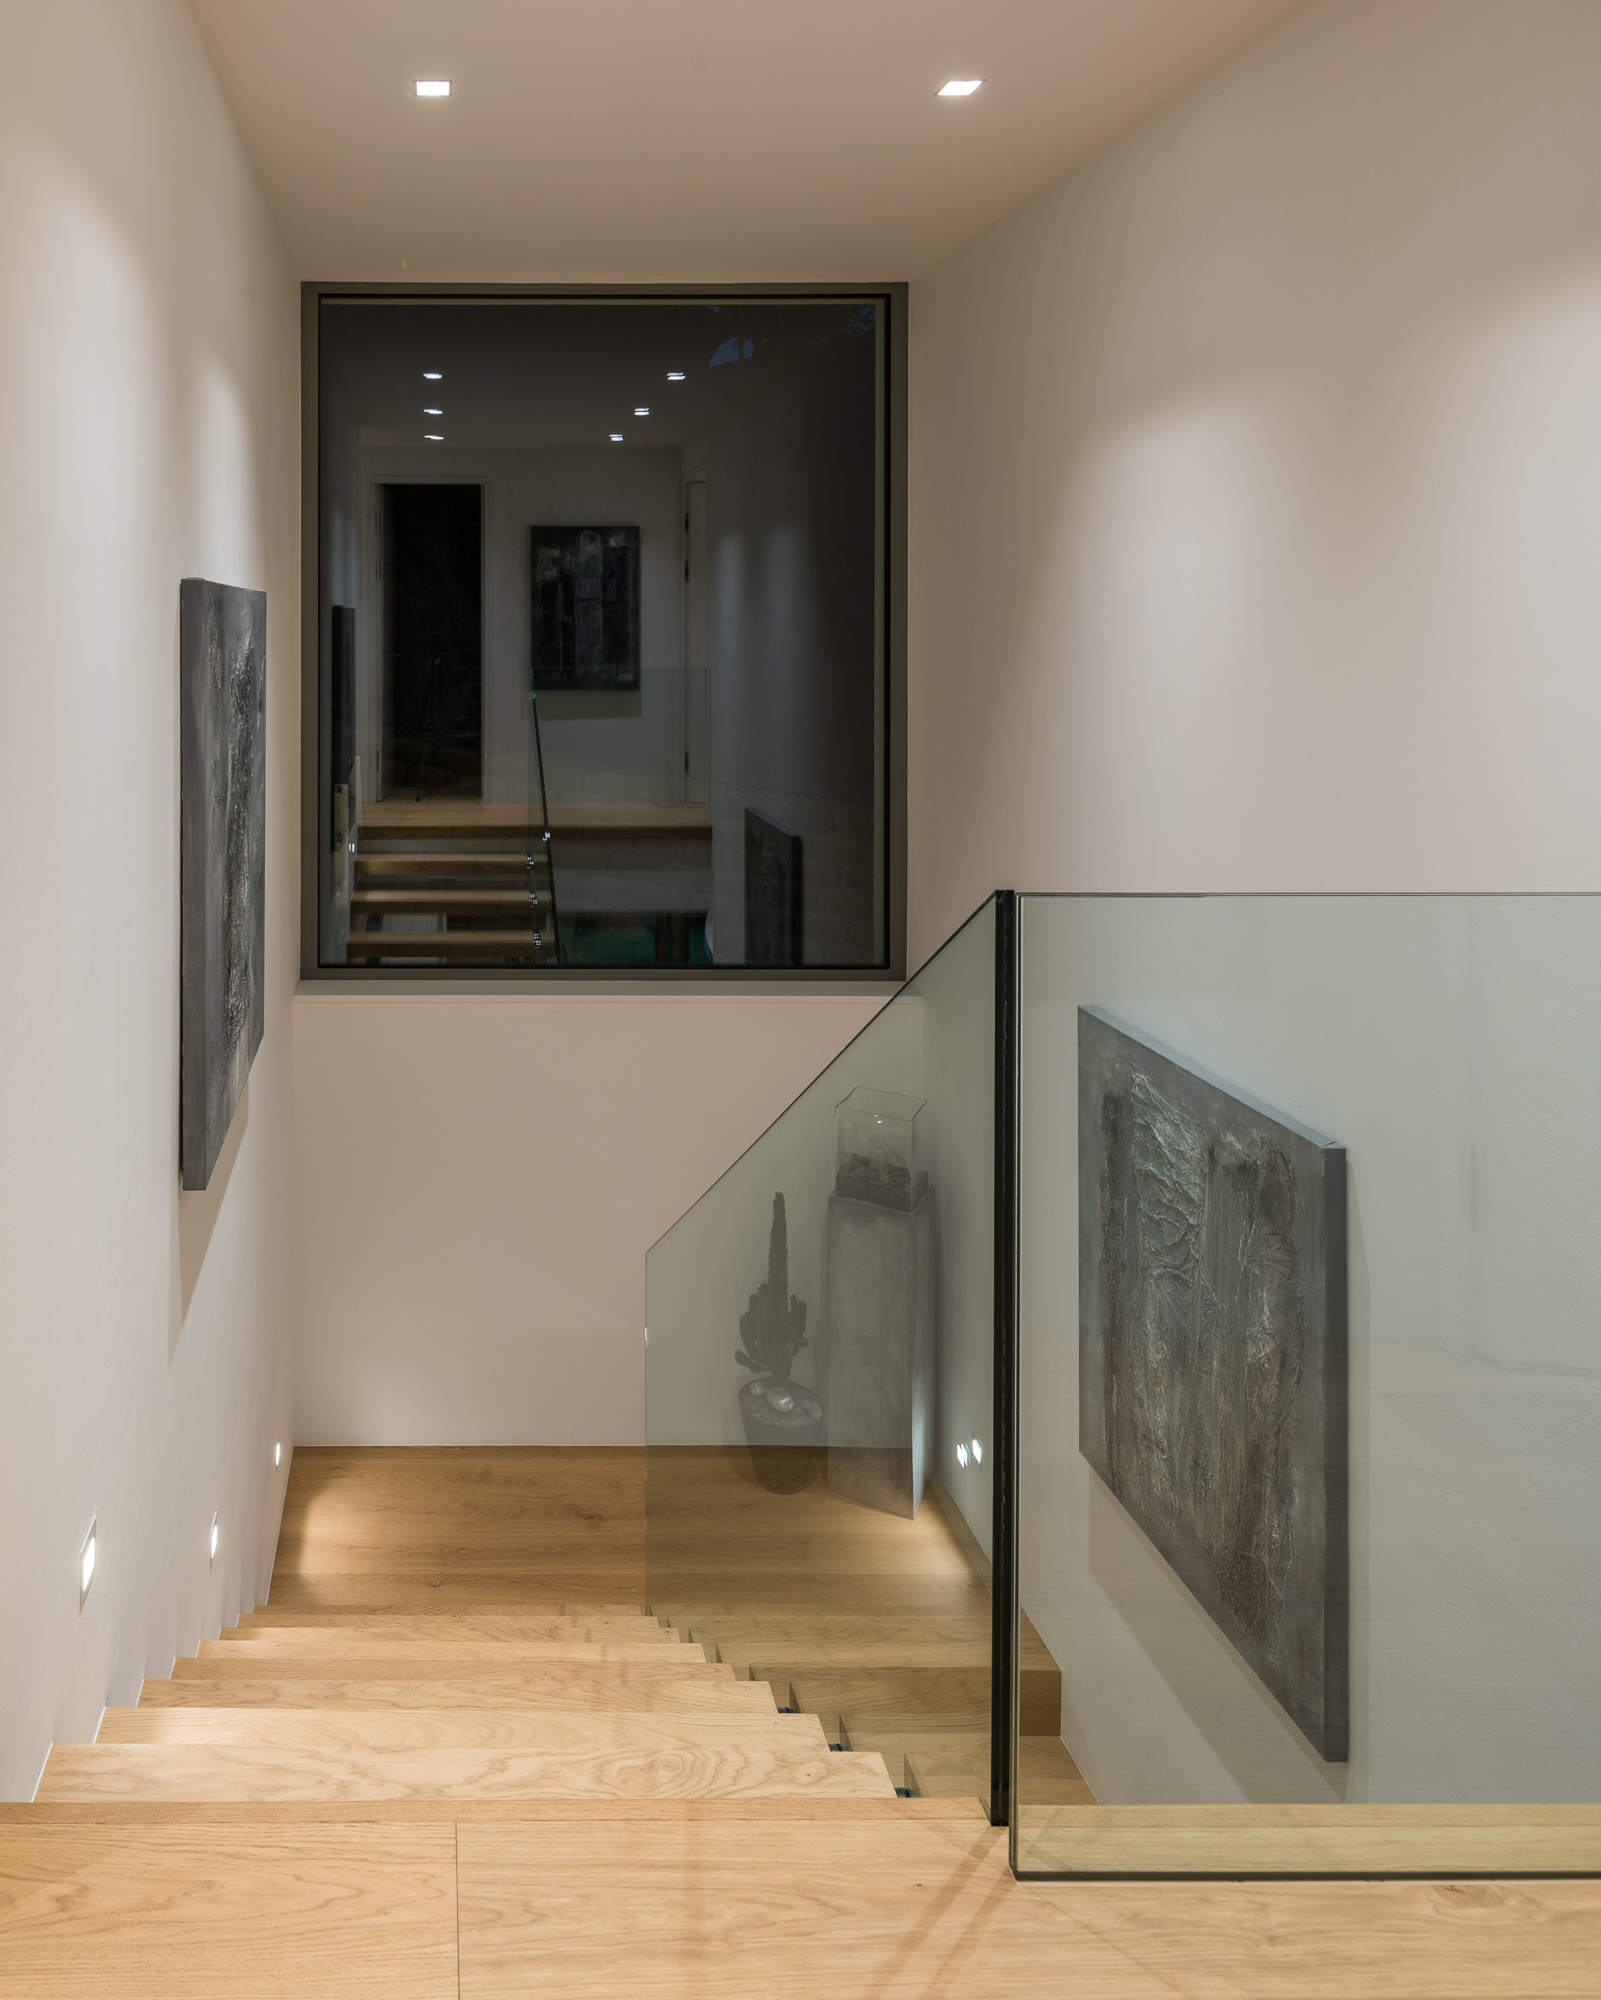
The staircase was quite attractive, and I have one image in my mind when it comes to a floating staircase. I tried the same thing here. These two images were taken to demonstrate what happens if you step back a bit with a 24mm TS + a 1.7x extender instead of the 19mm wide-angle lens.
The staircase was enormous, but the 19mm makes it even bigger. 
The image contains the same main elements, but the proportions are much better. Picked
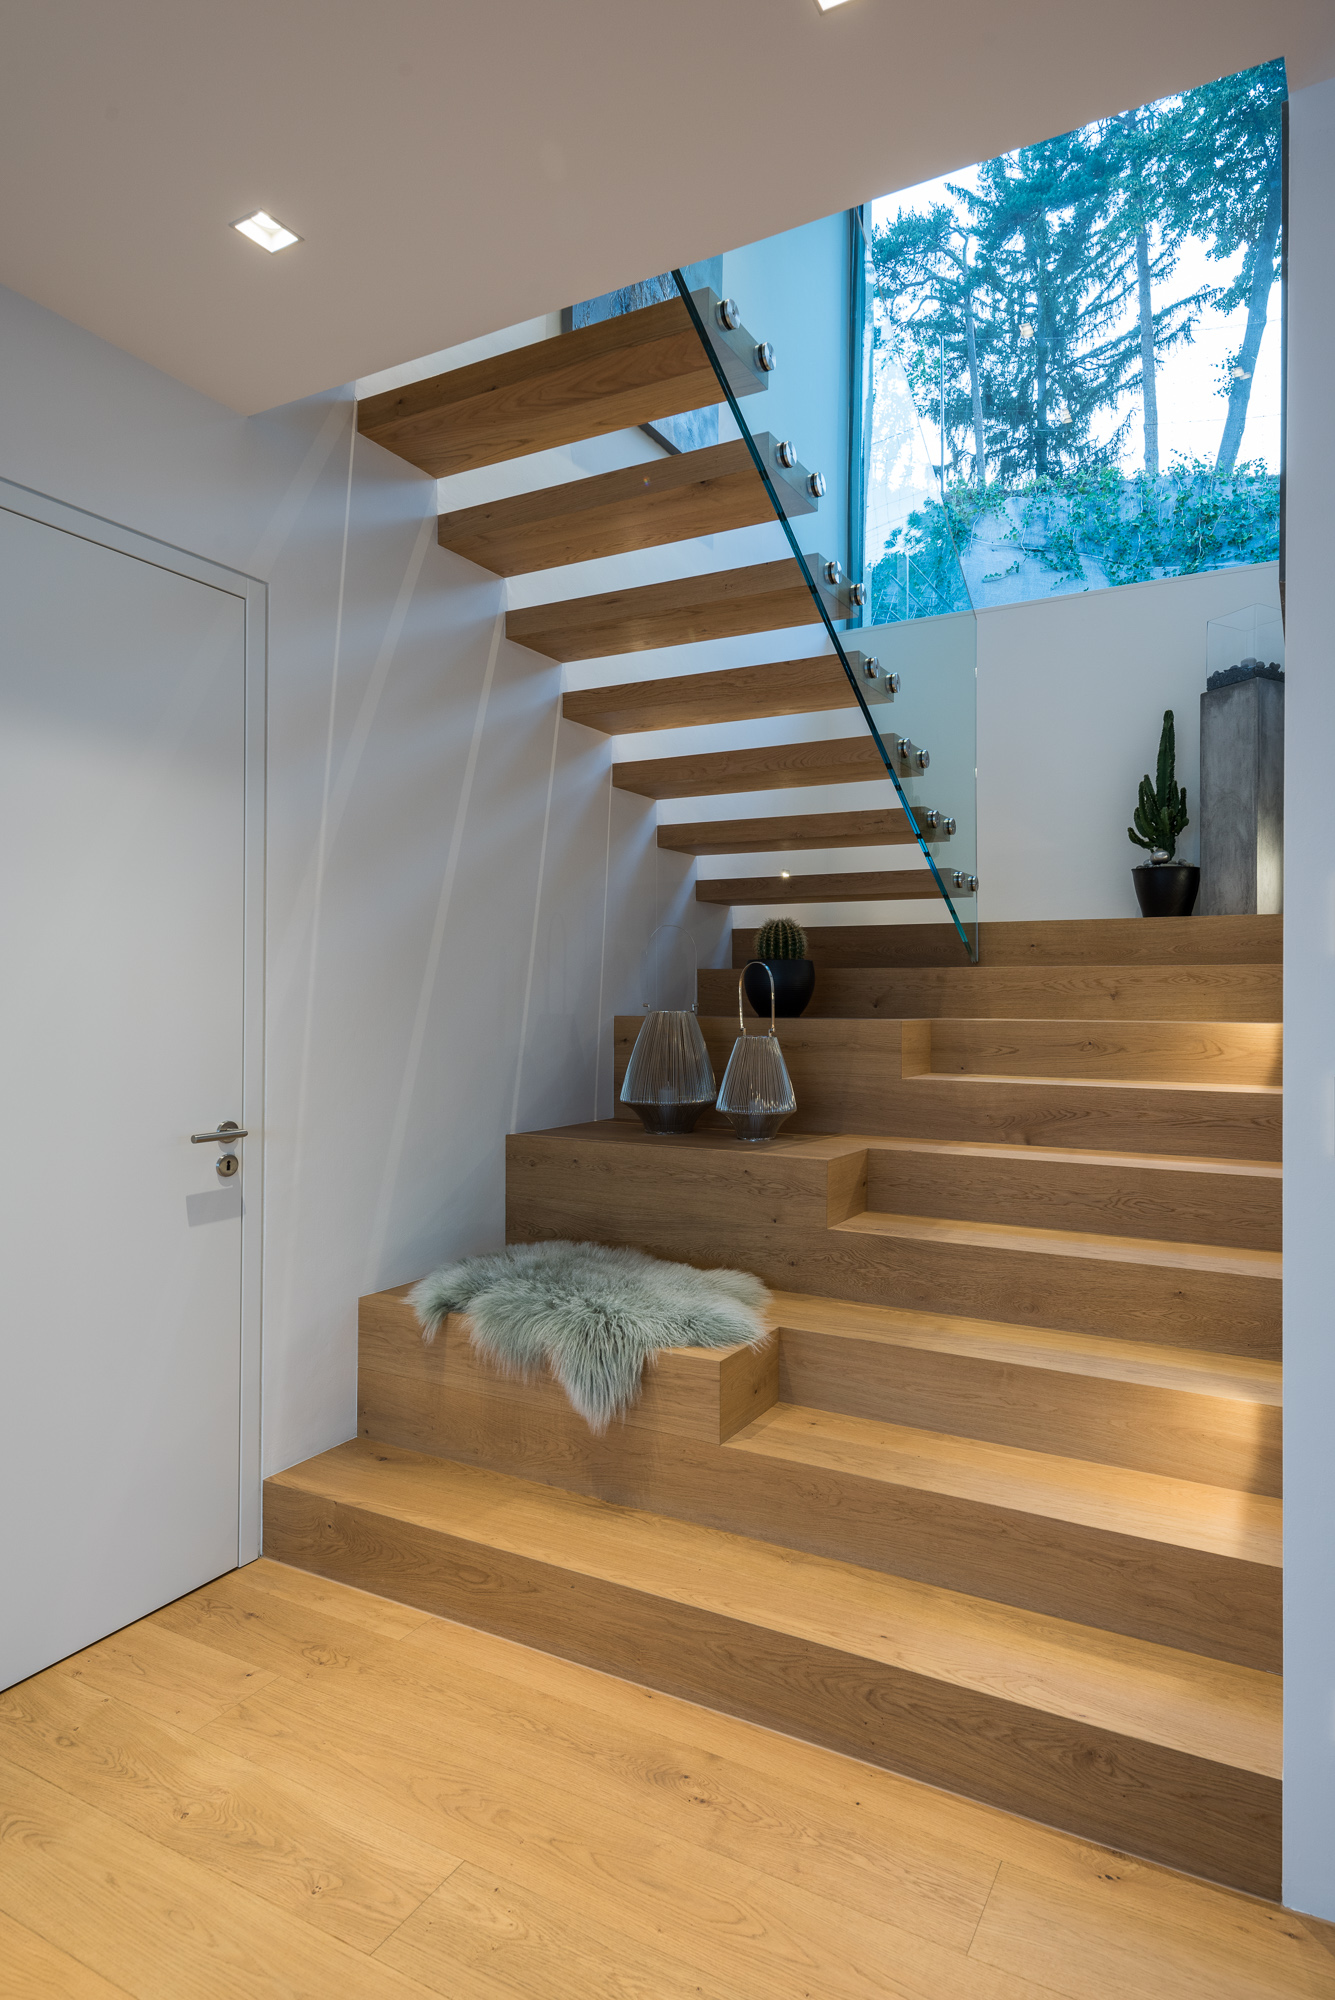
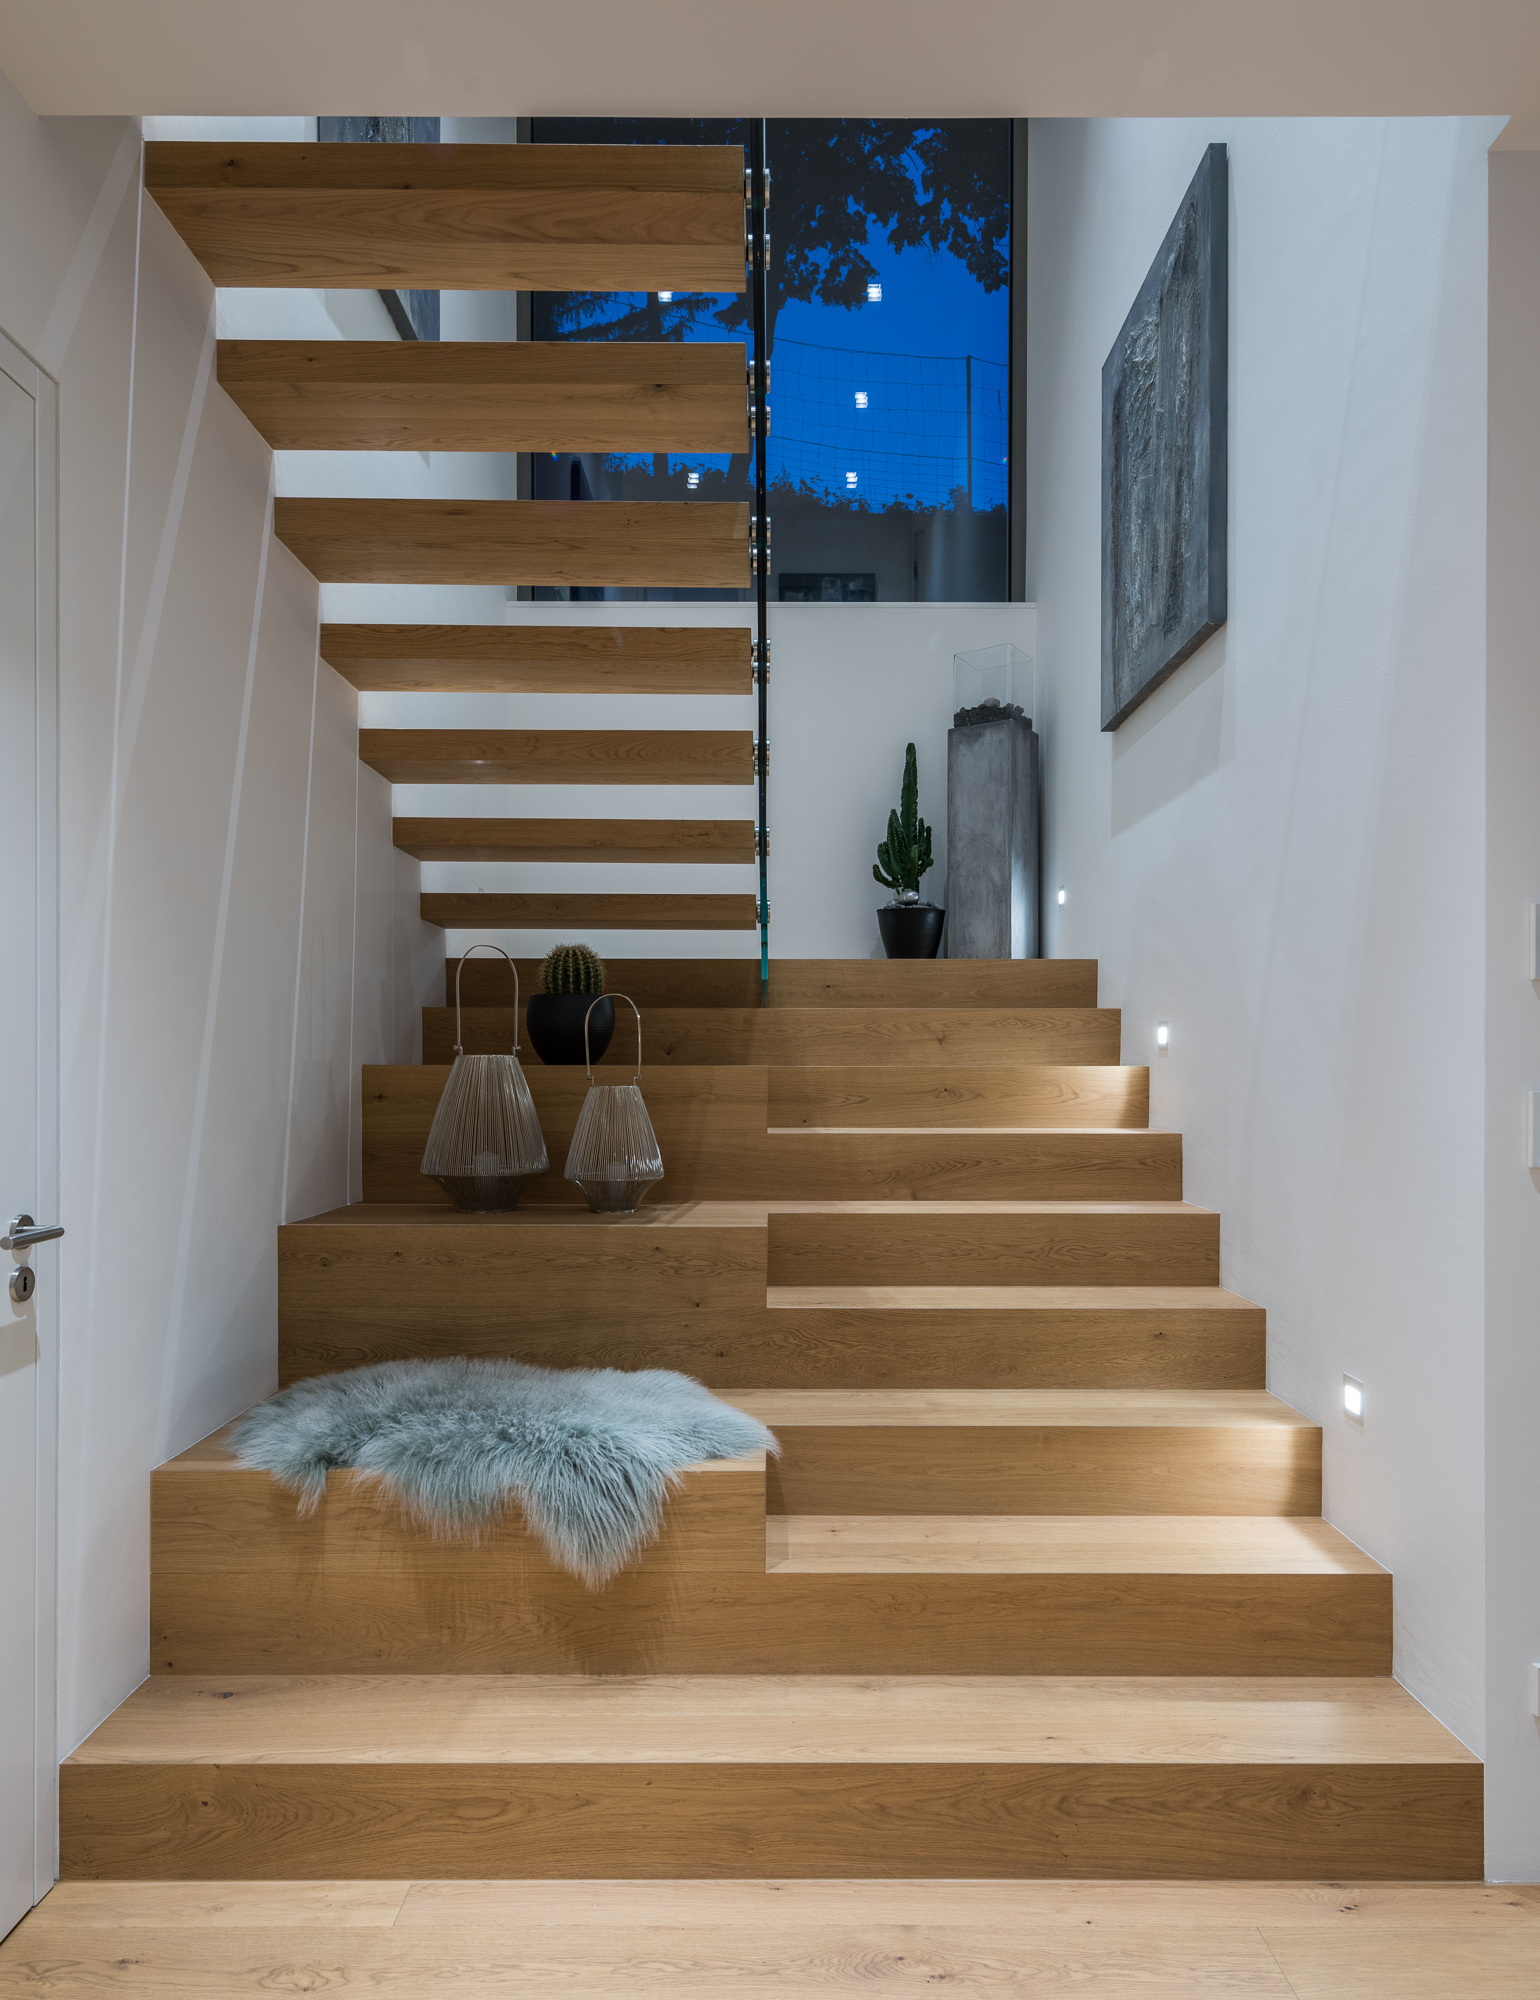
I was a bit early here. 
19mm (cropped) but I was not as close as
earlier – Picked.The daytime version is so much stronger
in my opinion, but this is a great option
for lighting companies again.
Picked. 
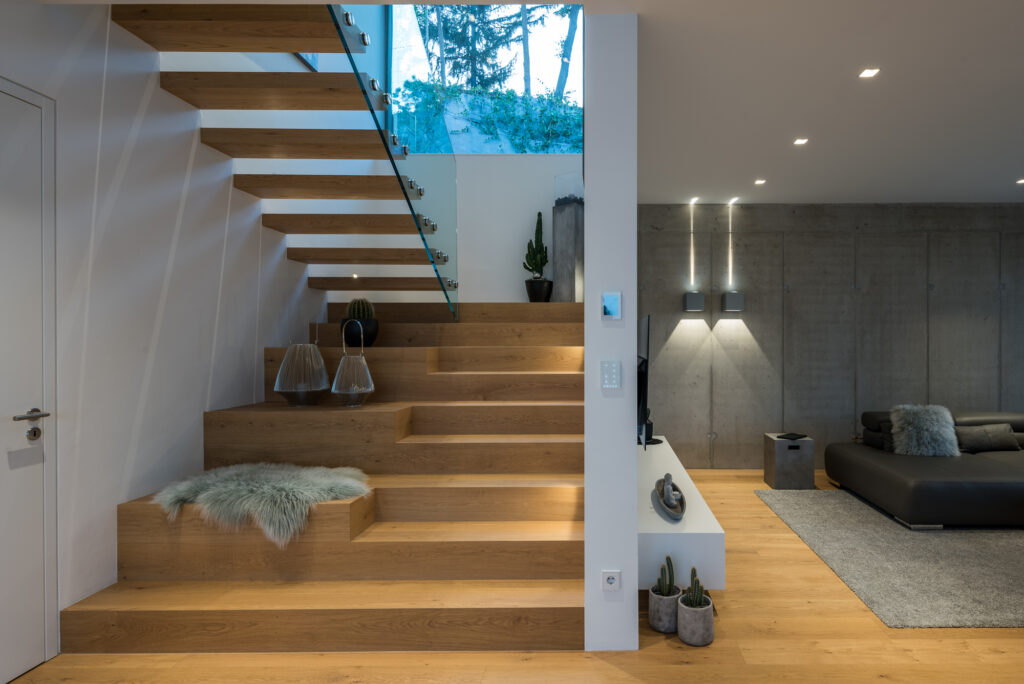
This is the one with the flash added to accentuate the light streaming in through the floating stairs. This is two images merged together in PS – PICKED!

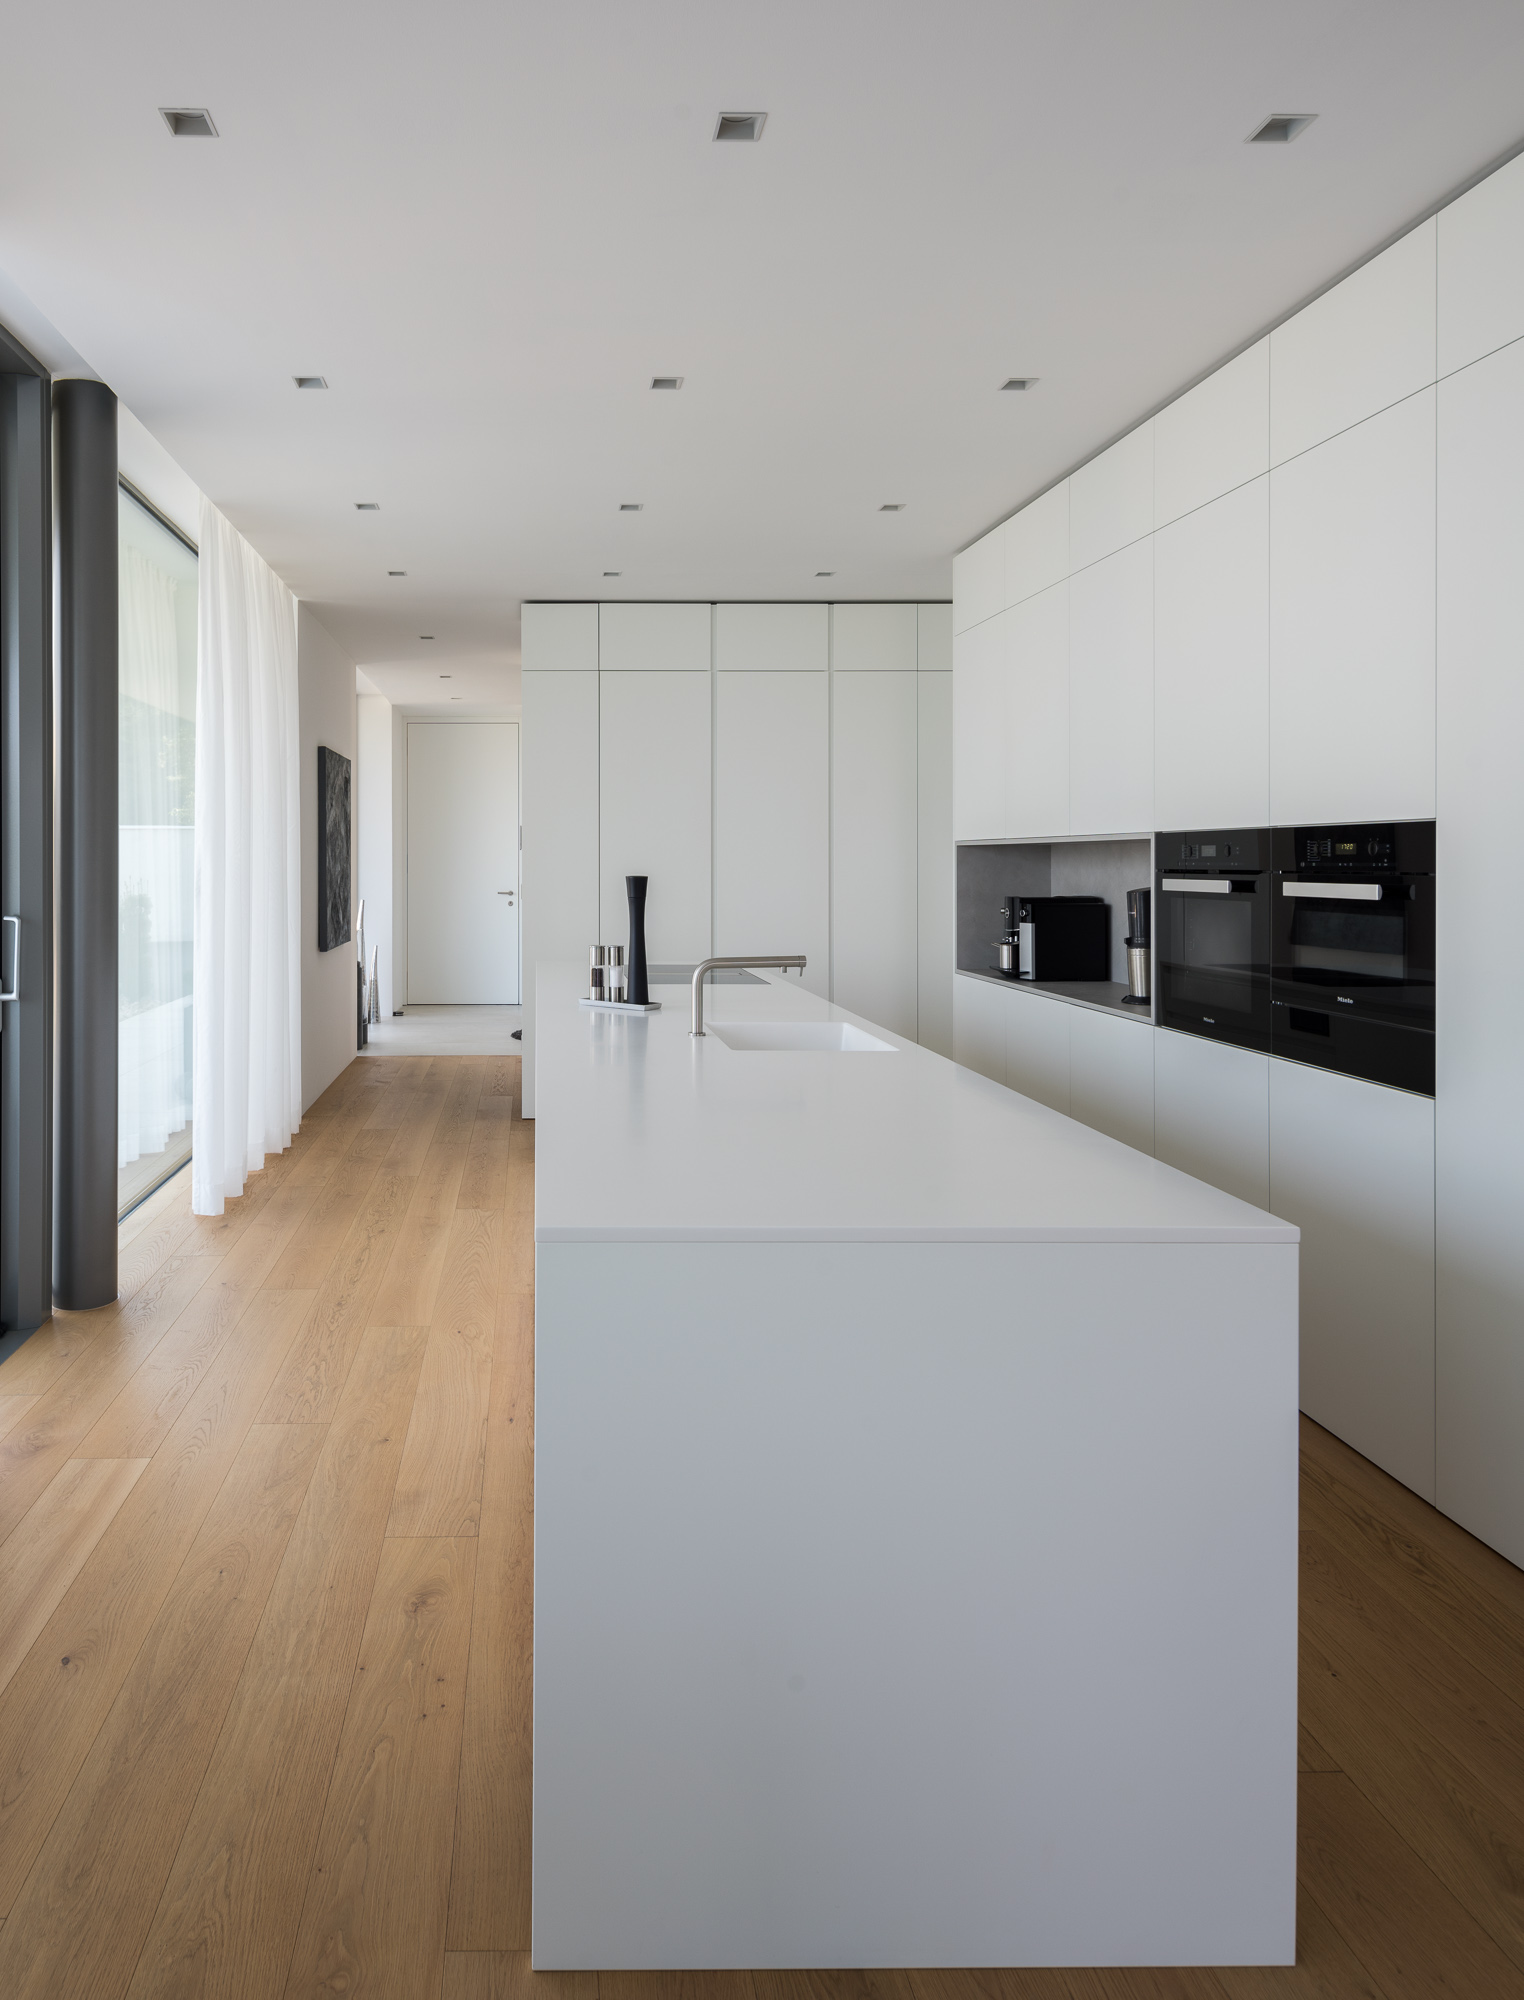
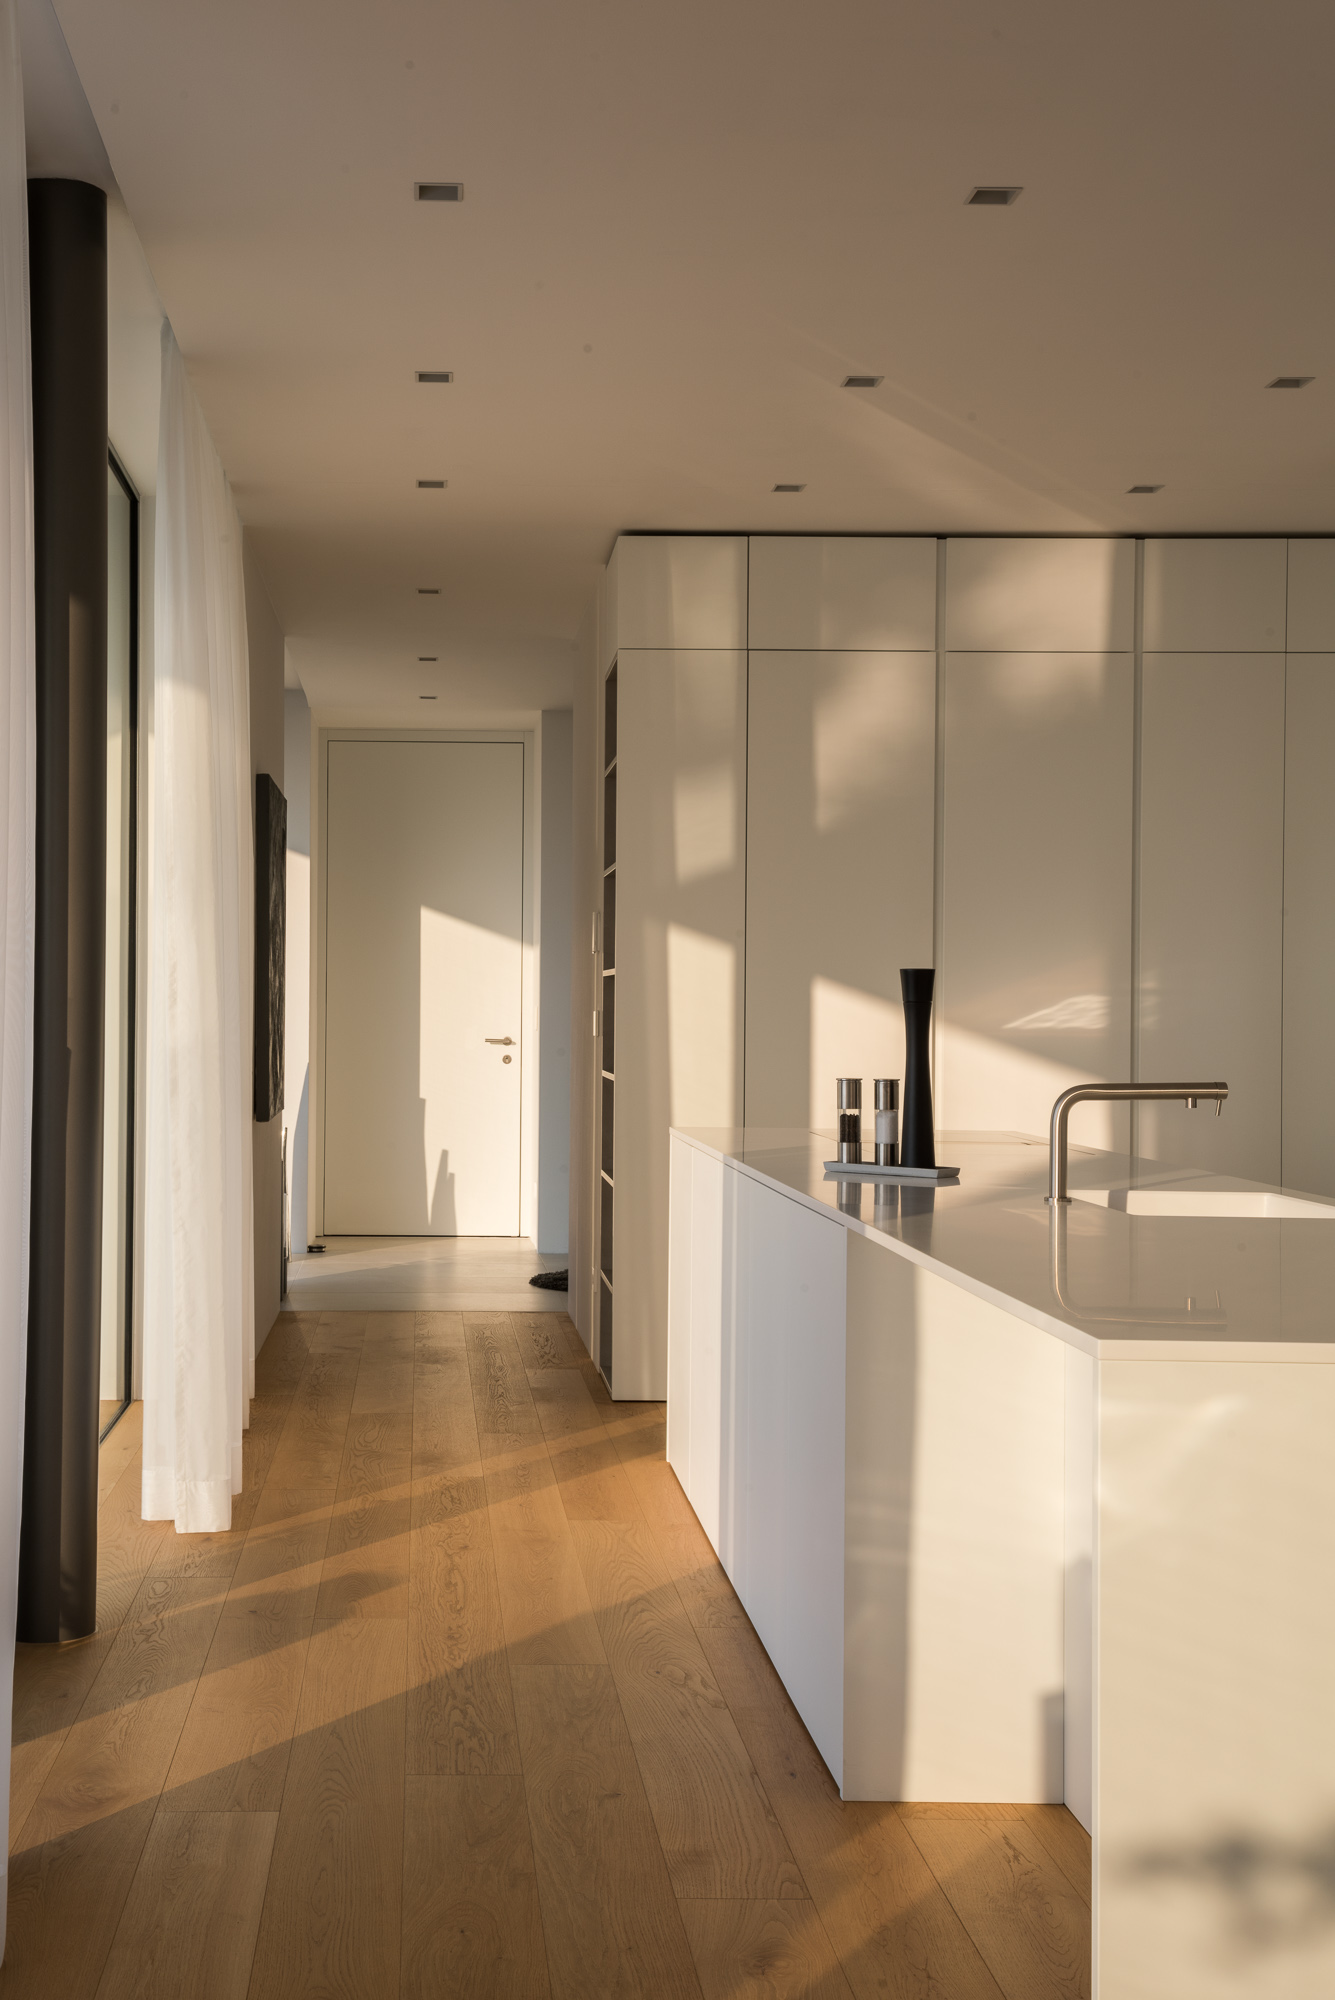
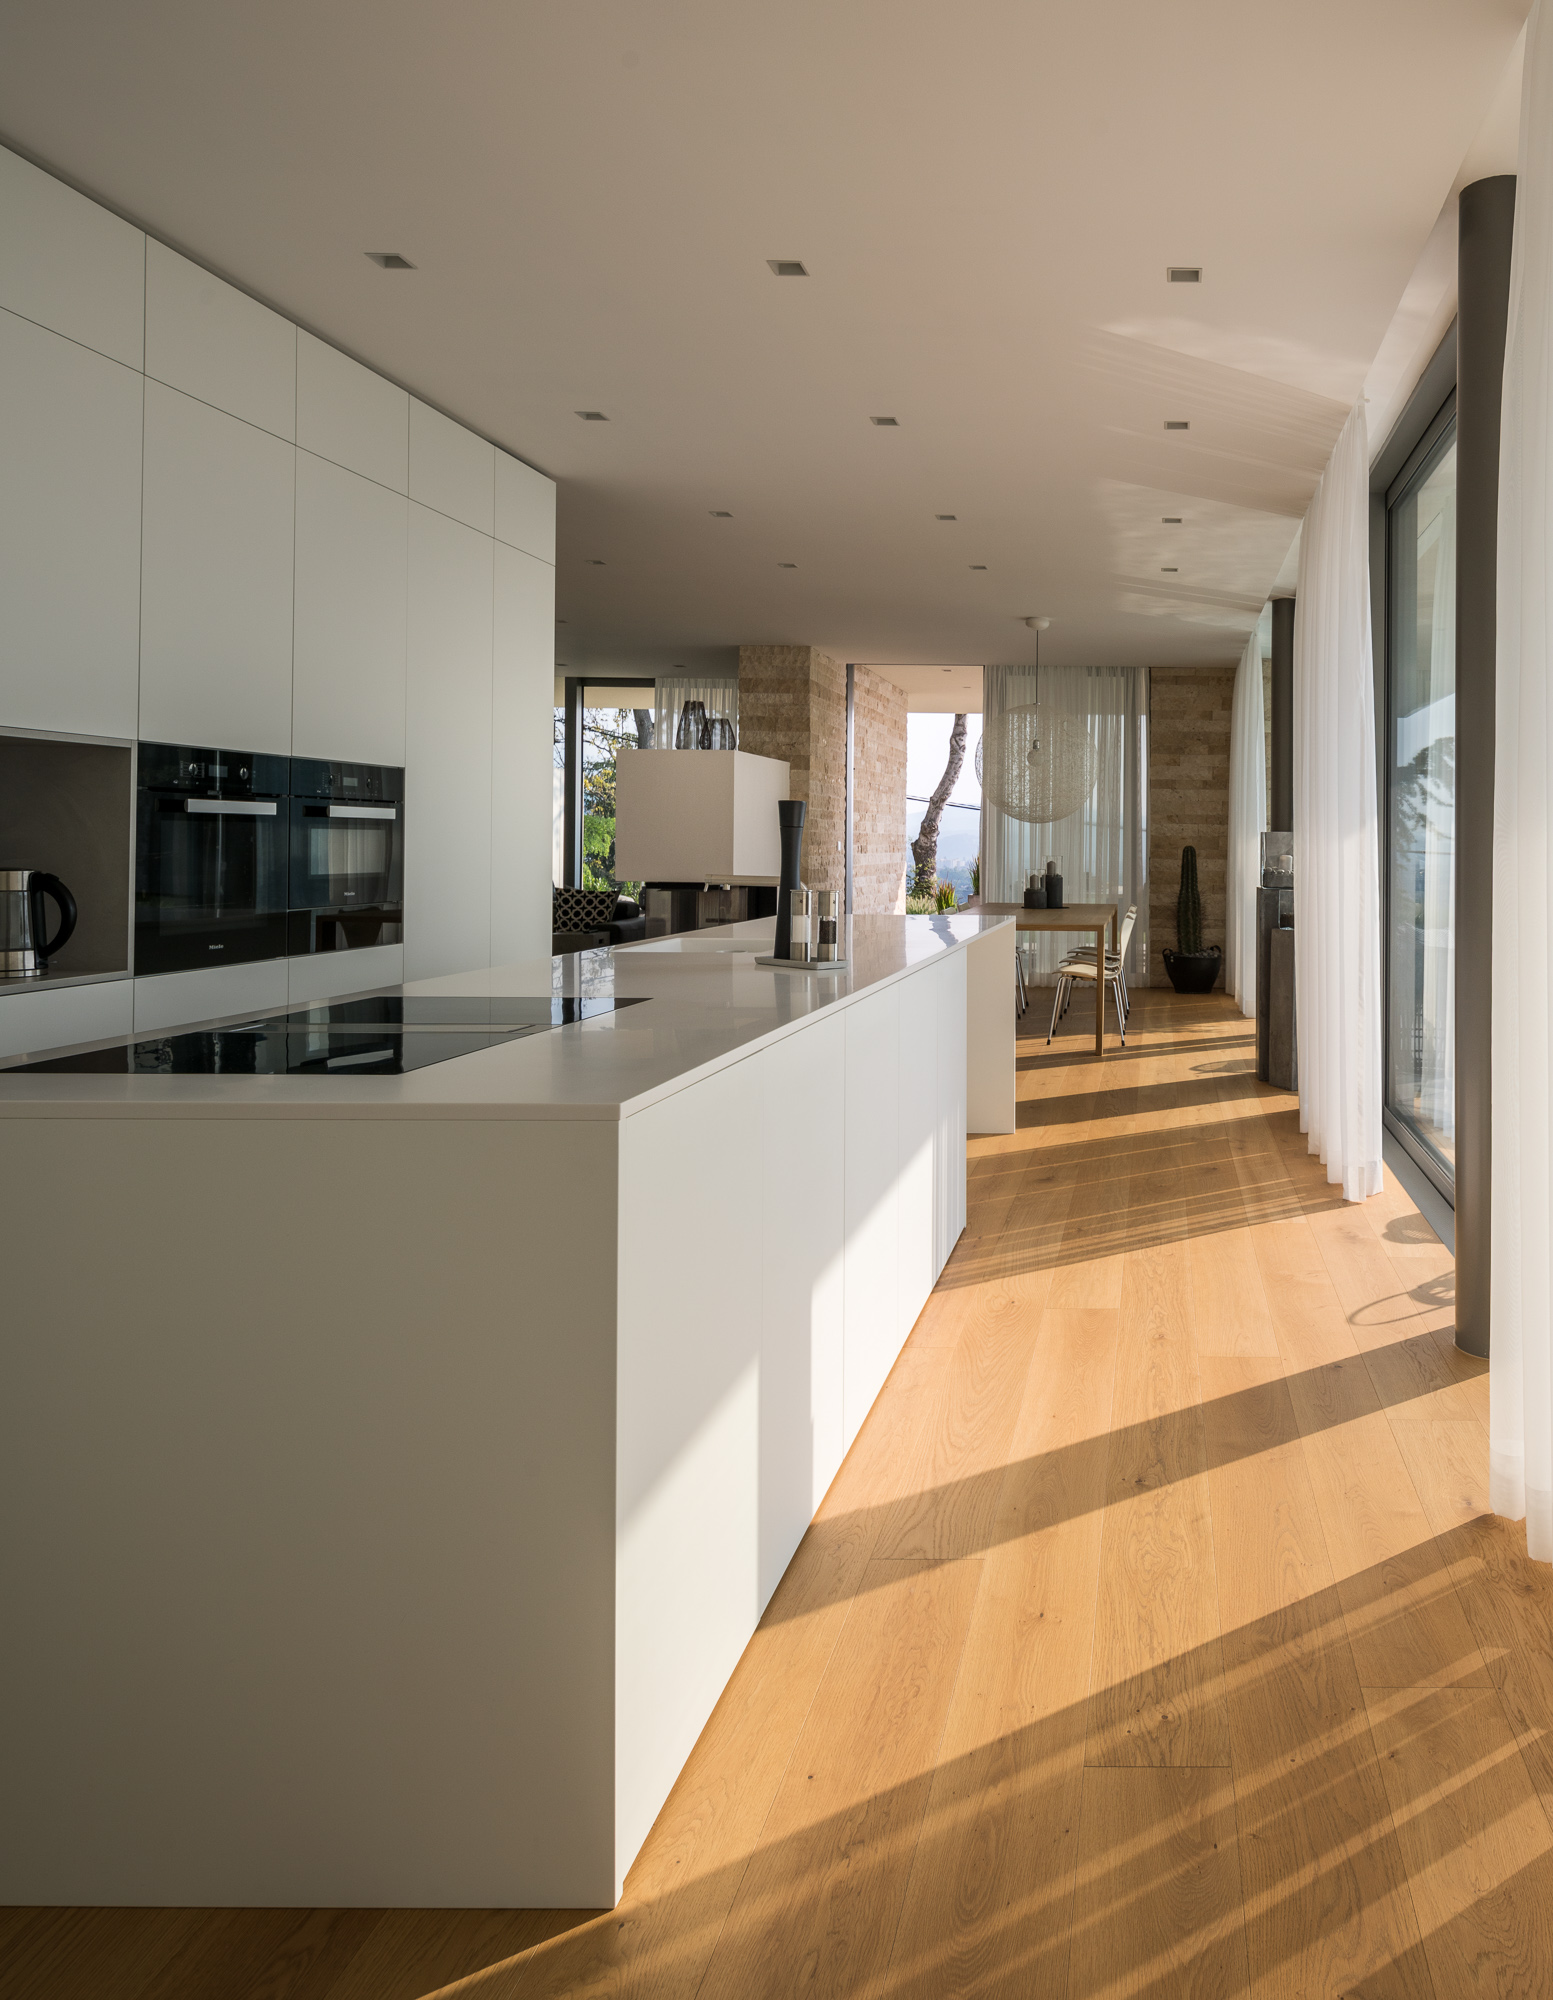
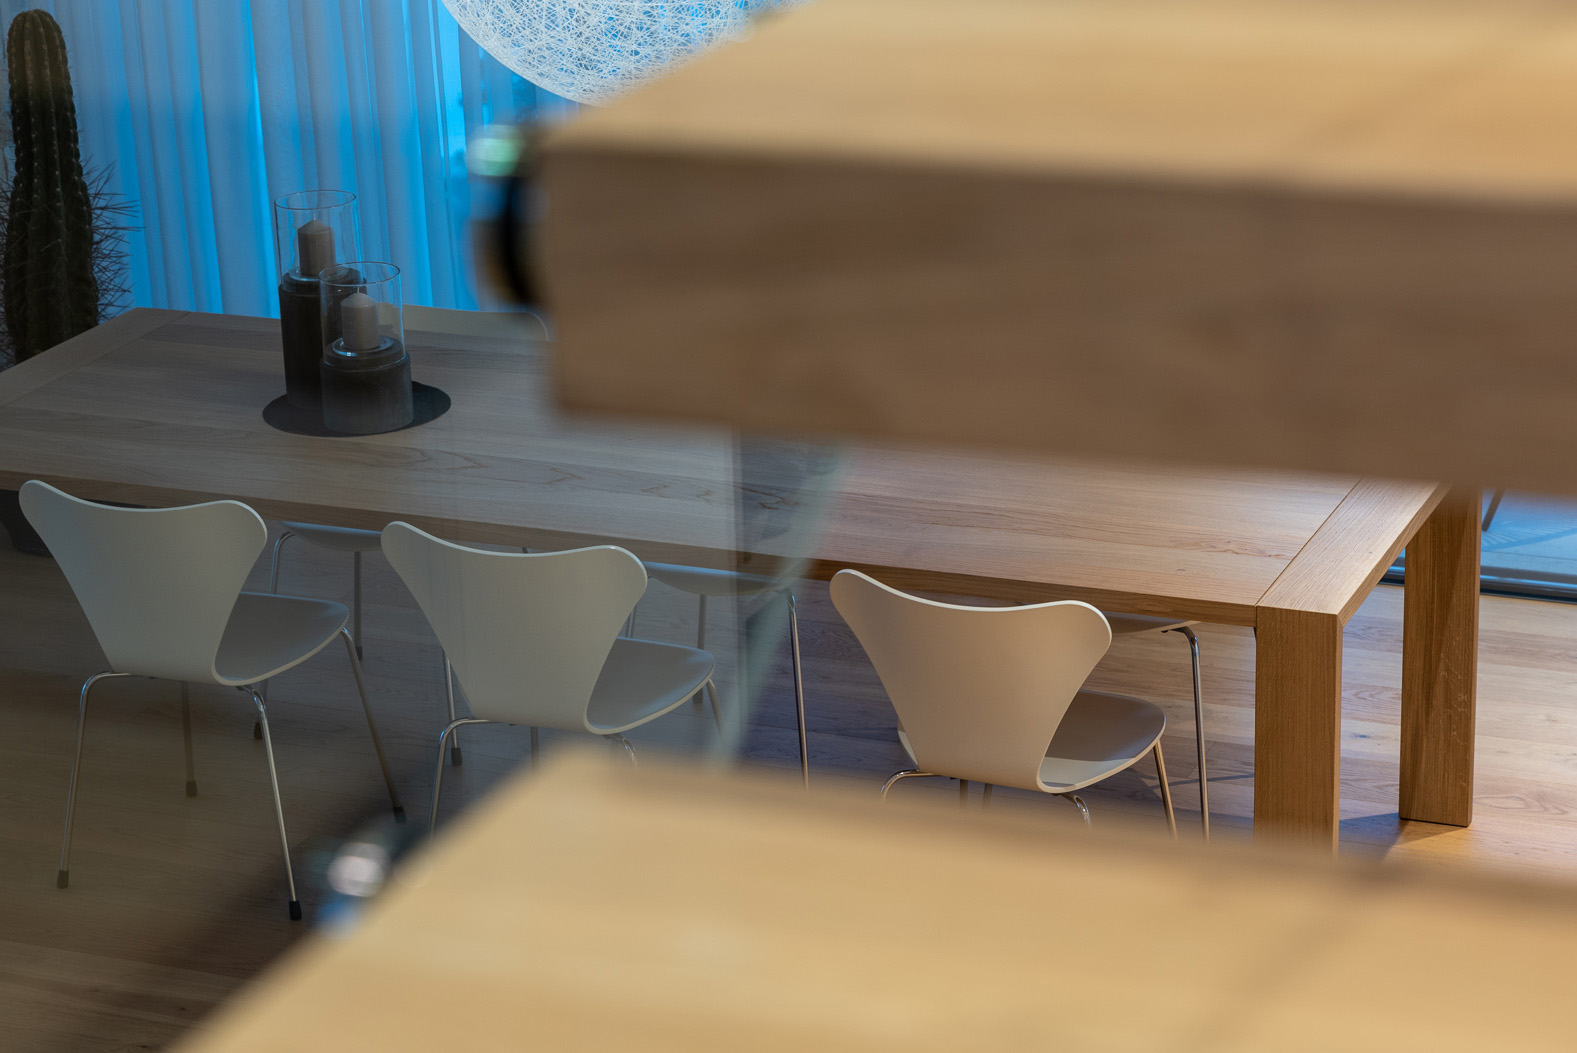
Now we’re moving on to my favorite part, the kitchen — honestly I would pick all of these for different reasons.

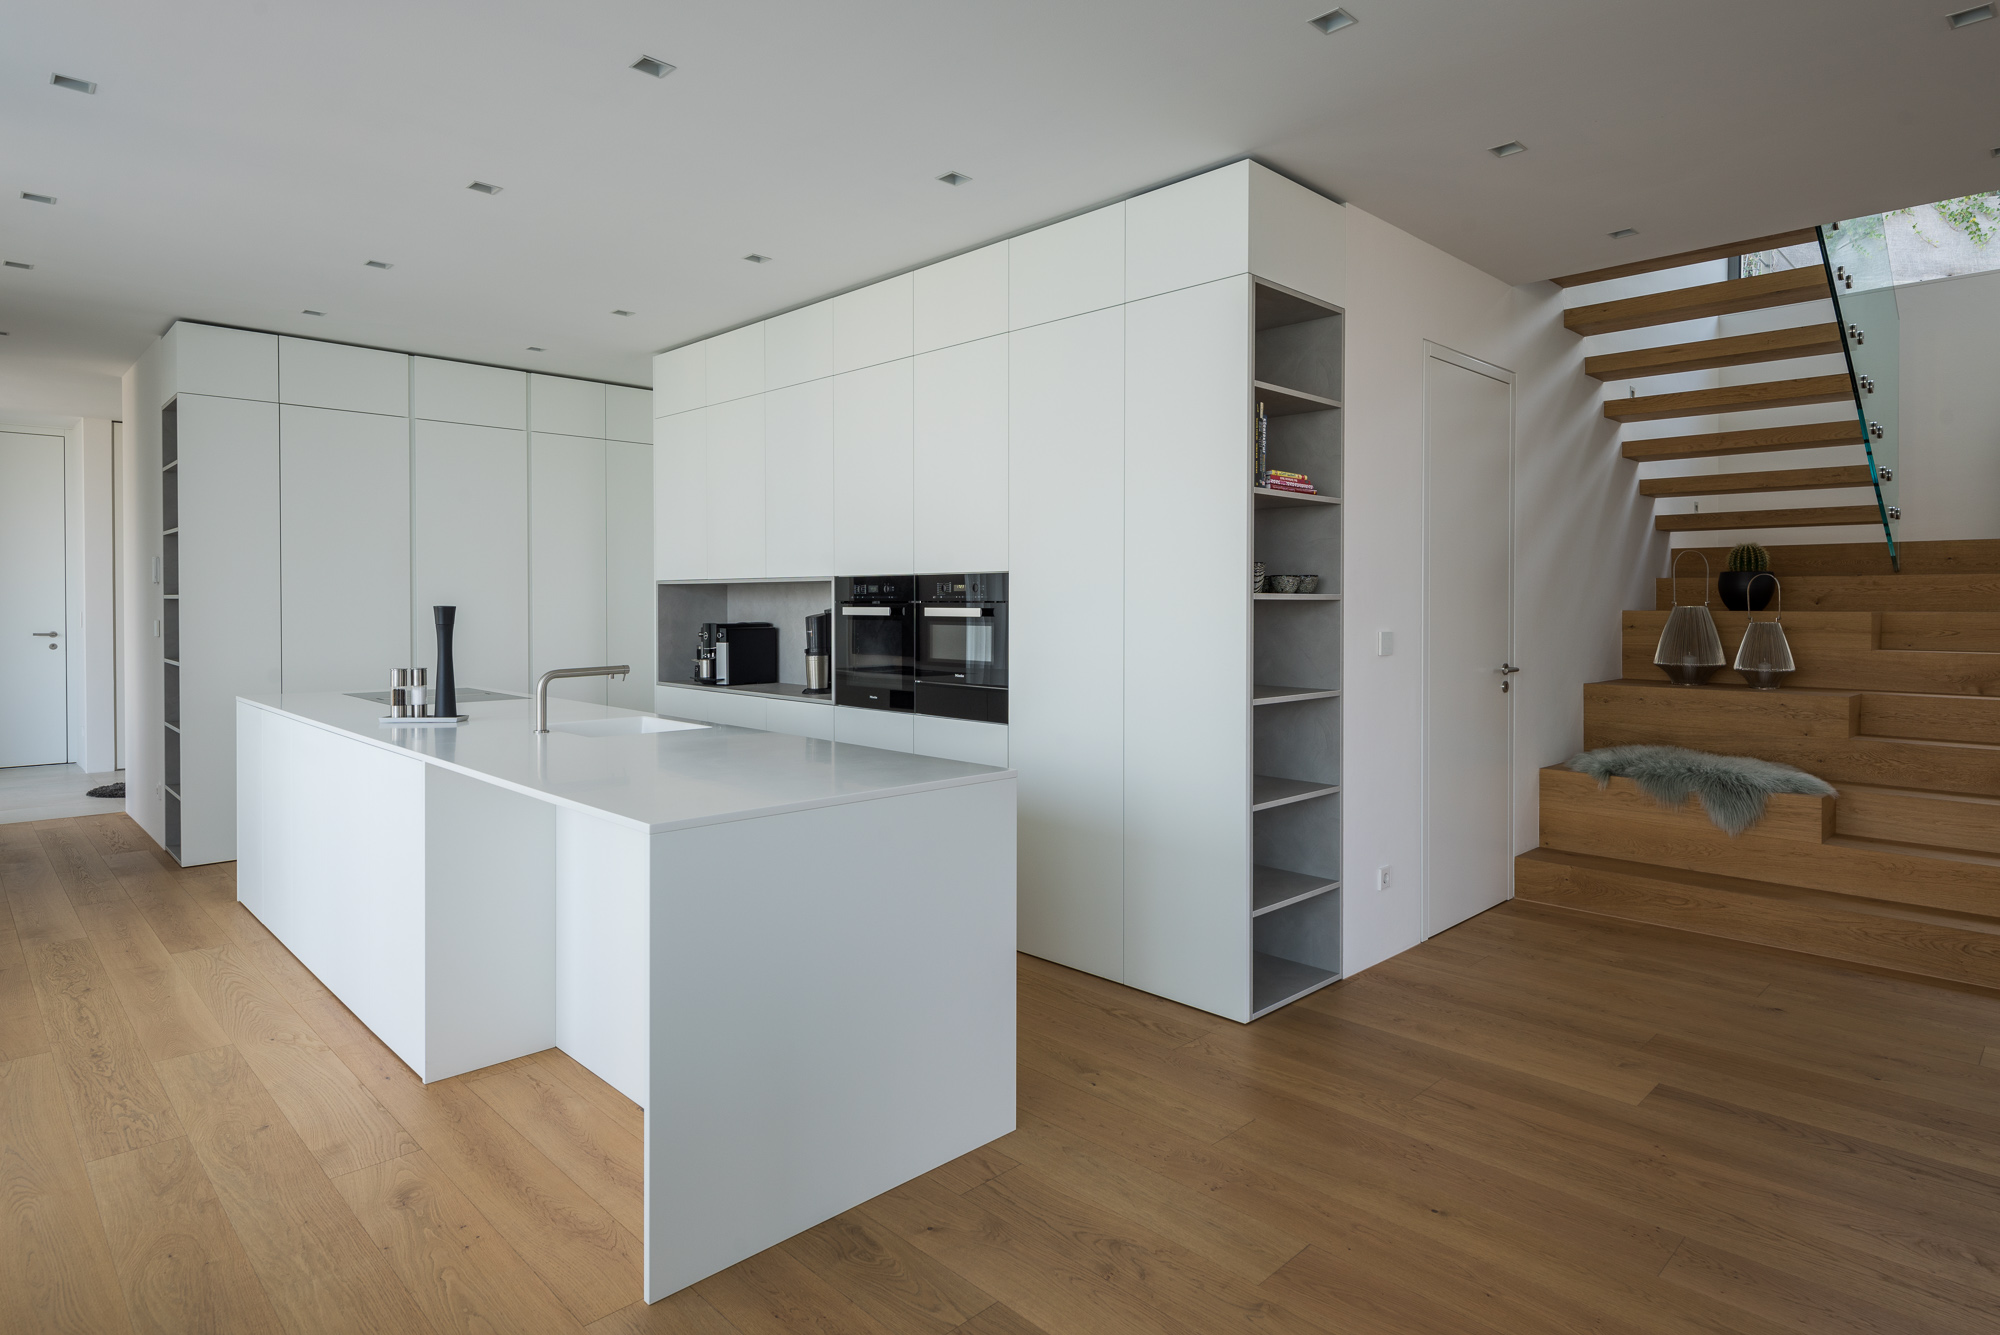
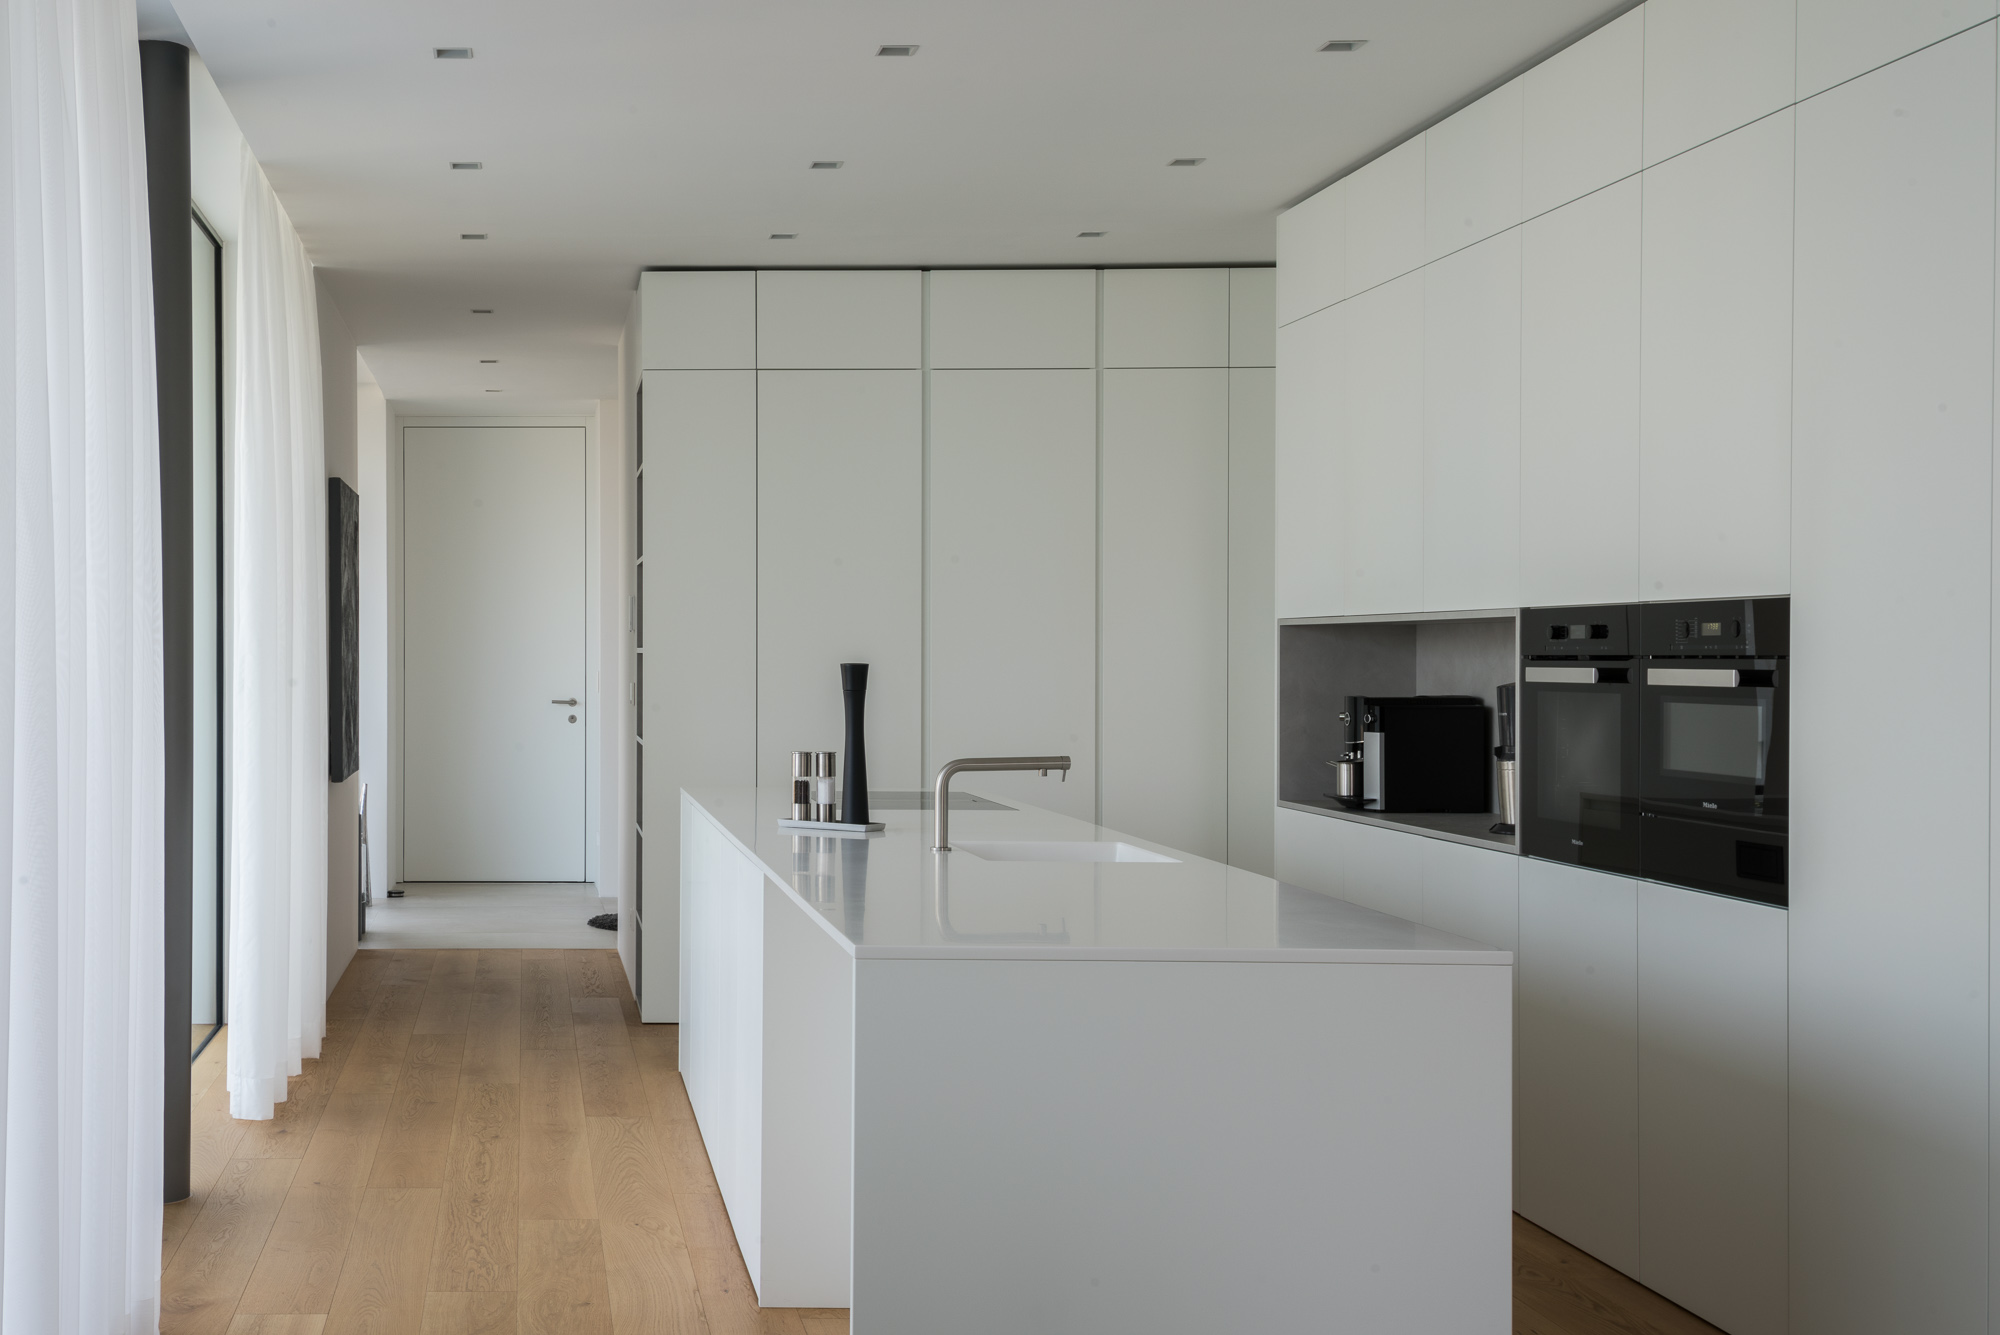
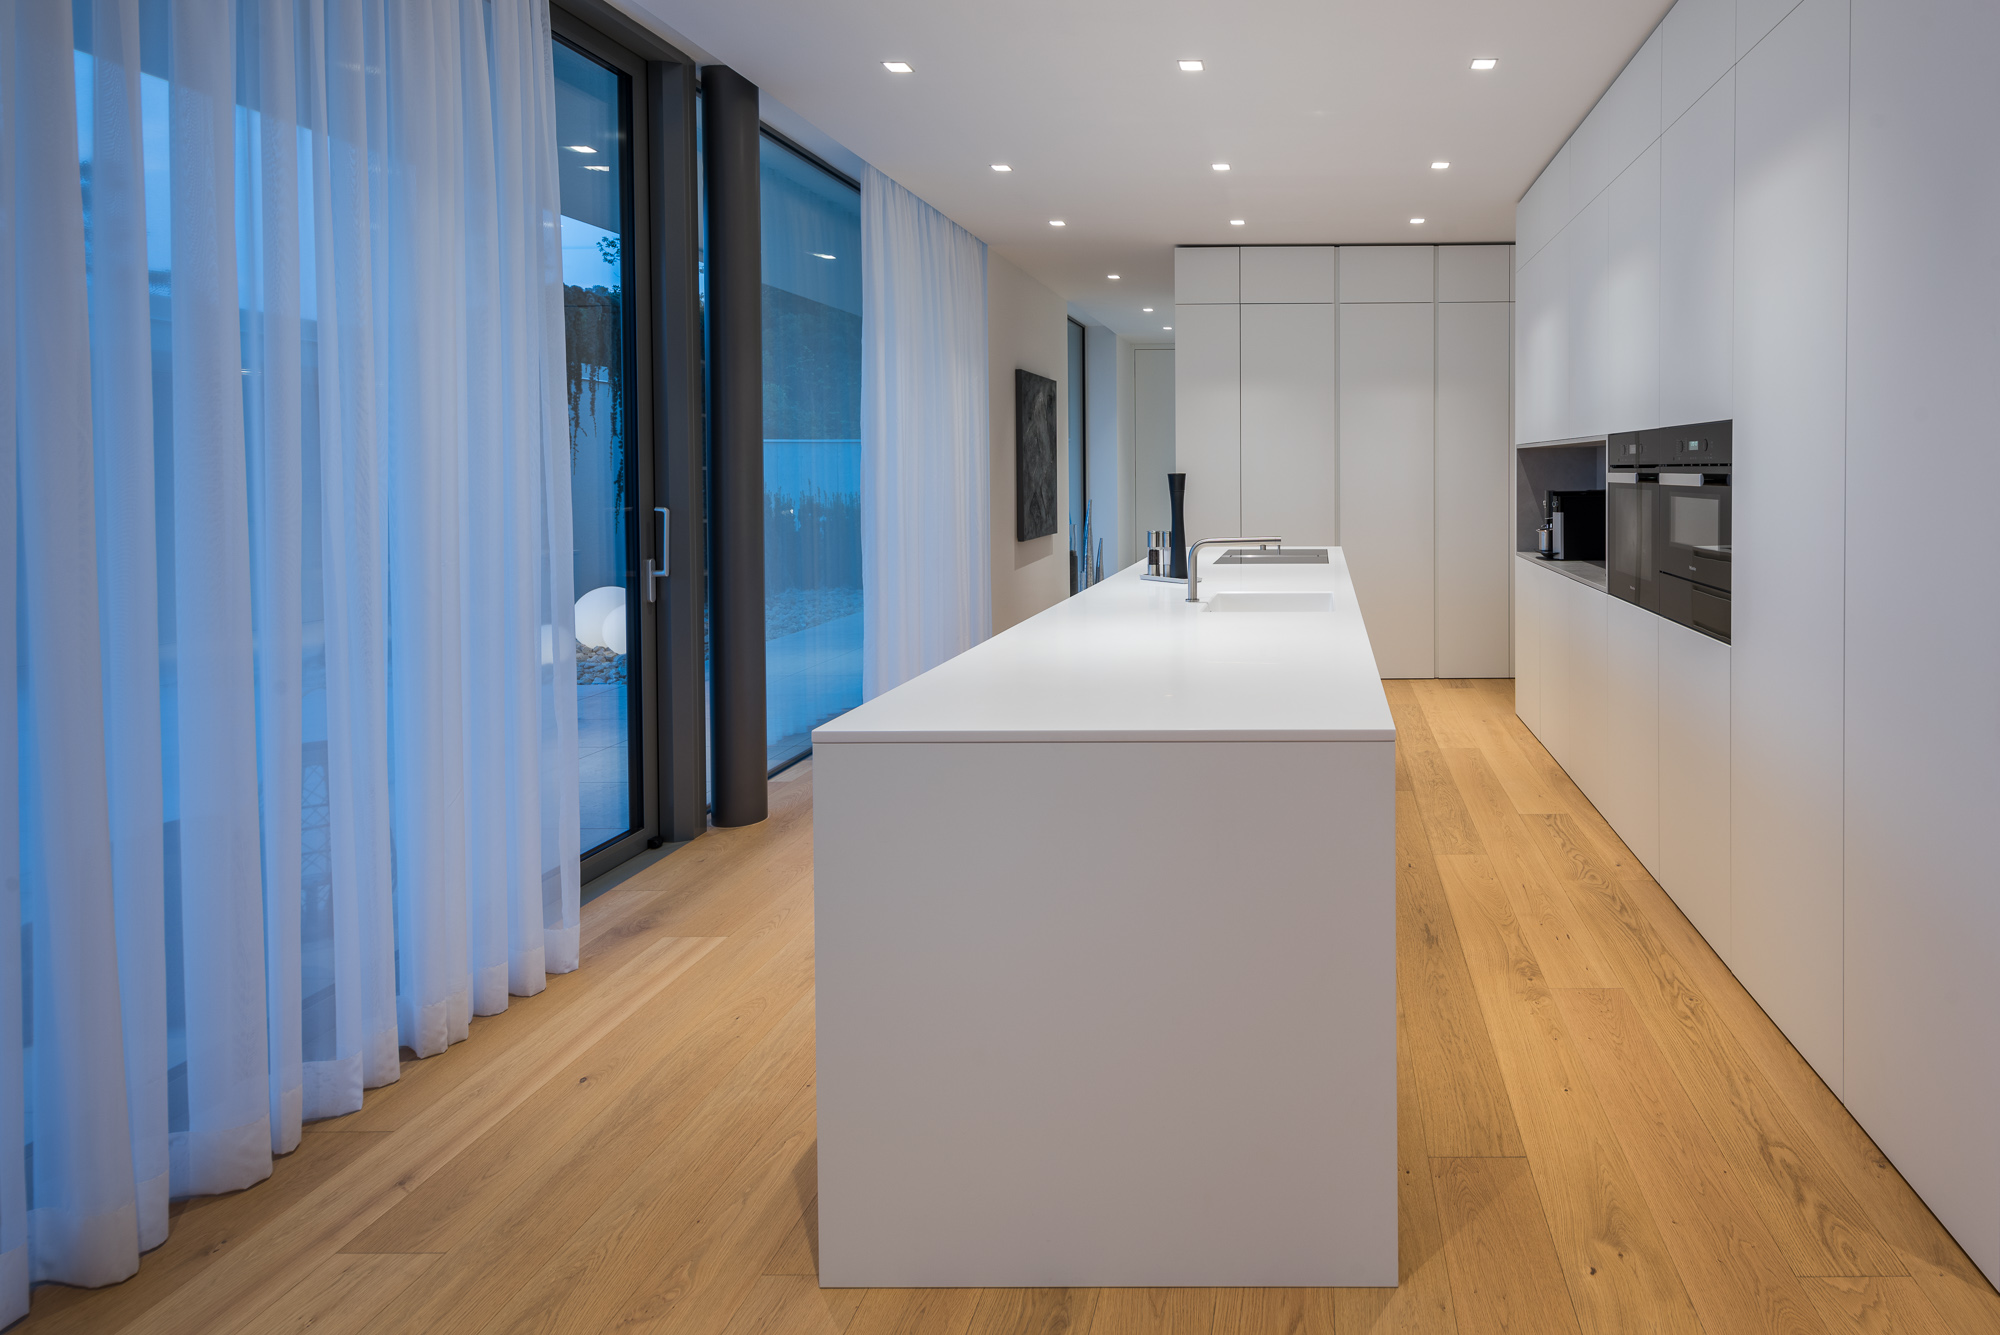
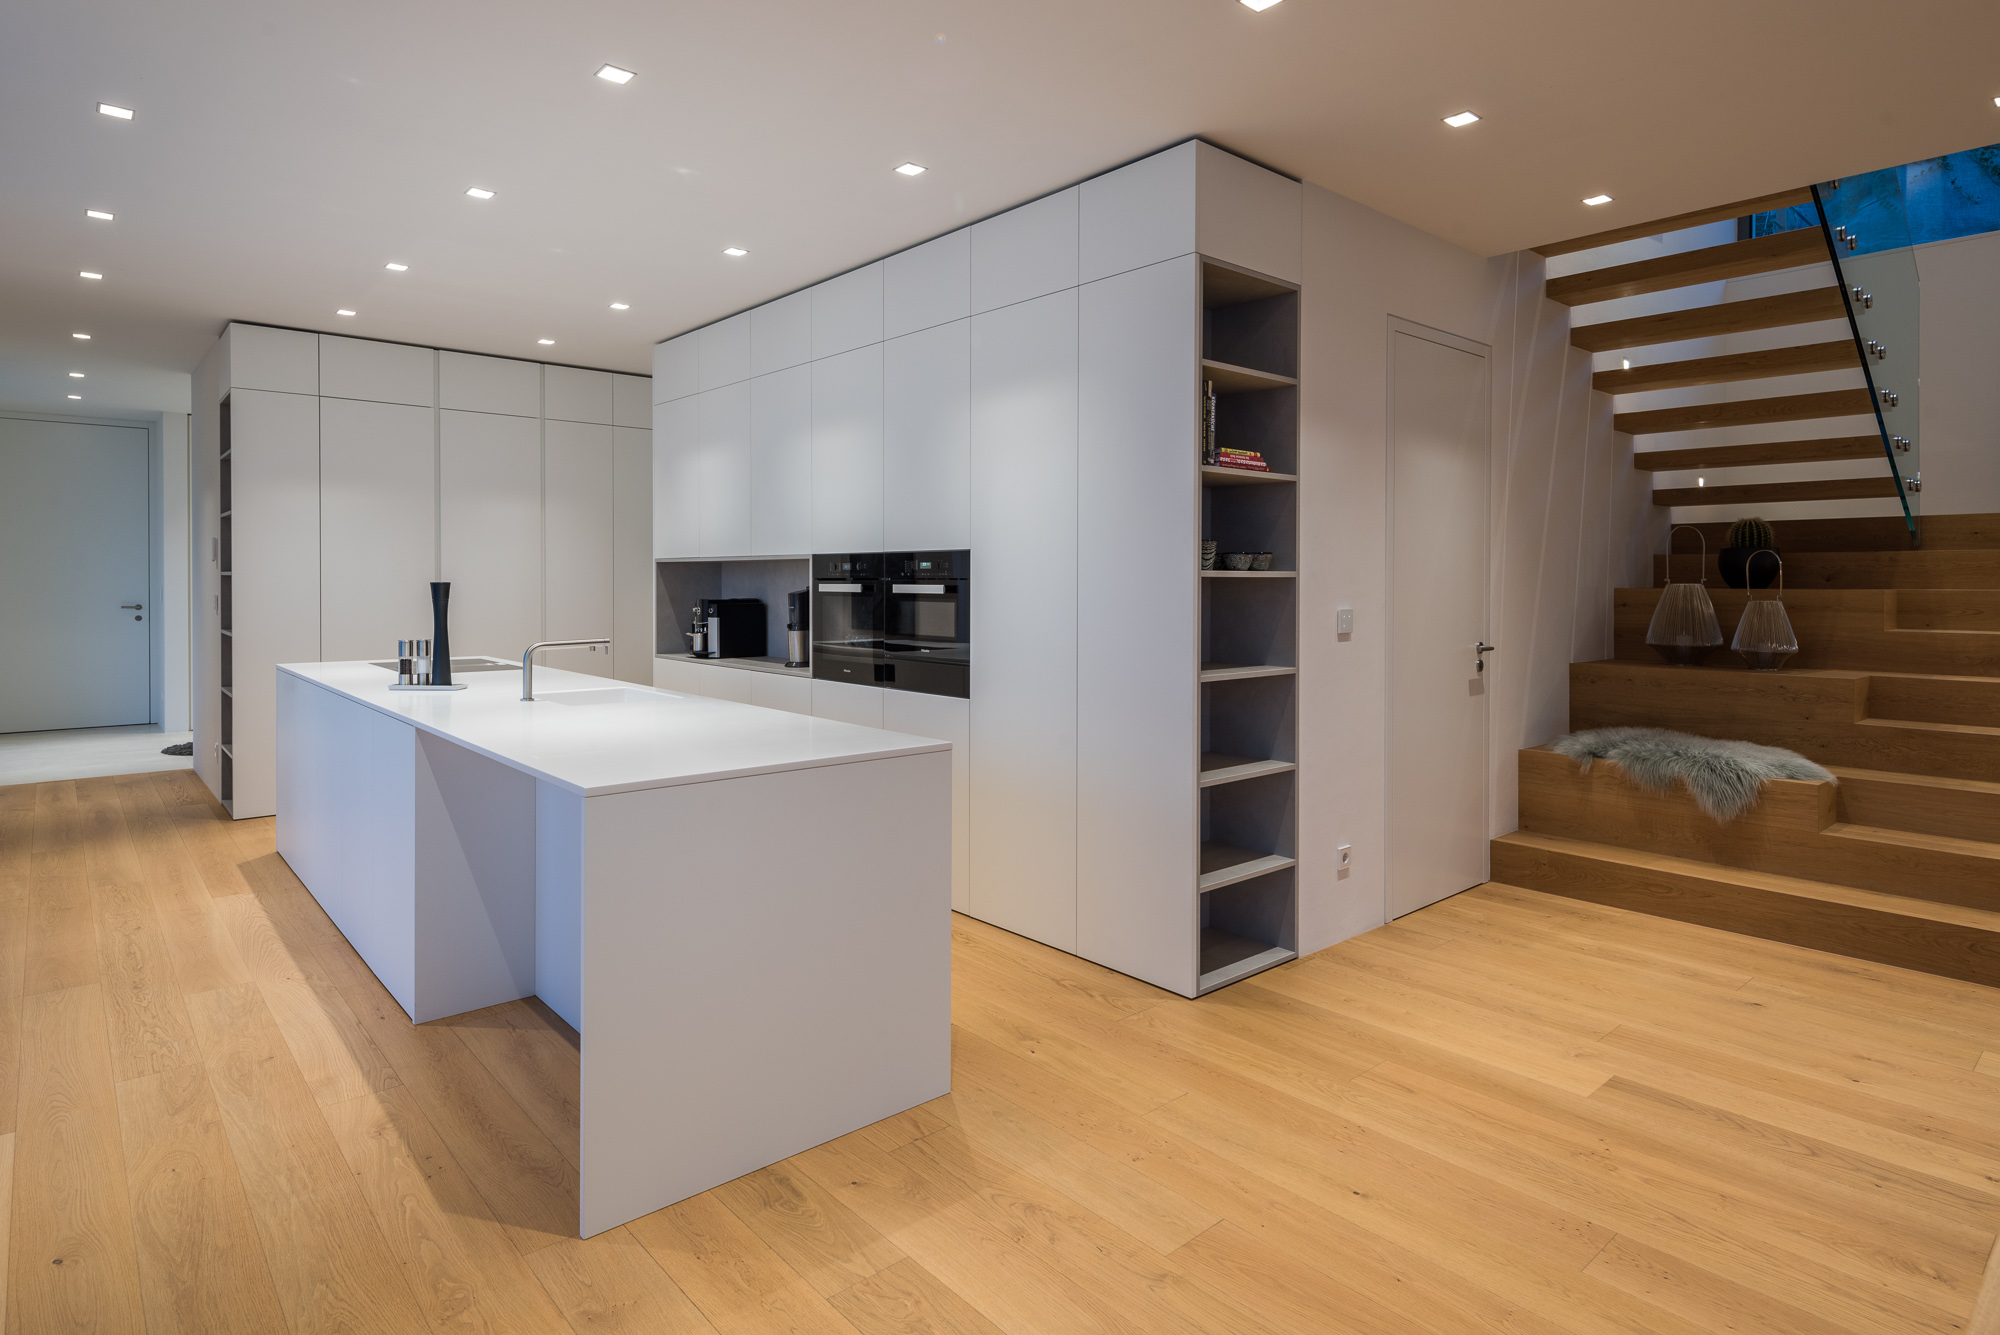
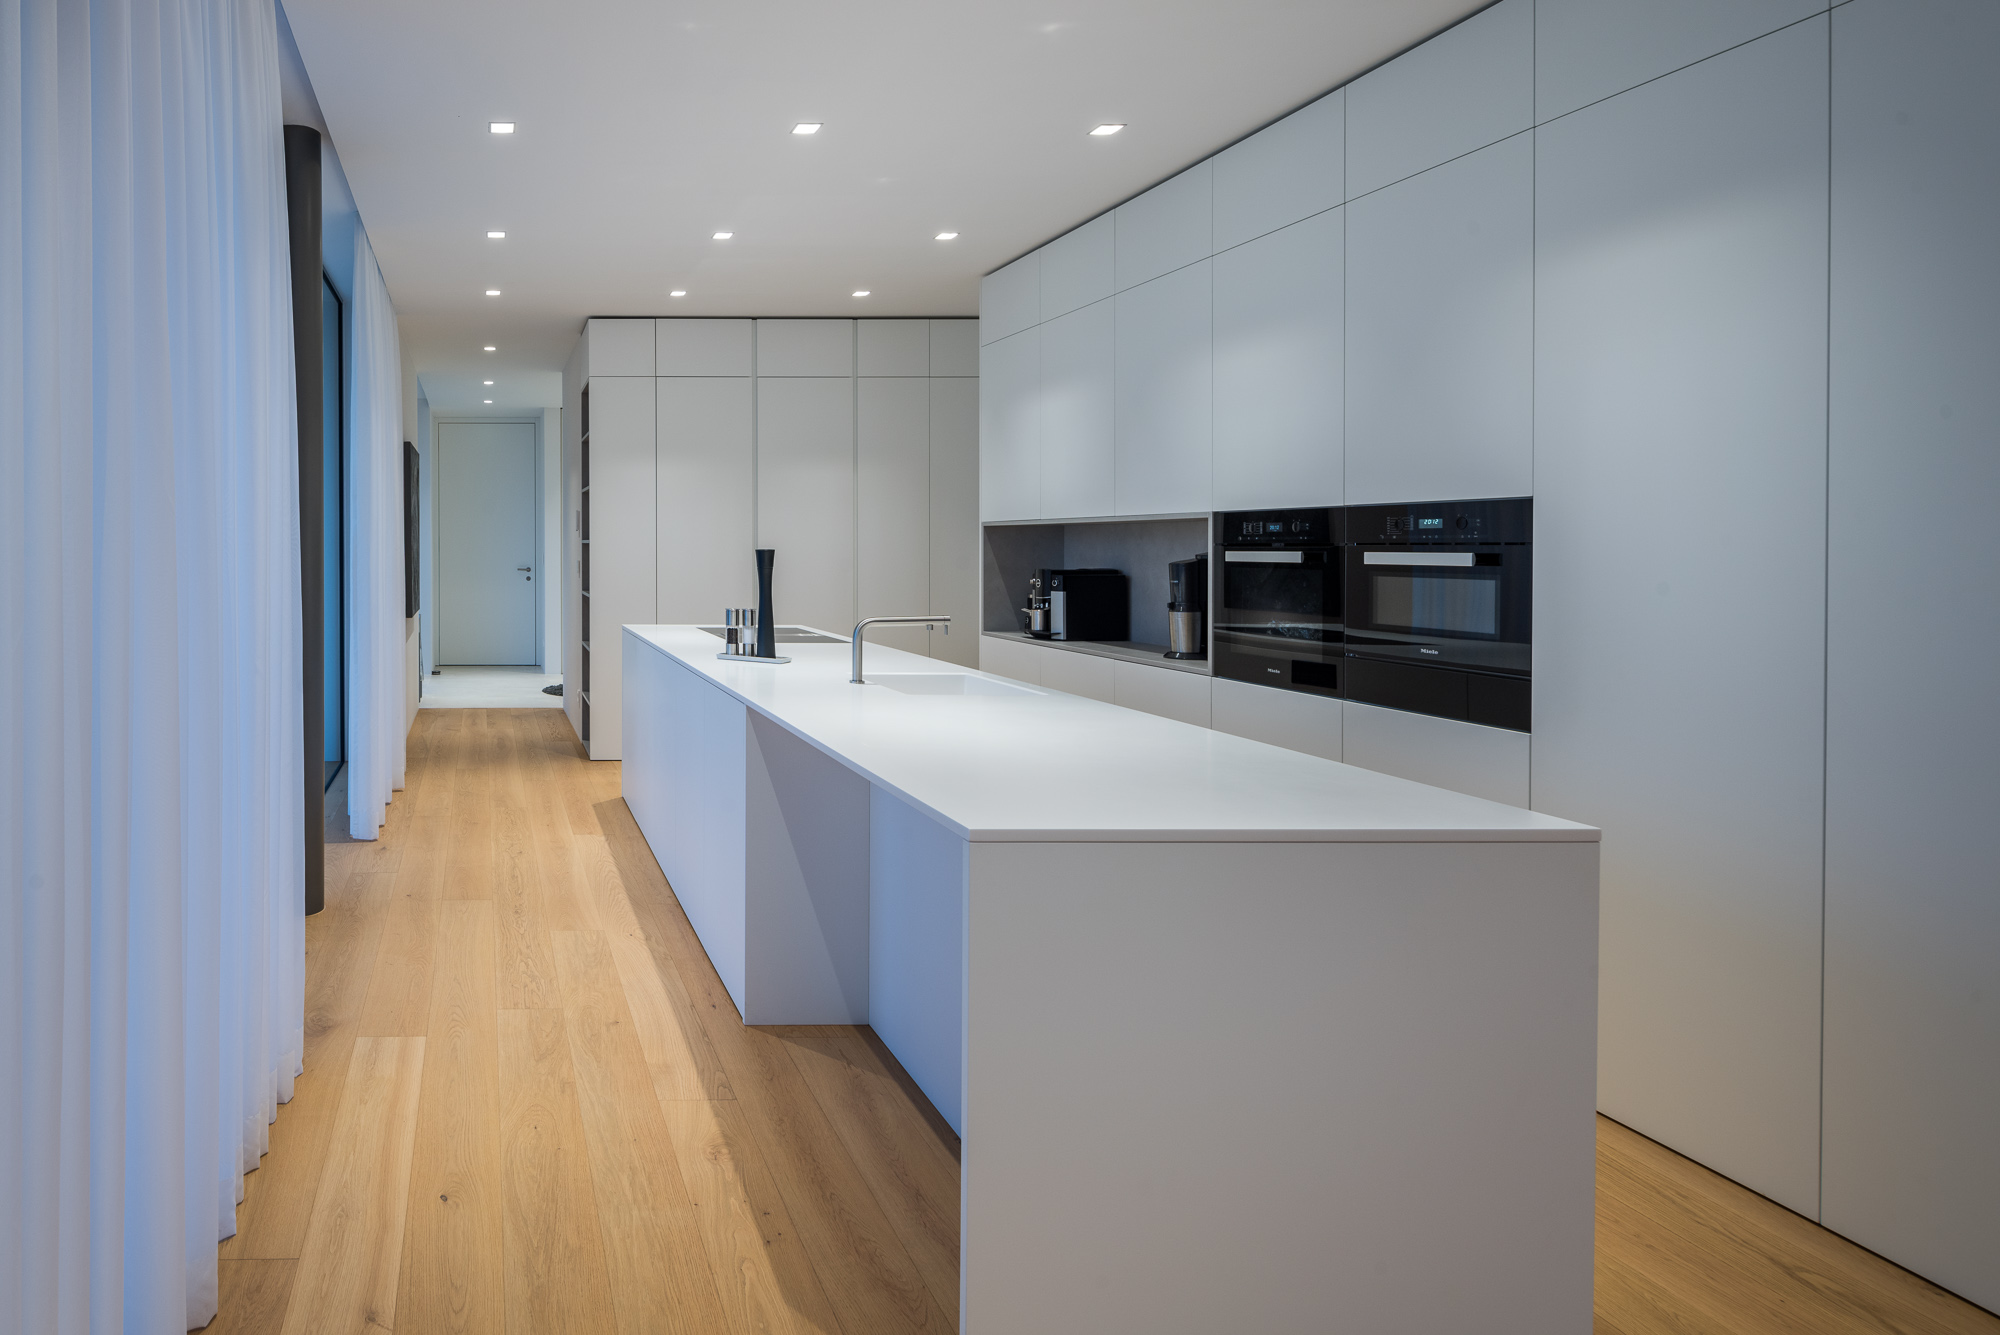
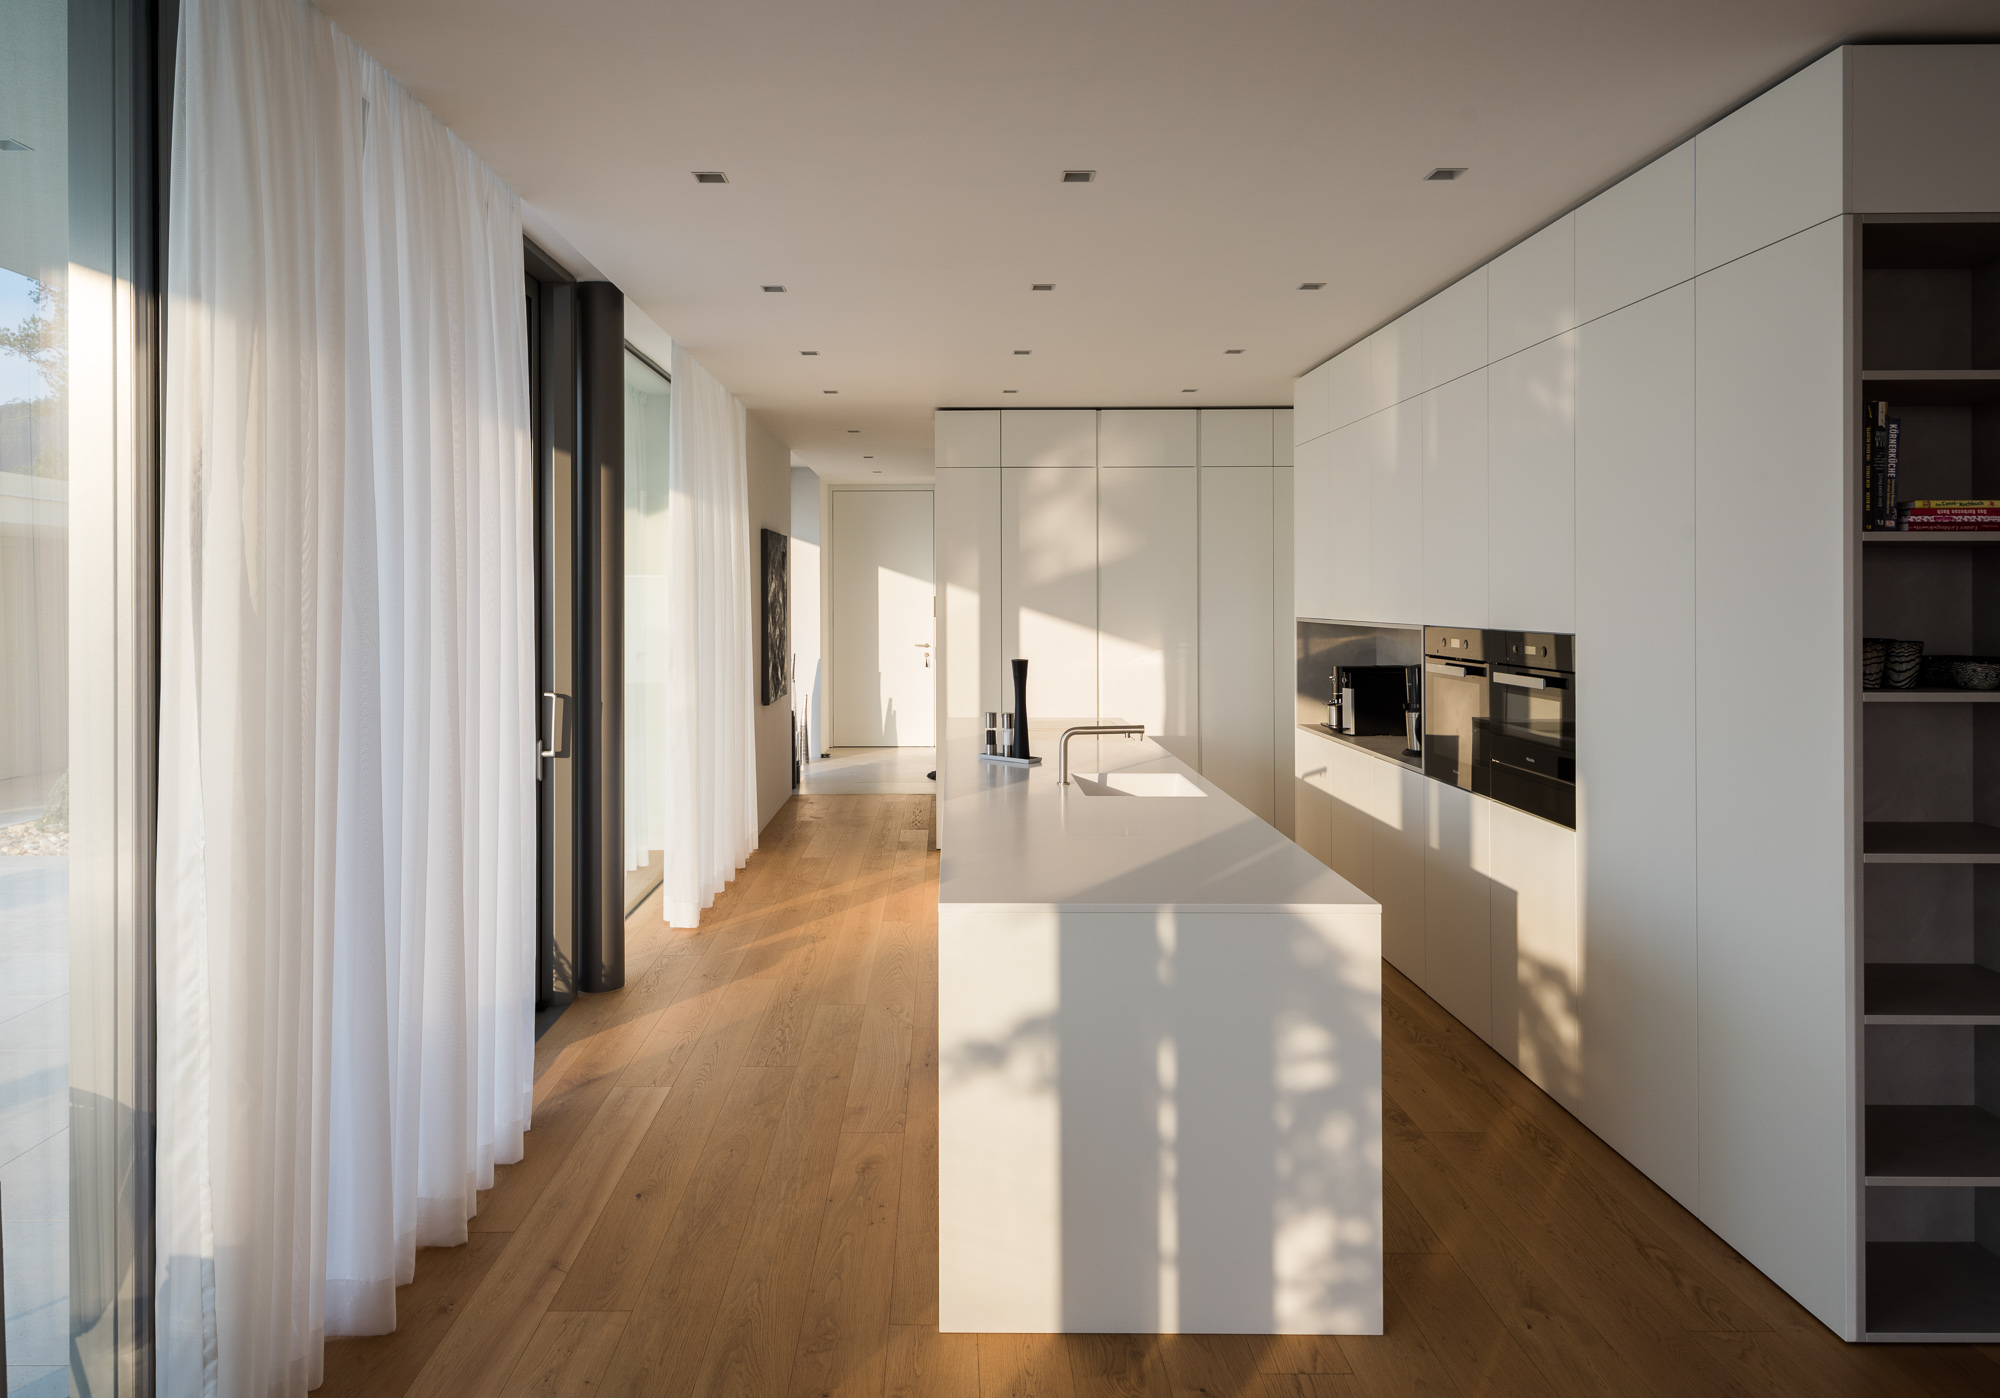
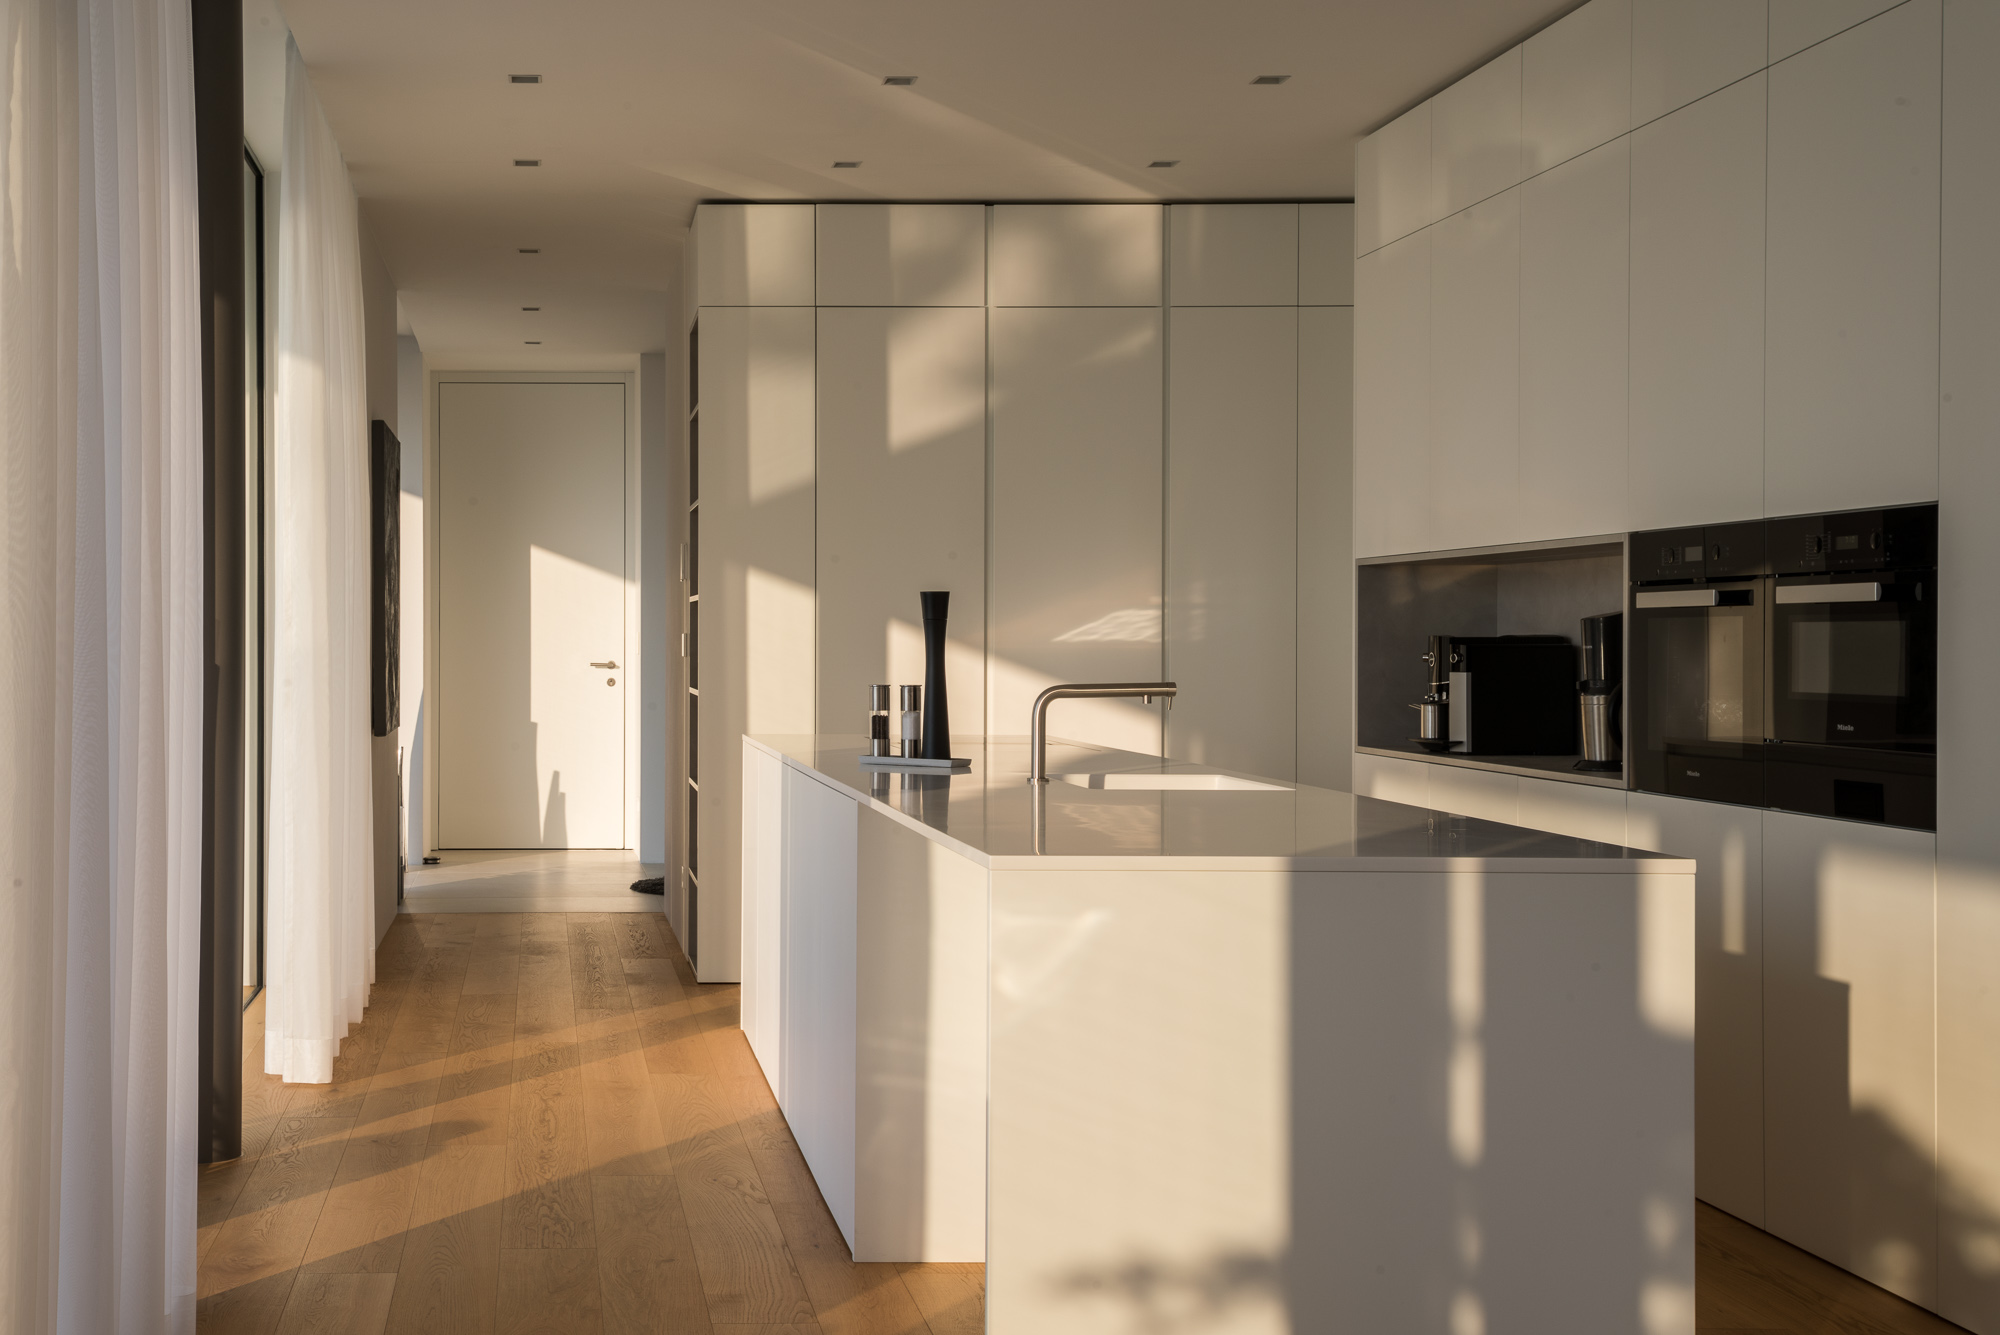

Afternoon with soft light. Early morning with a warm but contrasty scene. 
Heavy shift to the left here.
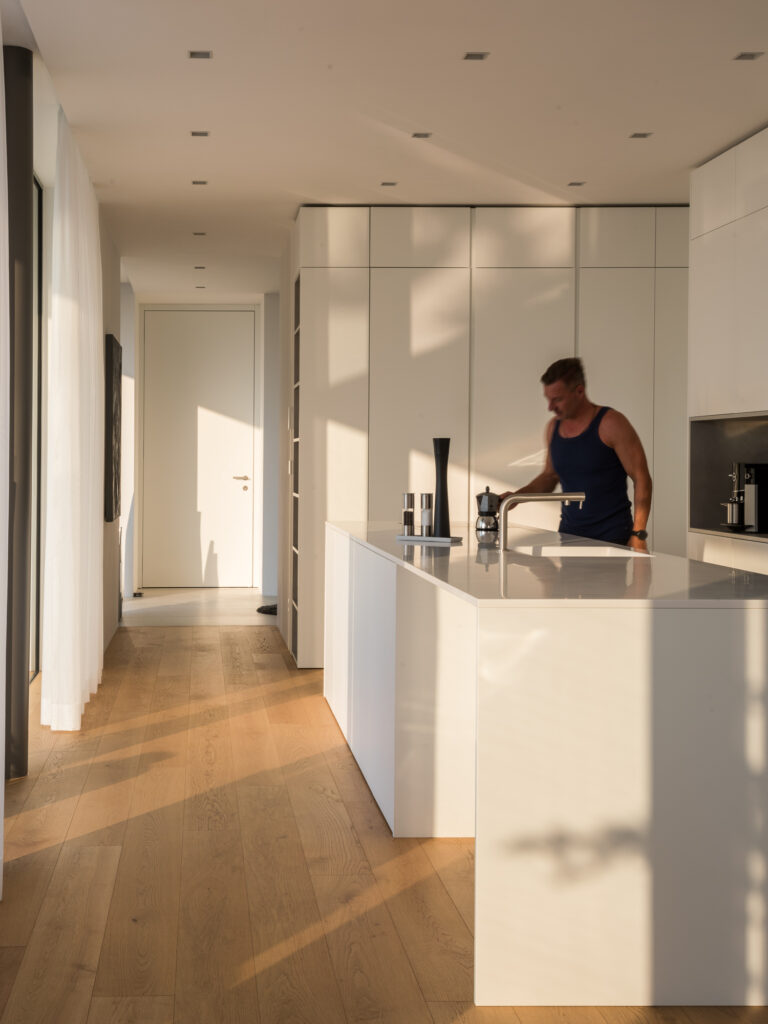
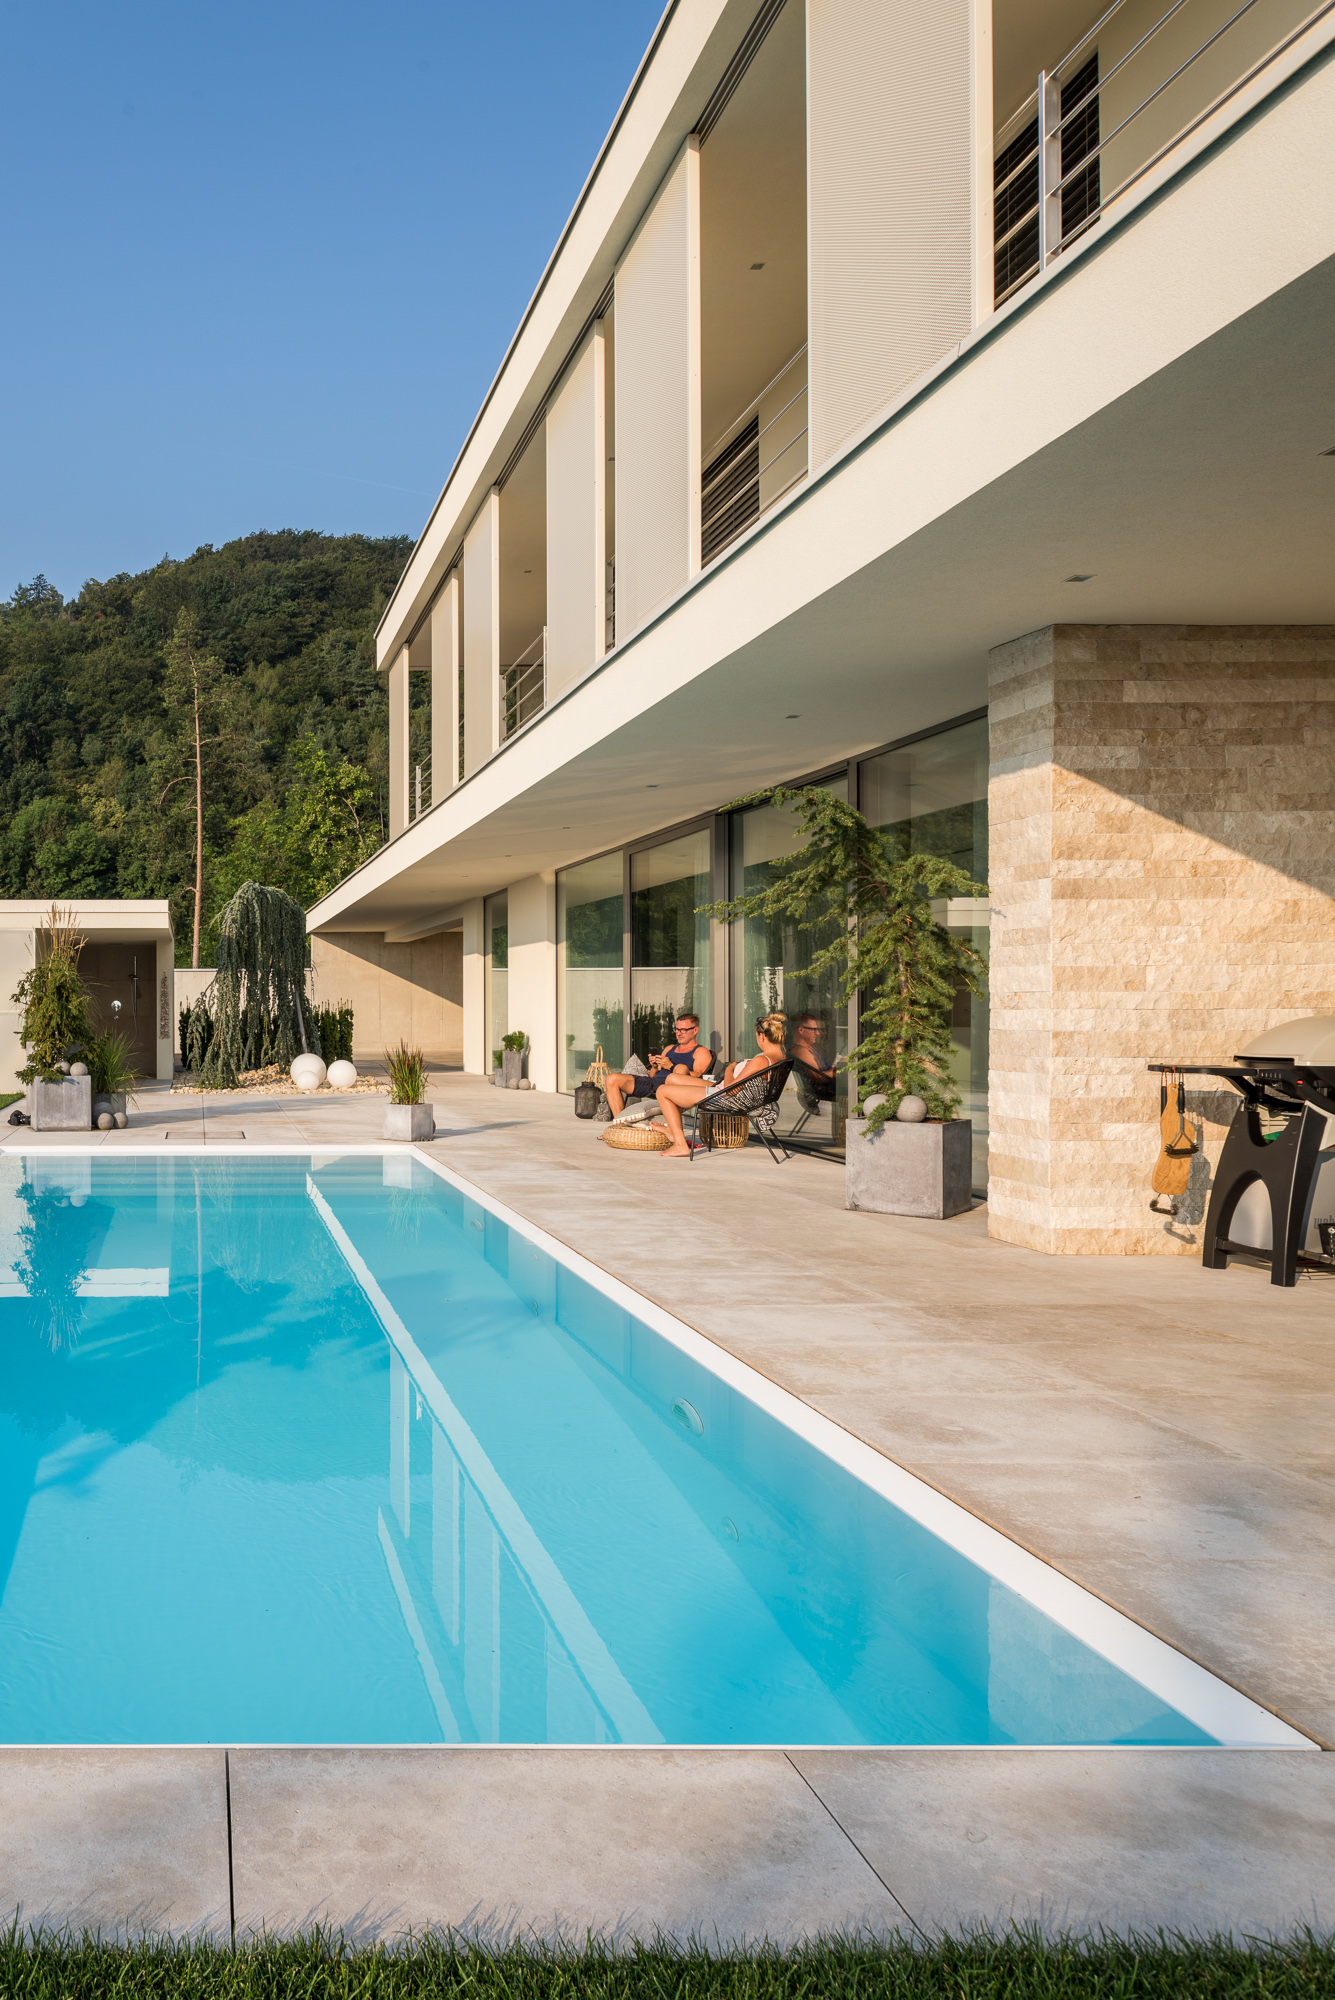
It’s hard to put into words how kind of hosts the owners were. I photographed the wife in the afternoon when she brought the lemonade to our dinner, and in the morning, the husband was making our morning coffee.

1/13s f/9.5 iso320 1/15sec f/9.5 iso64
Prepare for Launch! – Images From Above
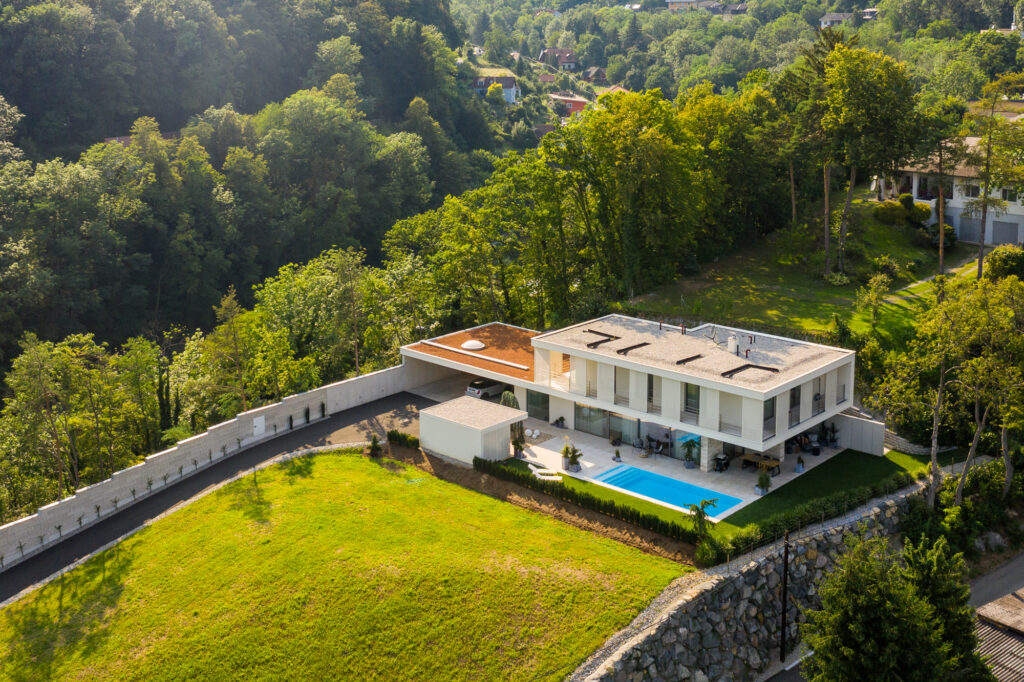
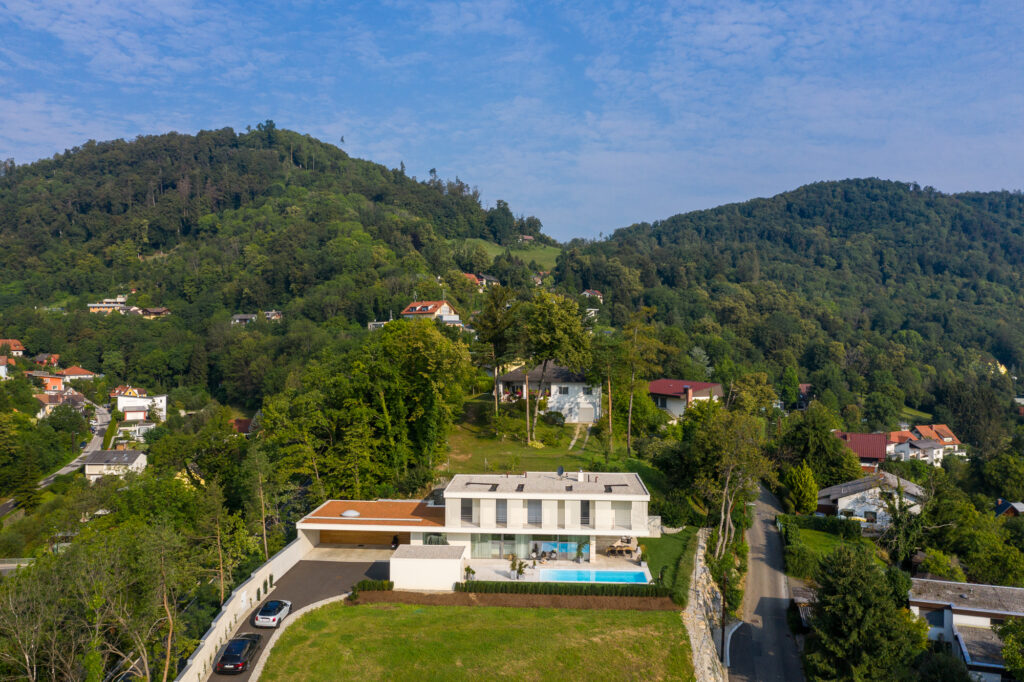
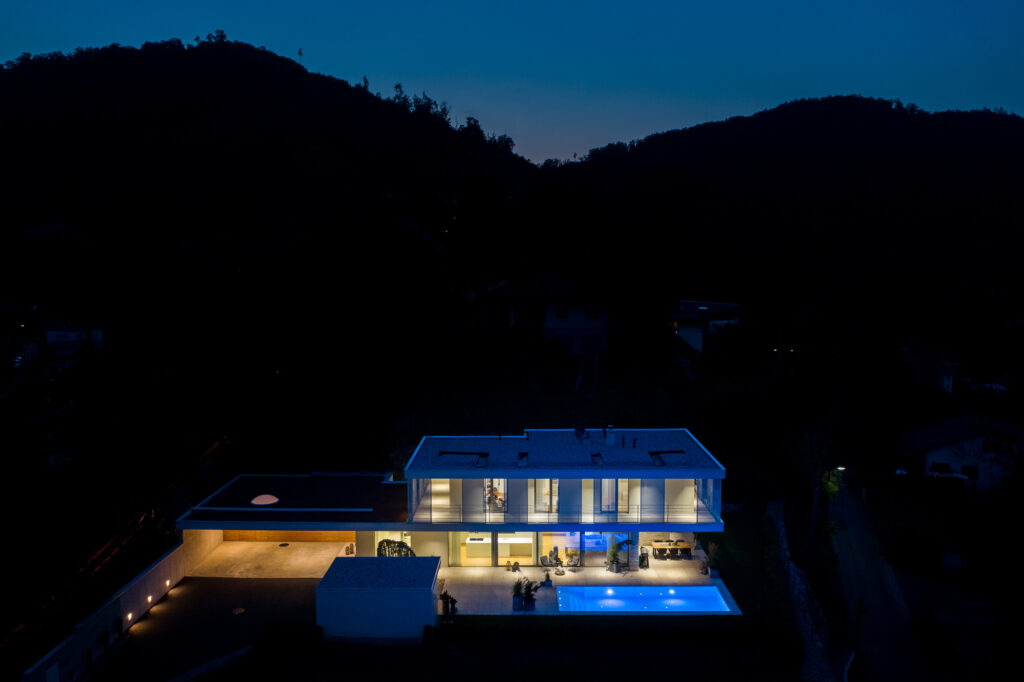
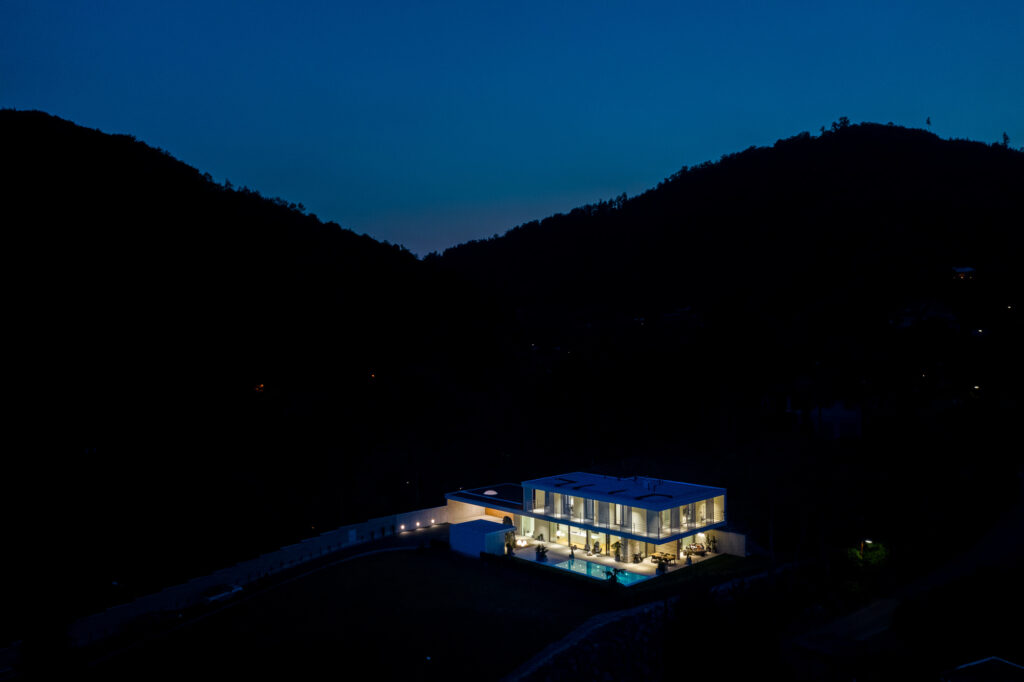
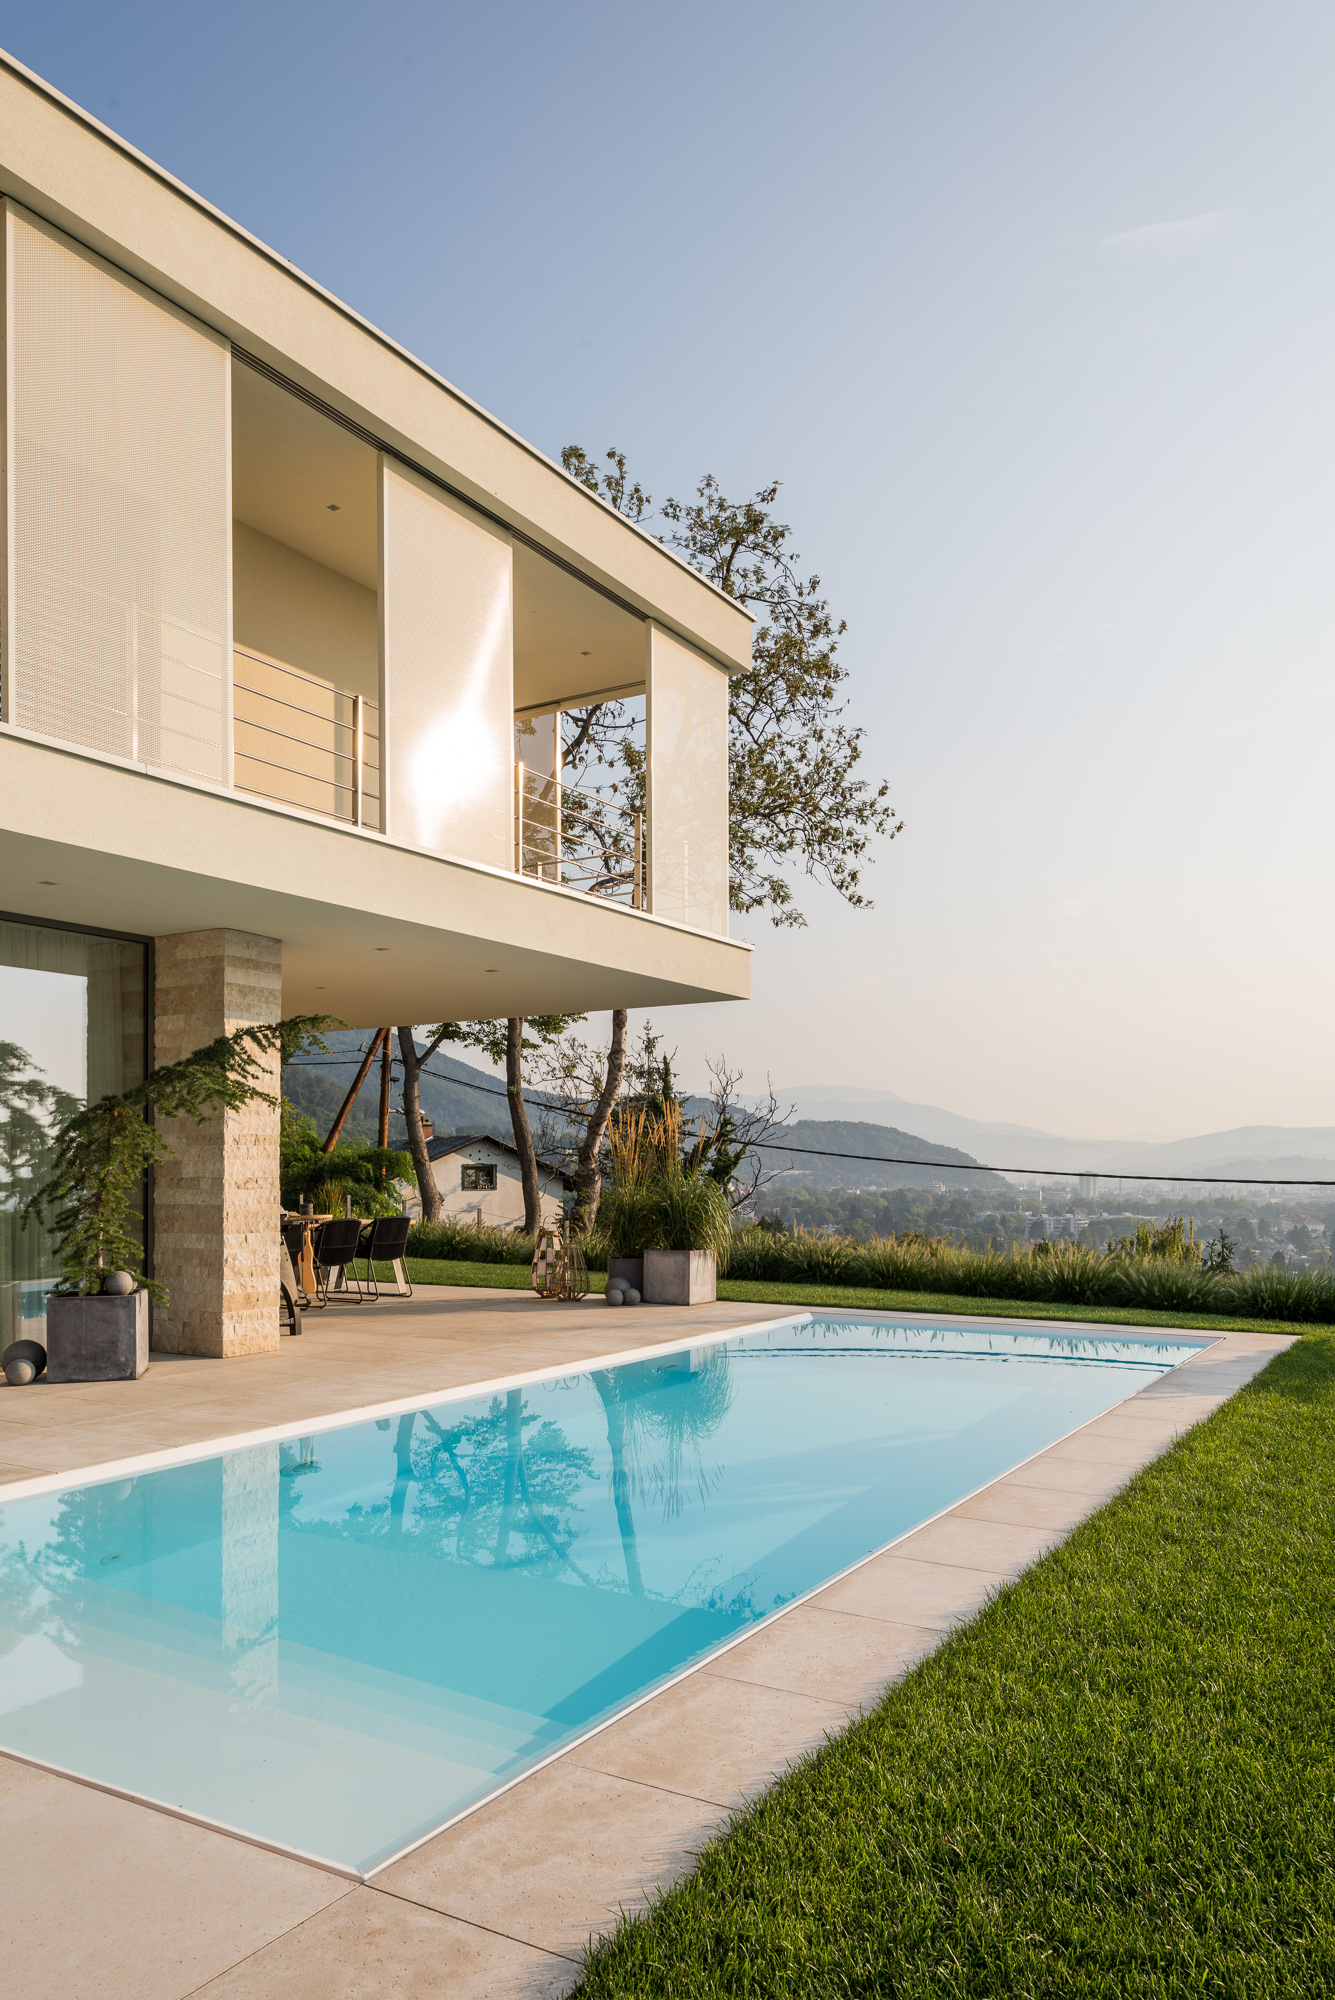
Let’s go outside. This is my selection of drone images. The goal was to present the house with its surroundings while also showing some interesting views of it.
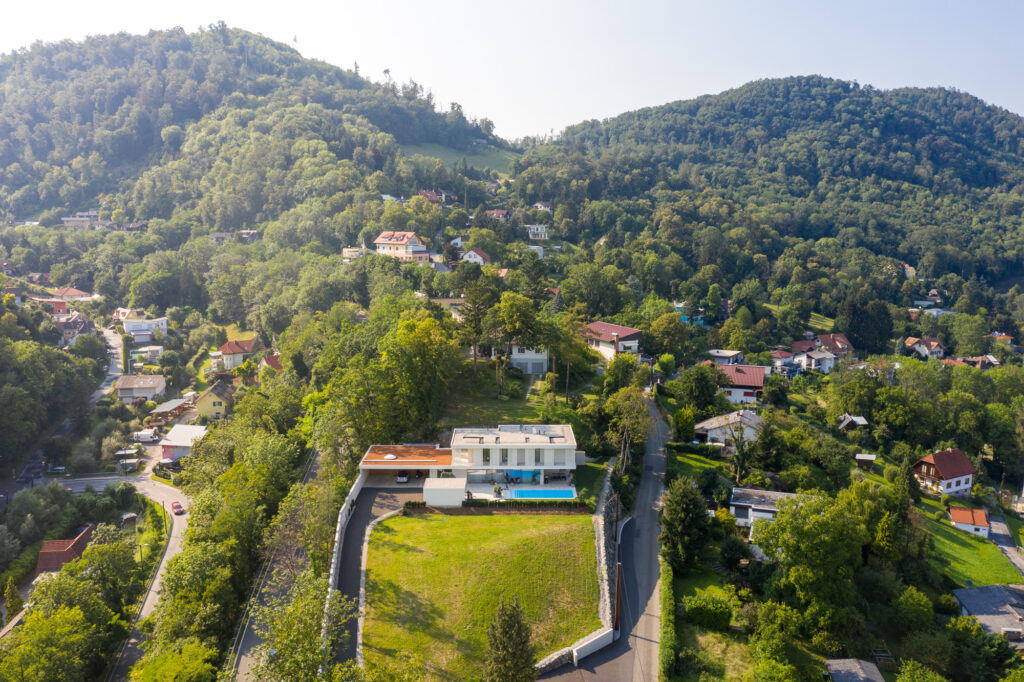
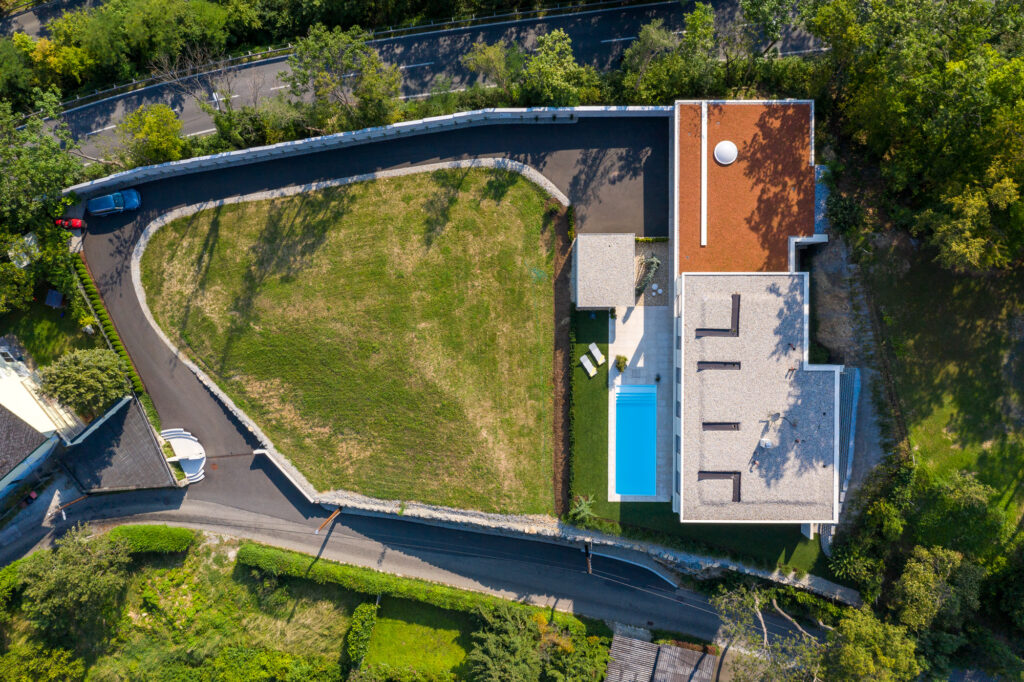
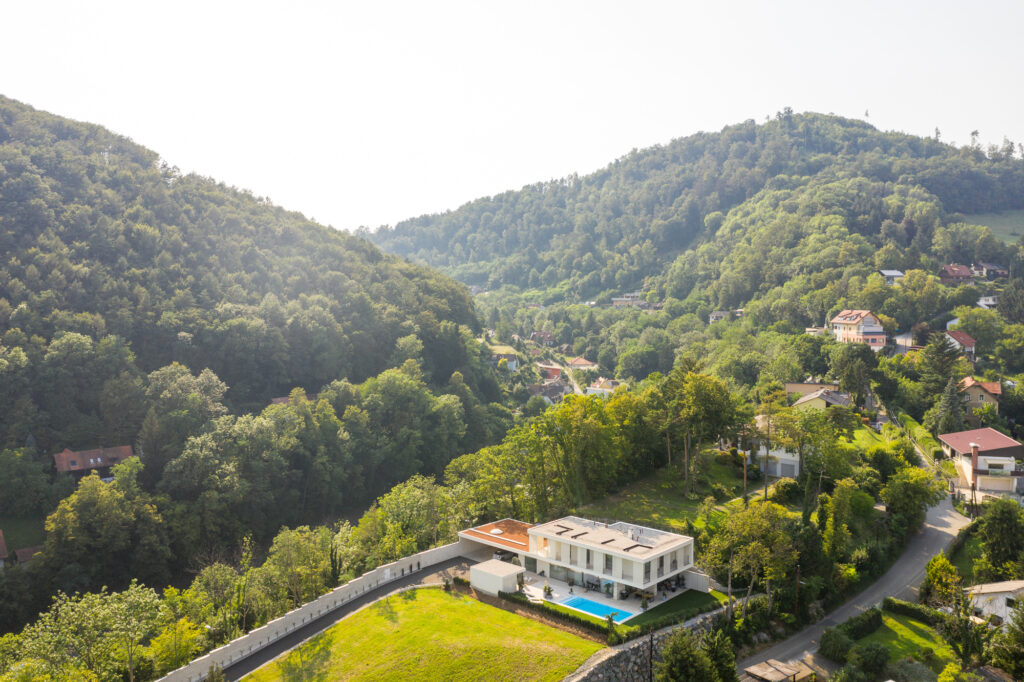

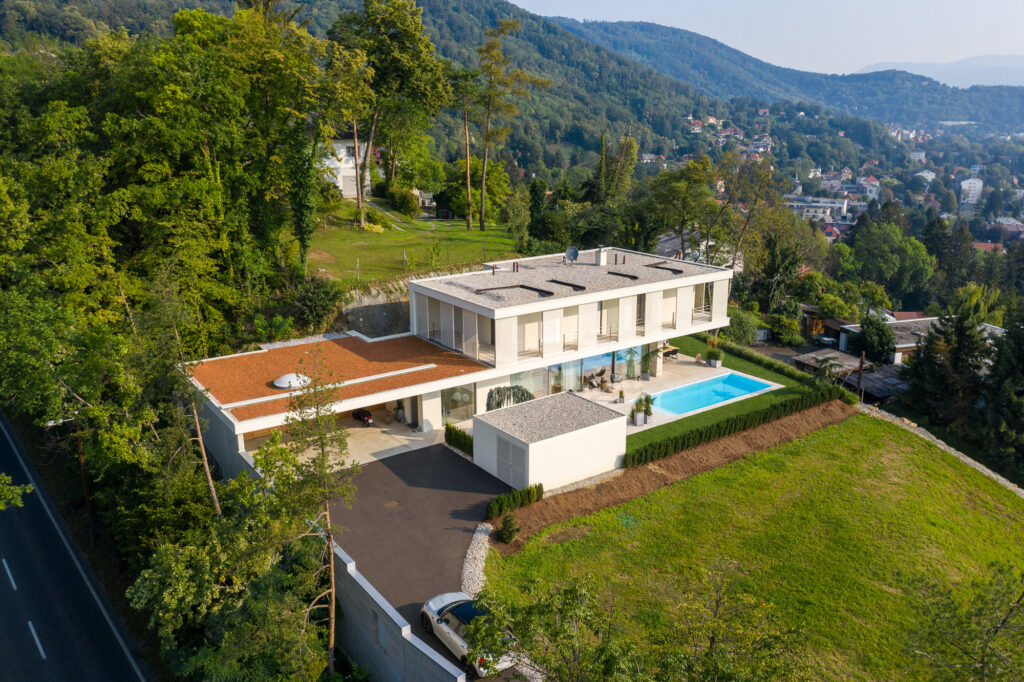
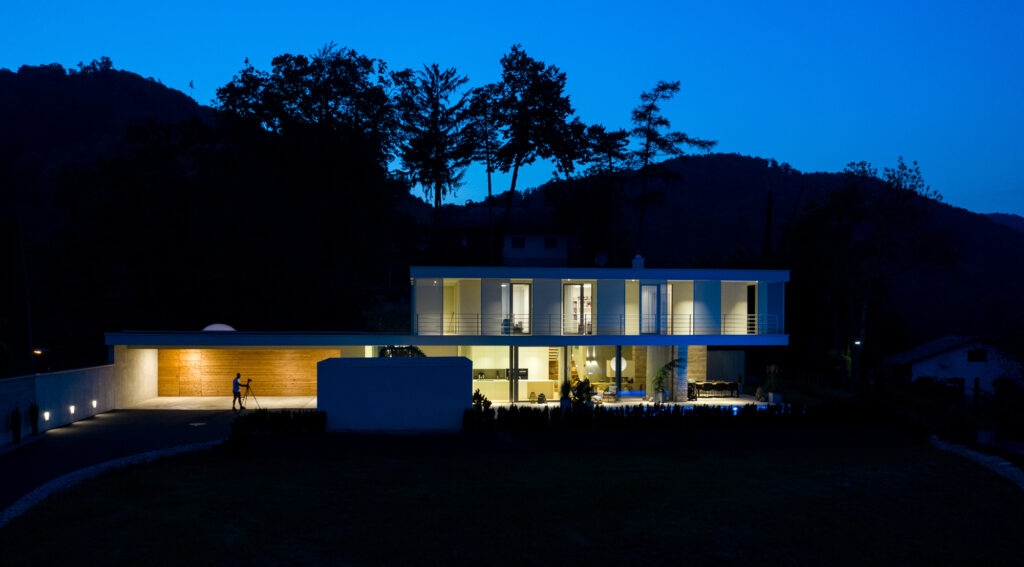
I was almost done for the first day, and my assistant was still flying around with the drone (it was a late blue hour) and took some images. I didn’t expect anything from them, because it was quite dark when he landed. If you see them from a conventional architectural photography standpoint, they are not acceptable, perhaps, but if we live a bit with our artistic freedom, we can add them to the series as part of a decision because we think they highlight certain things. These are my personal favorites.
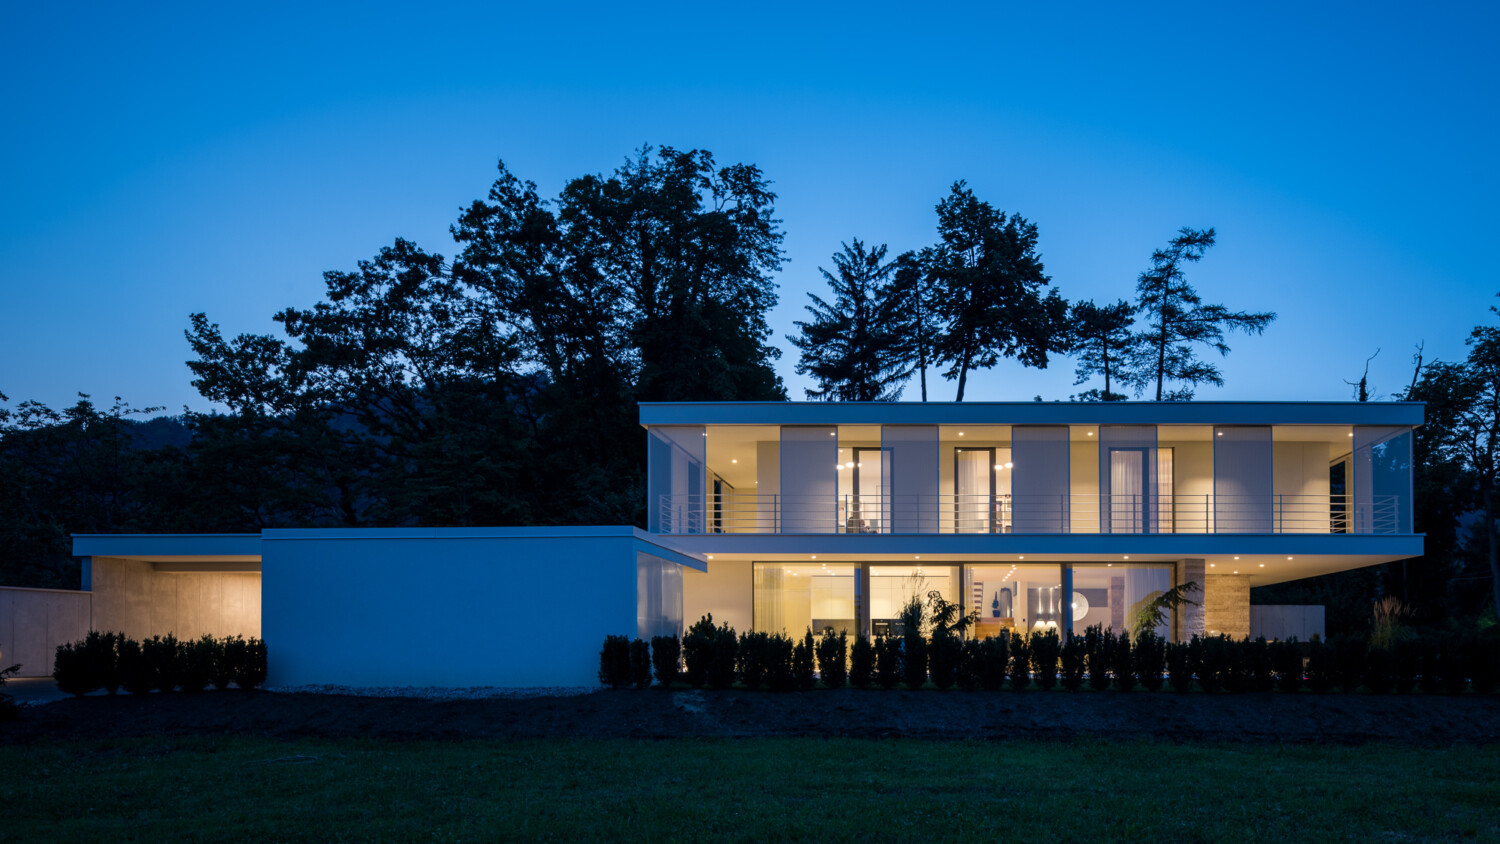
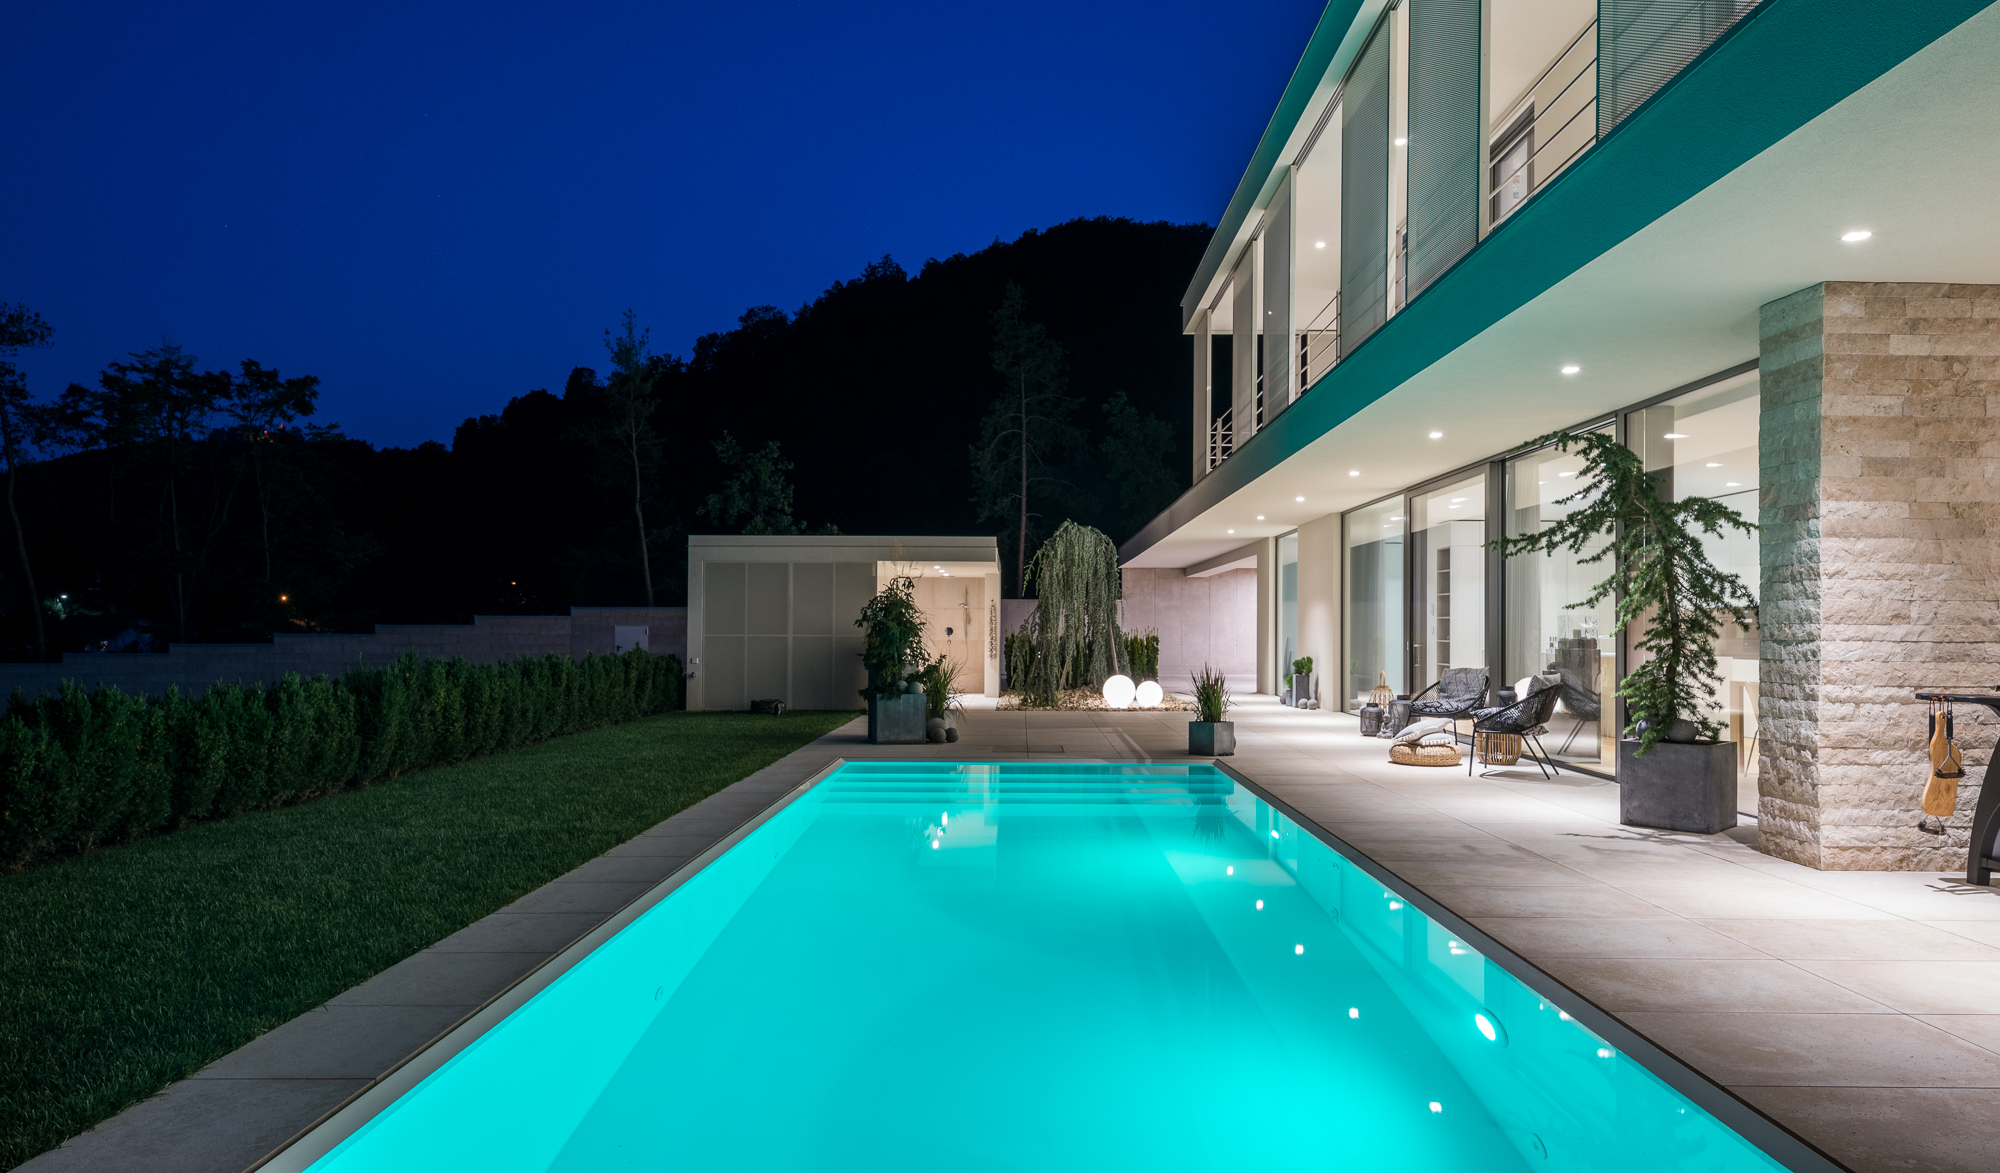
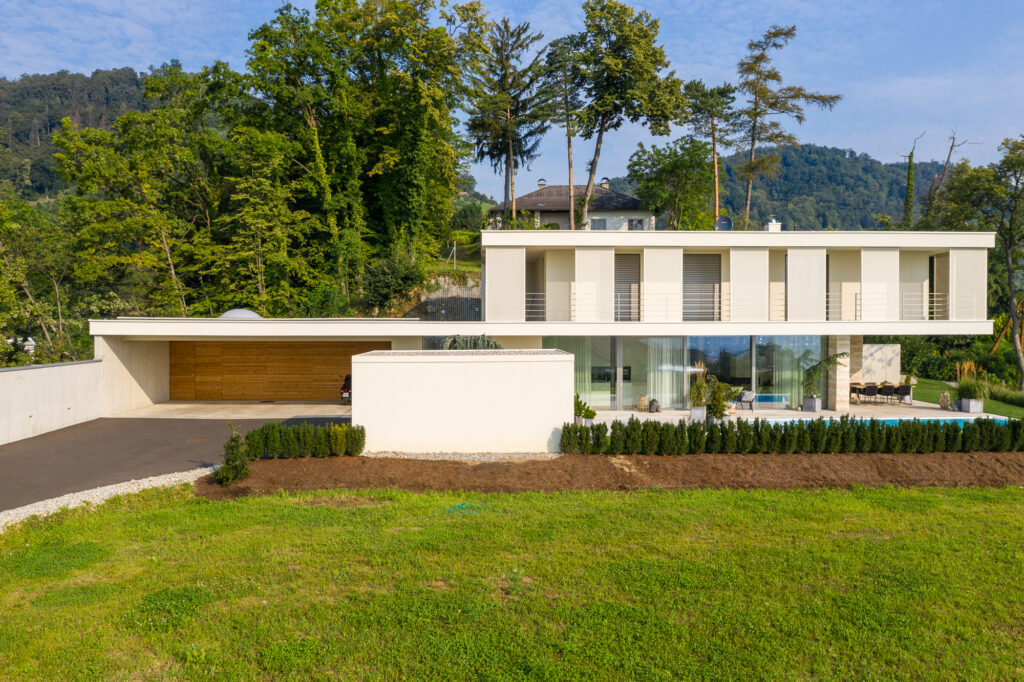
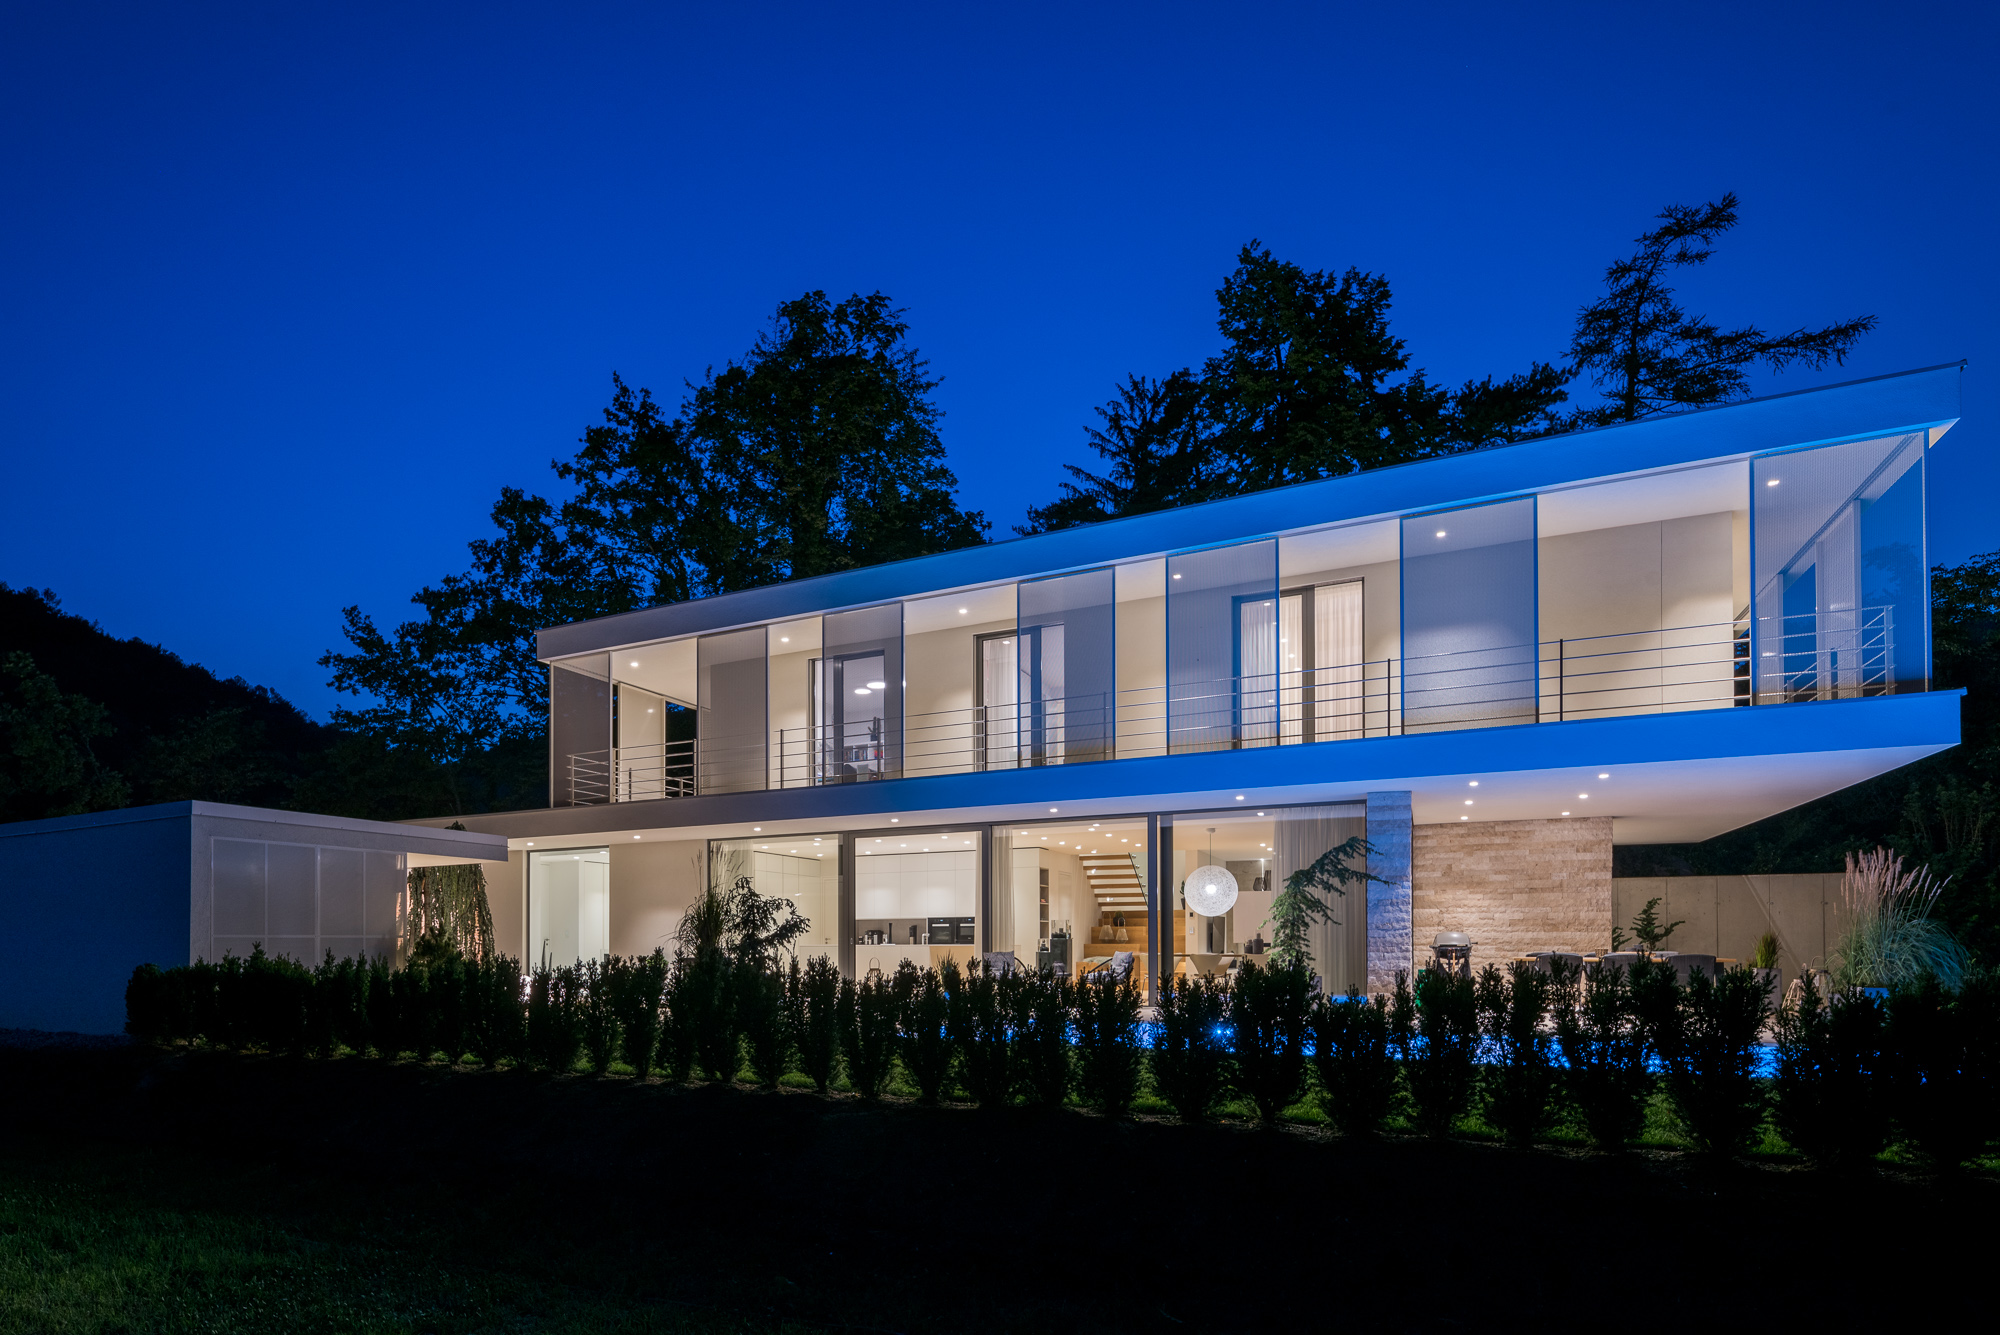
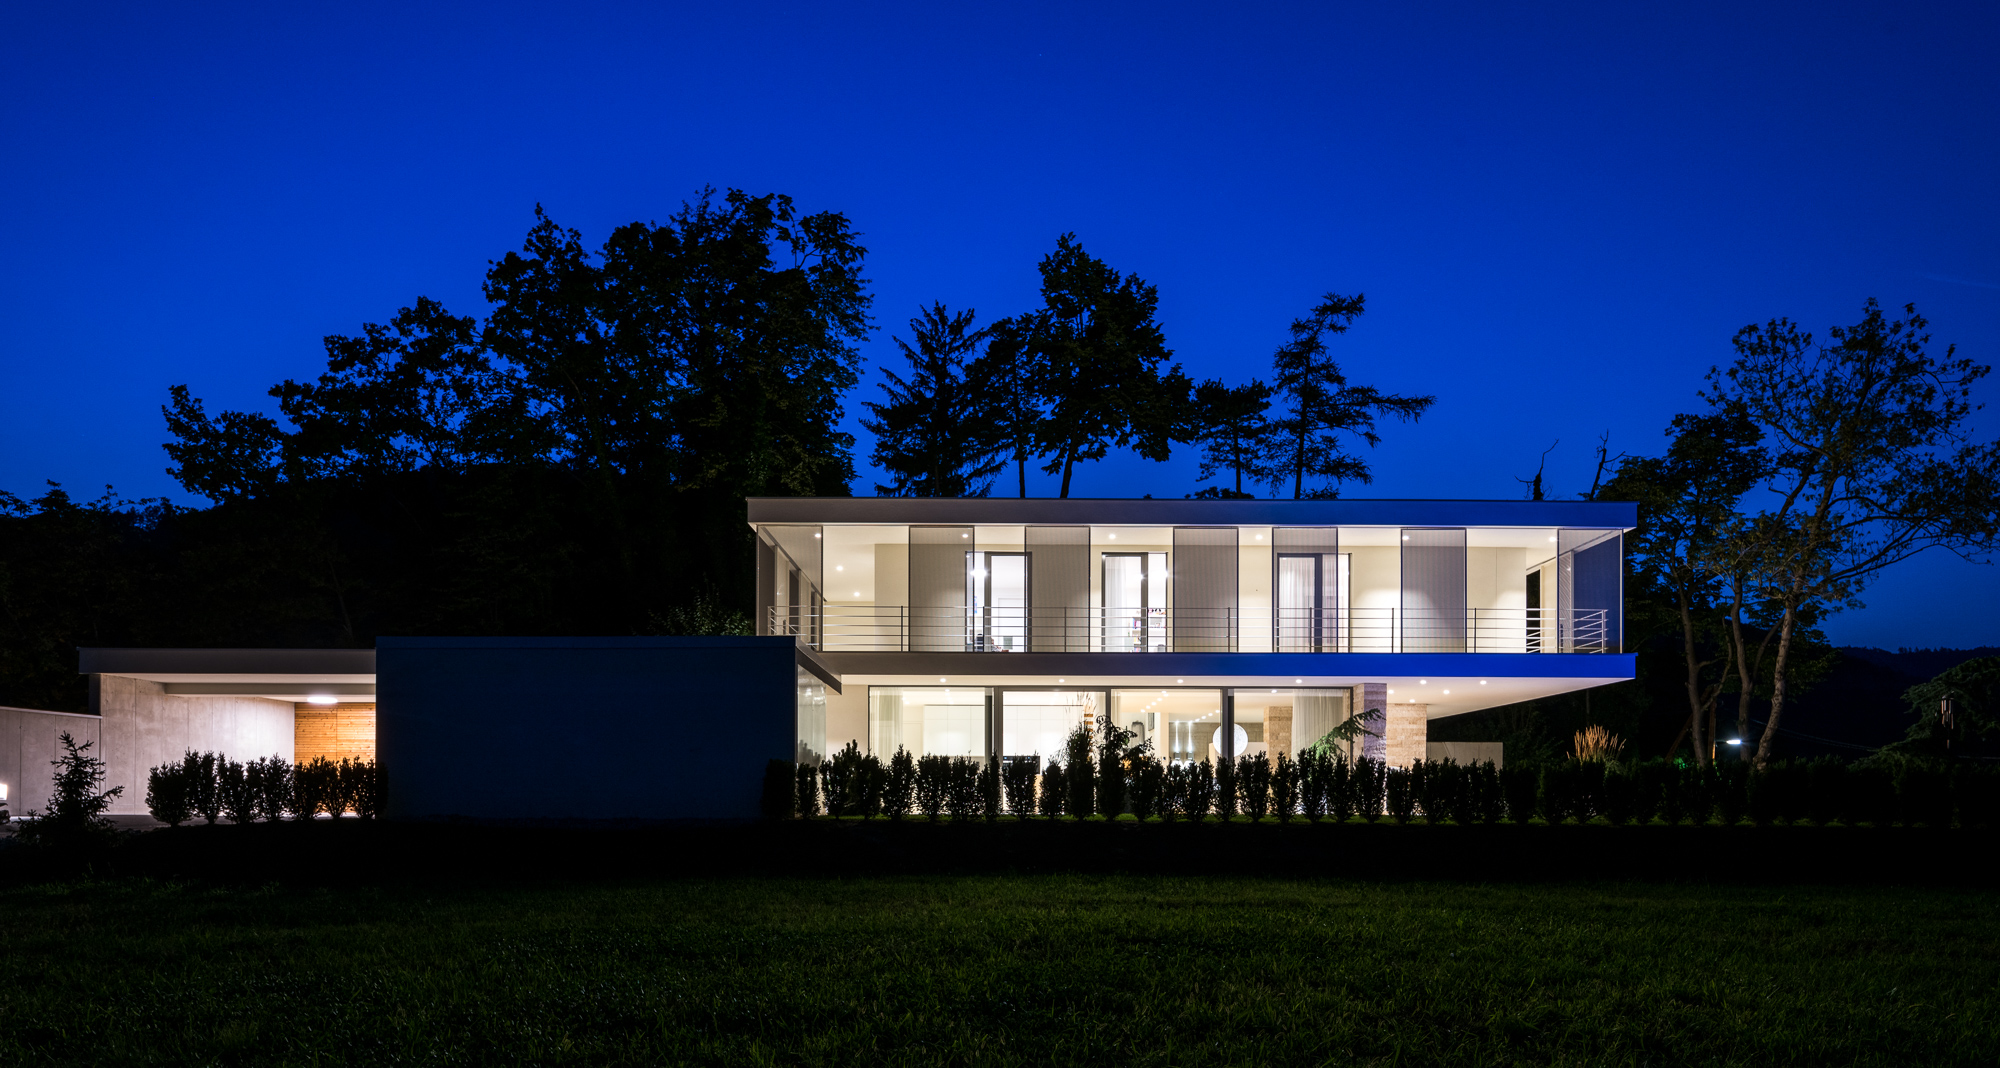
Sun is Setting — Exteriors Time!
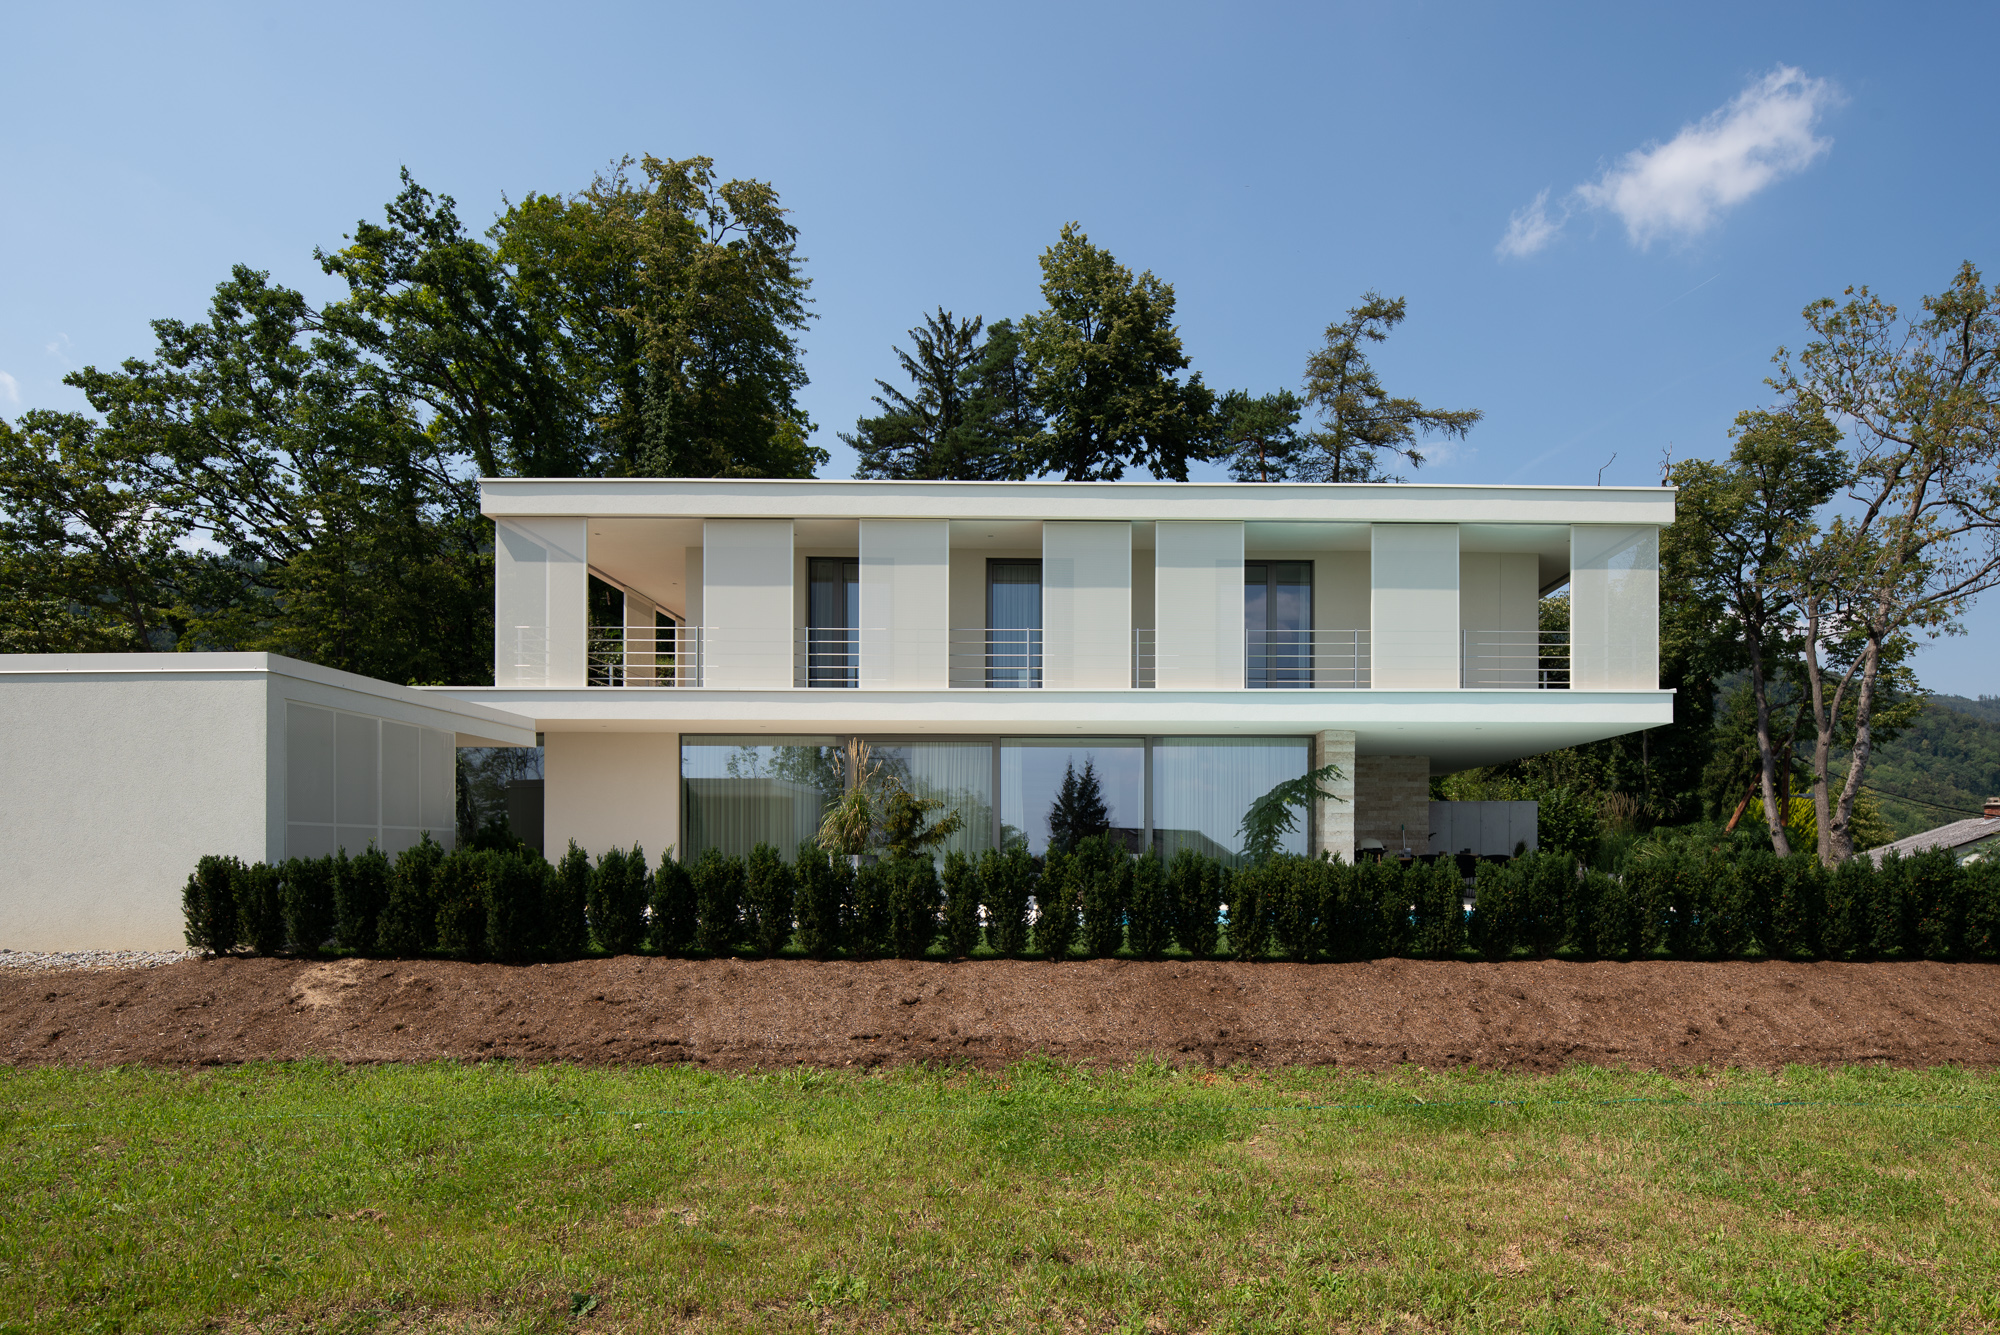
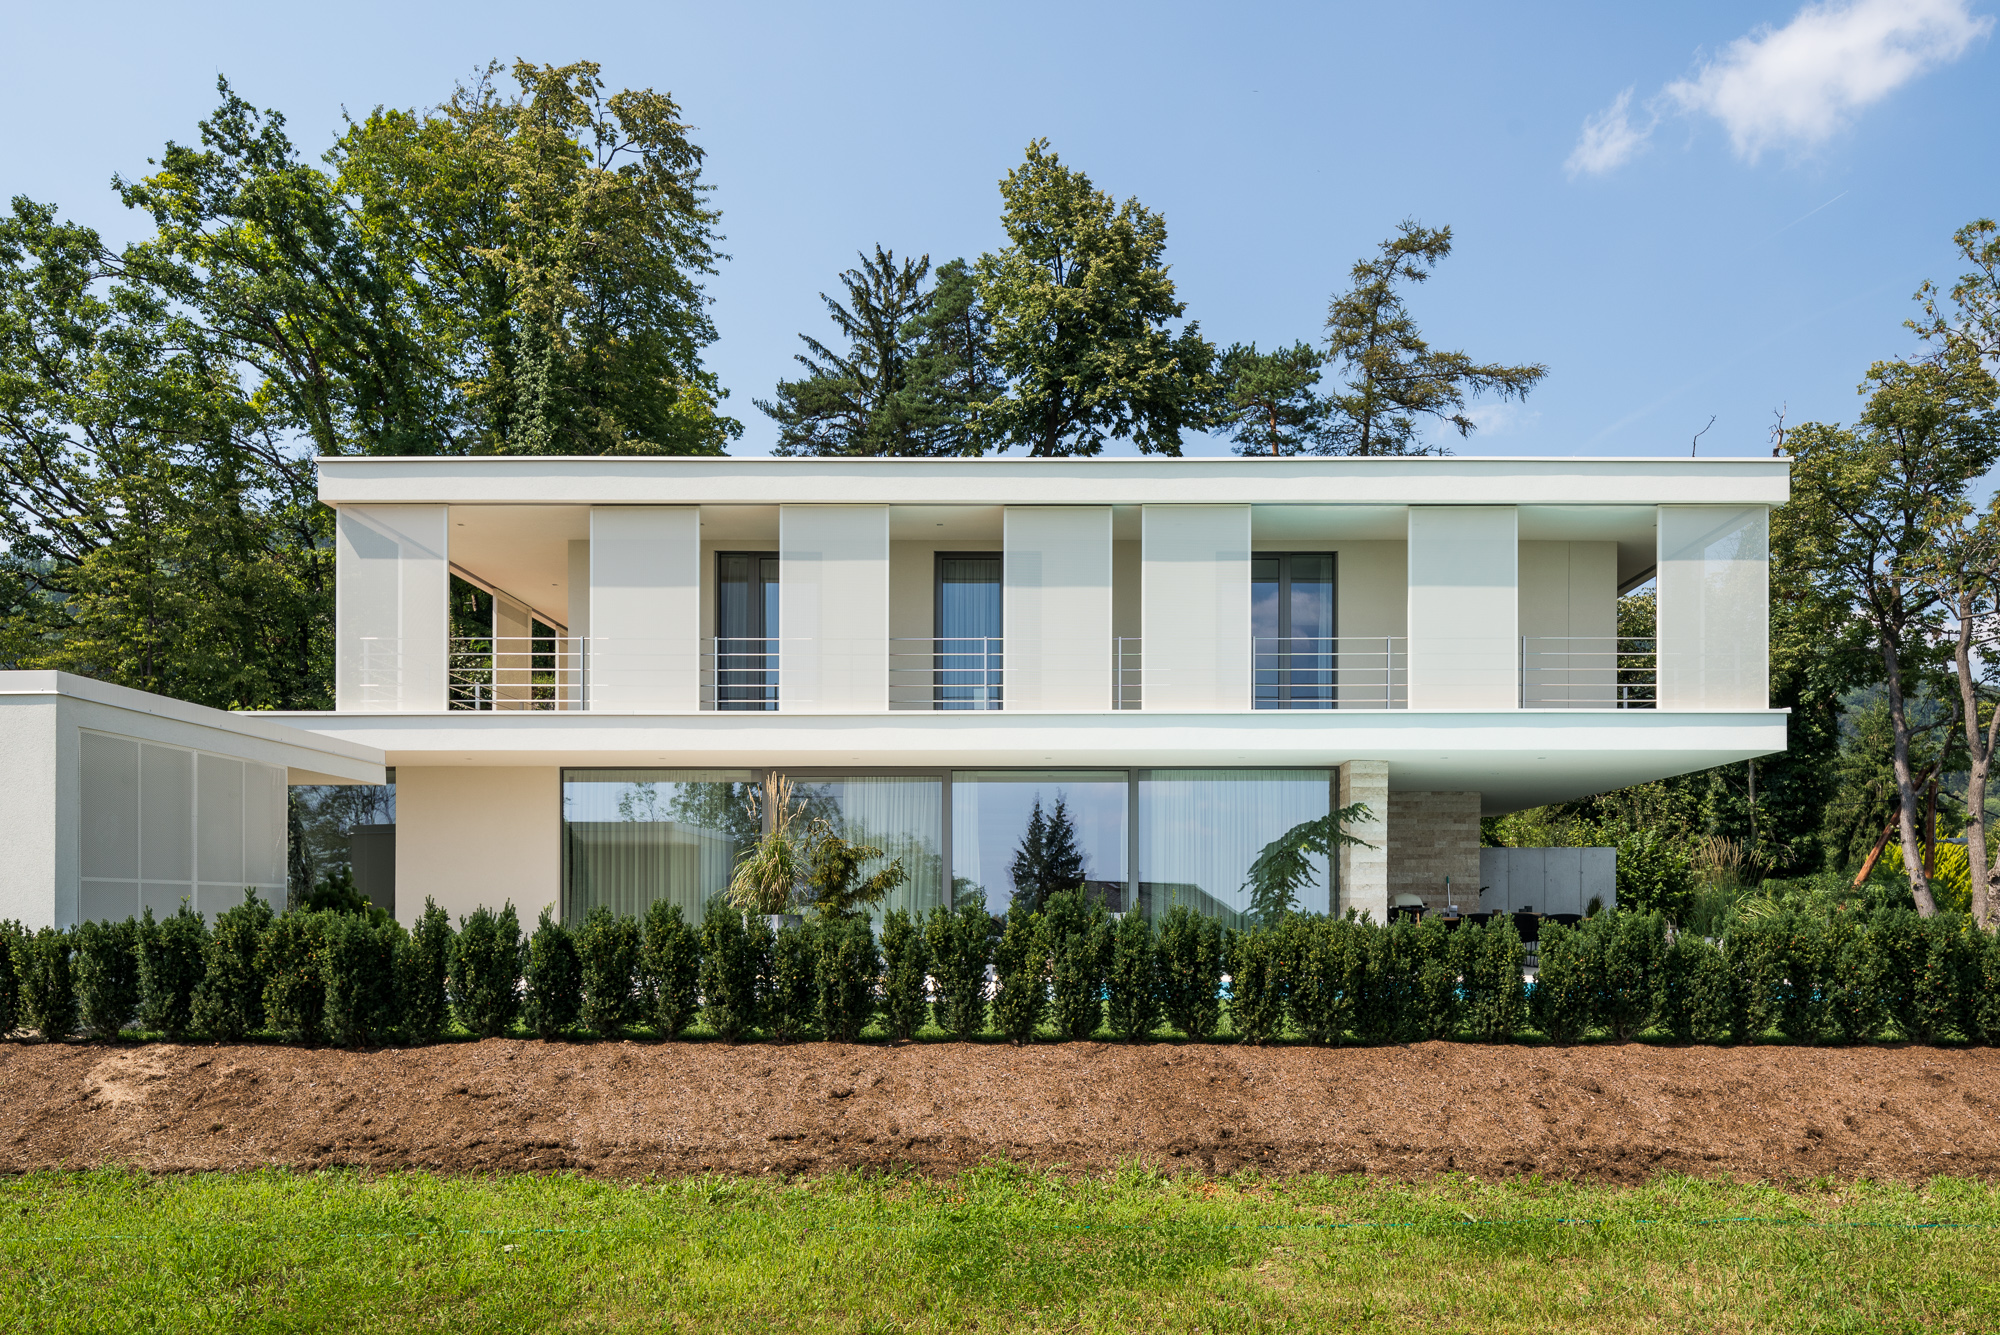
During the afternoon, I focused on the interior since I knew that the light would be much better in the morning, and I started photographing the exteriors right after sunset. First, let me show the main views of the house. I won’t share every single angle I tried, but now you get the idea of my approach. After 6 hours on the field, we are at the early blue hour:


Almost ‘textbook-like’: 0.8sec f/9 iso100


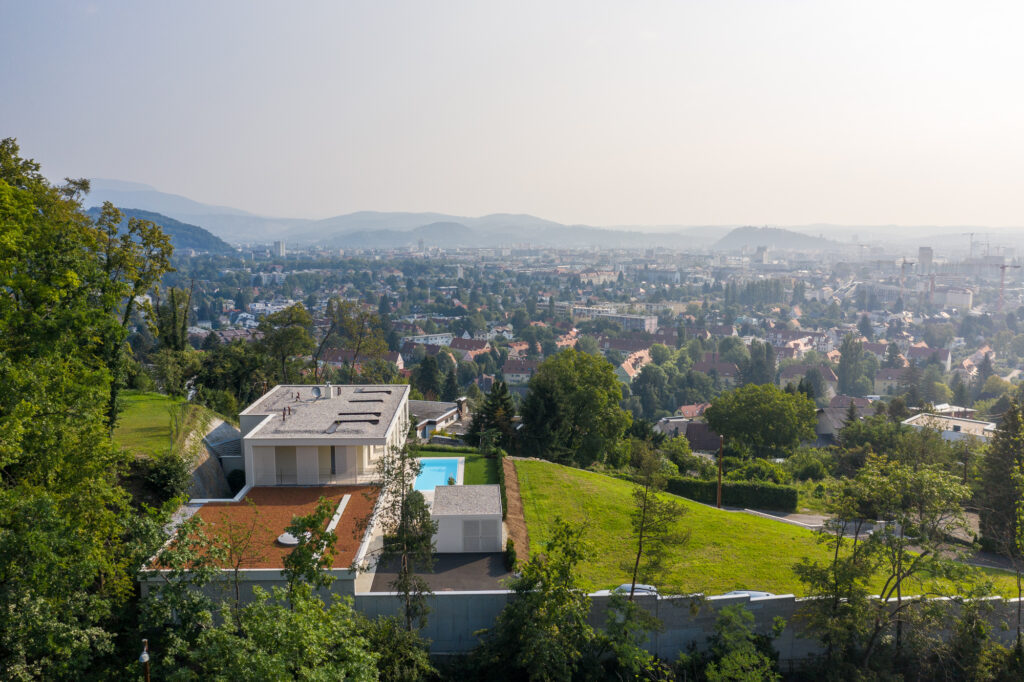
Moving forward, I ran even on the roof to capture the view of the city.


And that’s a wrap for the first day — The same view that I started with.
21:07


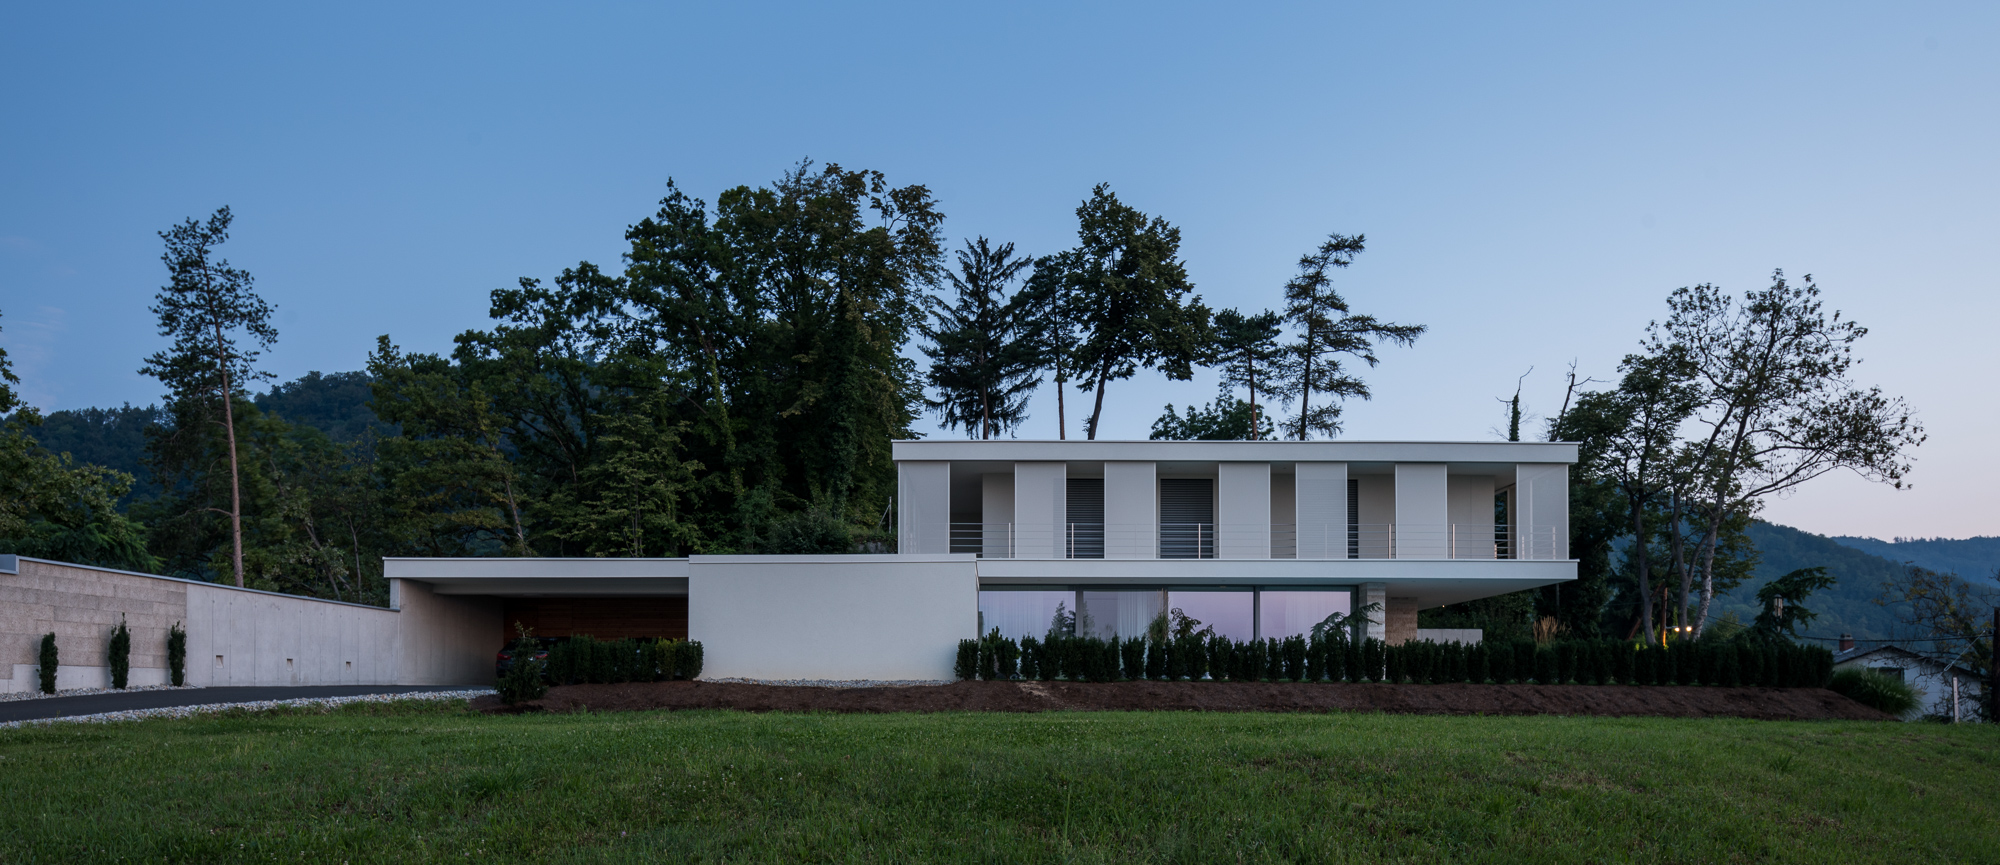
After 5 hours of sleep here we are, sunrise!

05:27


Without the grill. 
8:51 – and I was finished.
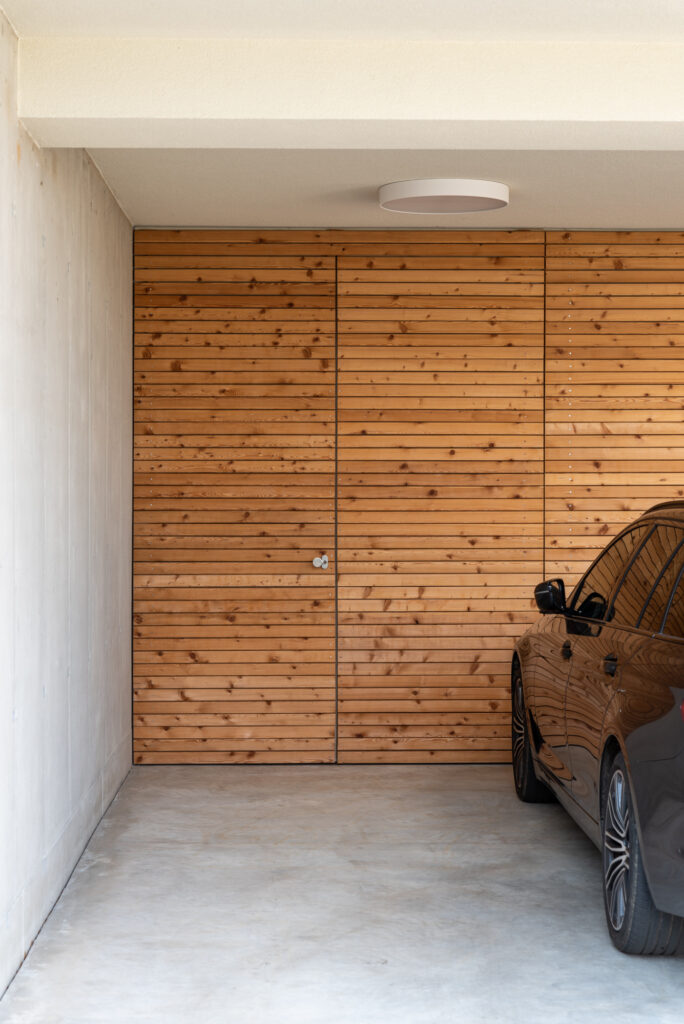
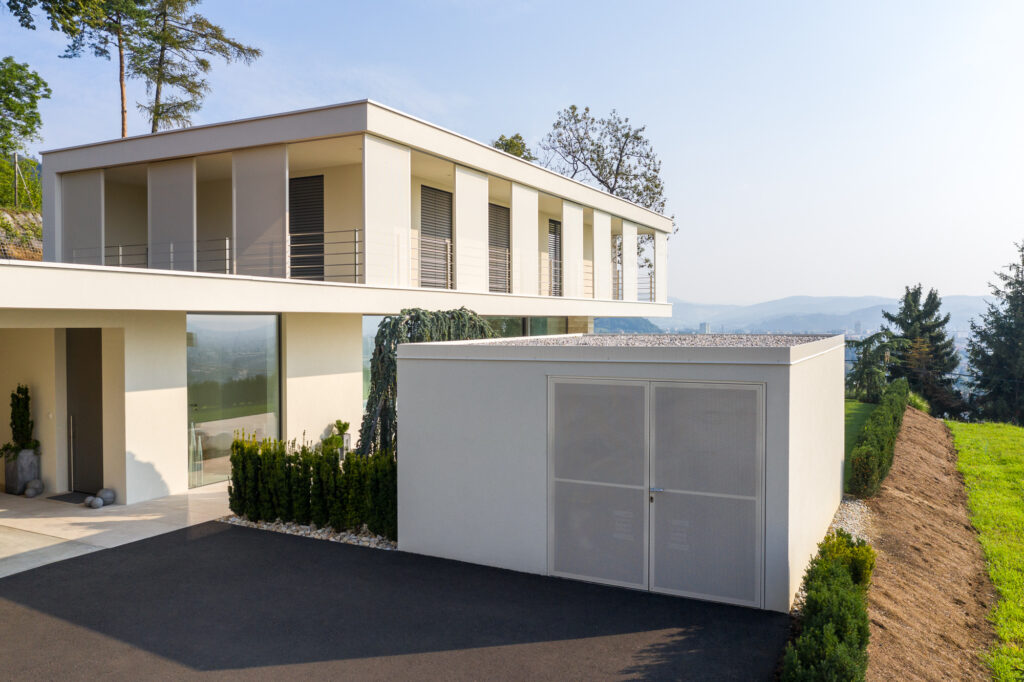
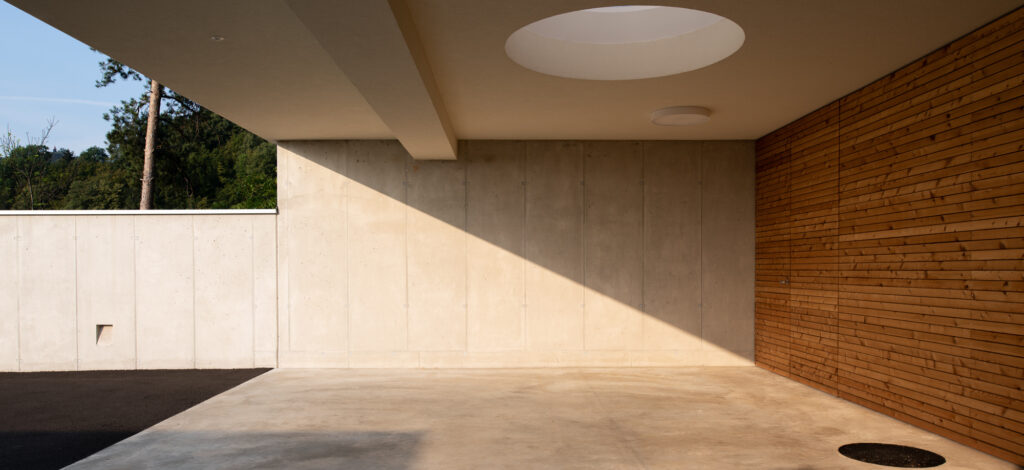
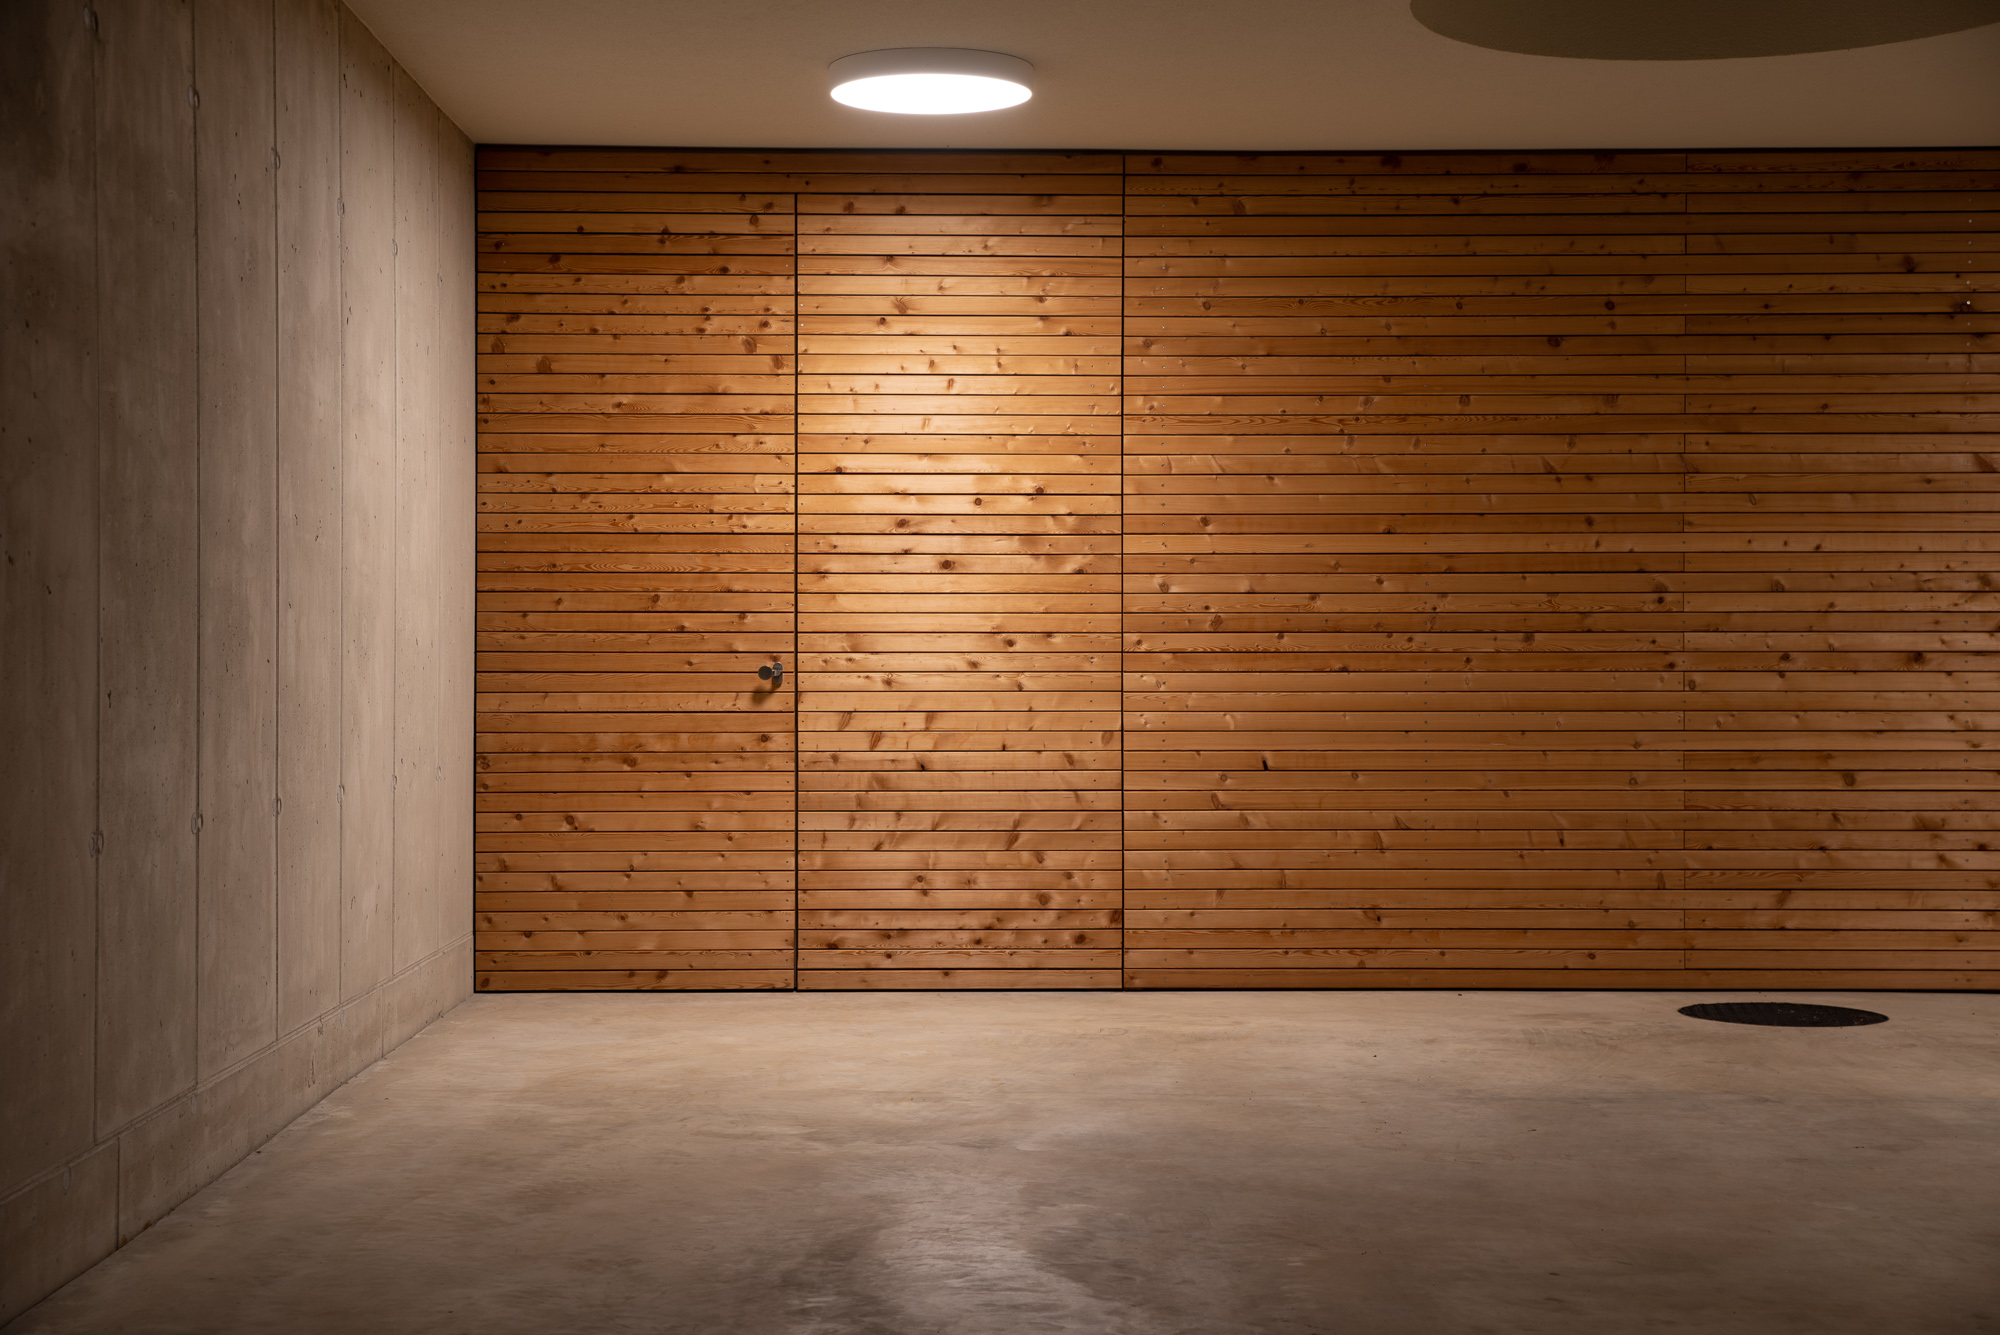
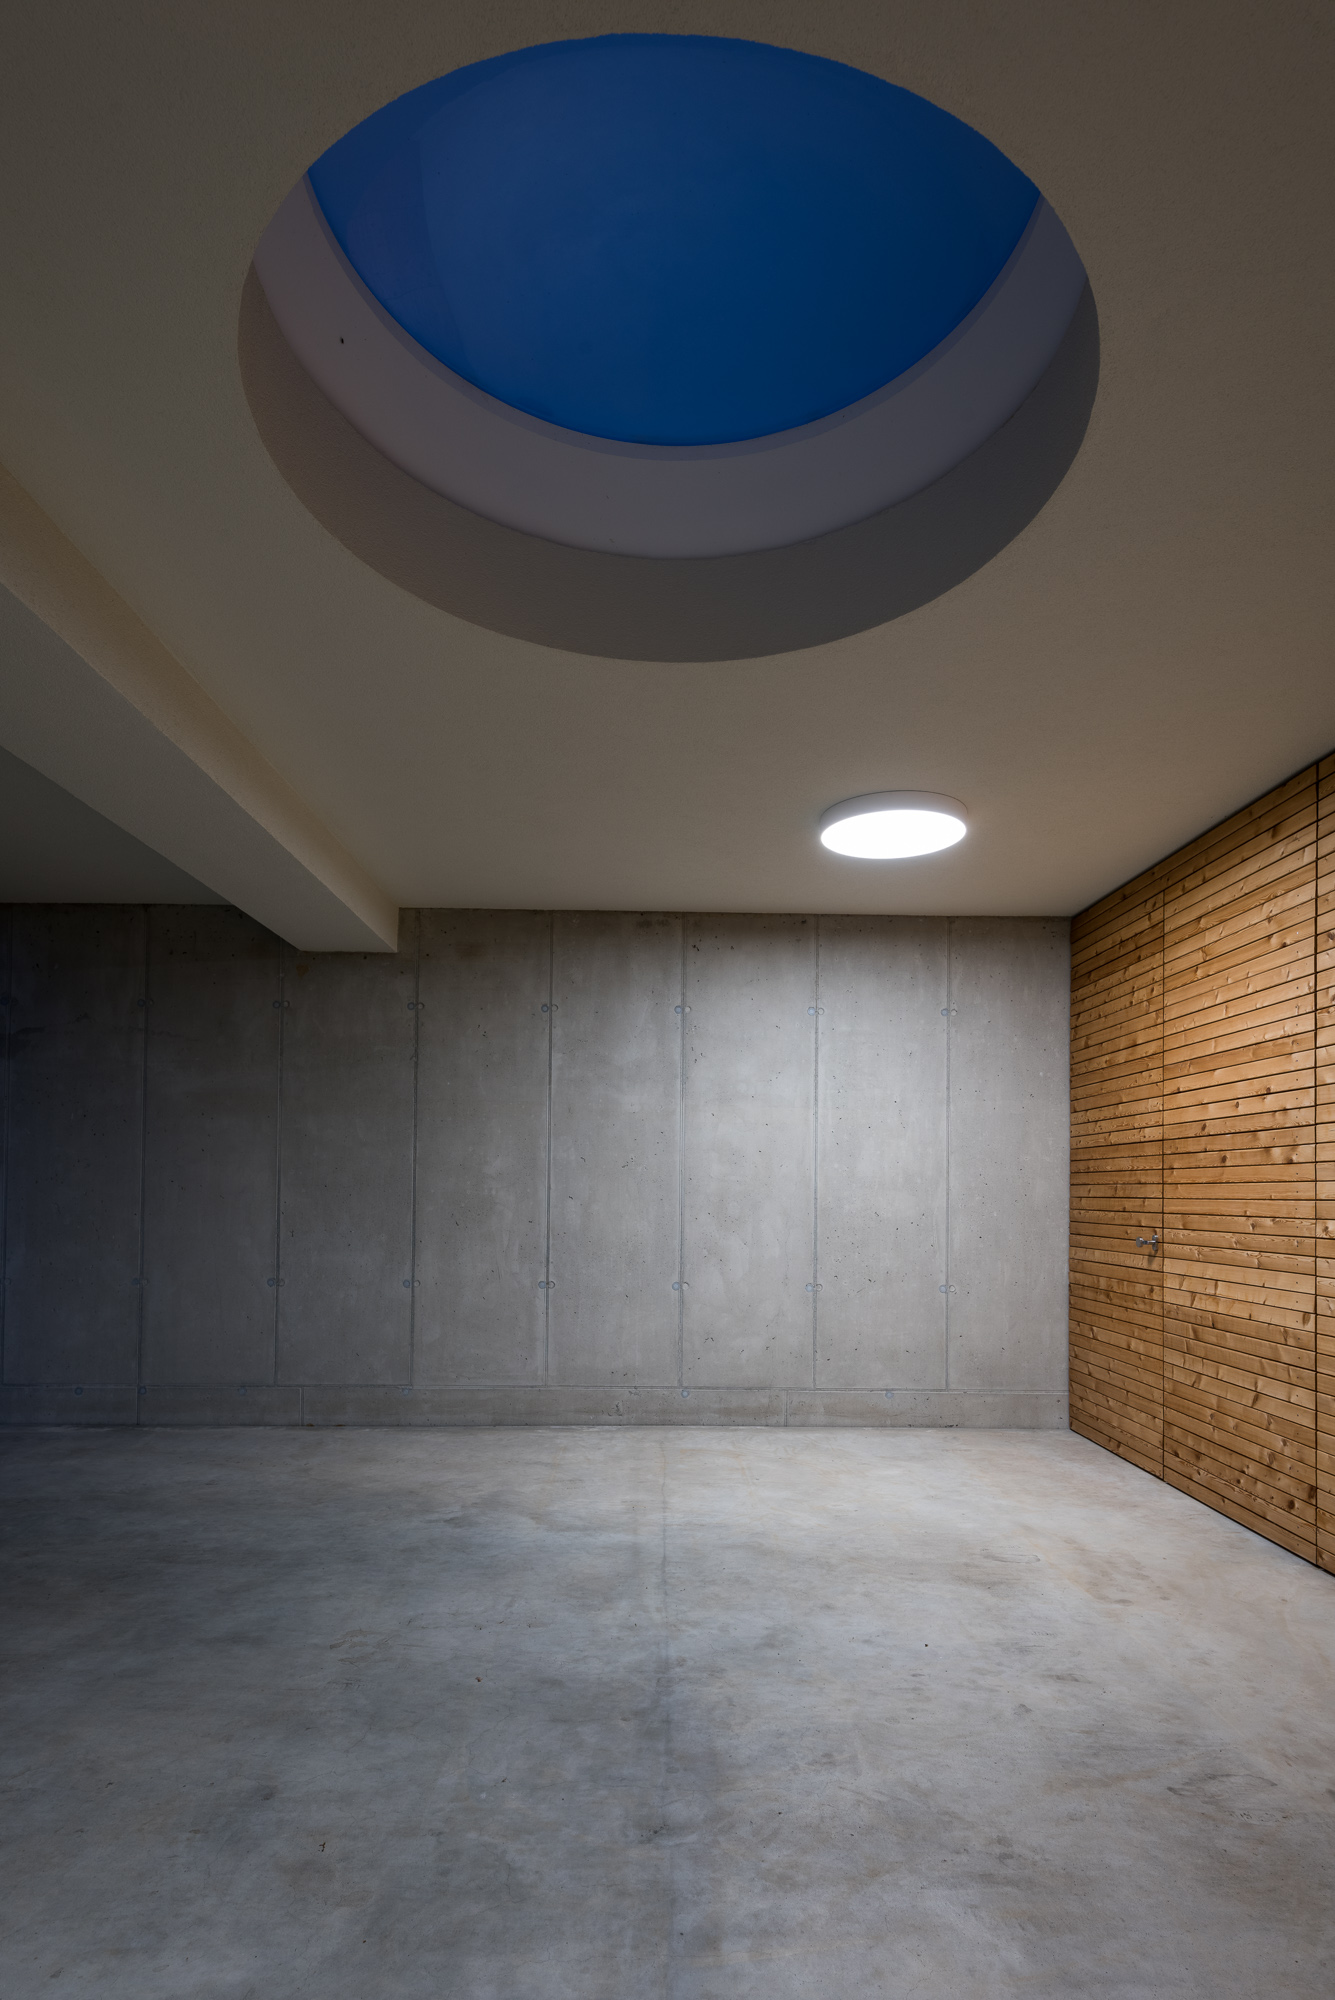
Now I will get into some details of the house that I felt worthy of photographing. The first thing you saw is the nice open garage, which can be photographed beautifully.

19mm 24mm
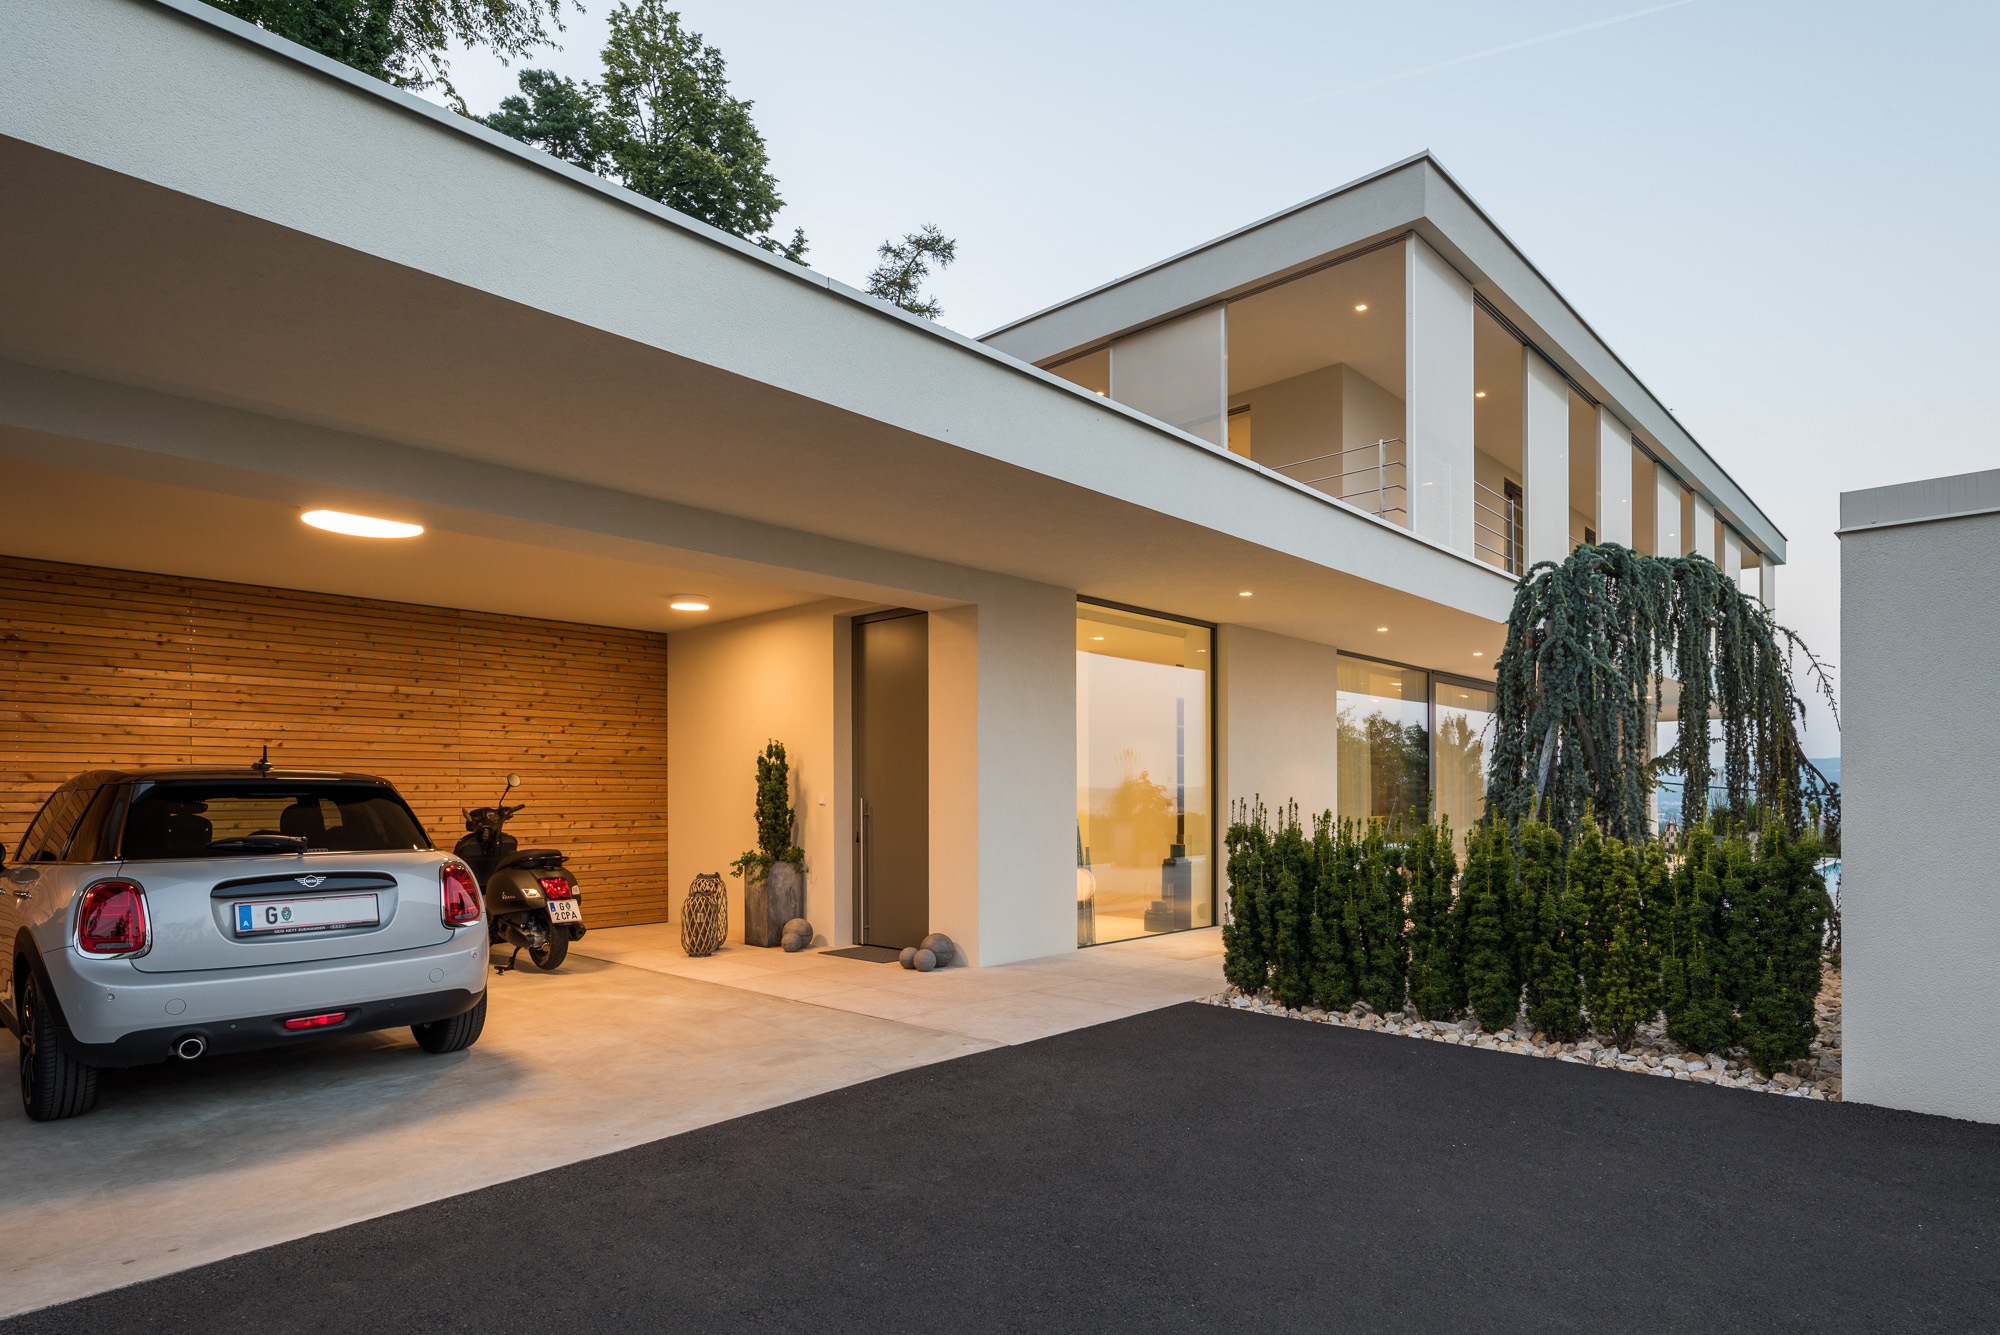

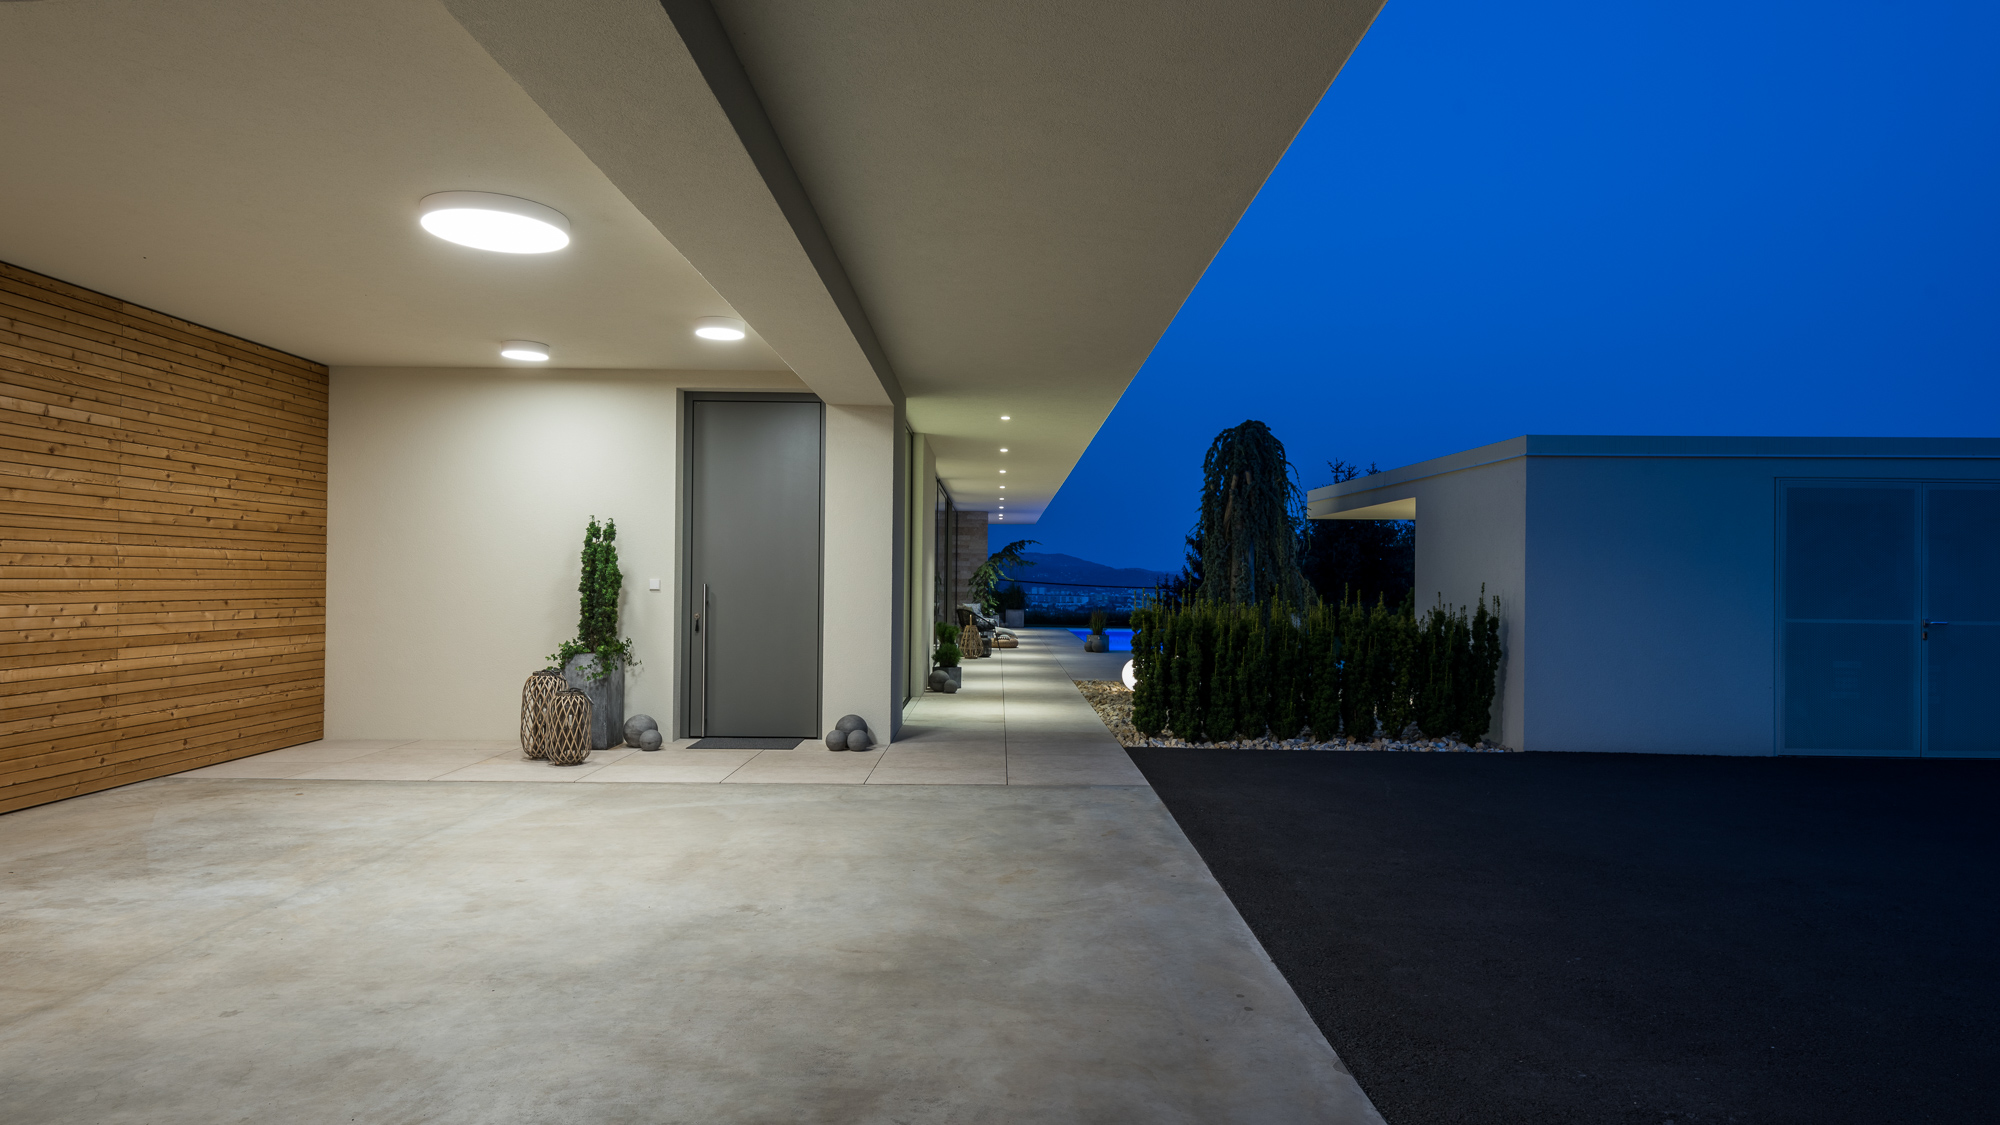
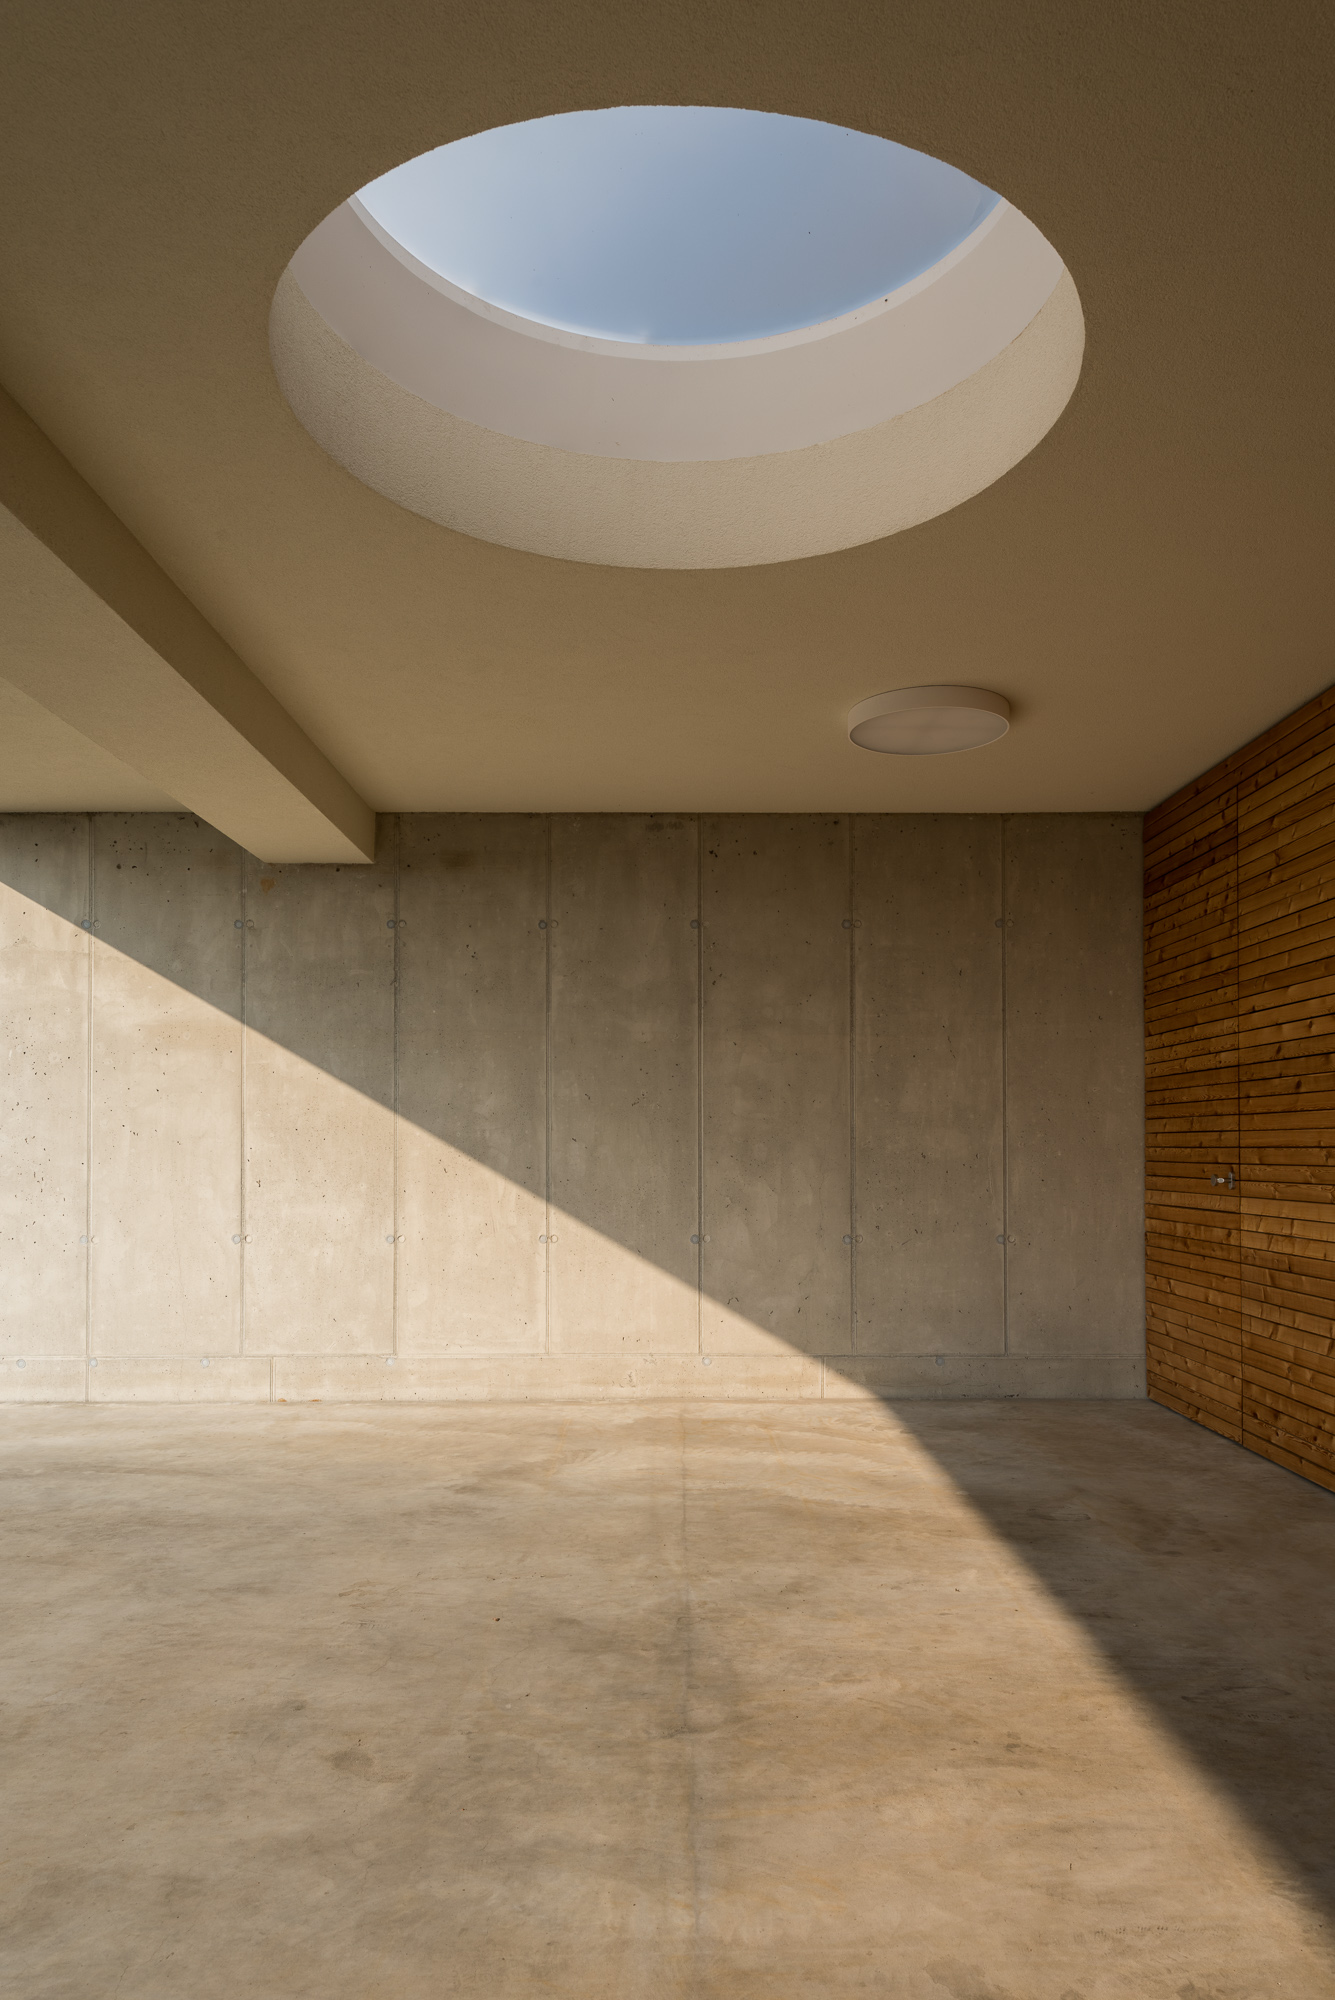
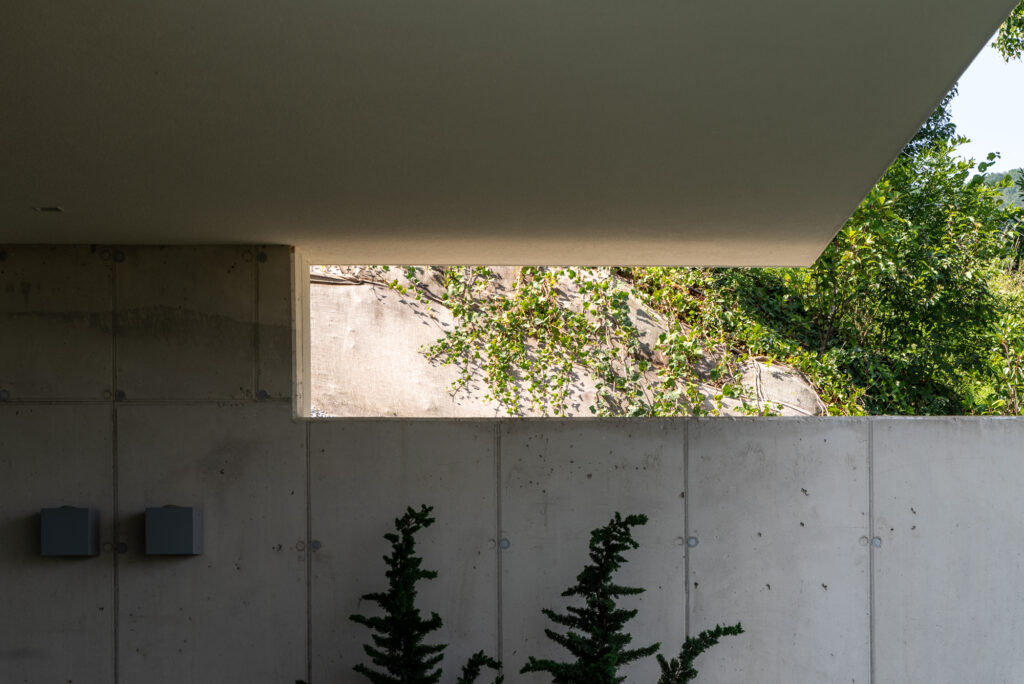
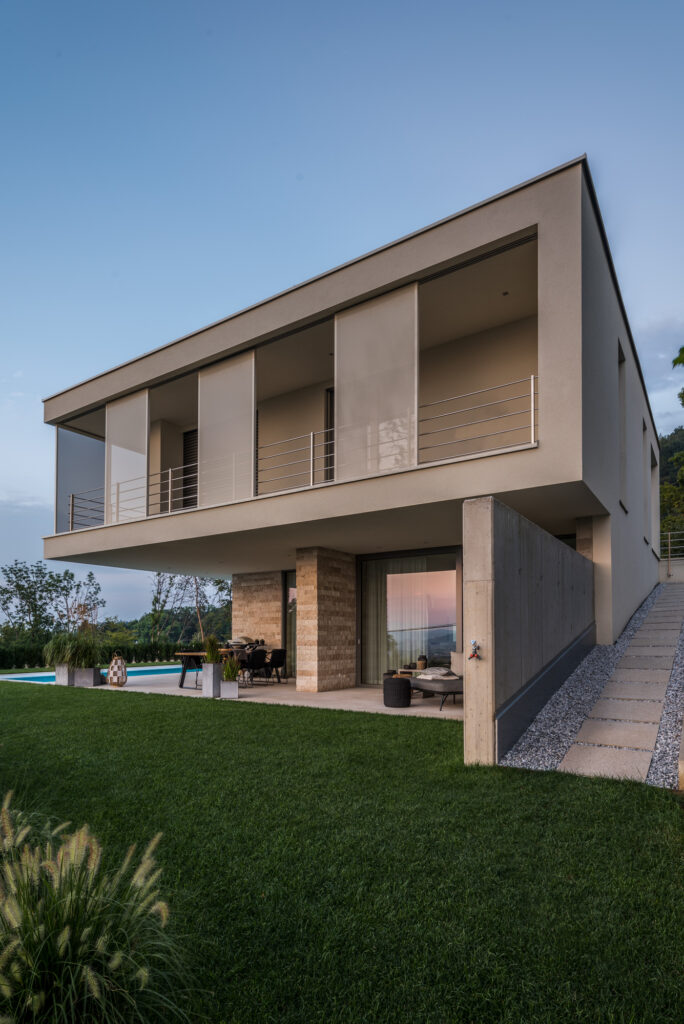
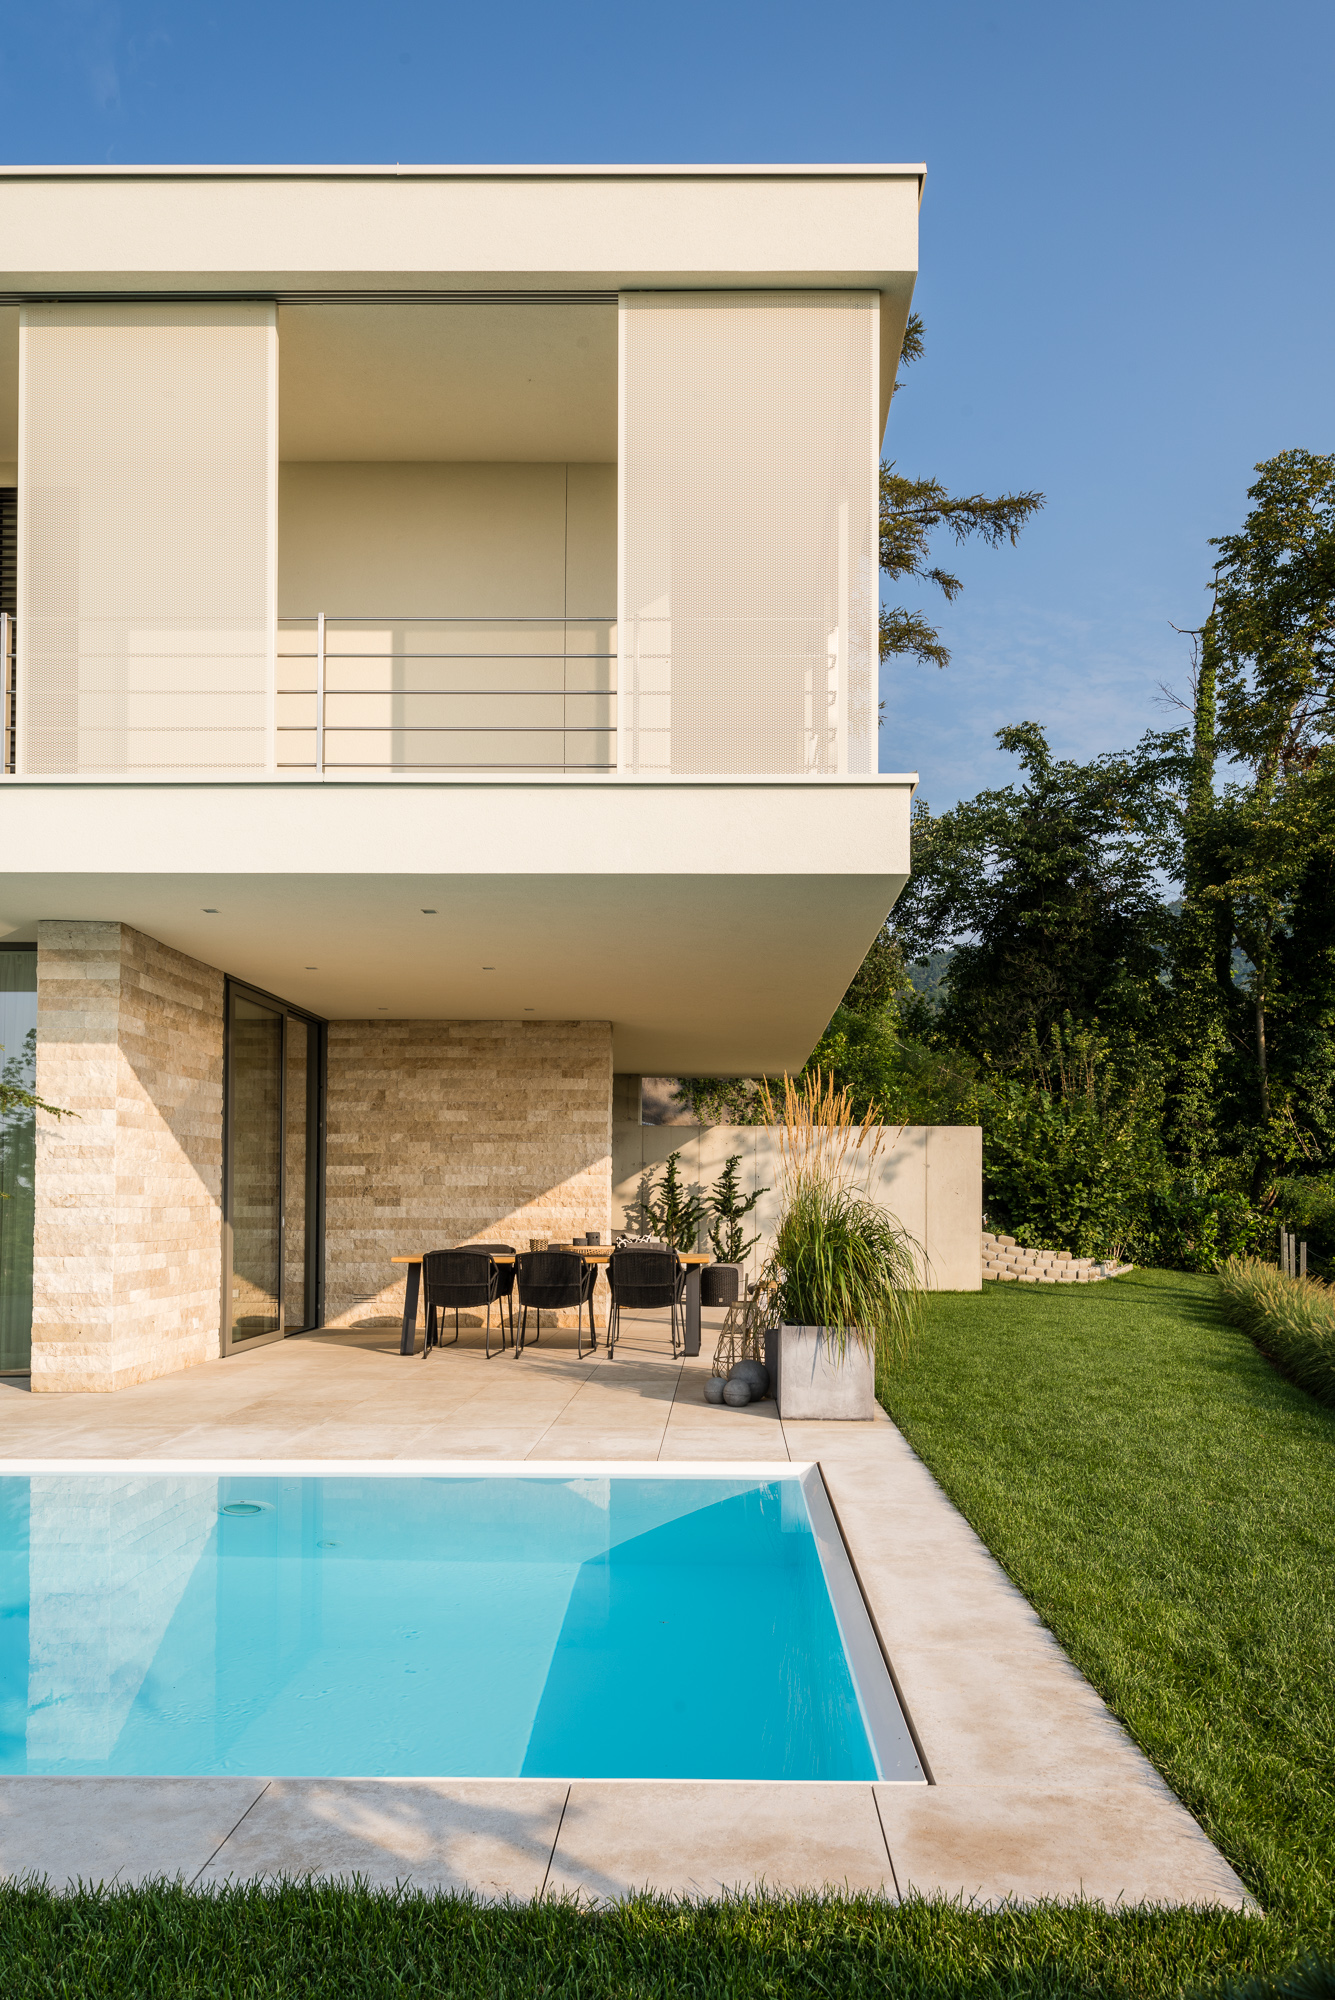
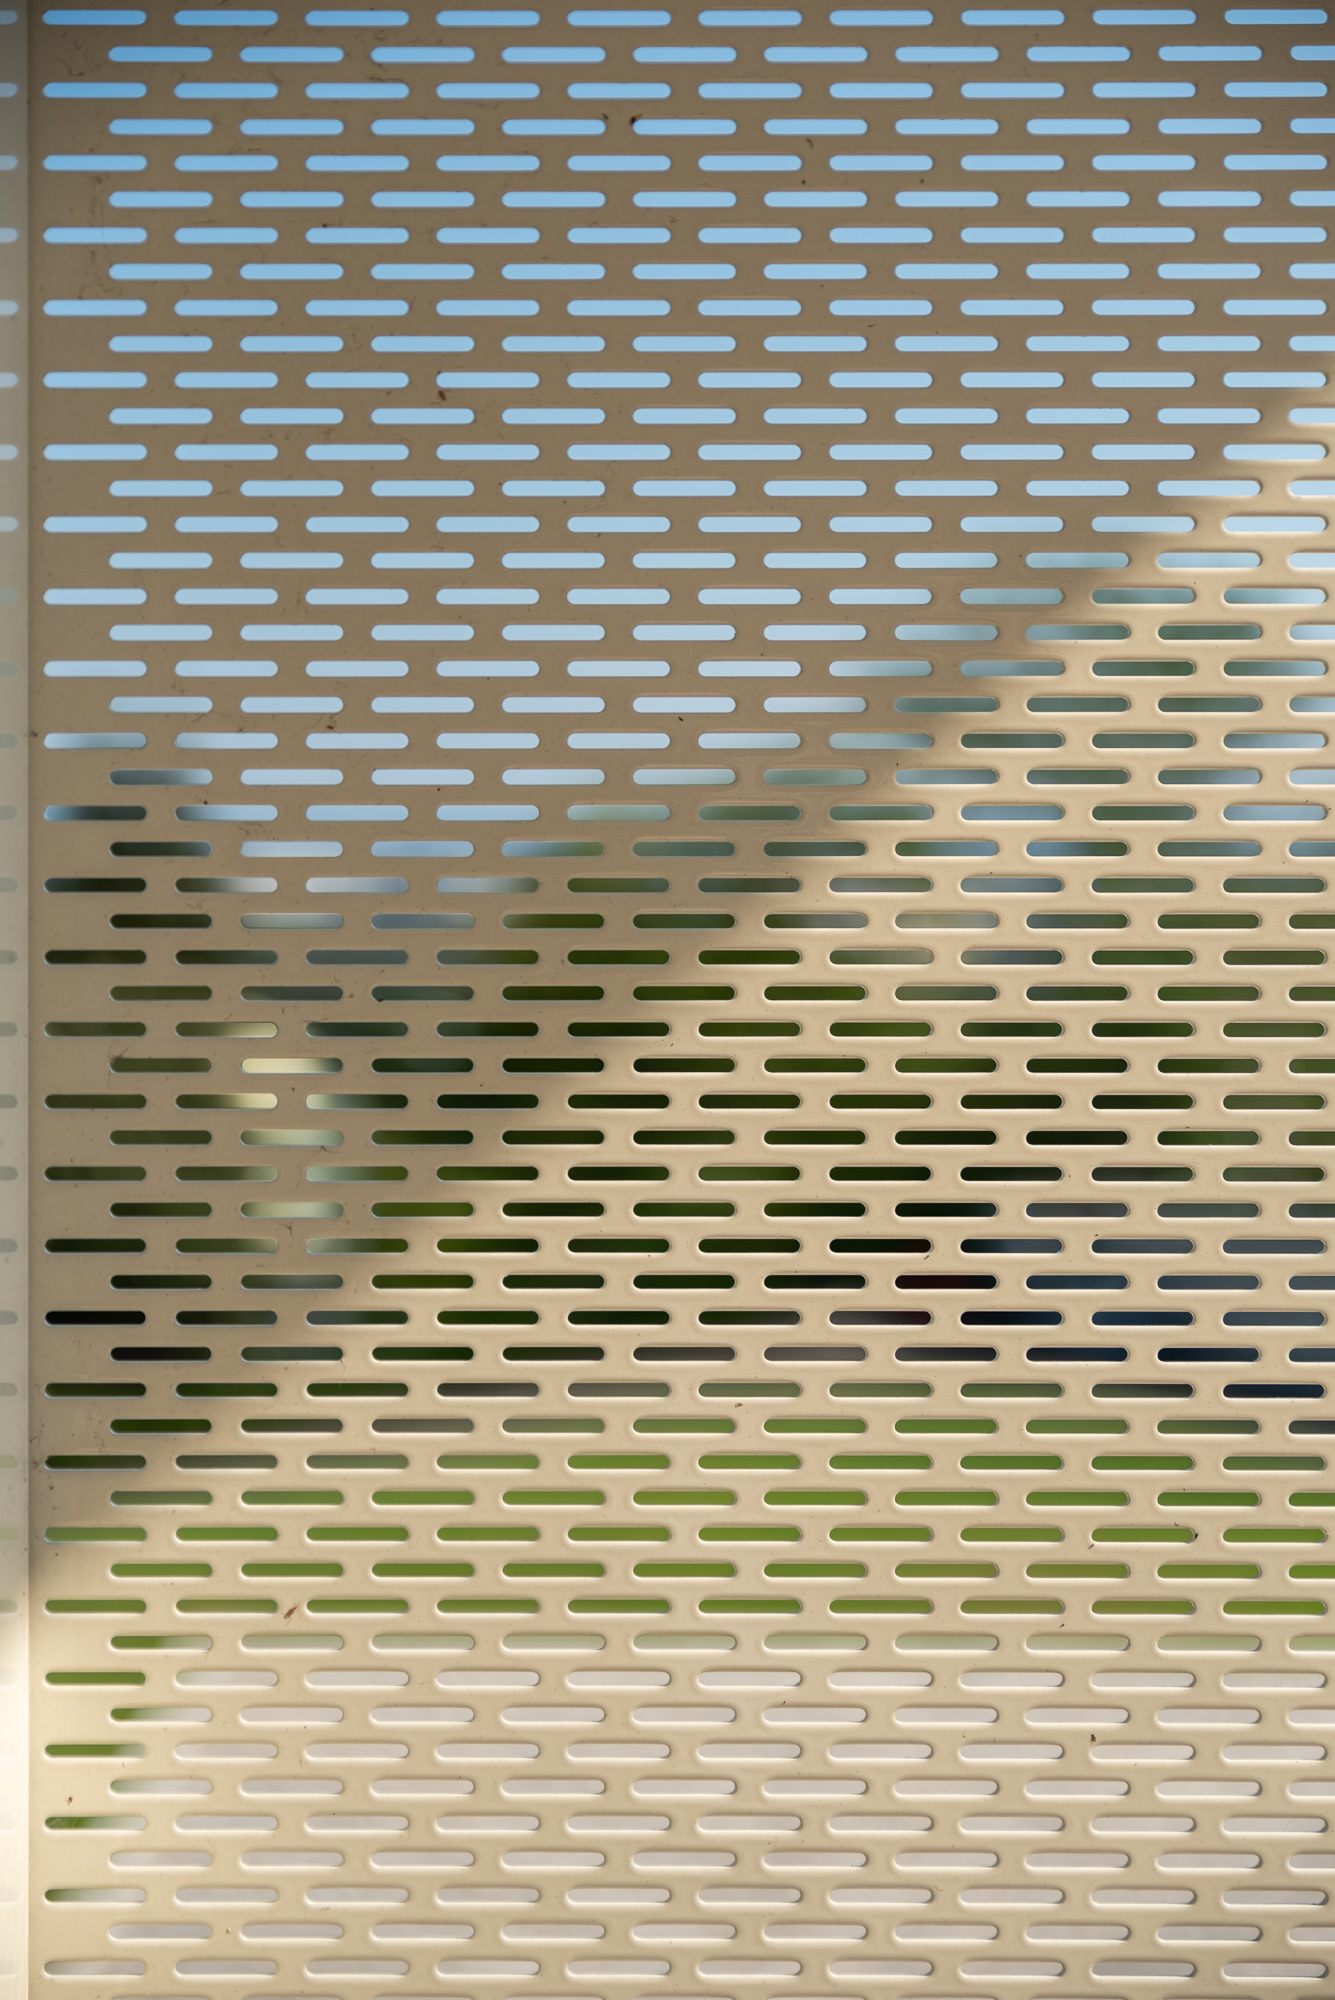
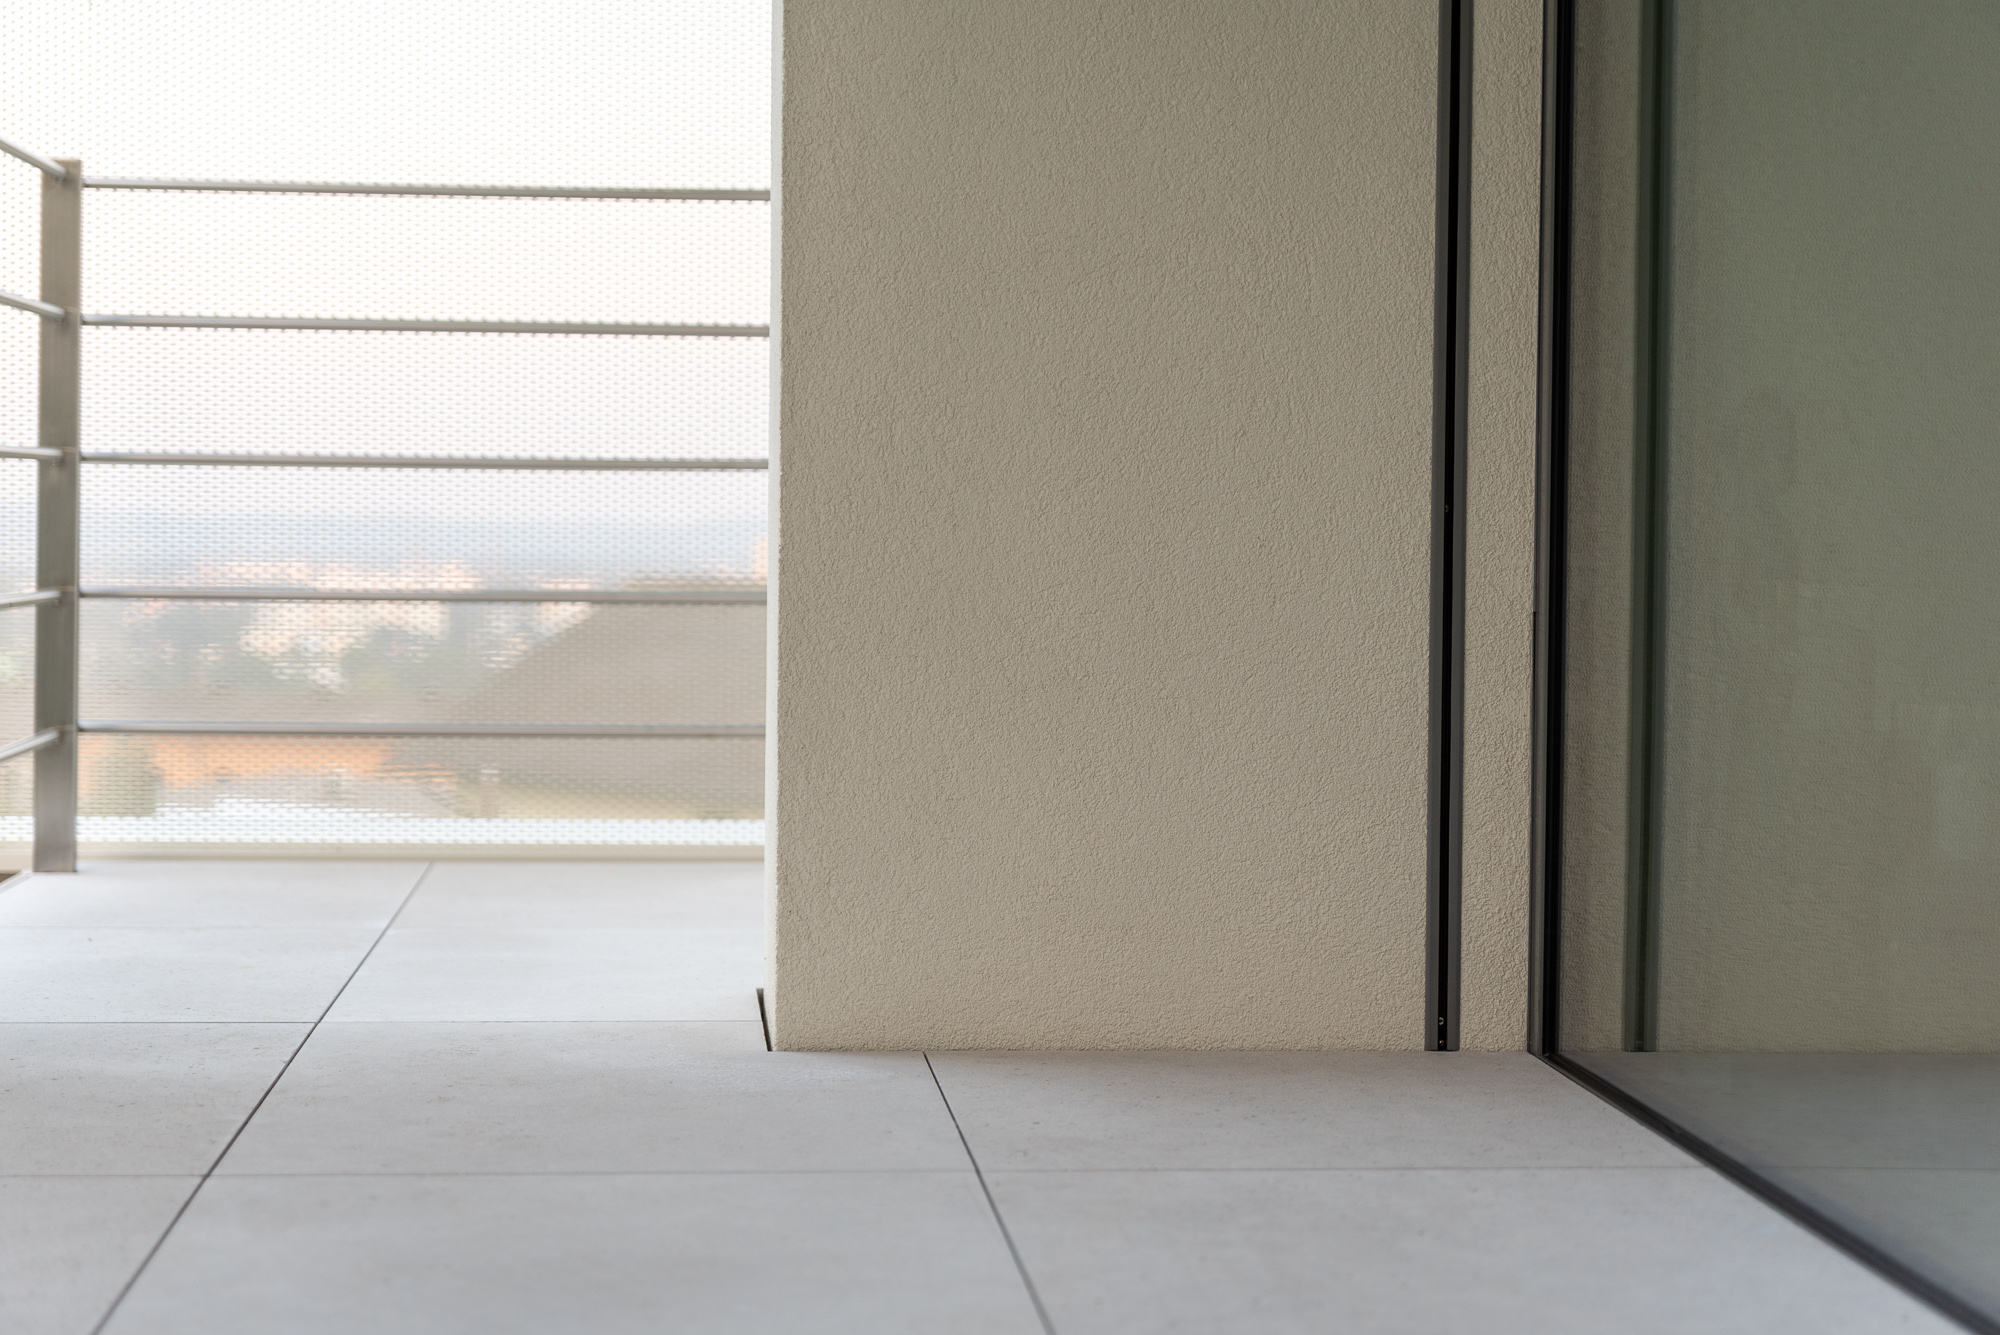
The most unique parts of the house are these large displaceable elements, which the architect highlighted in his letter before the photoshoot, so I felt it is important to focus on these in a few photos.
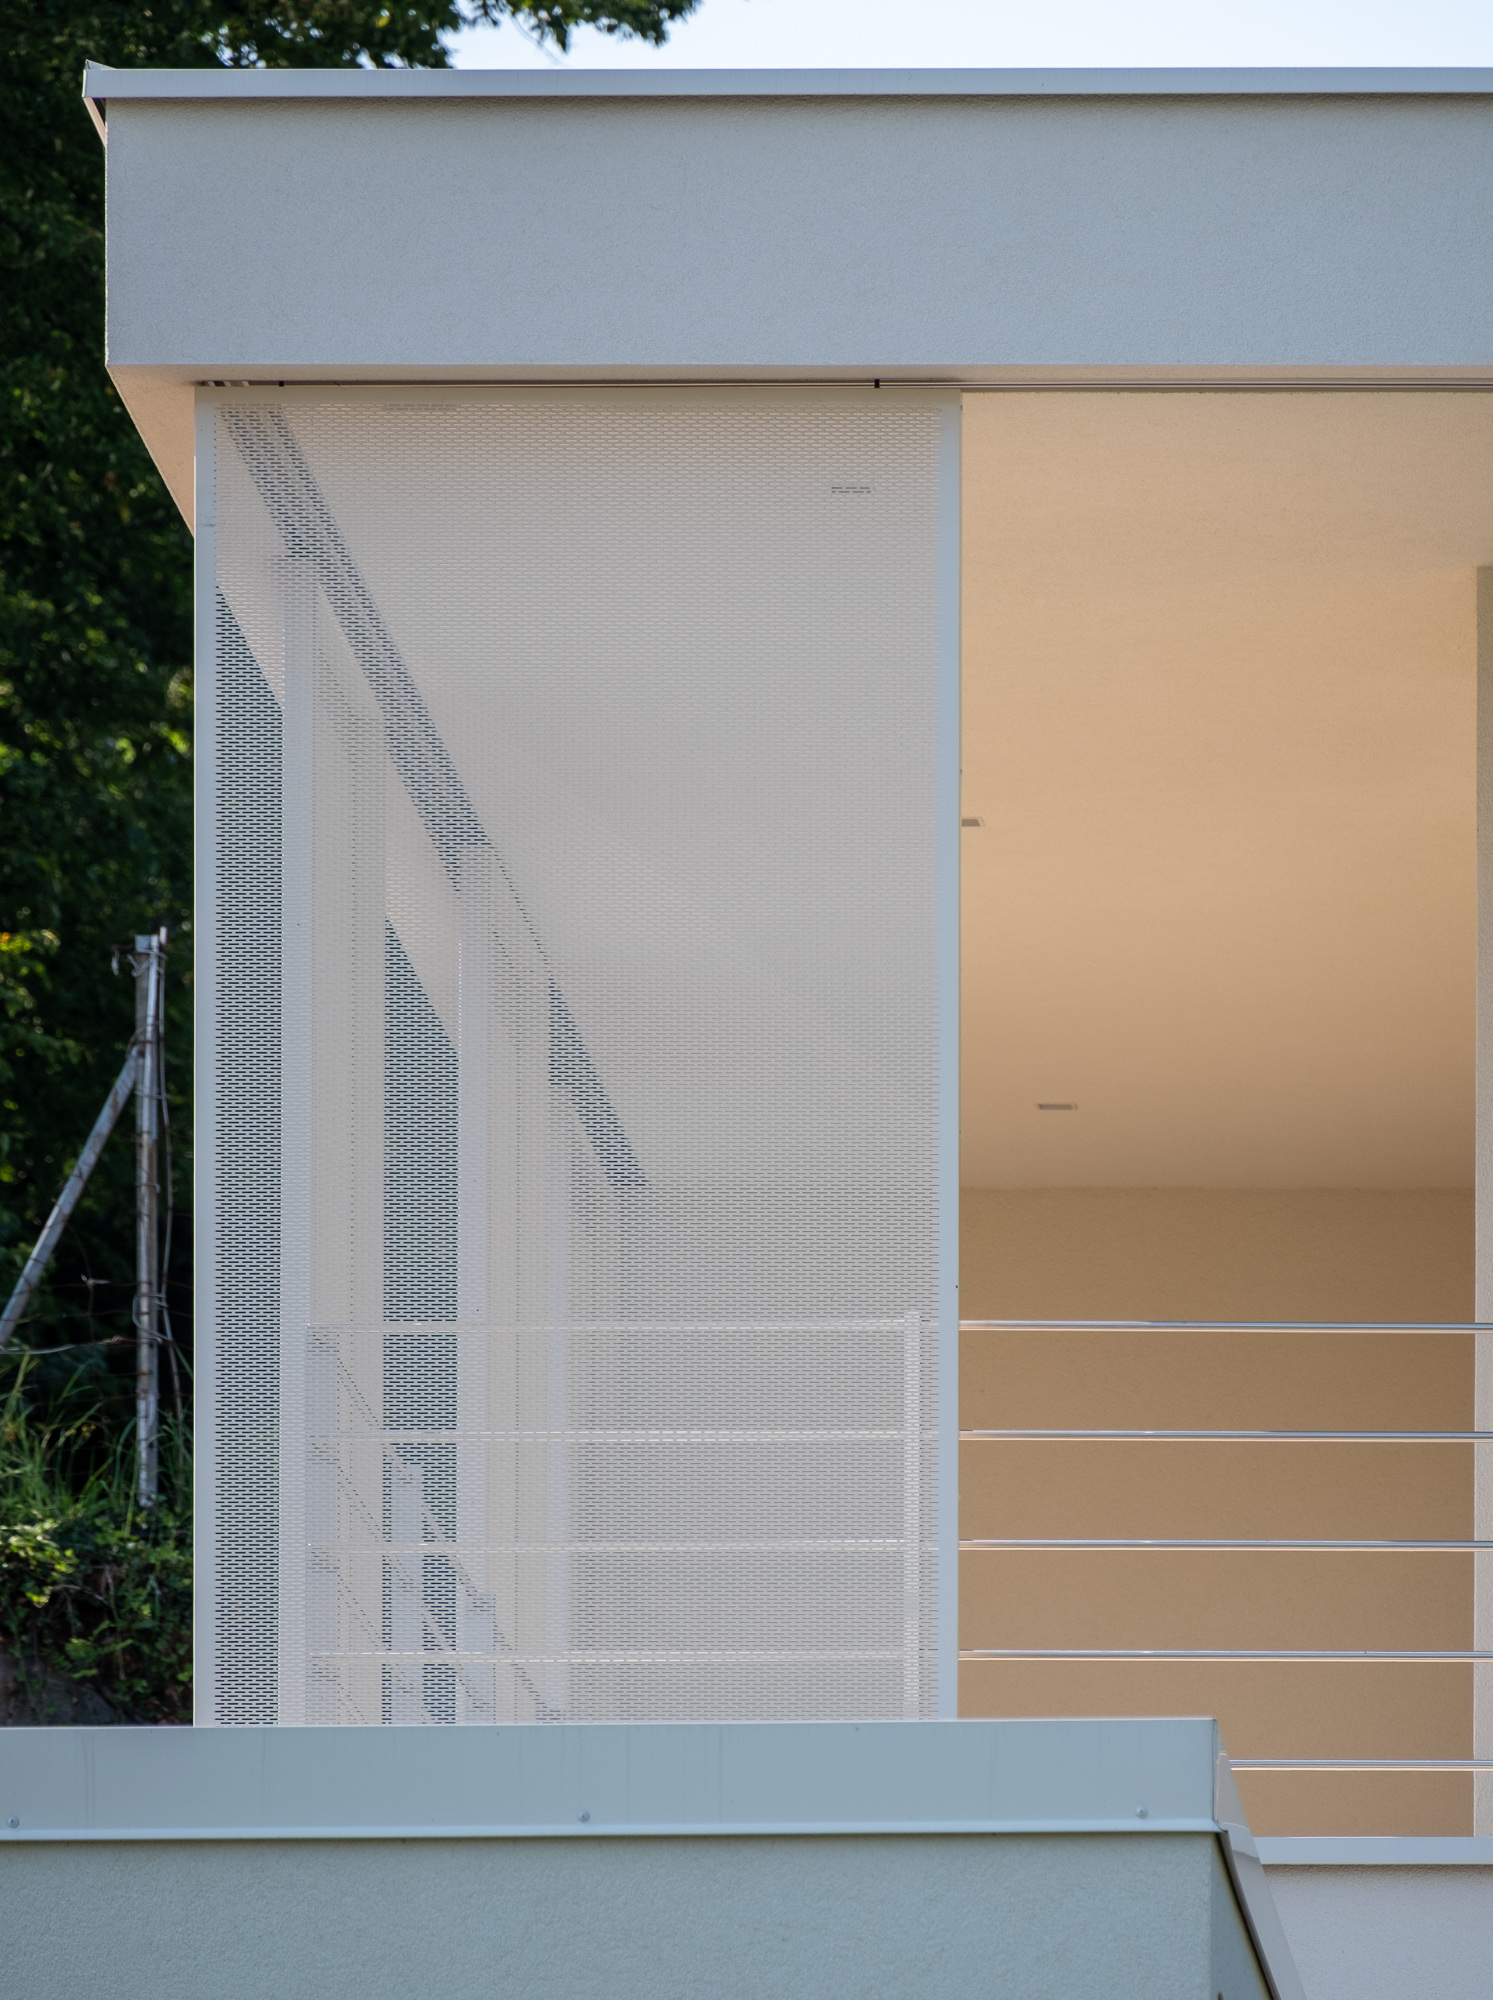
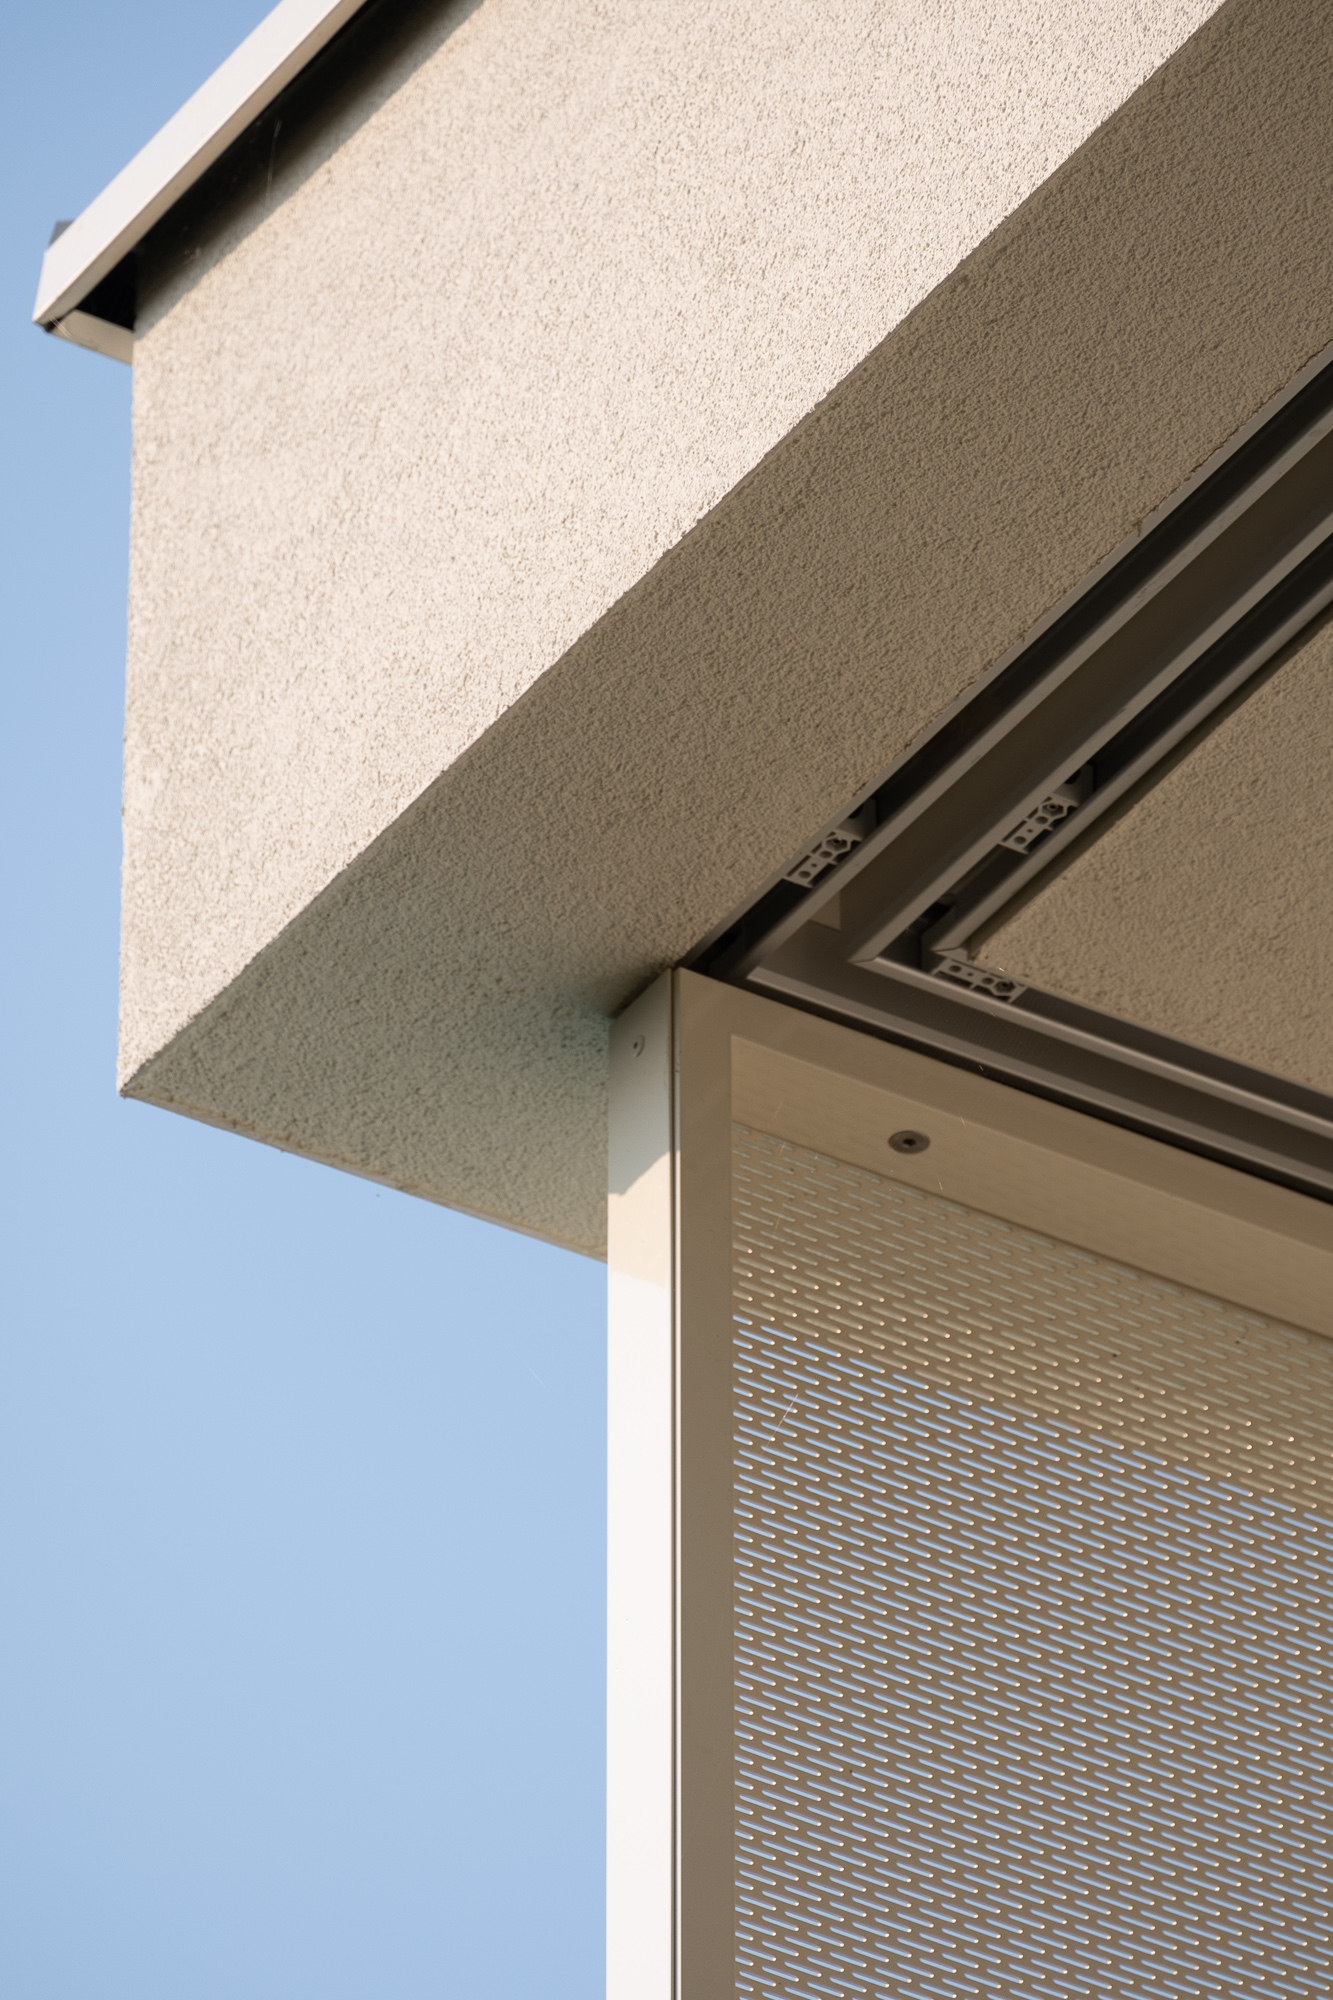
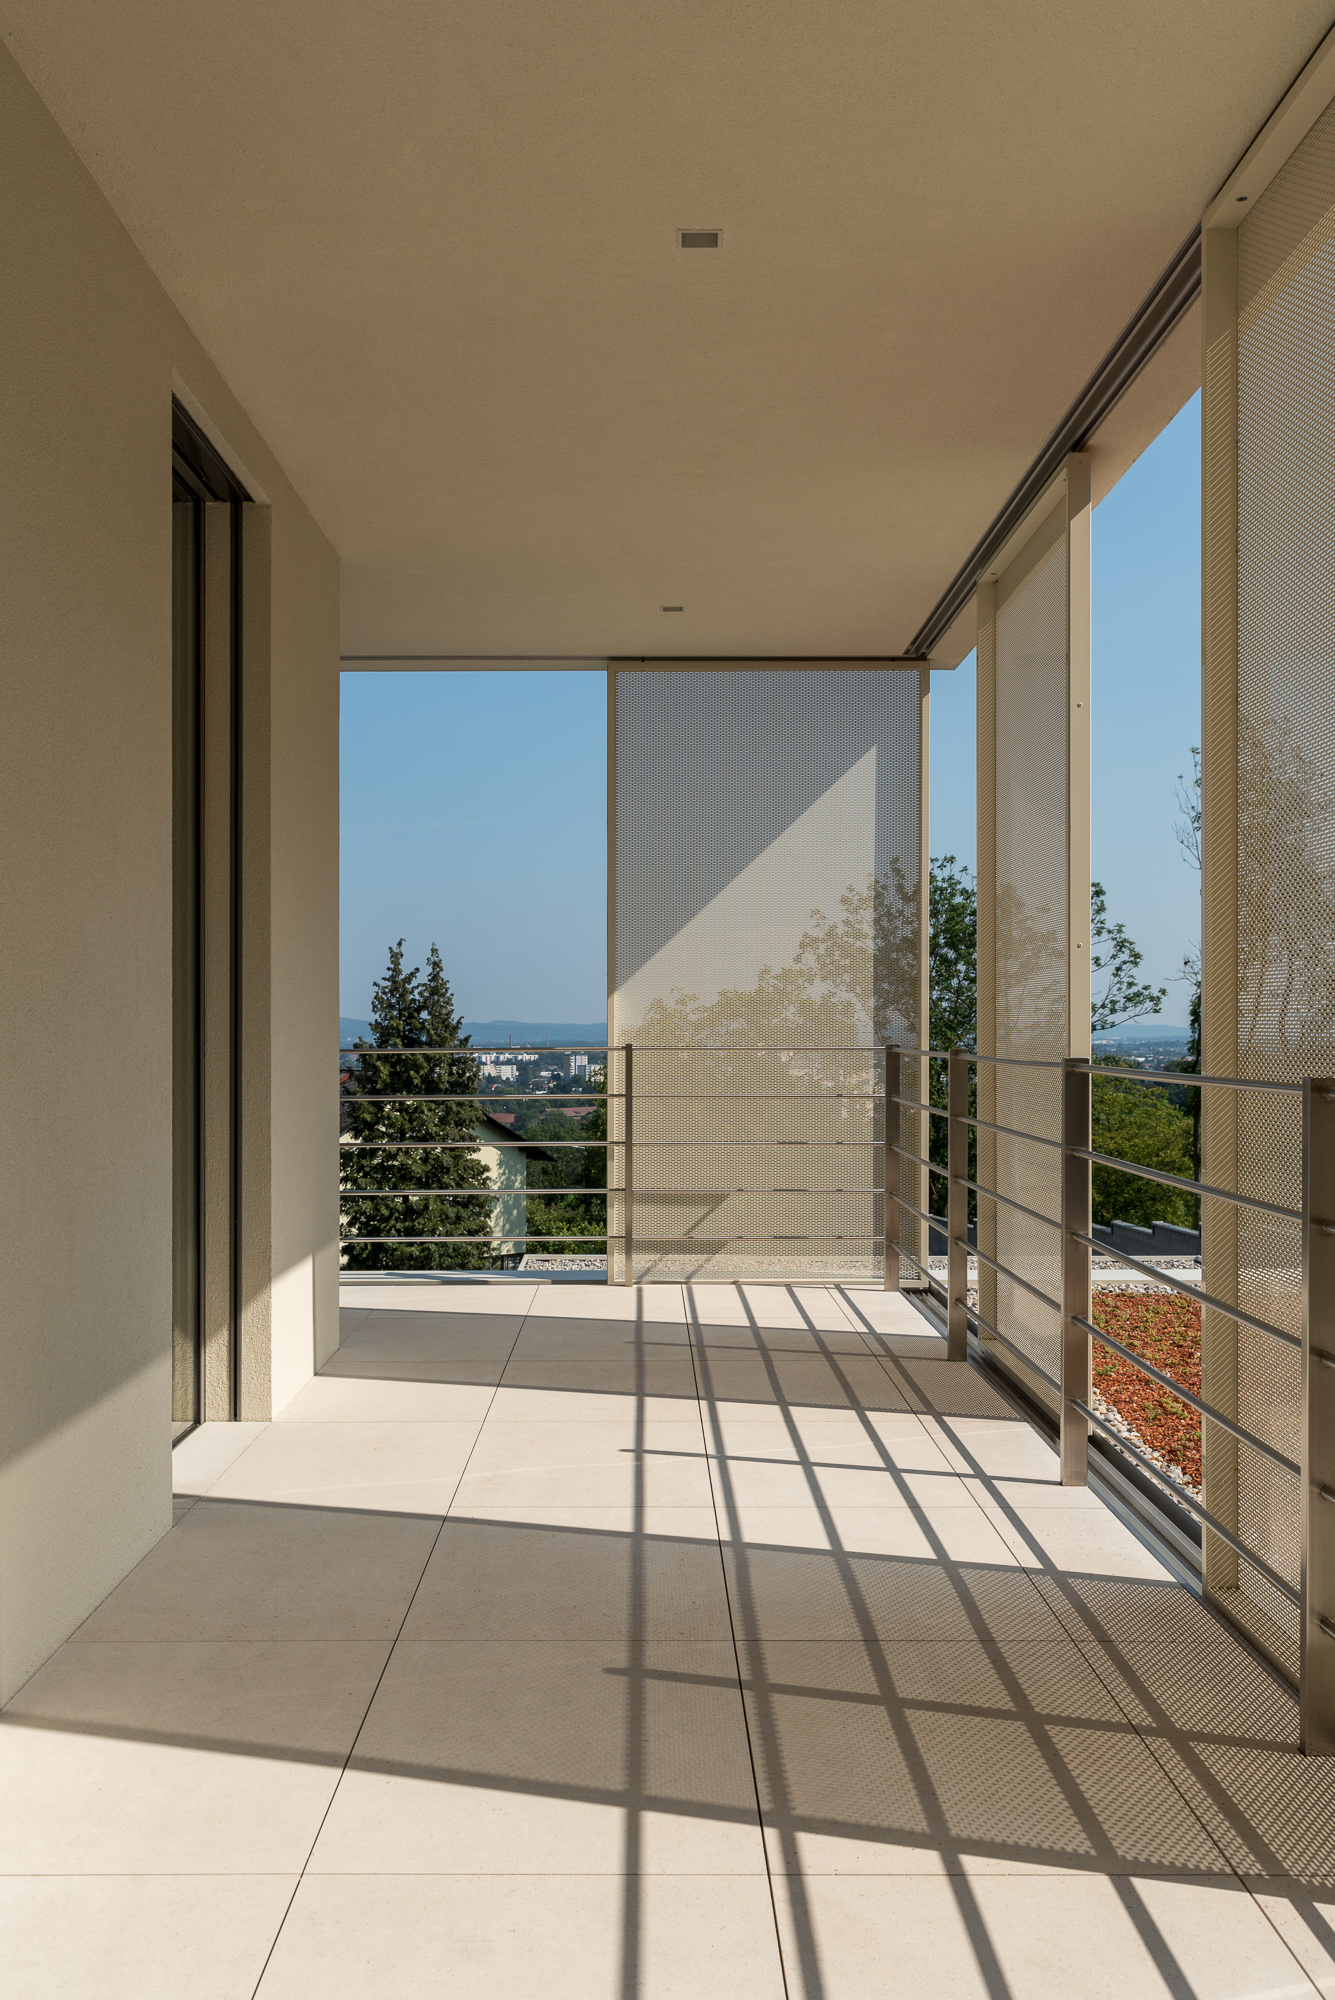
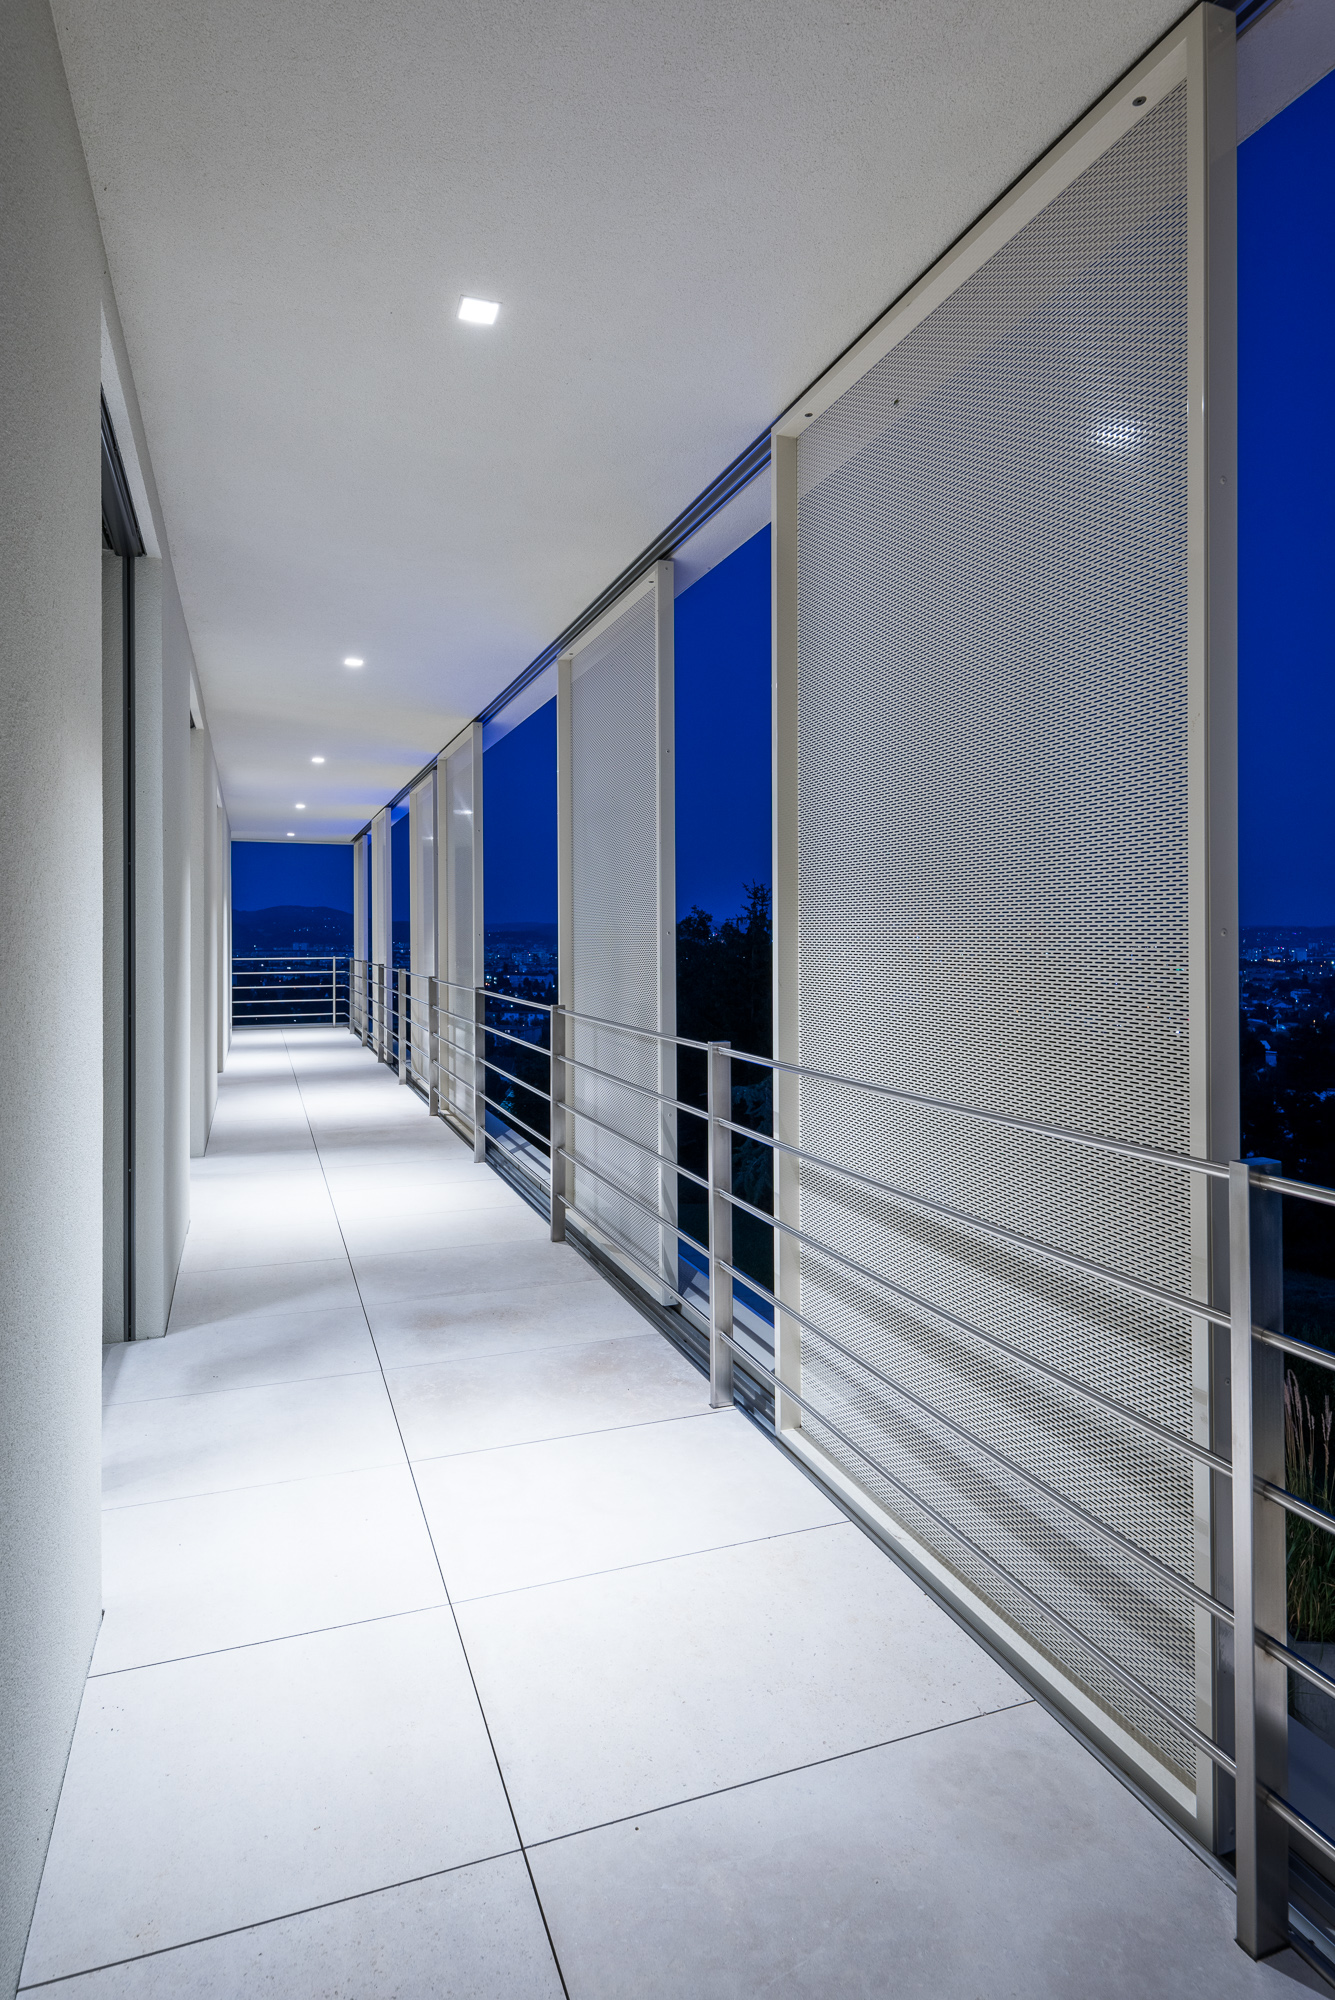
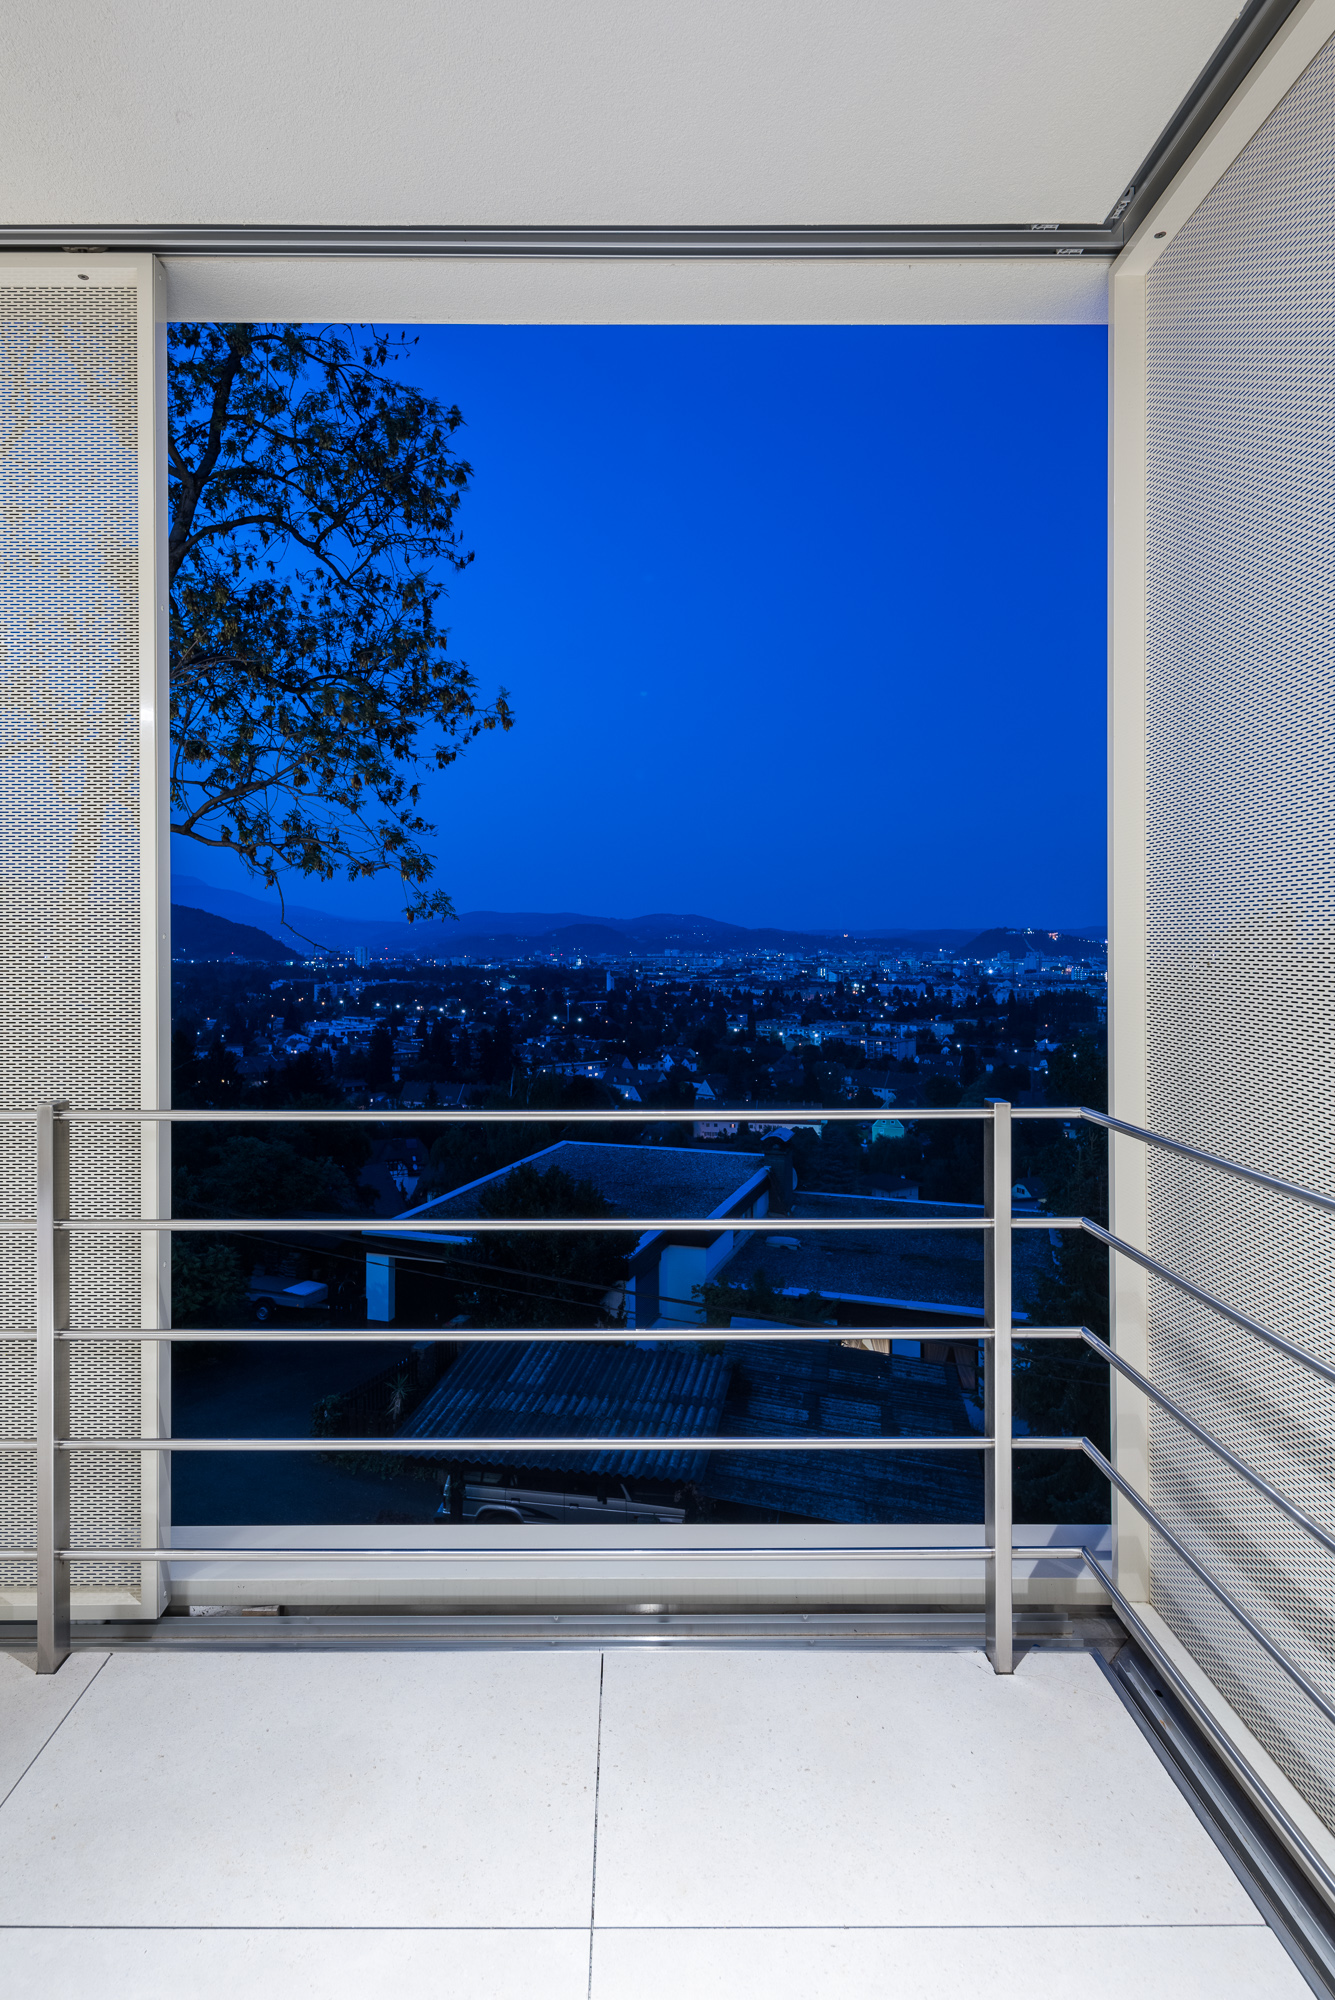
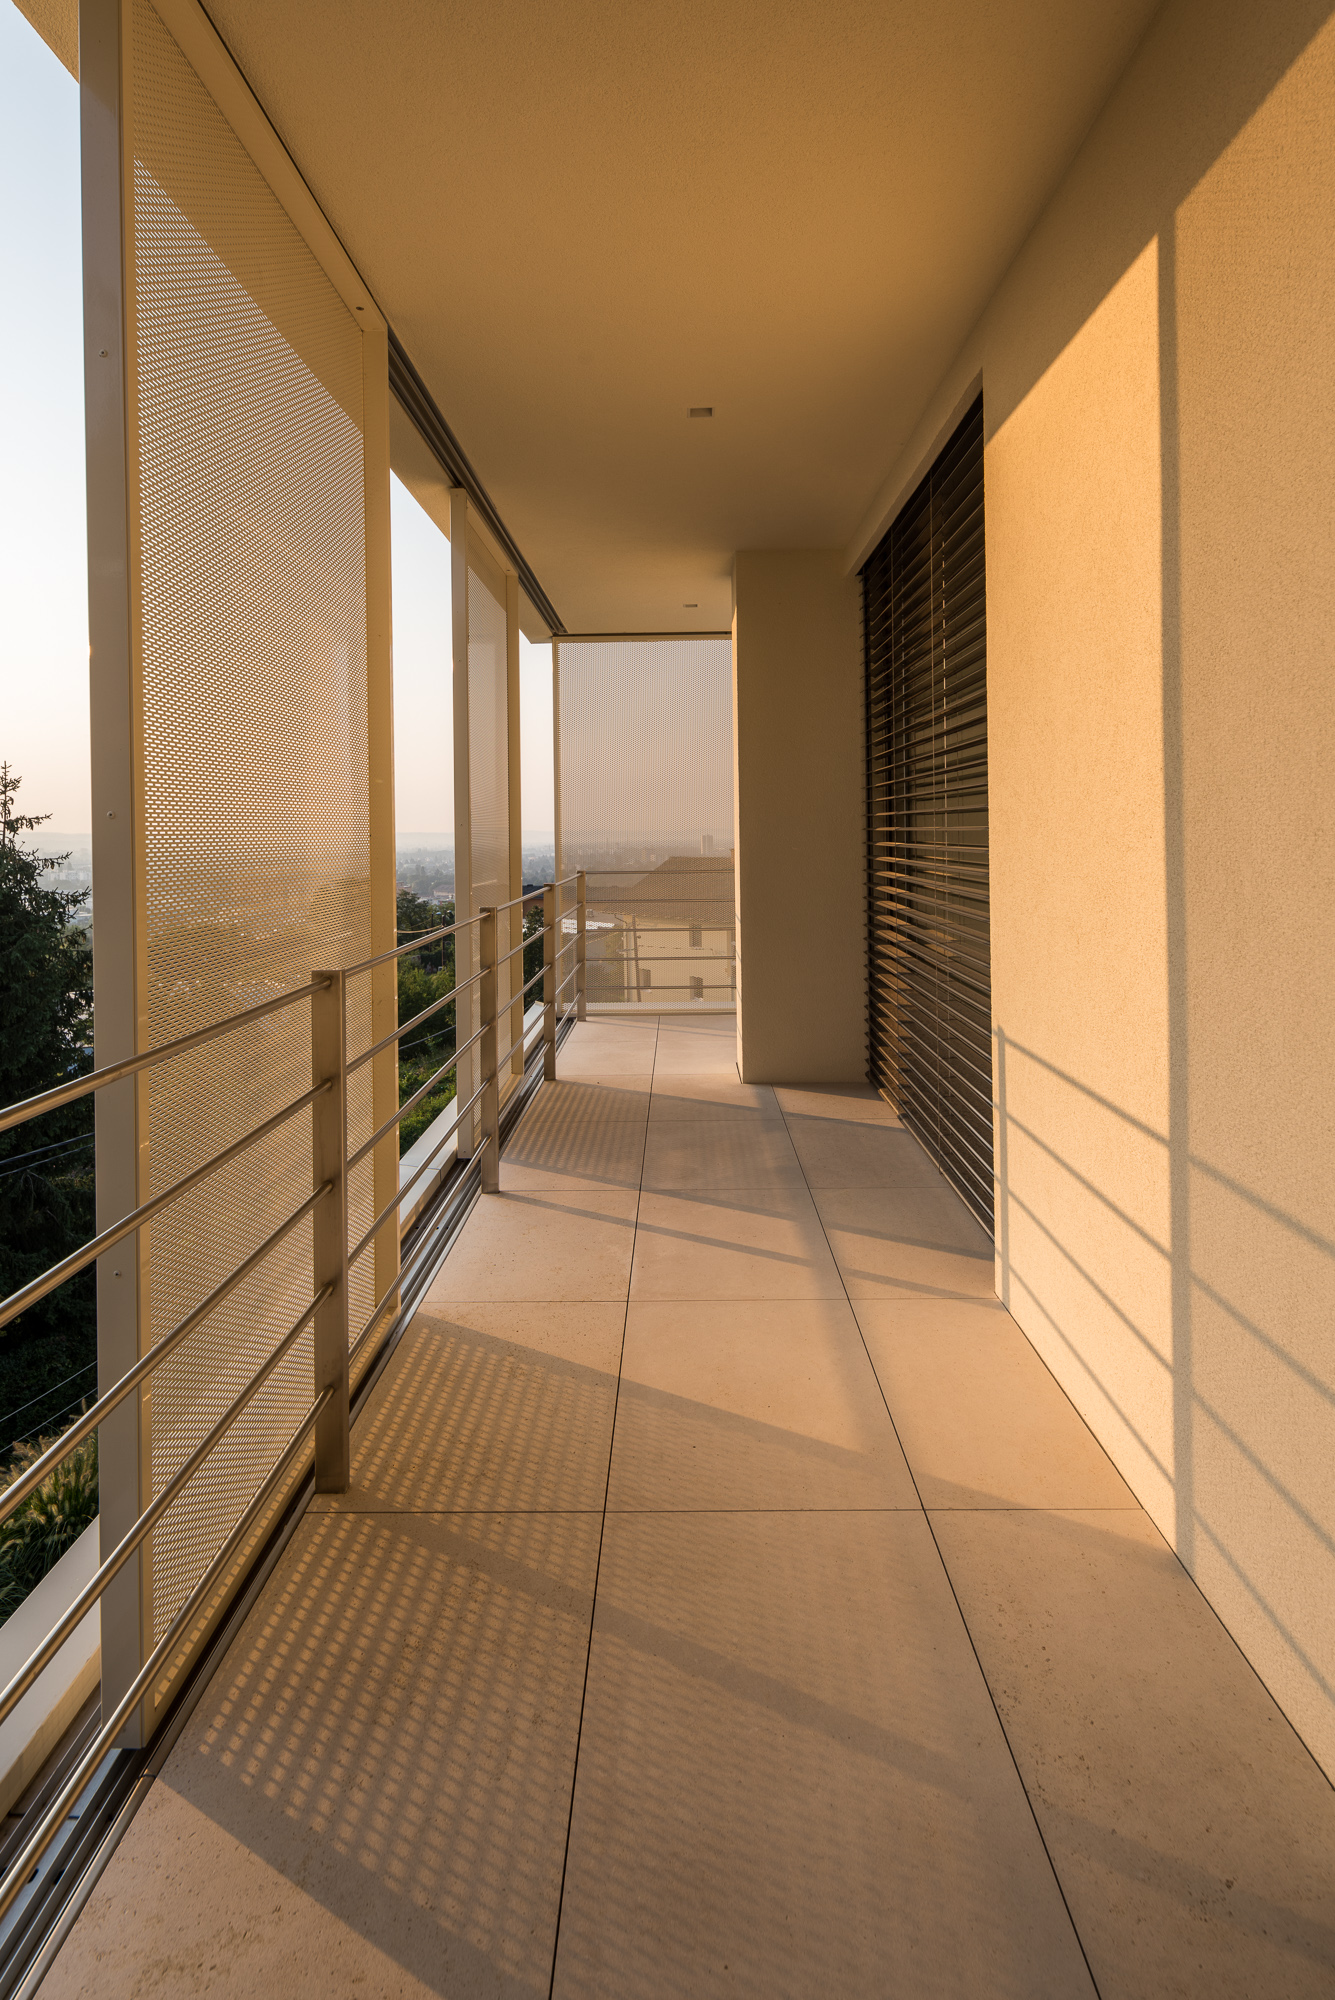
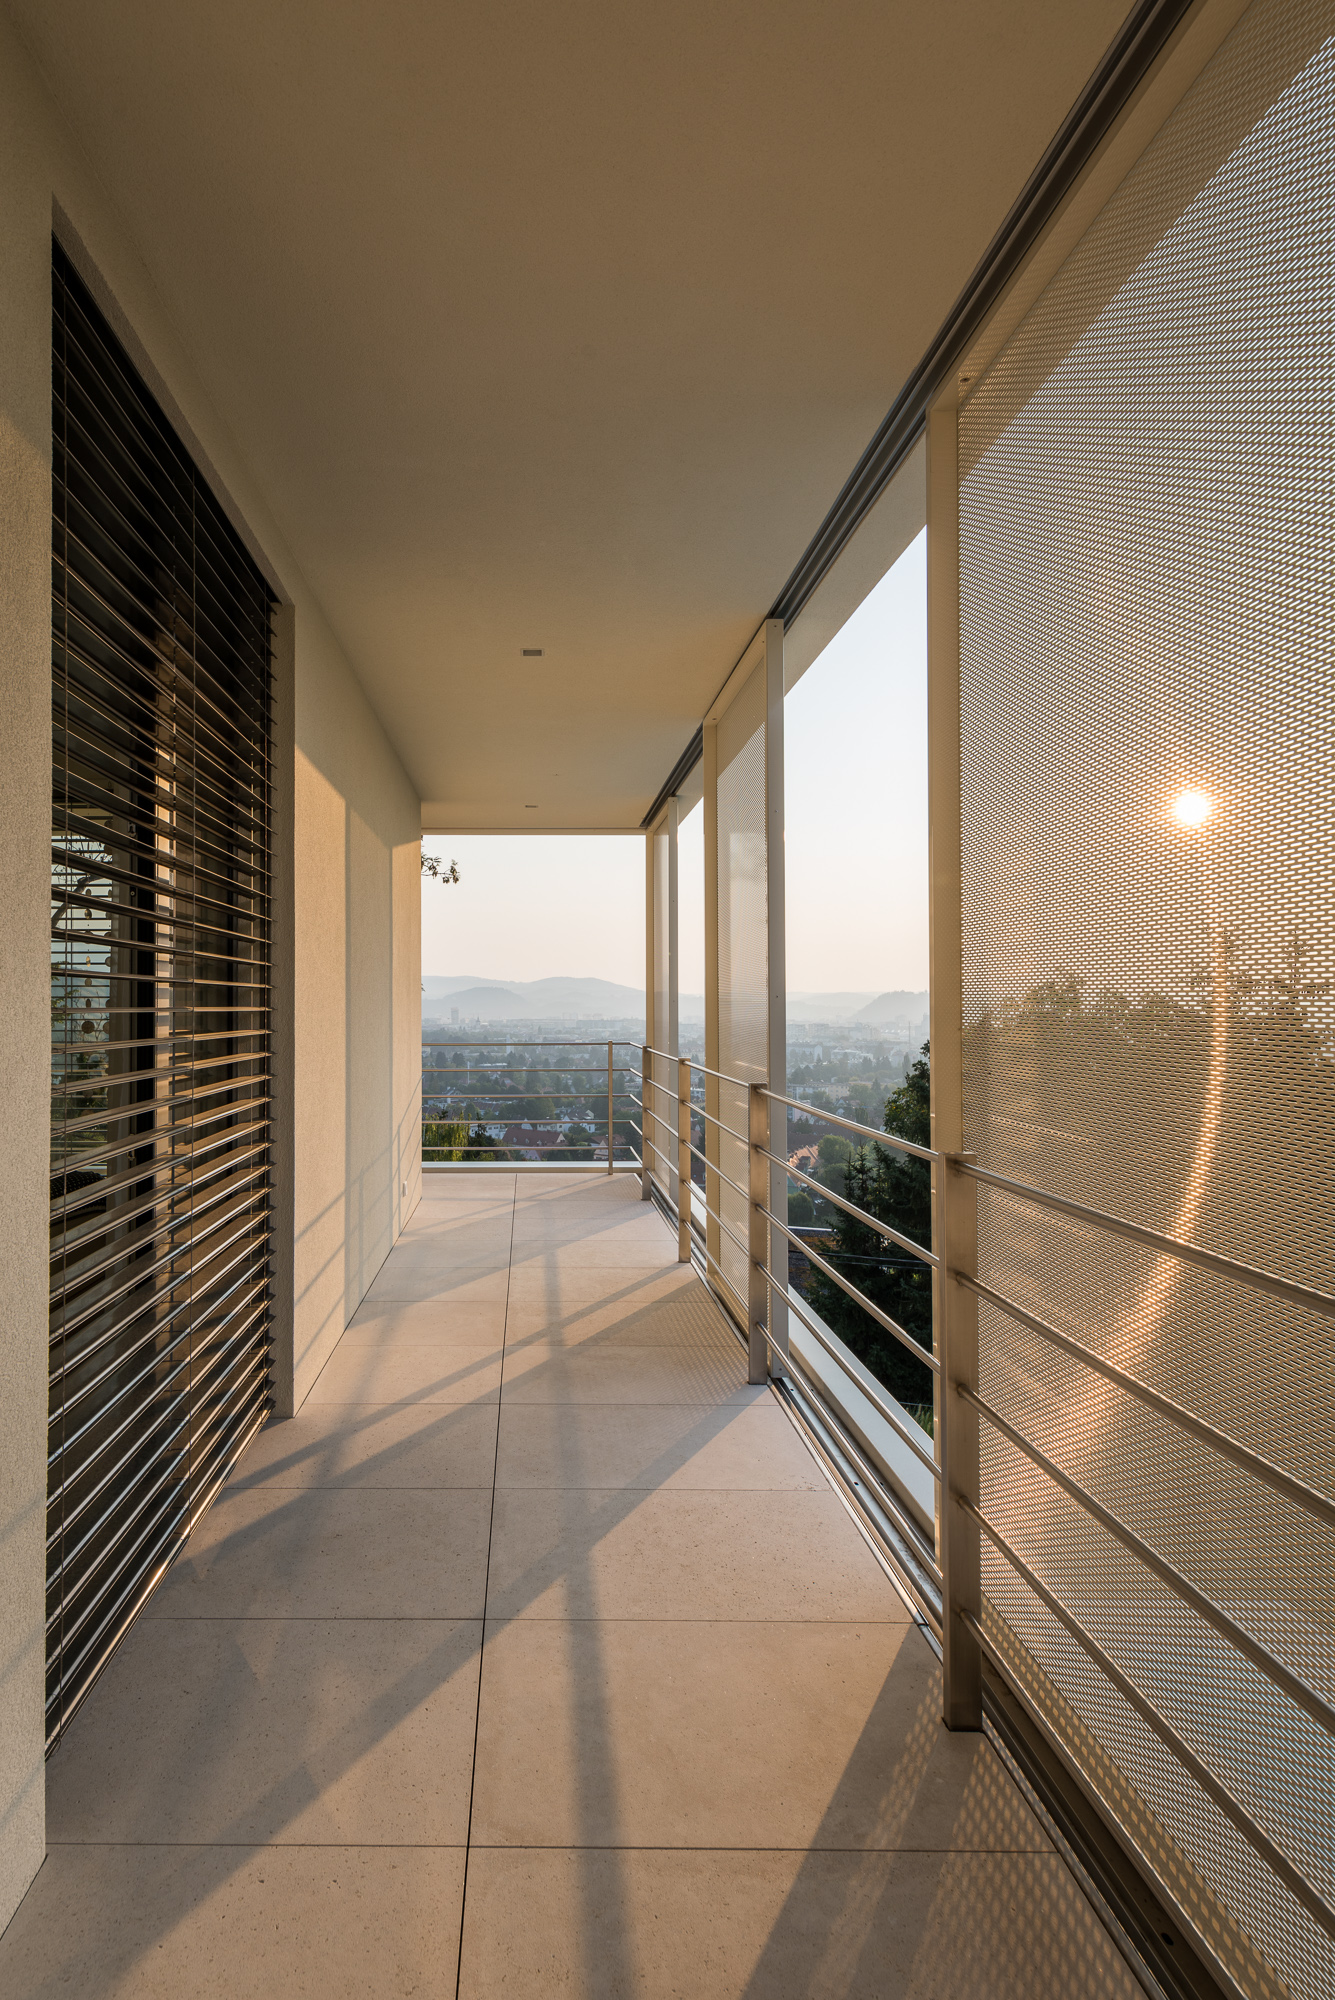
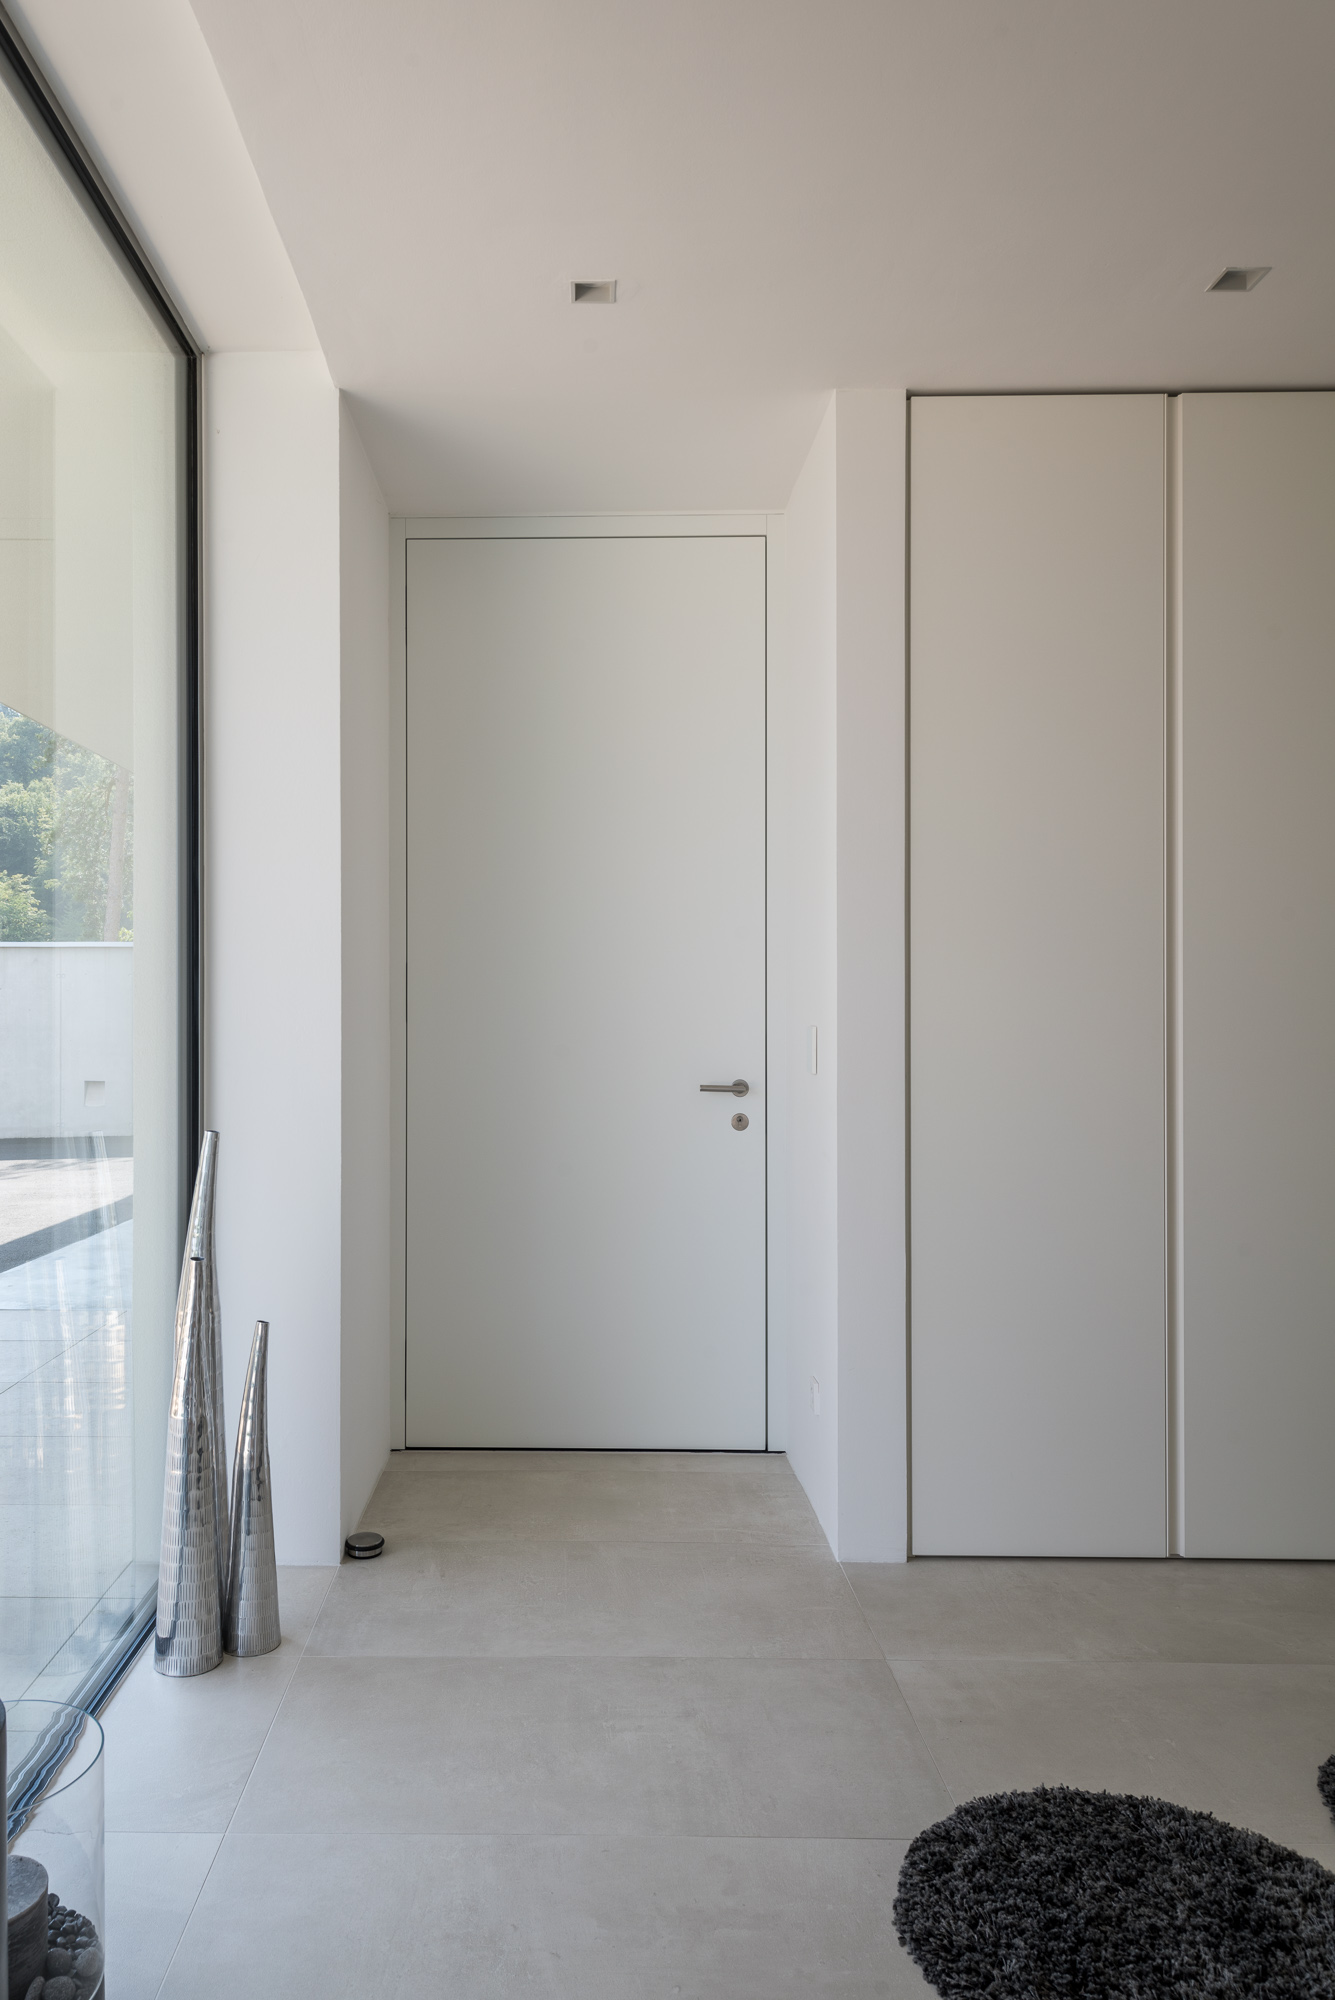
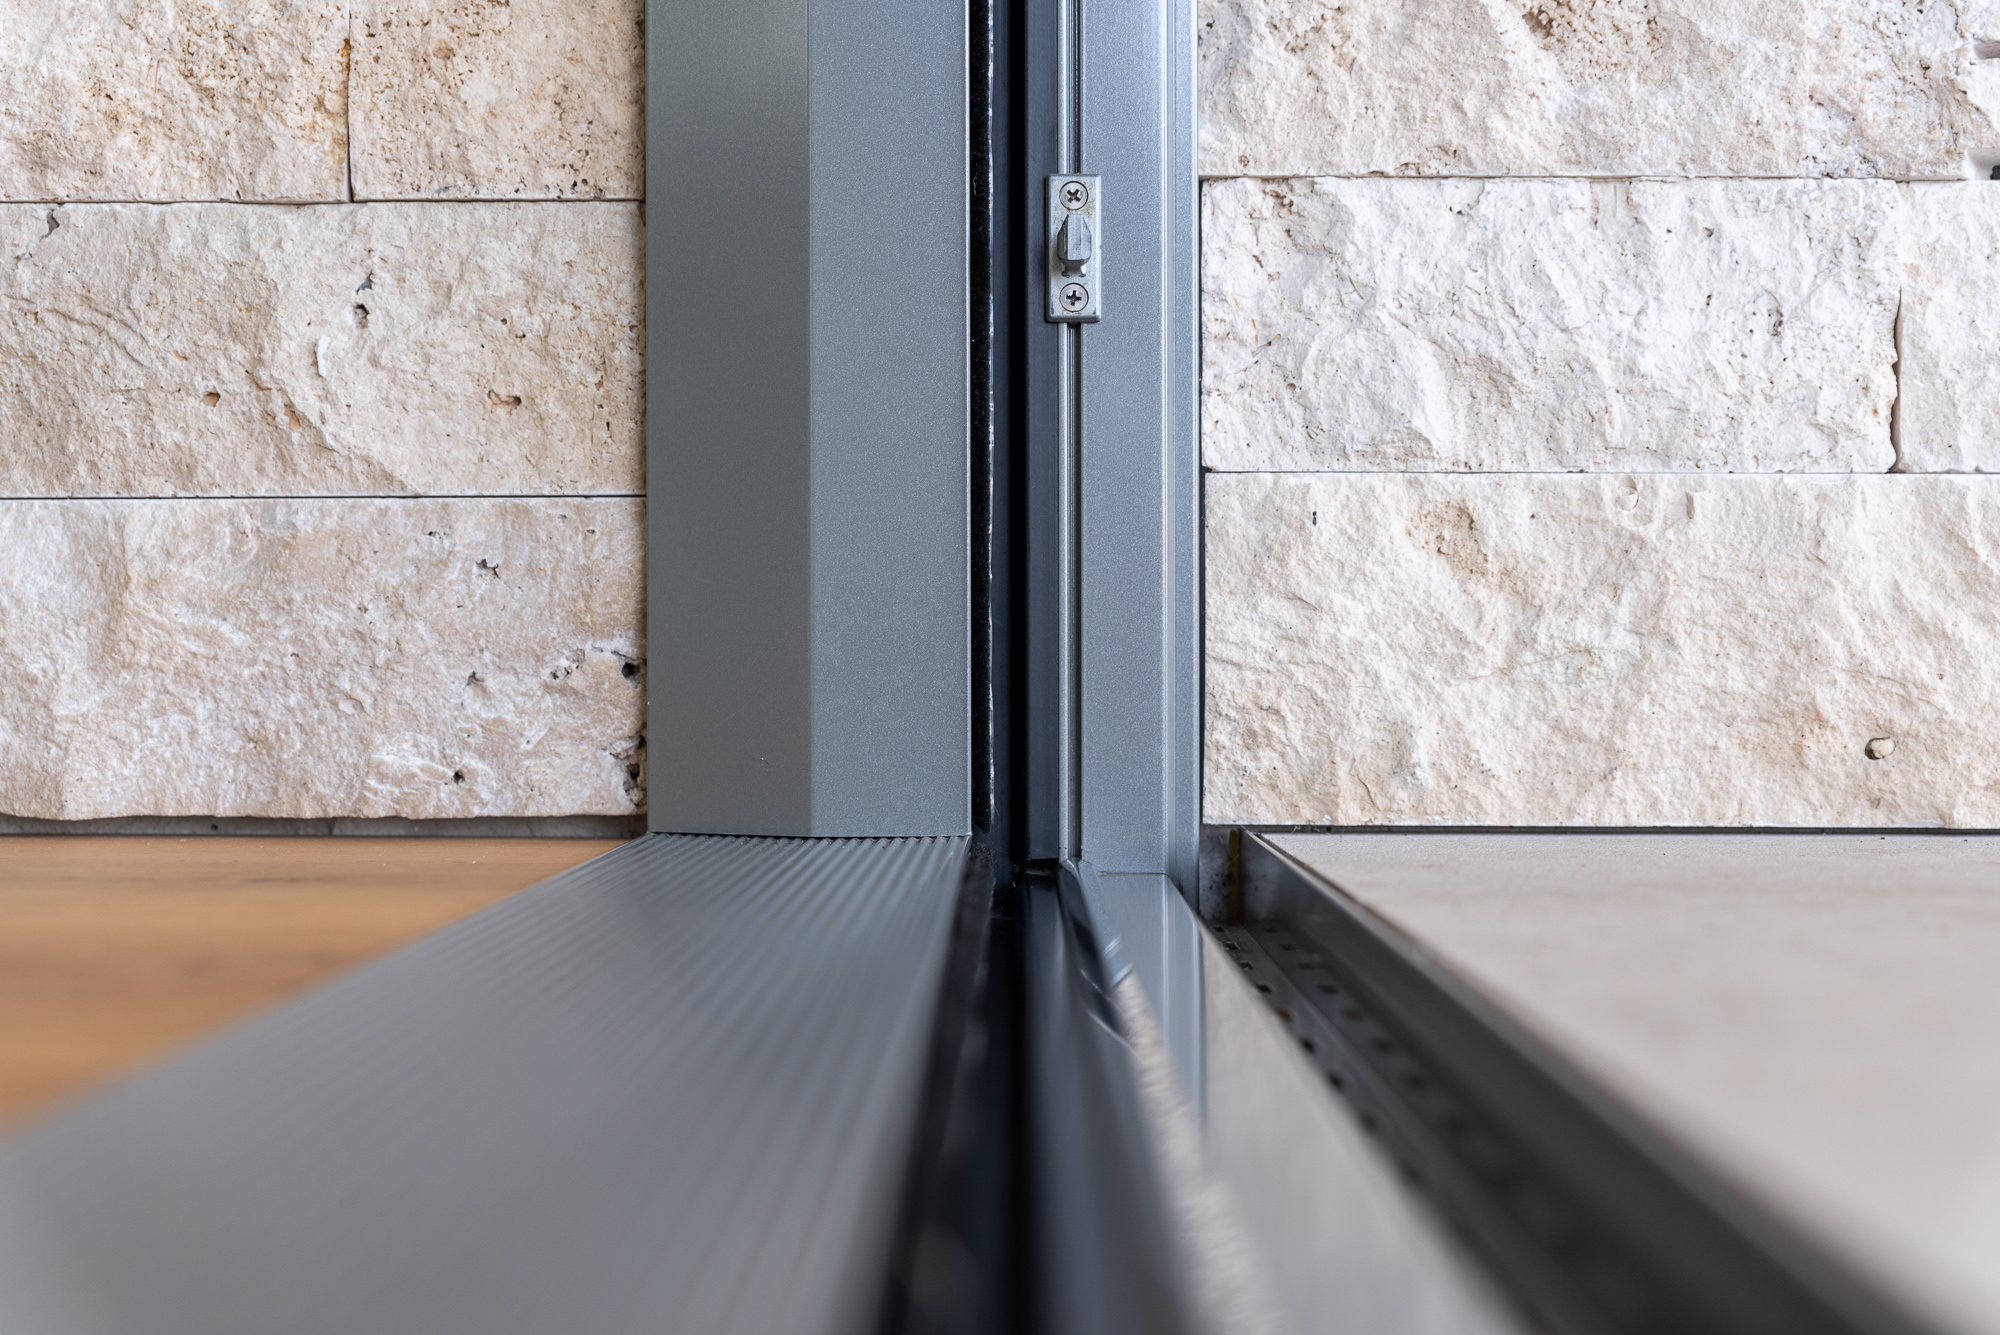
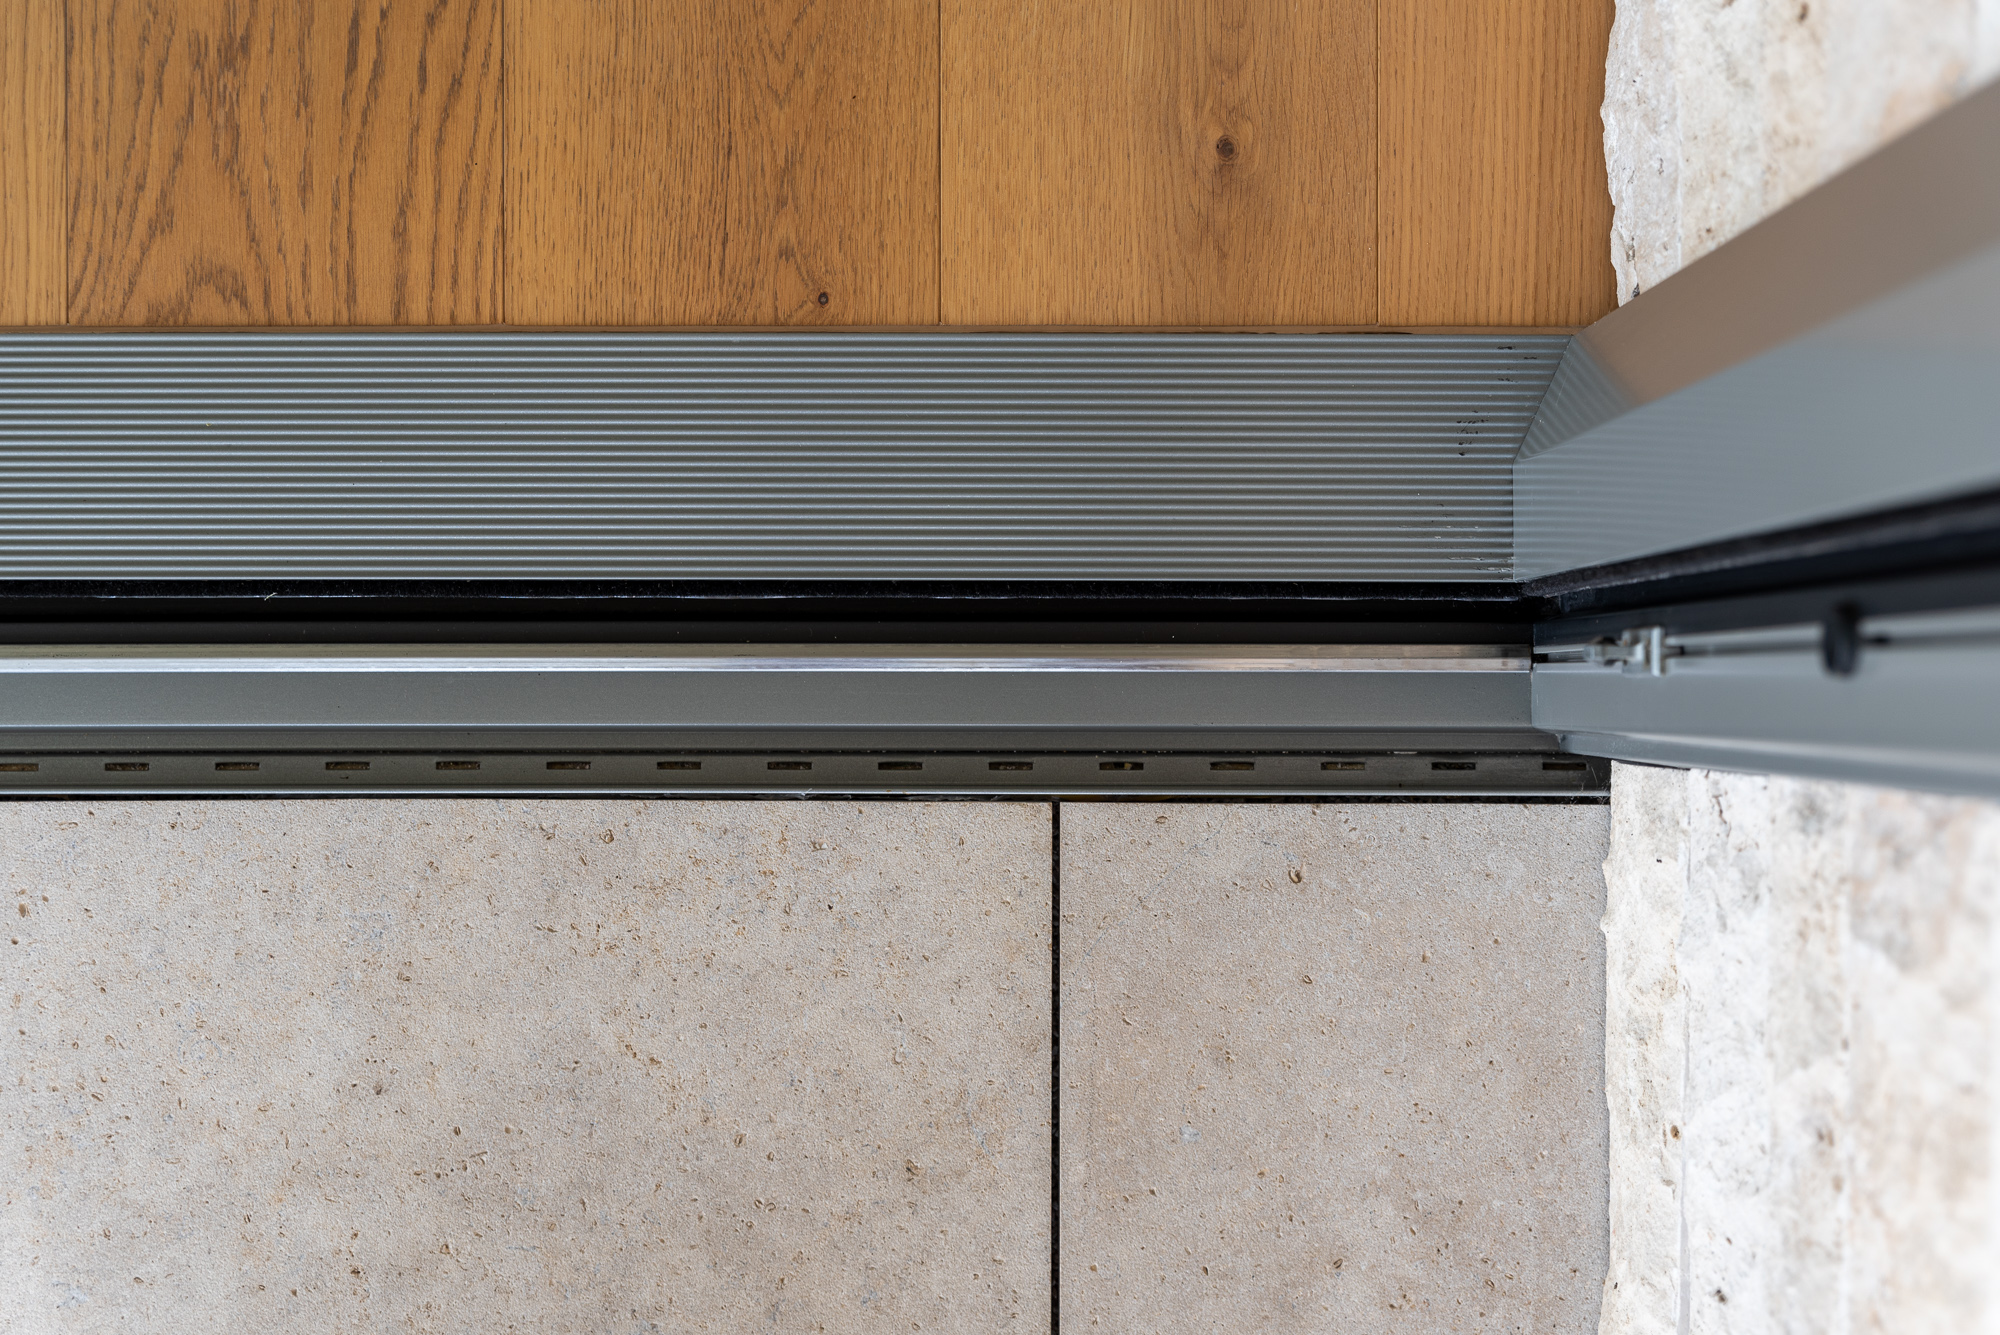
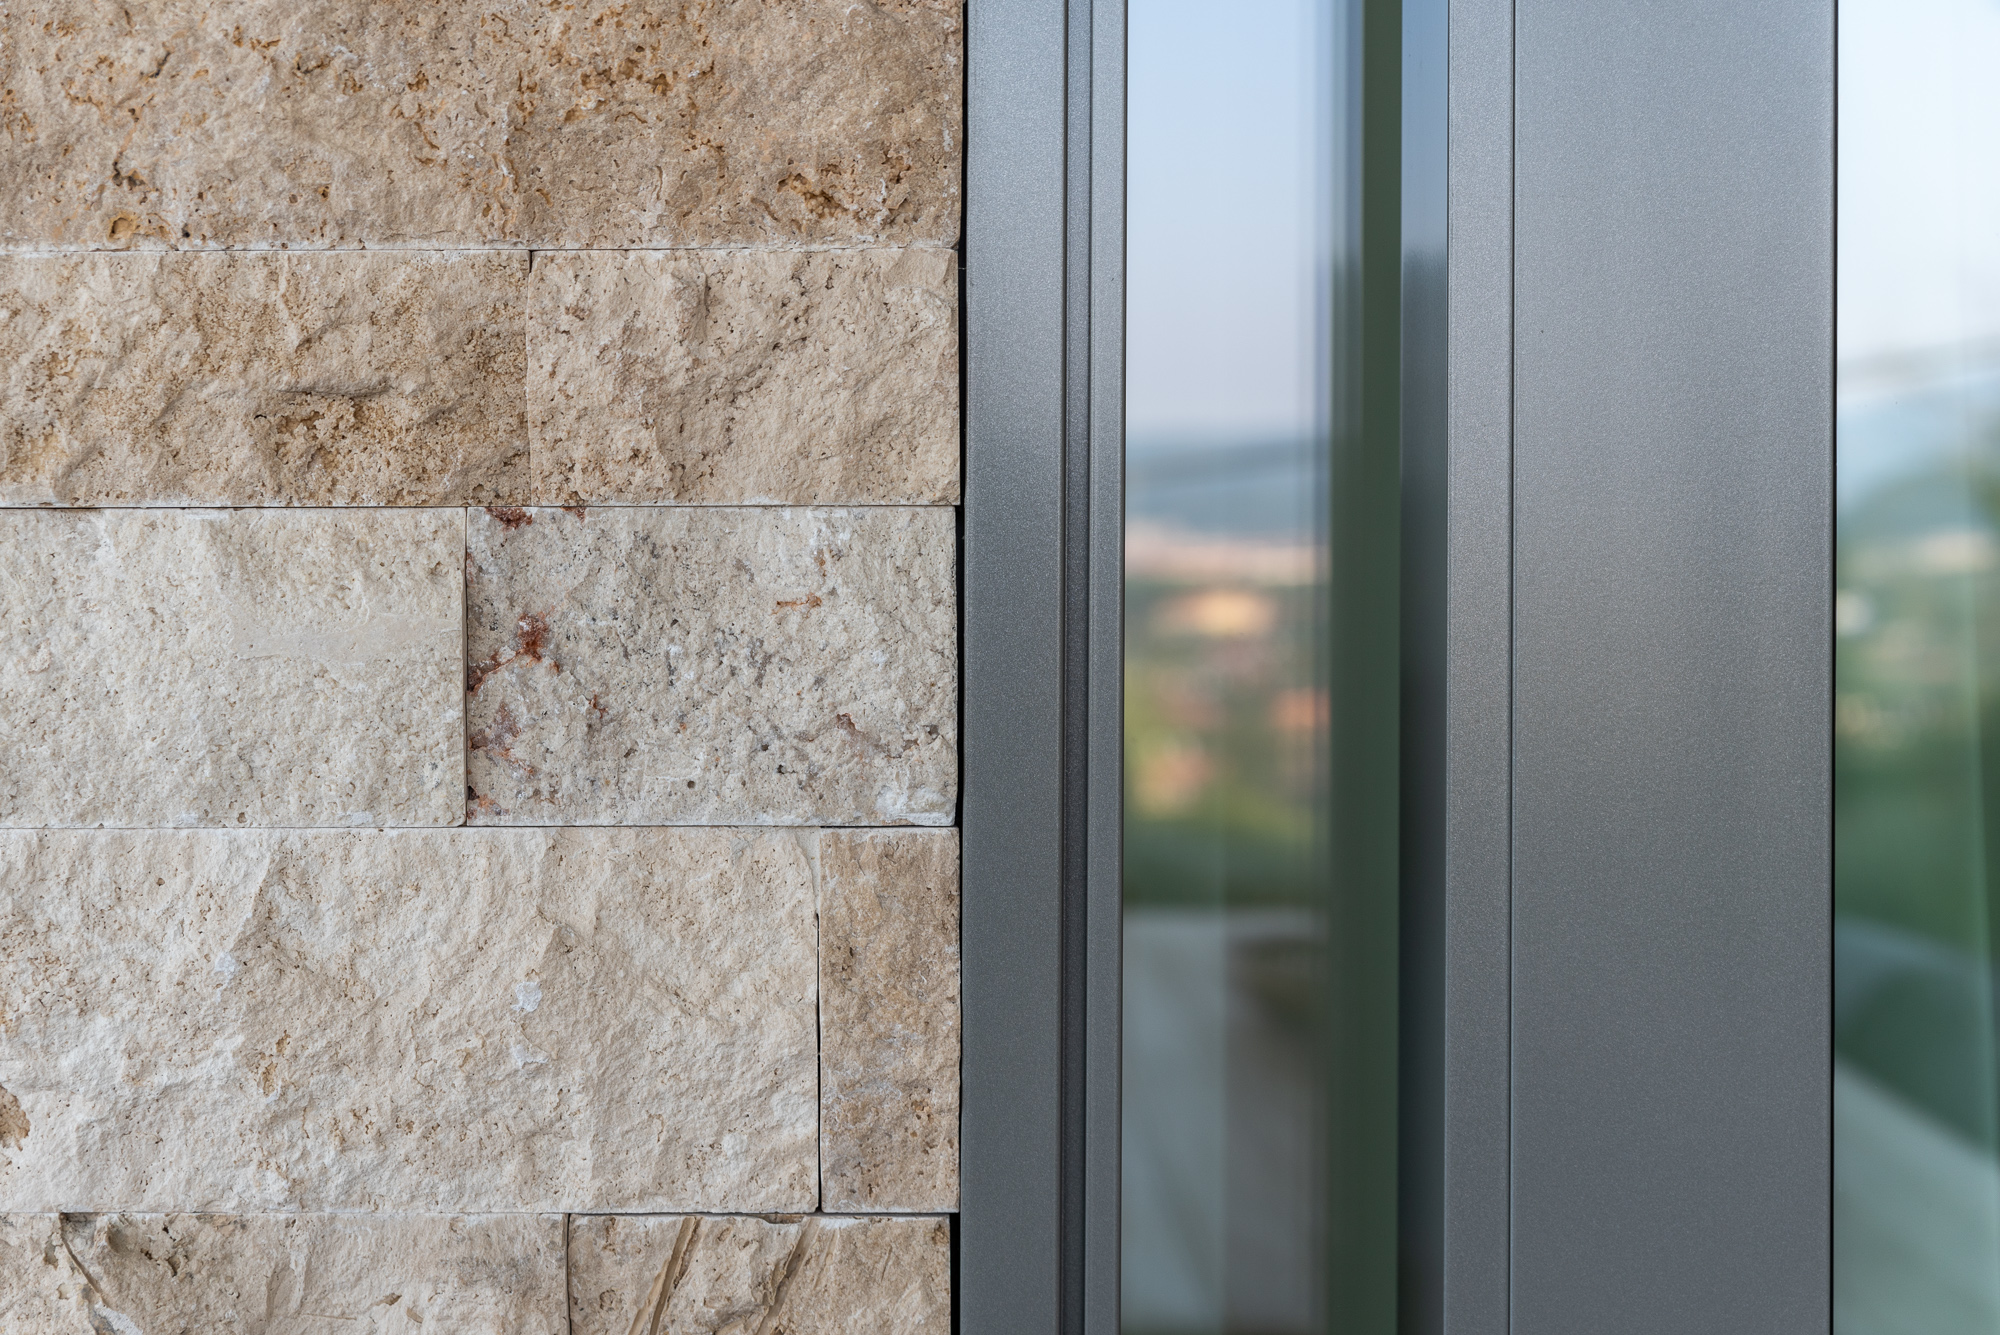
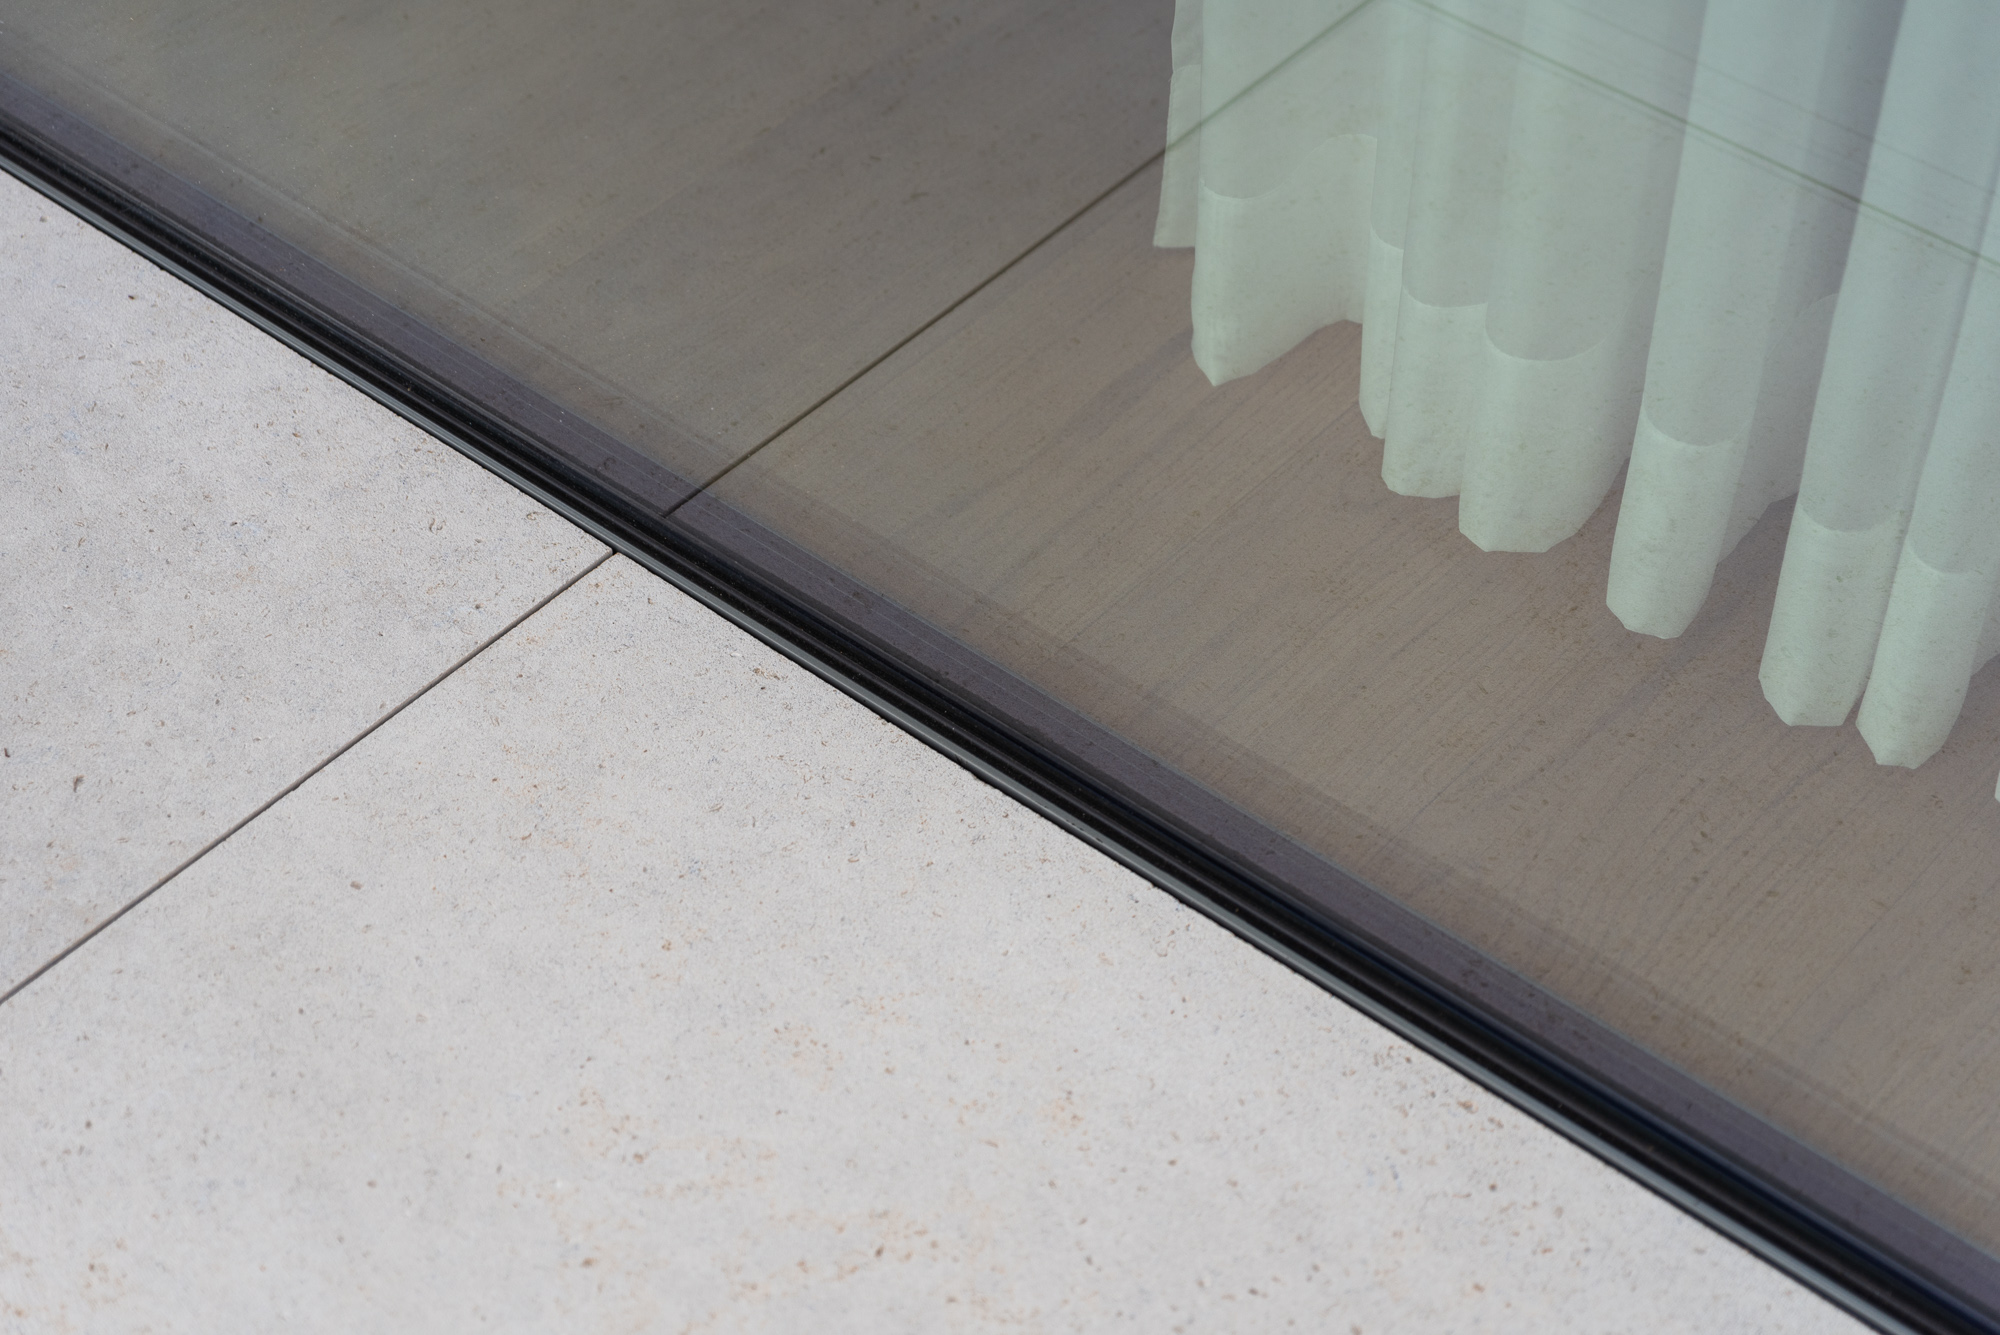
Since I knew from the very beginning that the windows and doors were installed by one of my long-term clients, it was obvious for me to create some images for them as well.
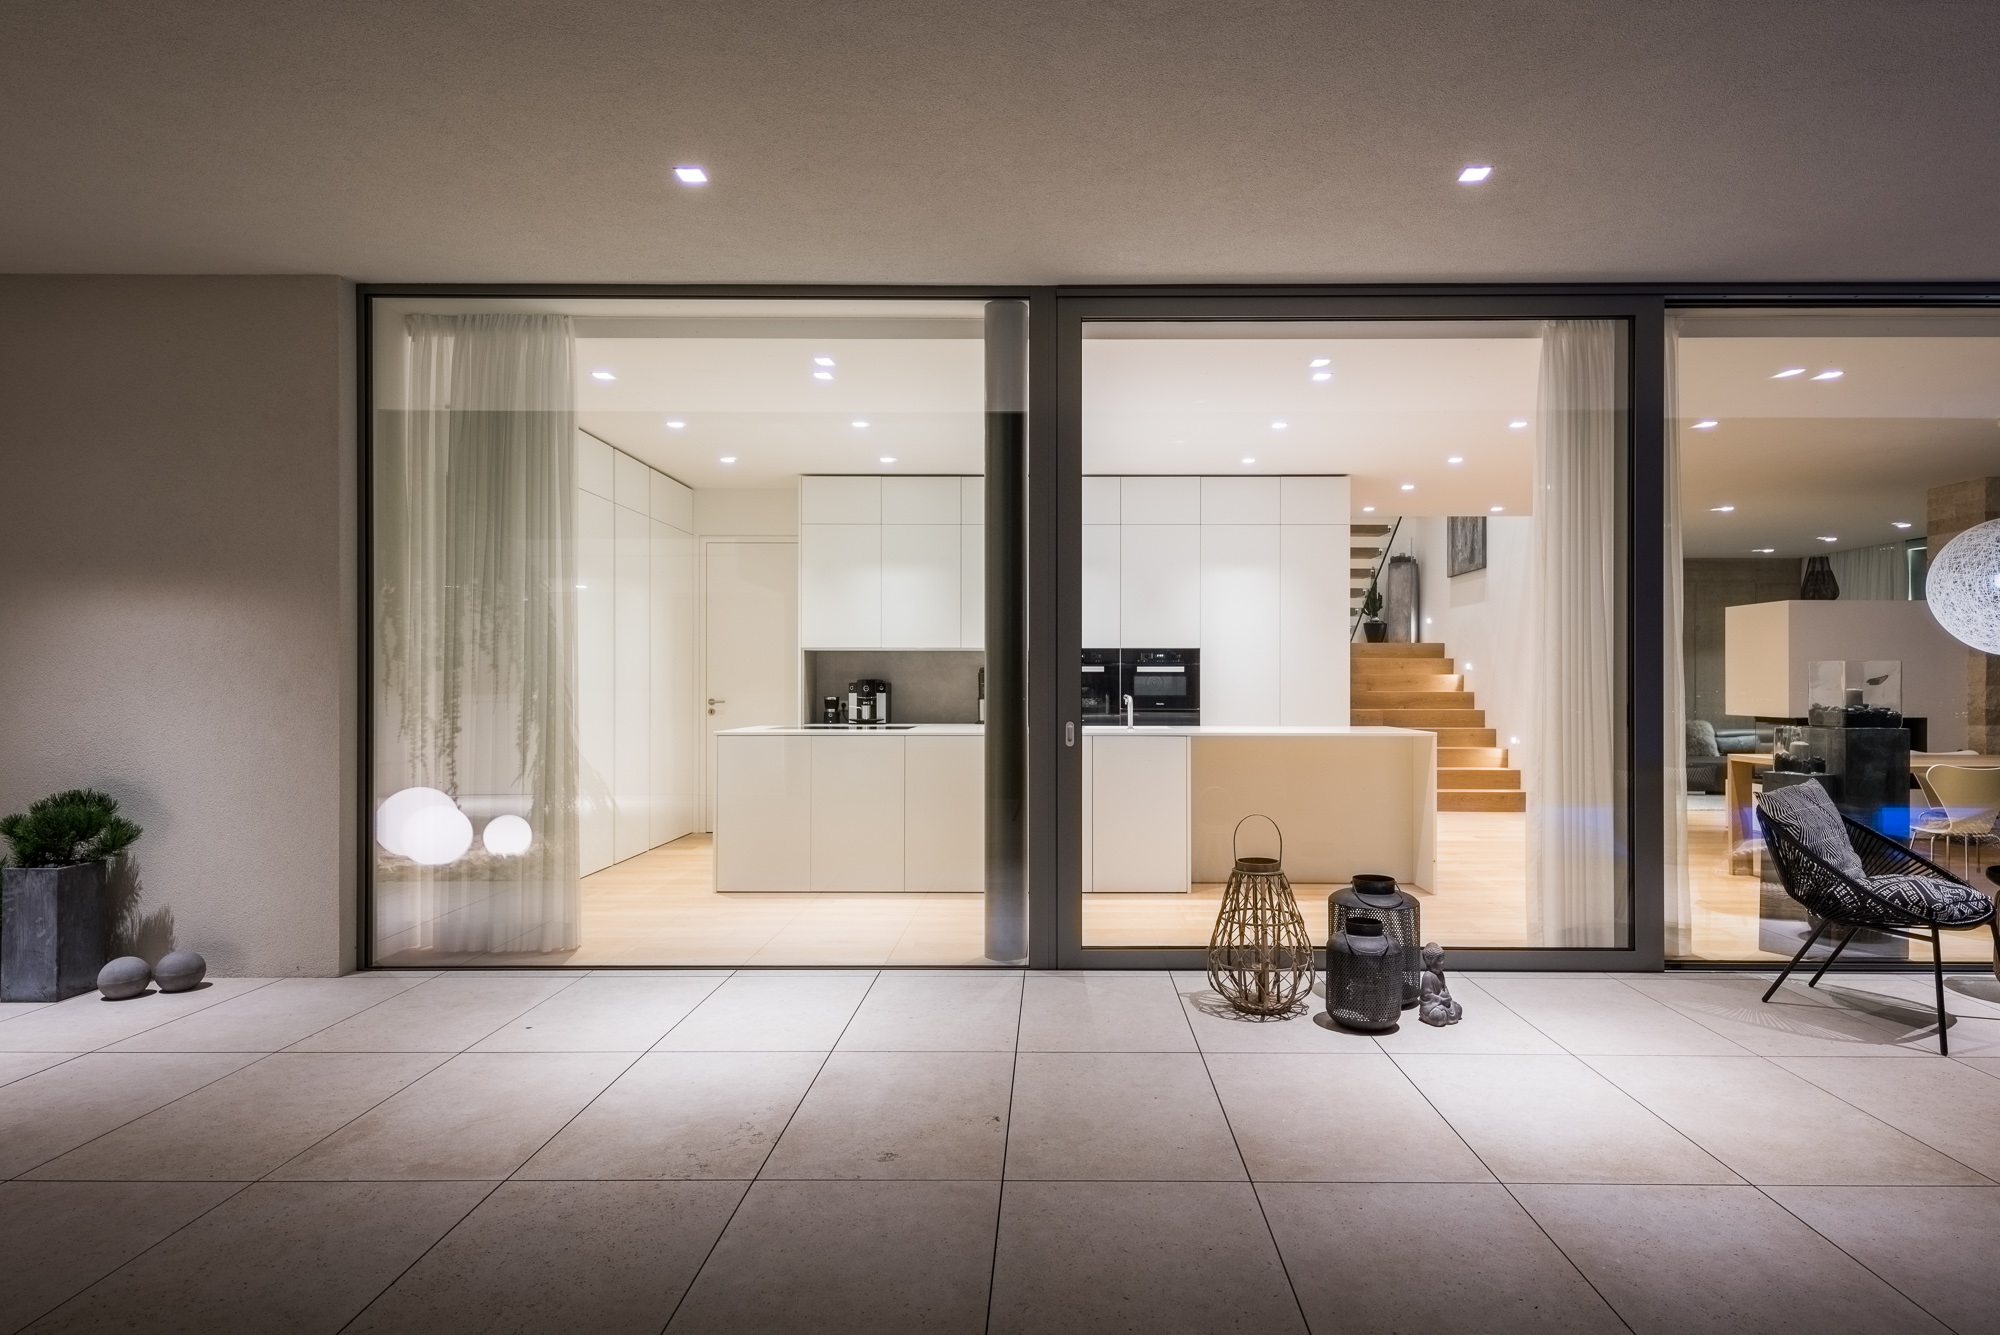


Here are the details I directly shot for the window manufacturer company:

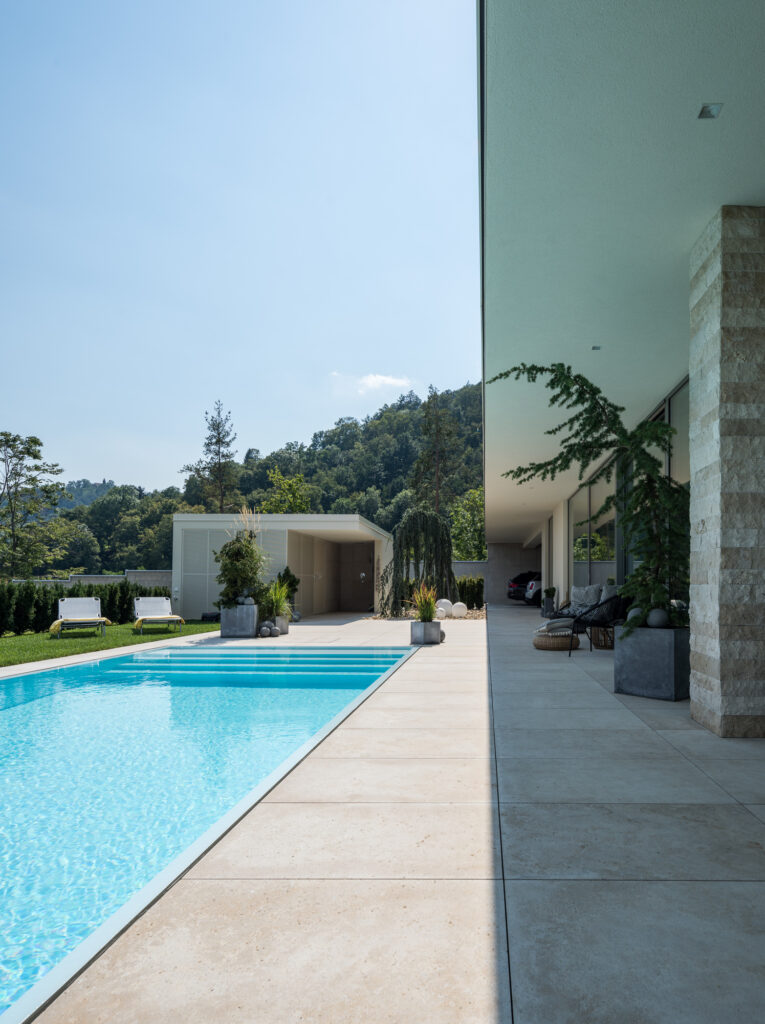
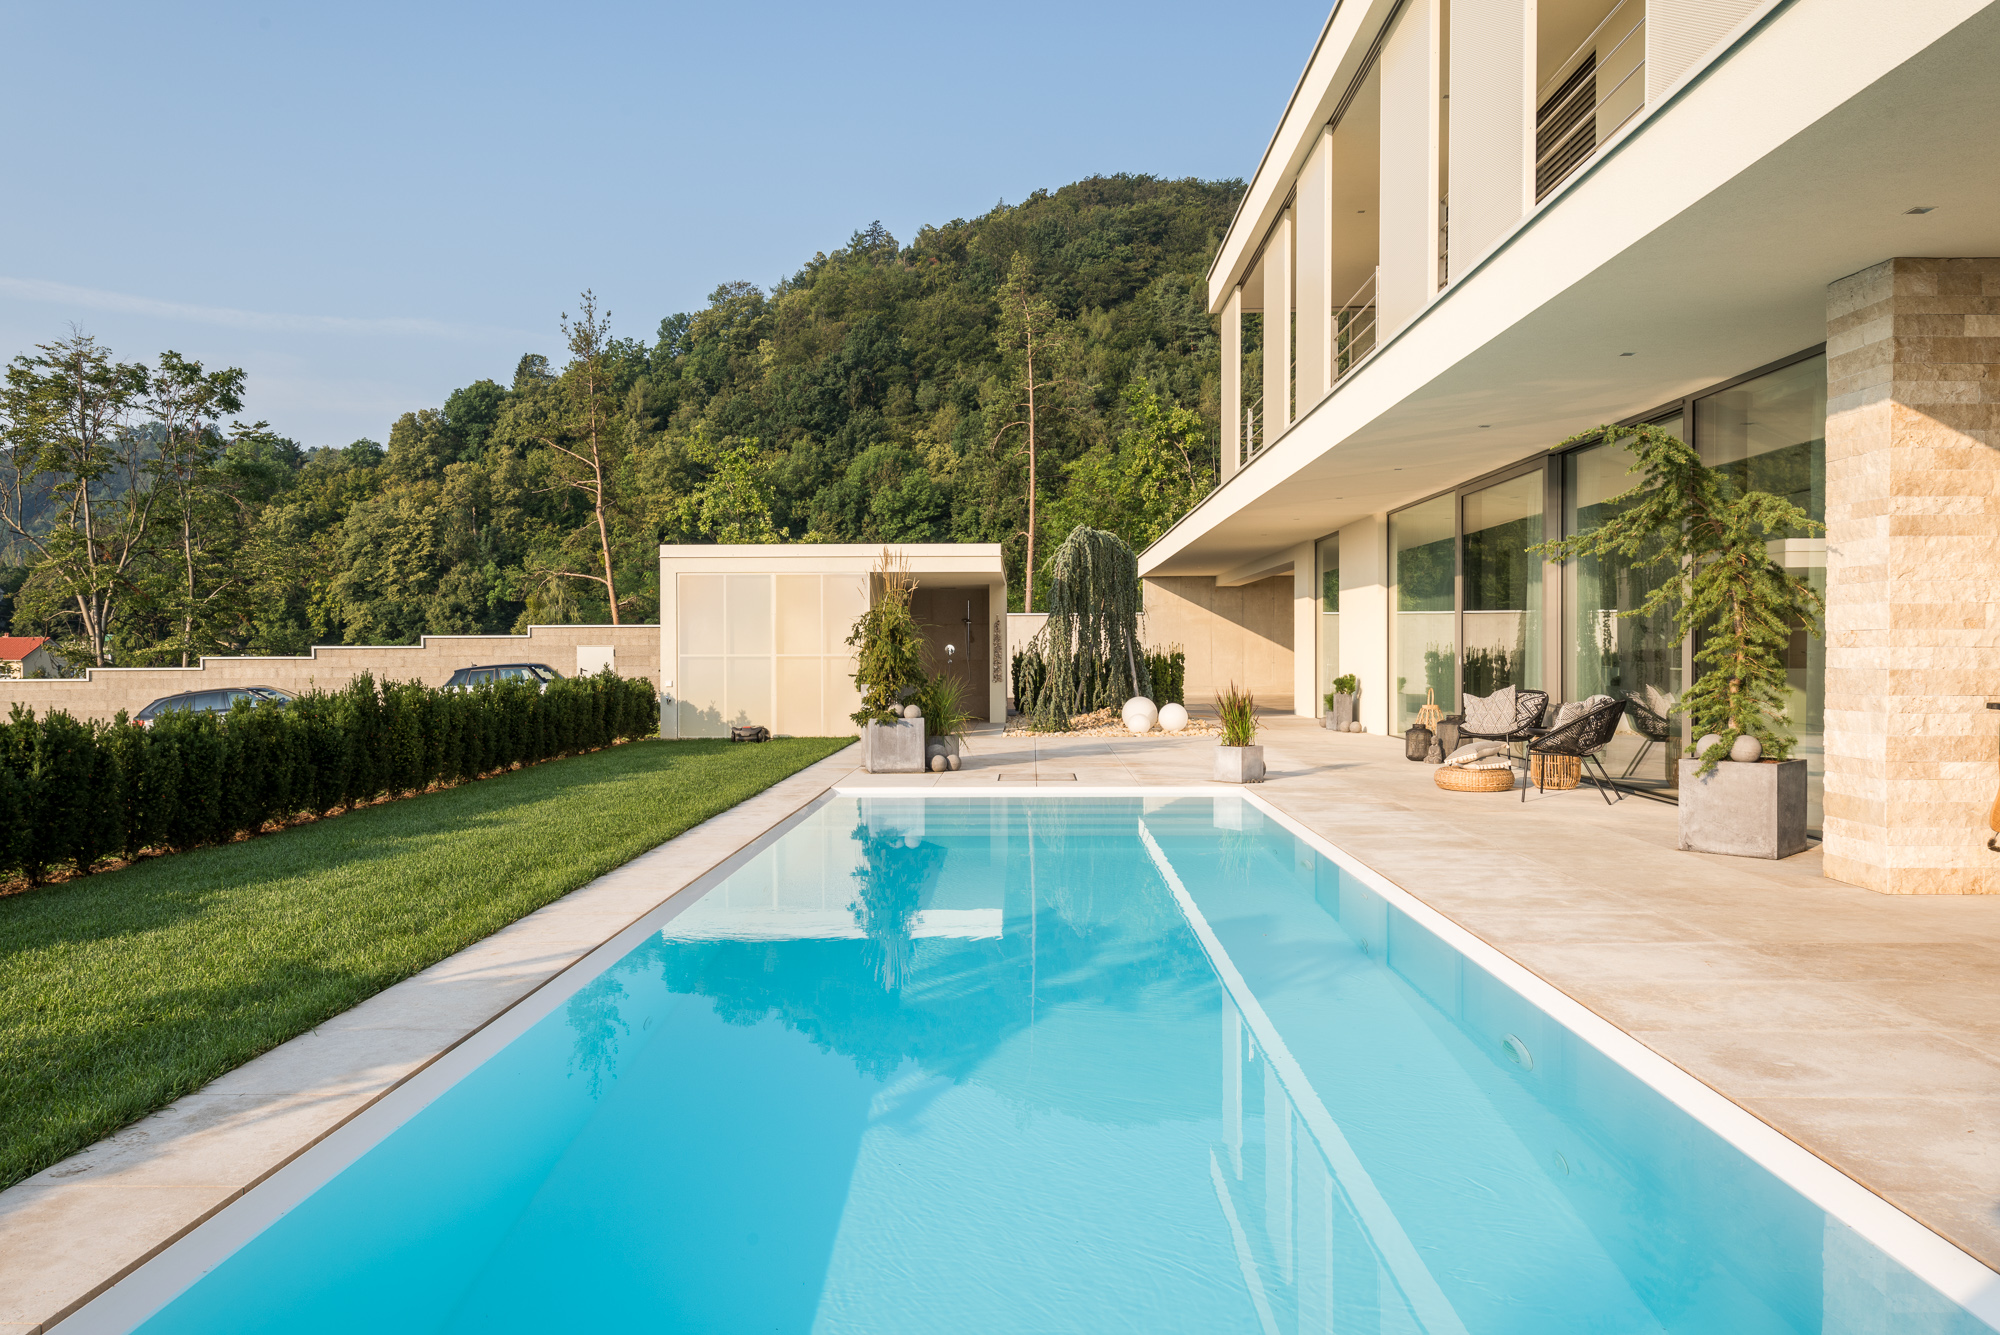
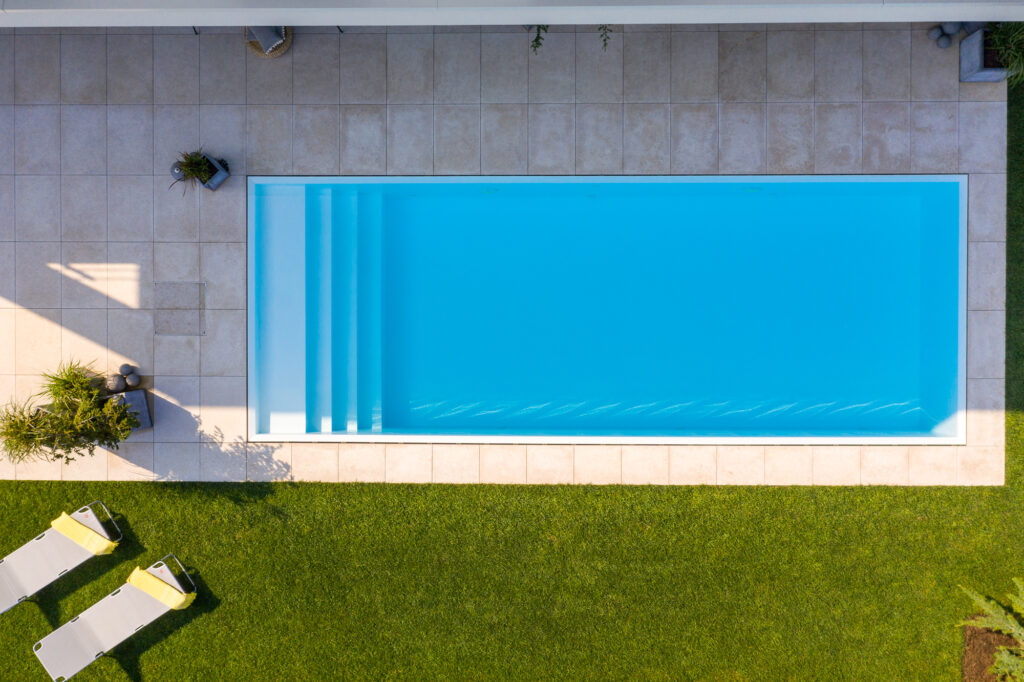
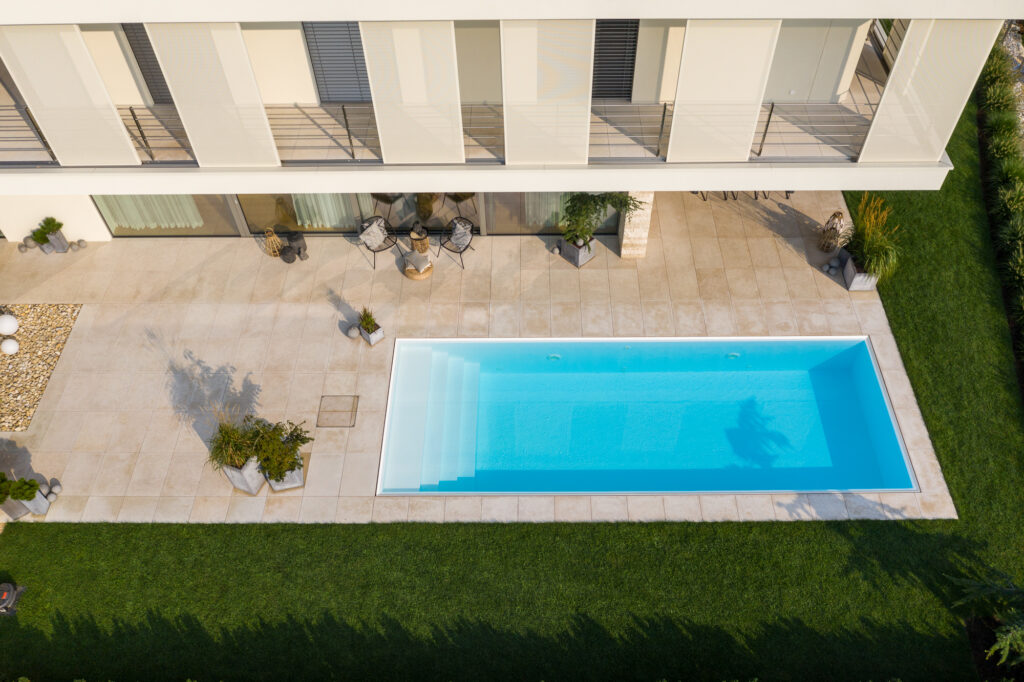
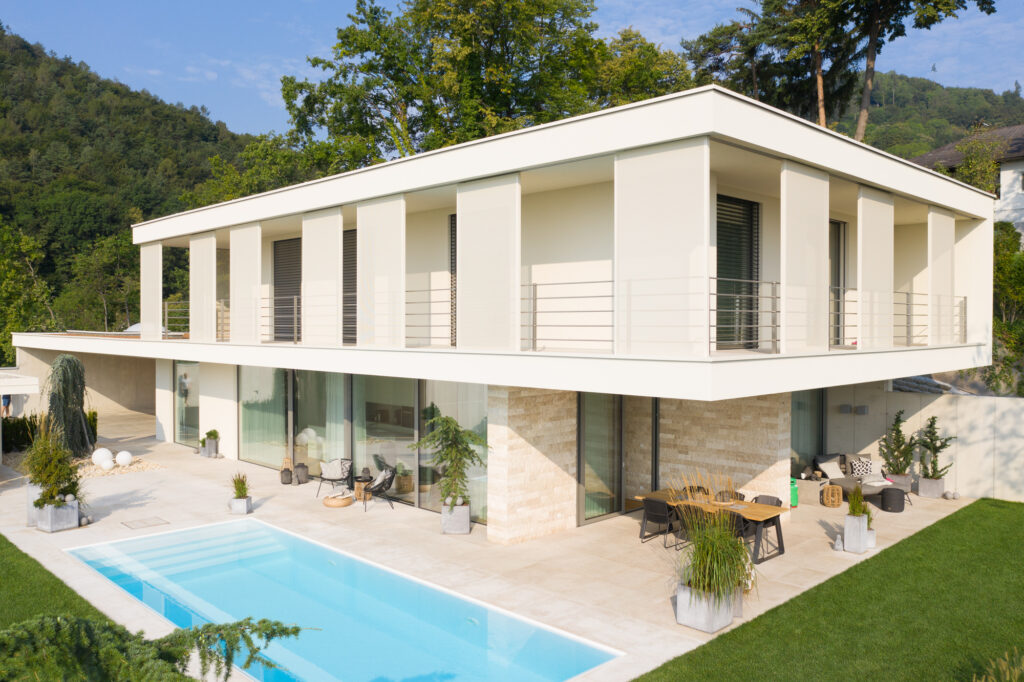
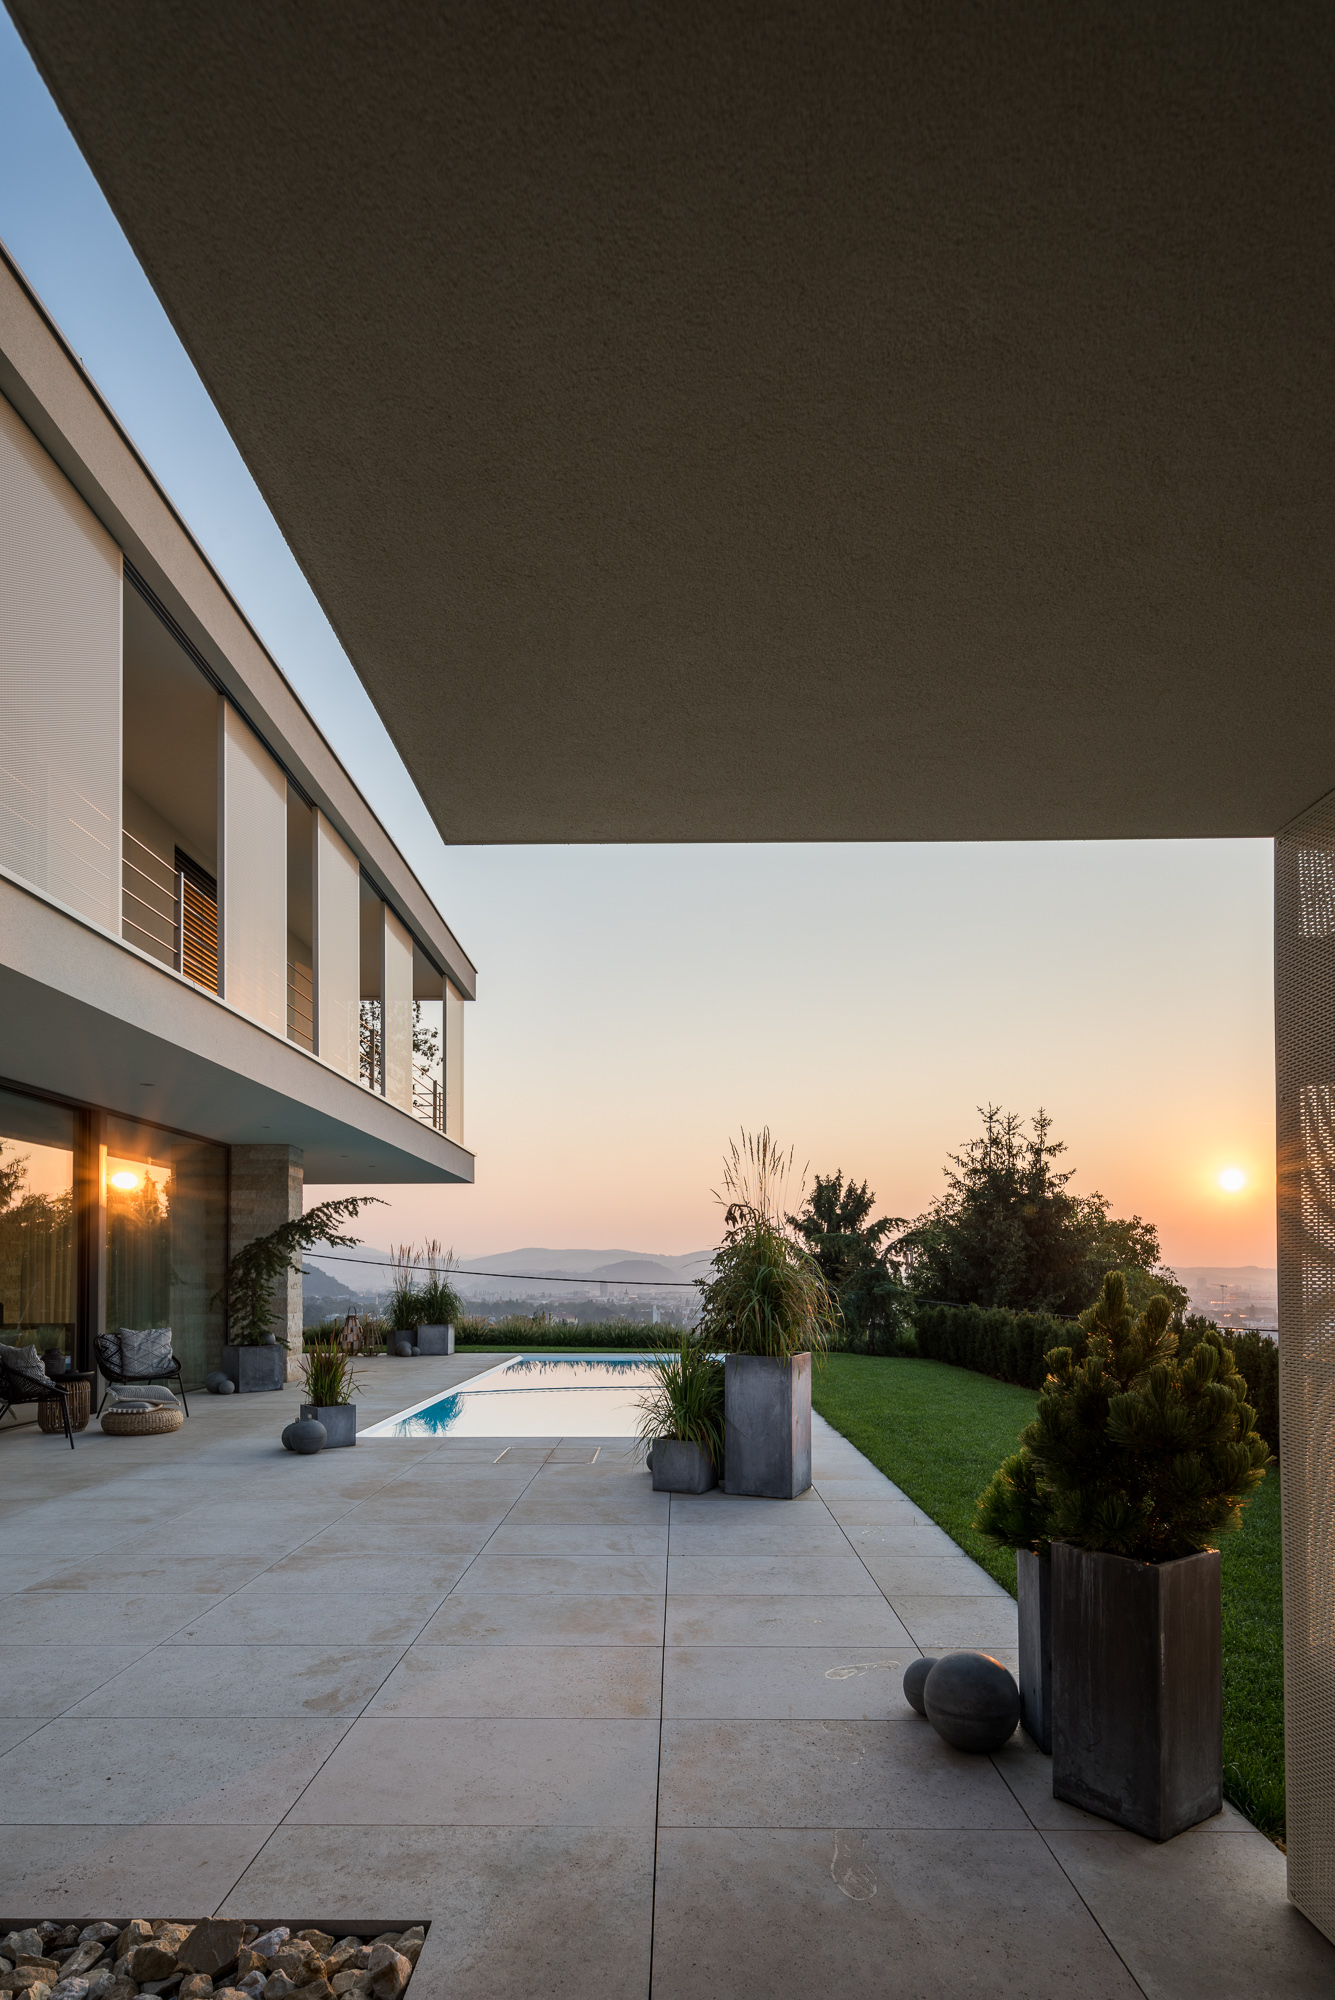
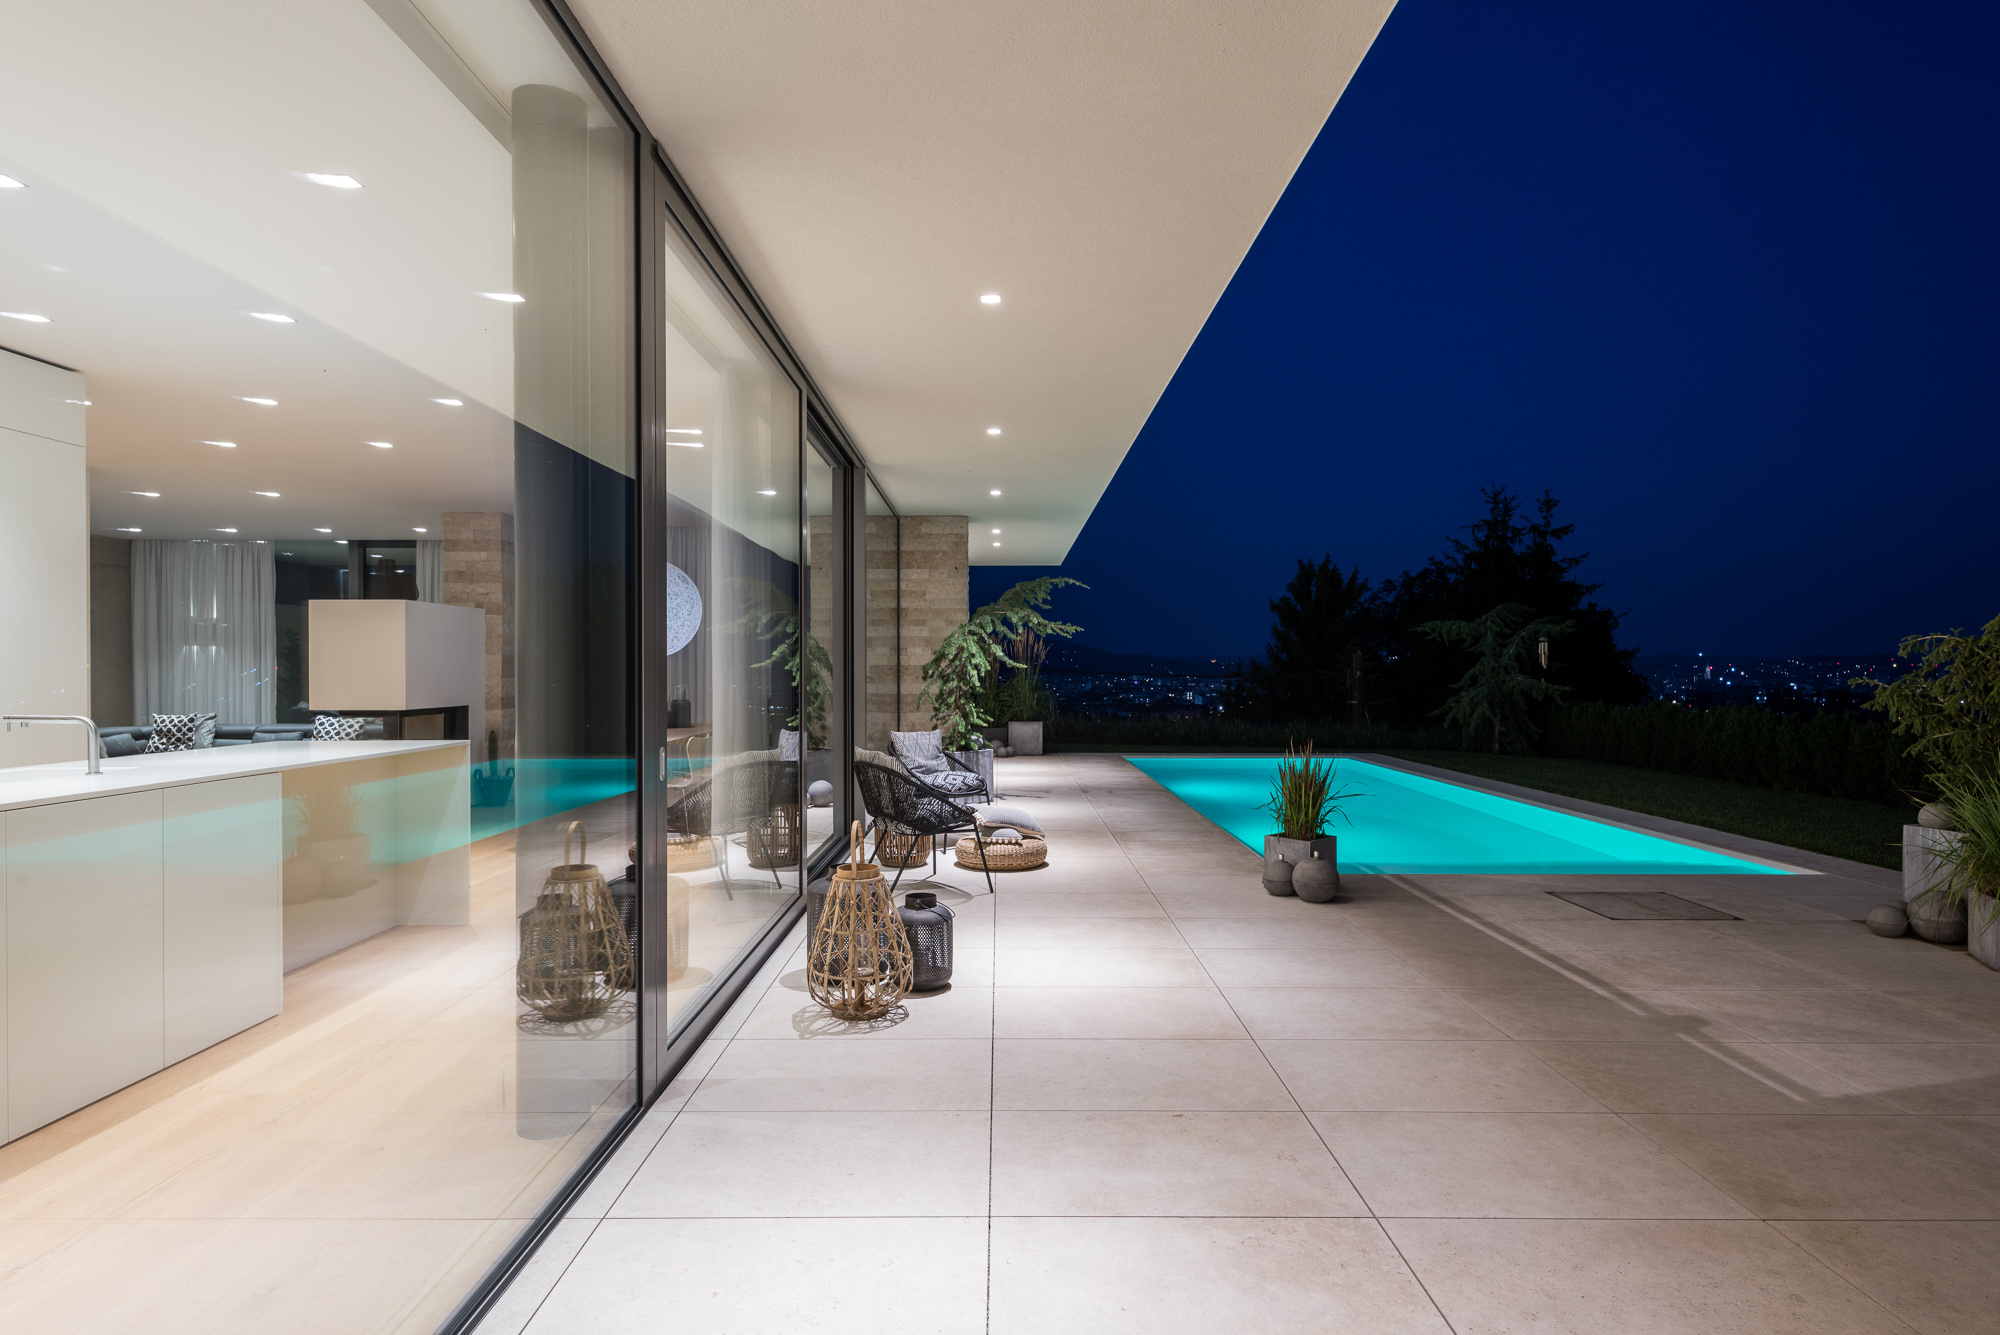
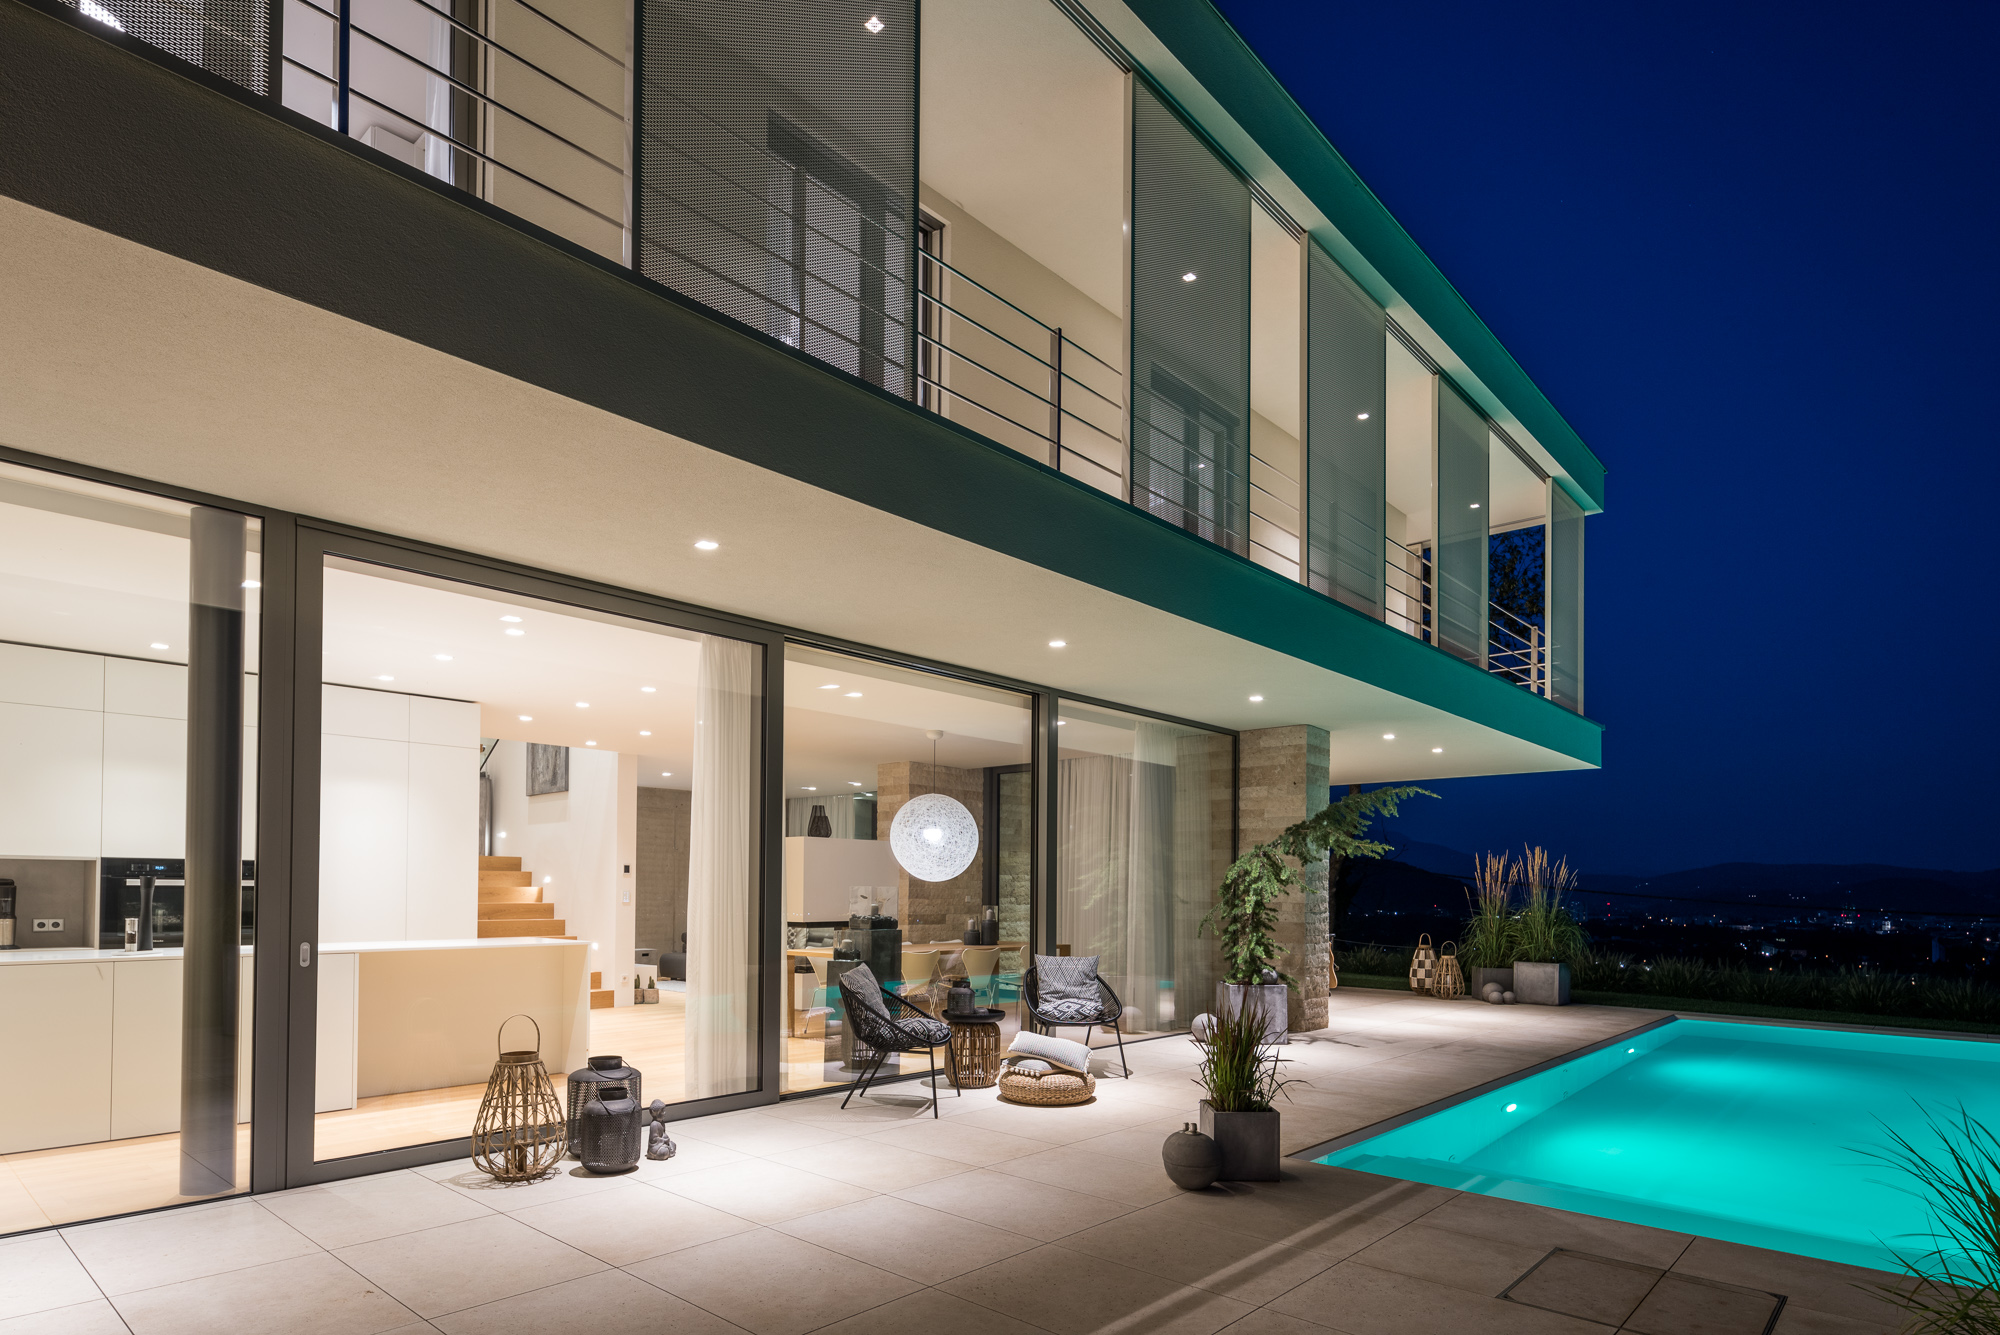
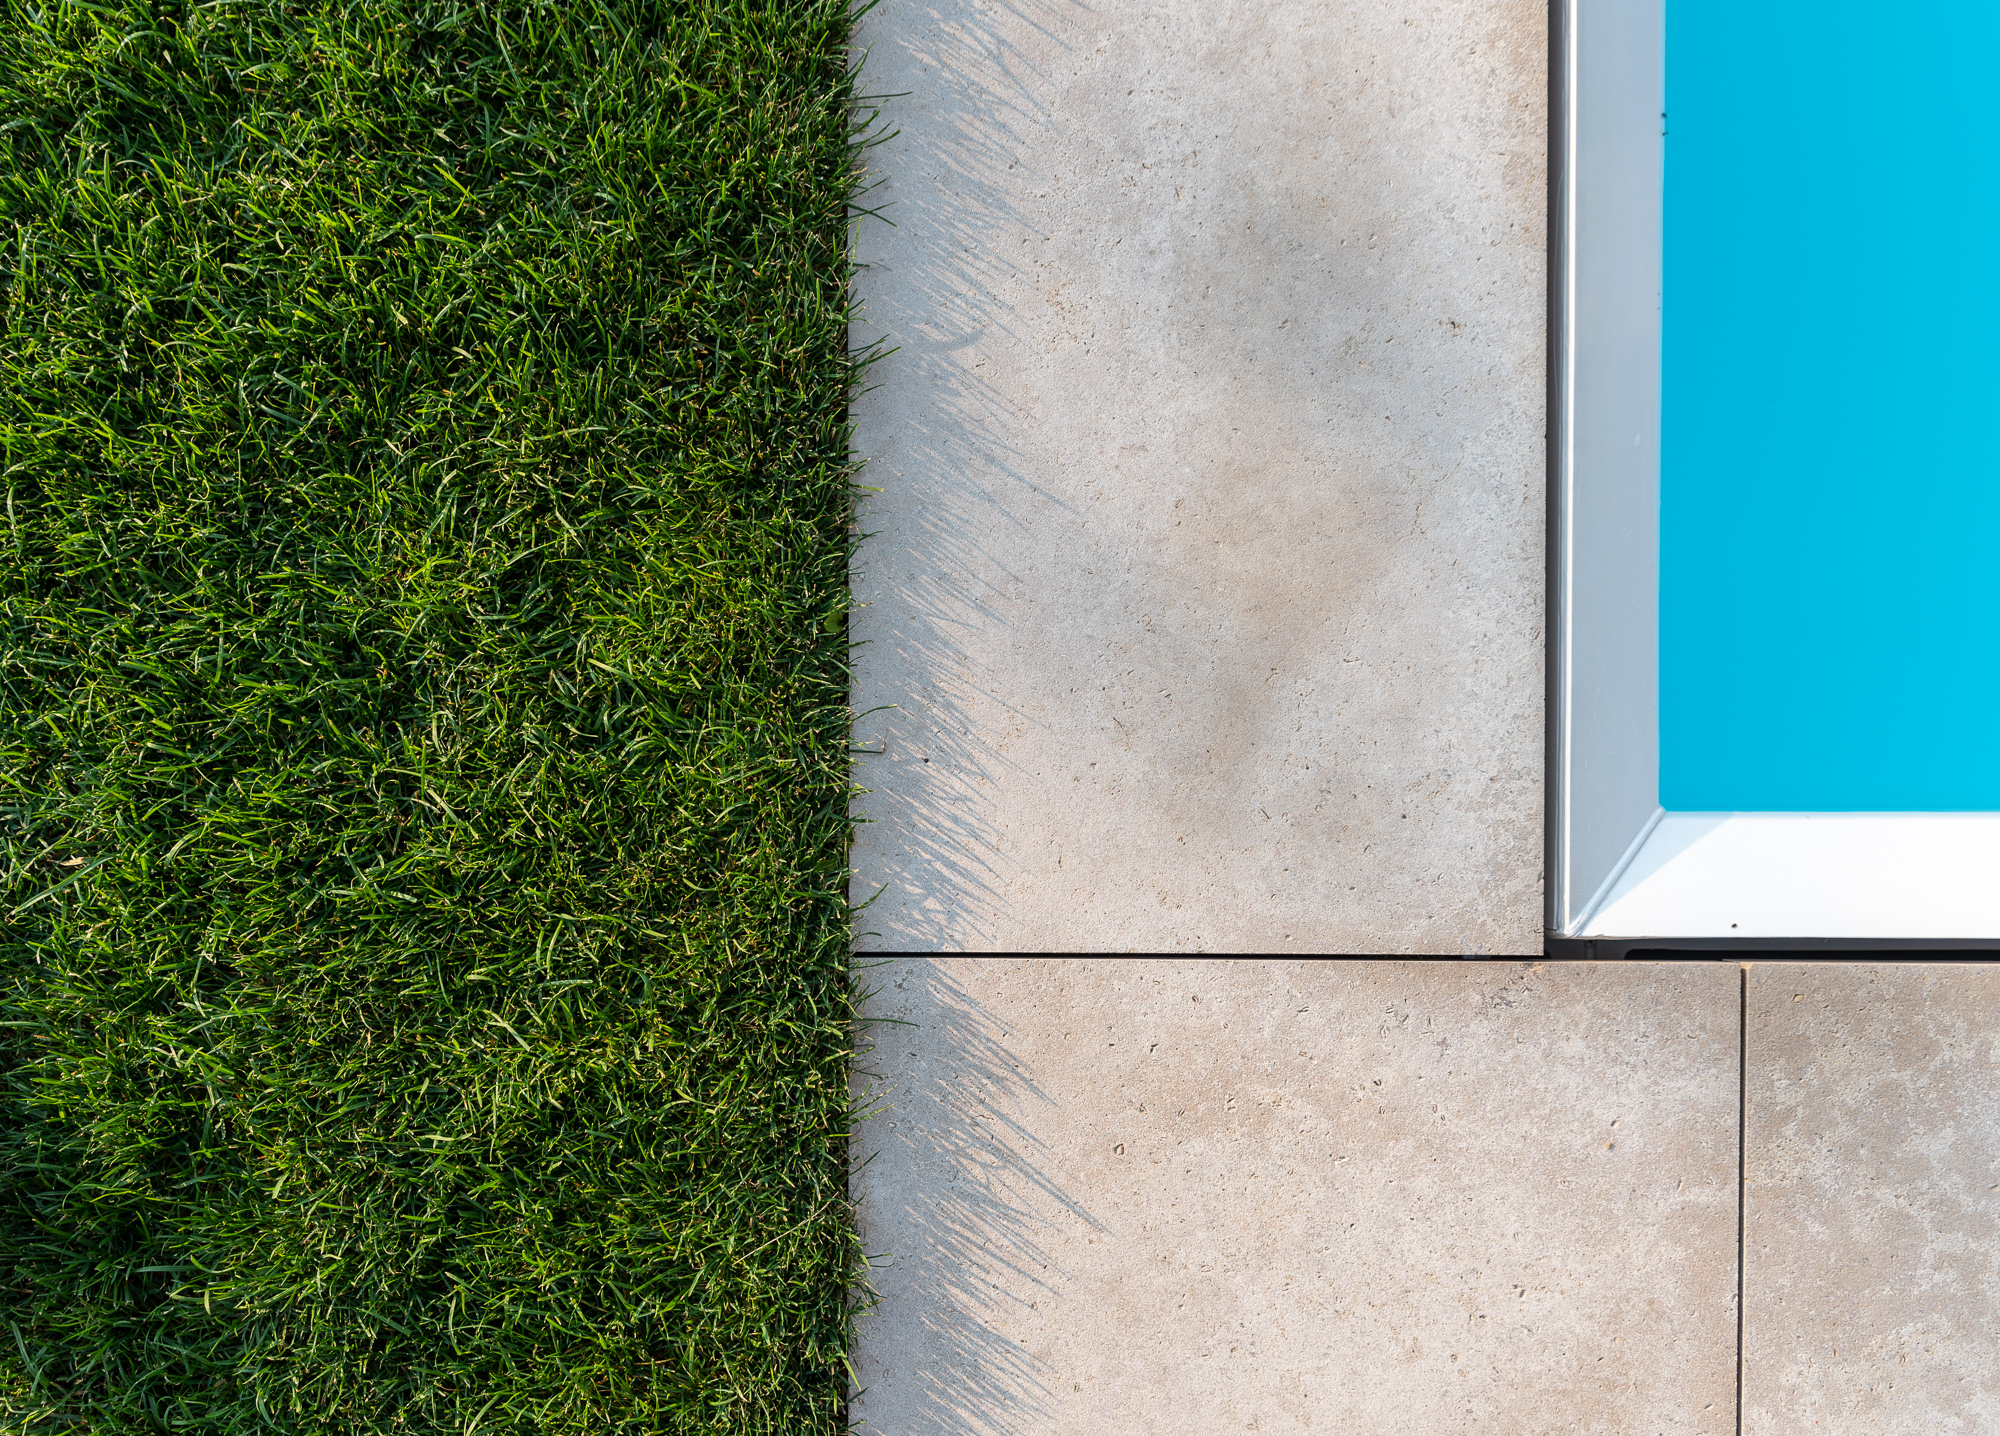
Since this was the coolest installation of a pool, I felt obligated to showcase that too.
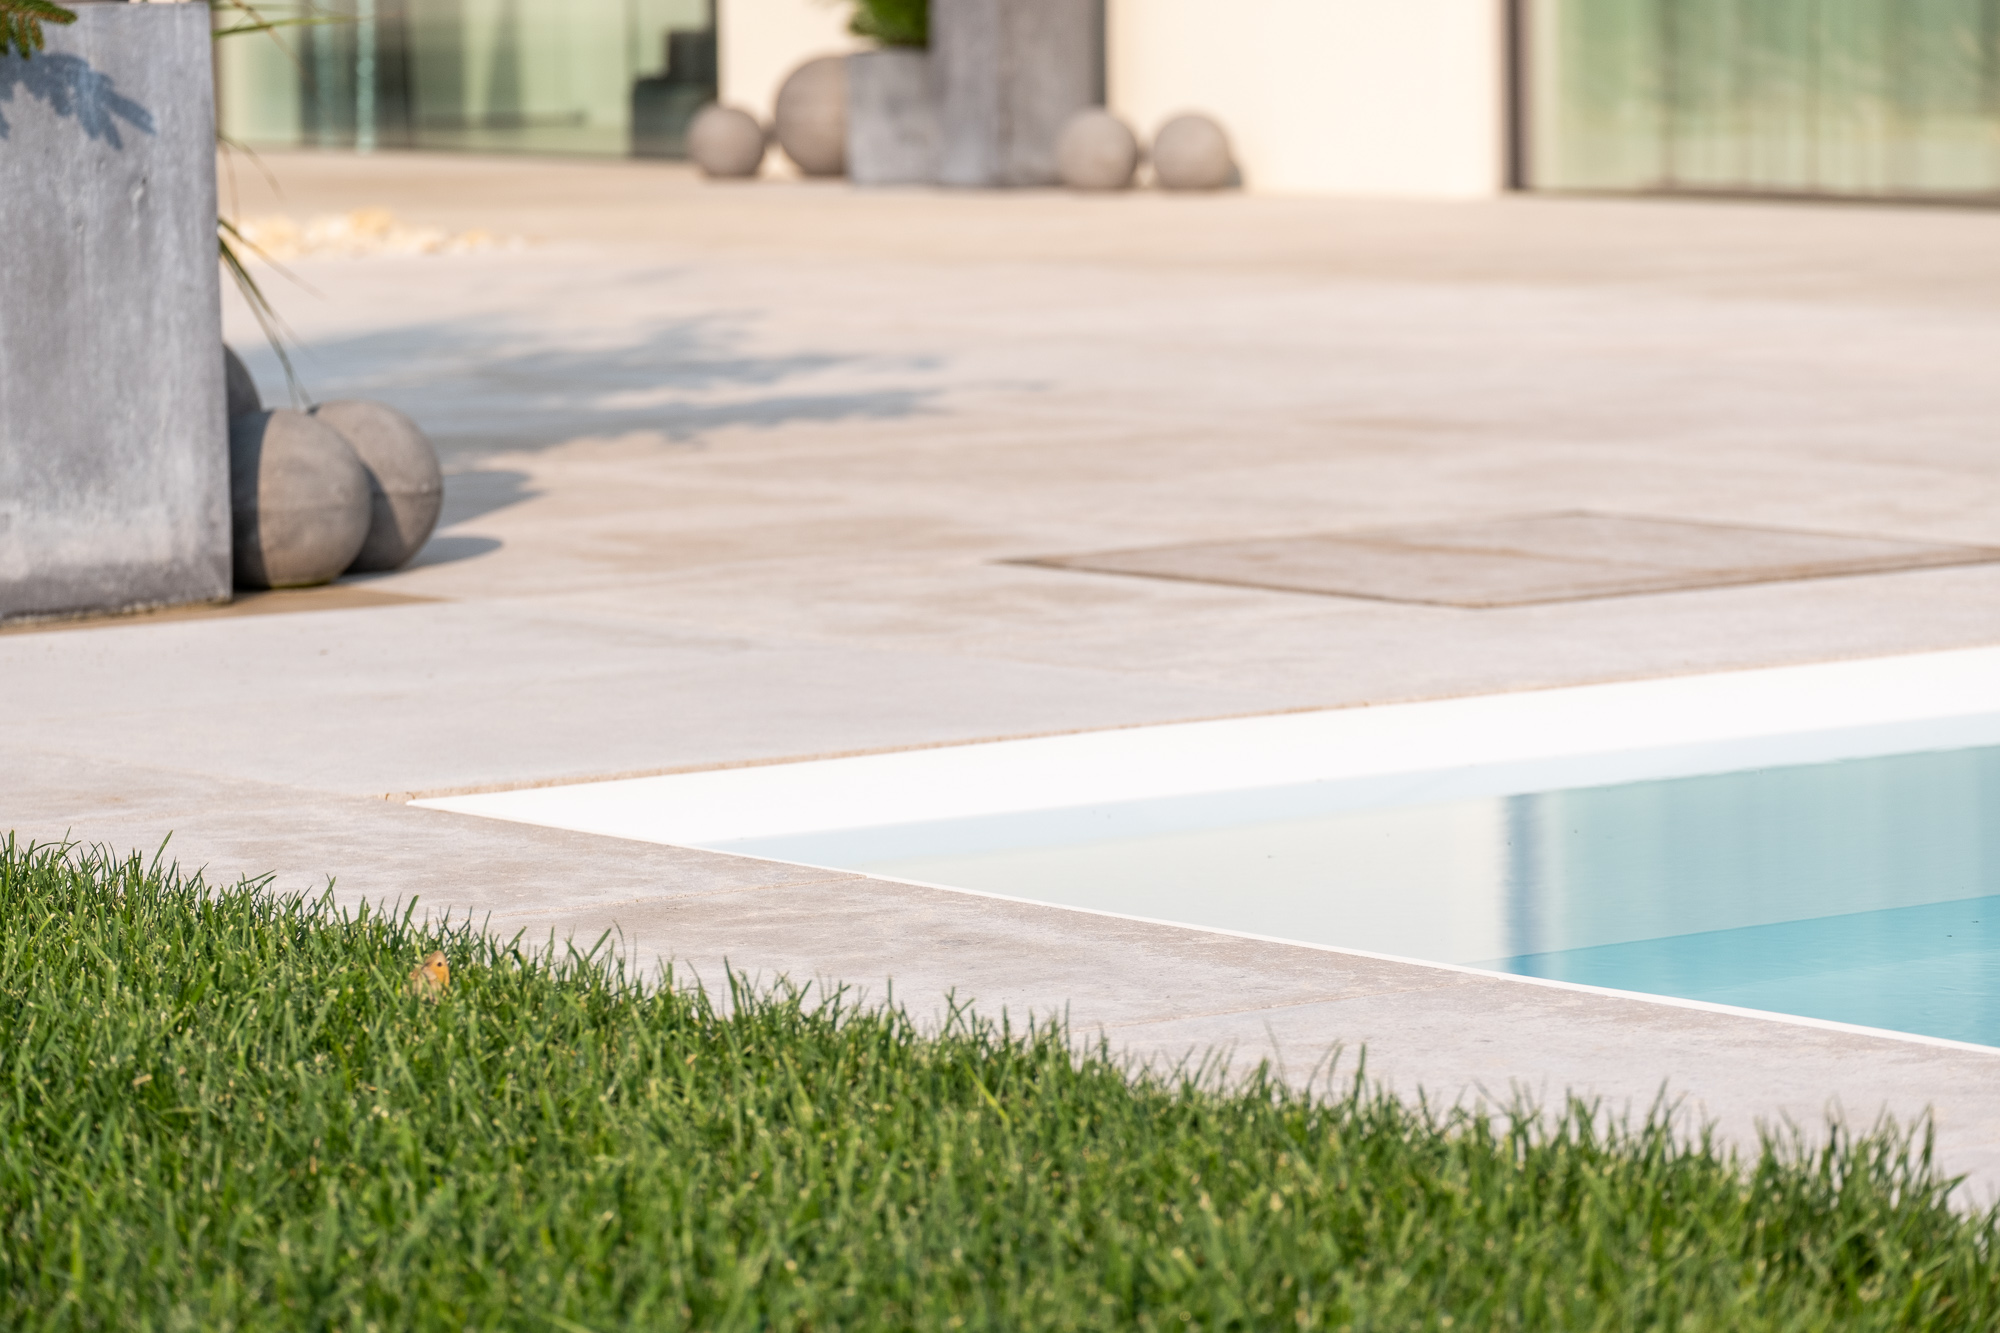

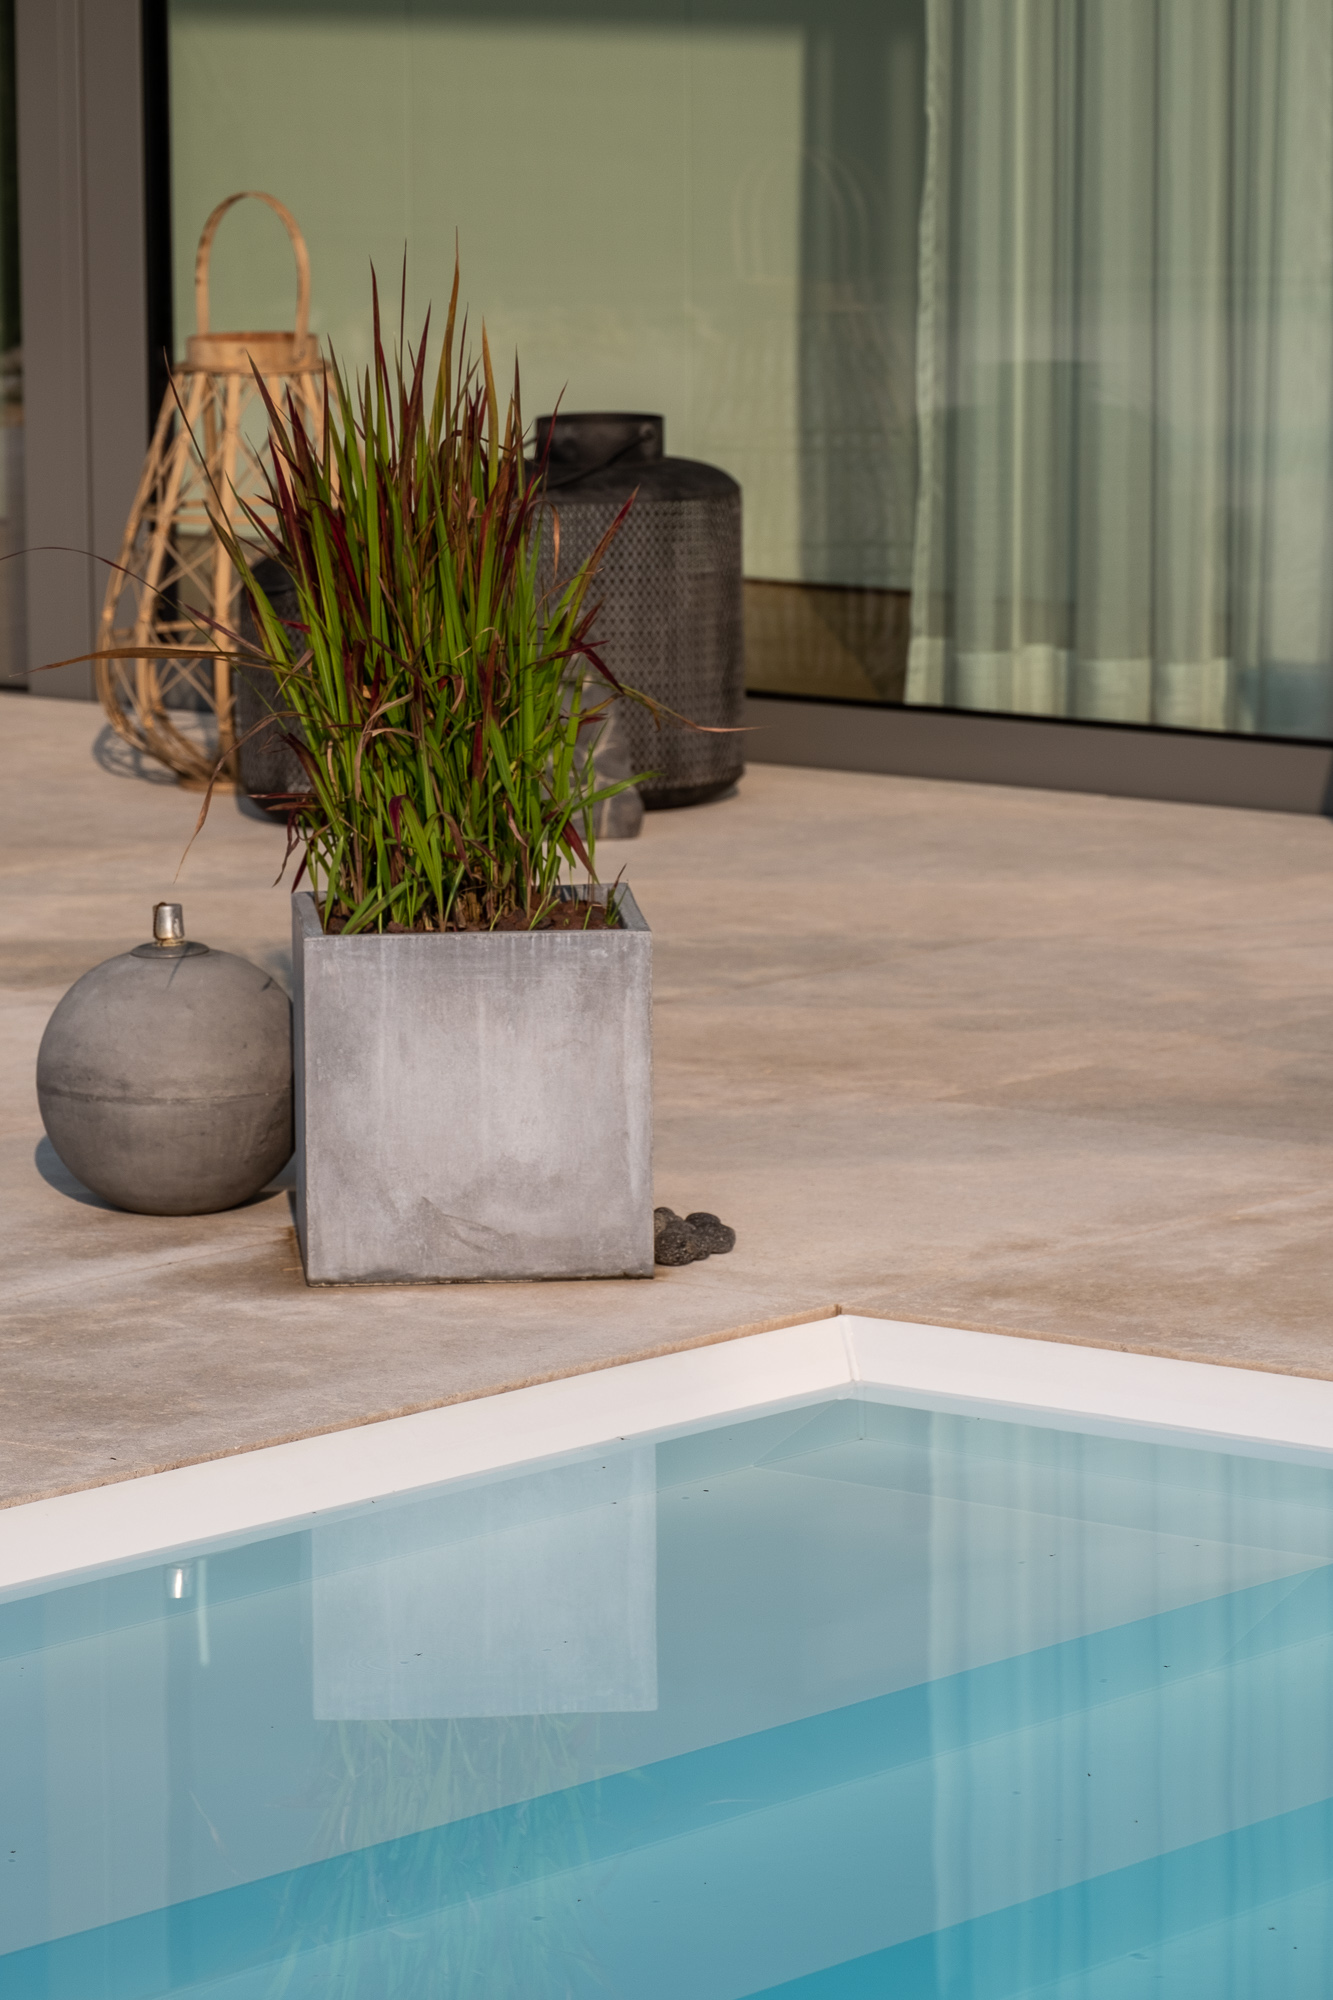
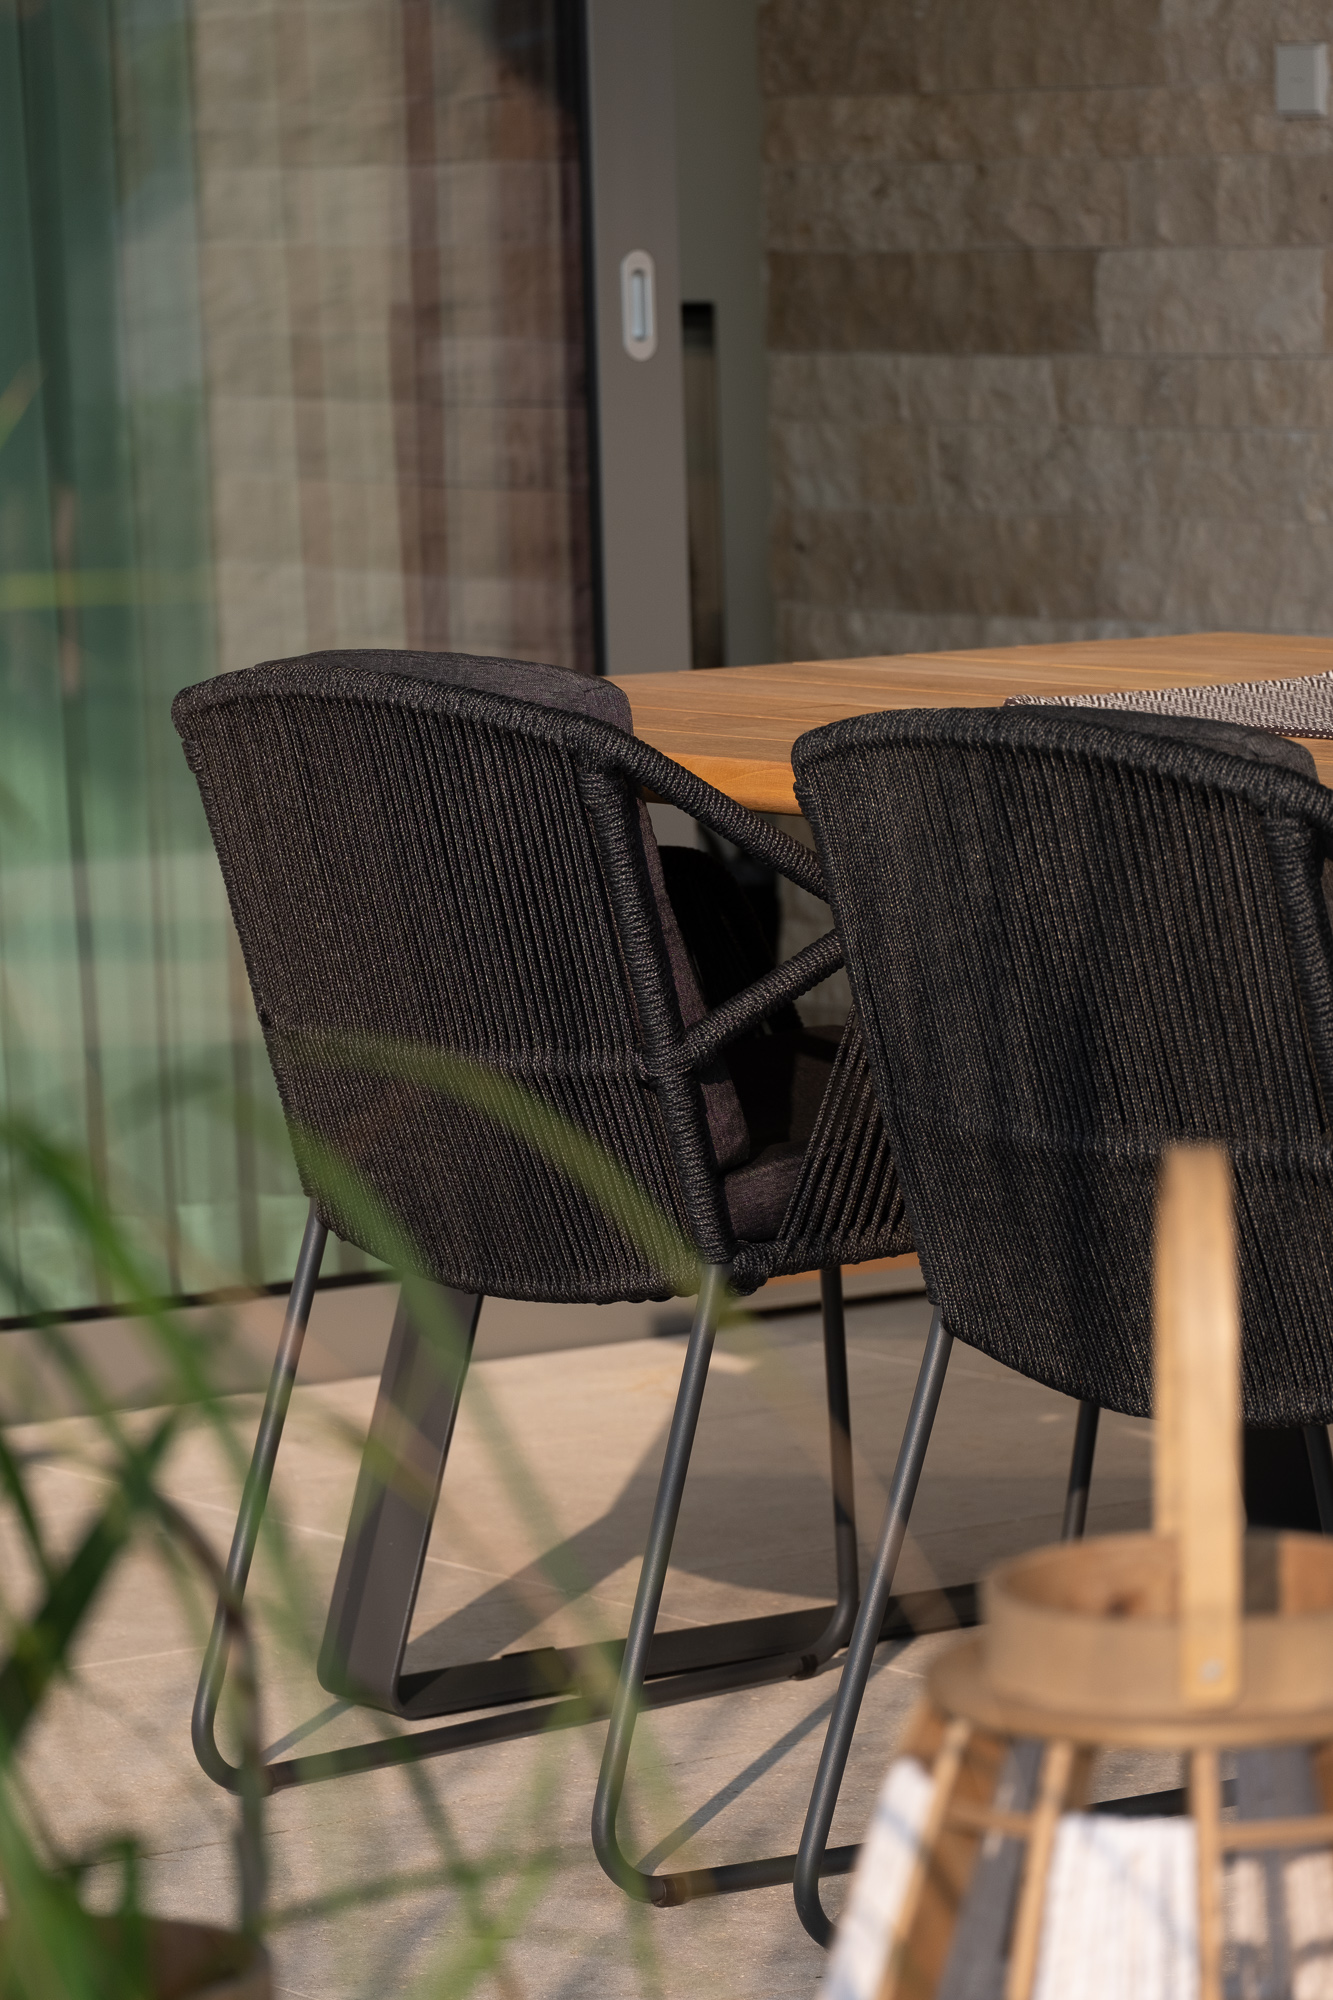
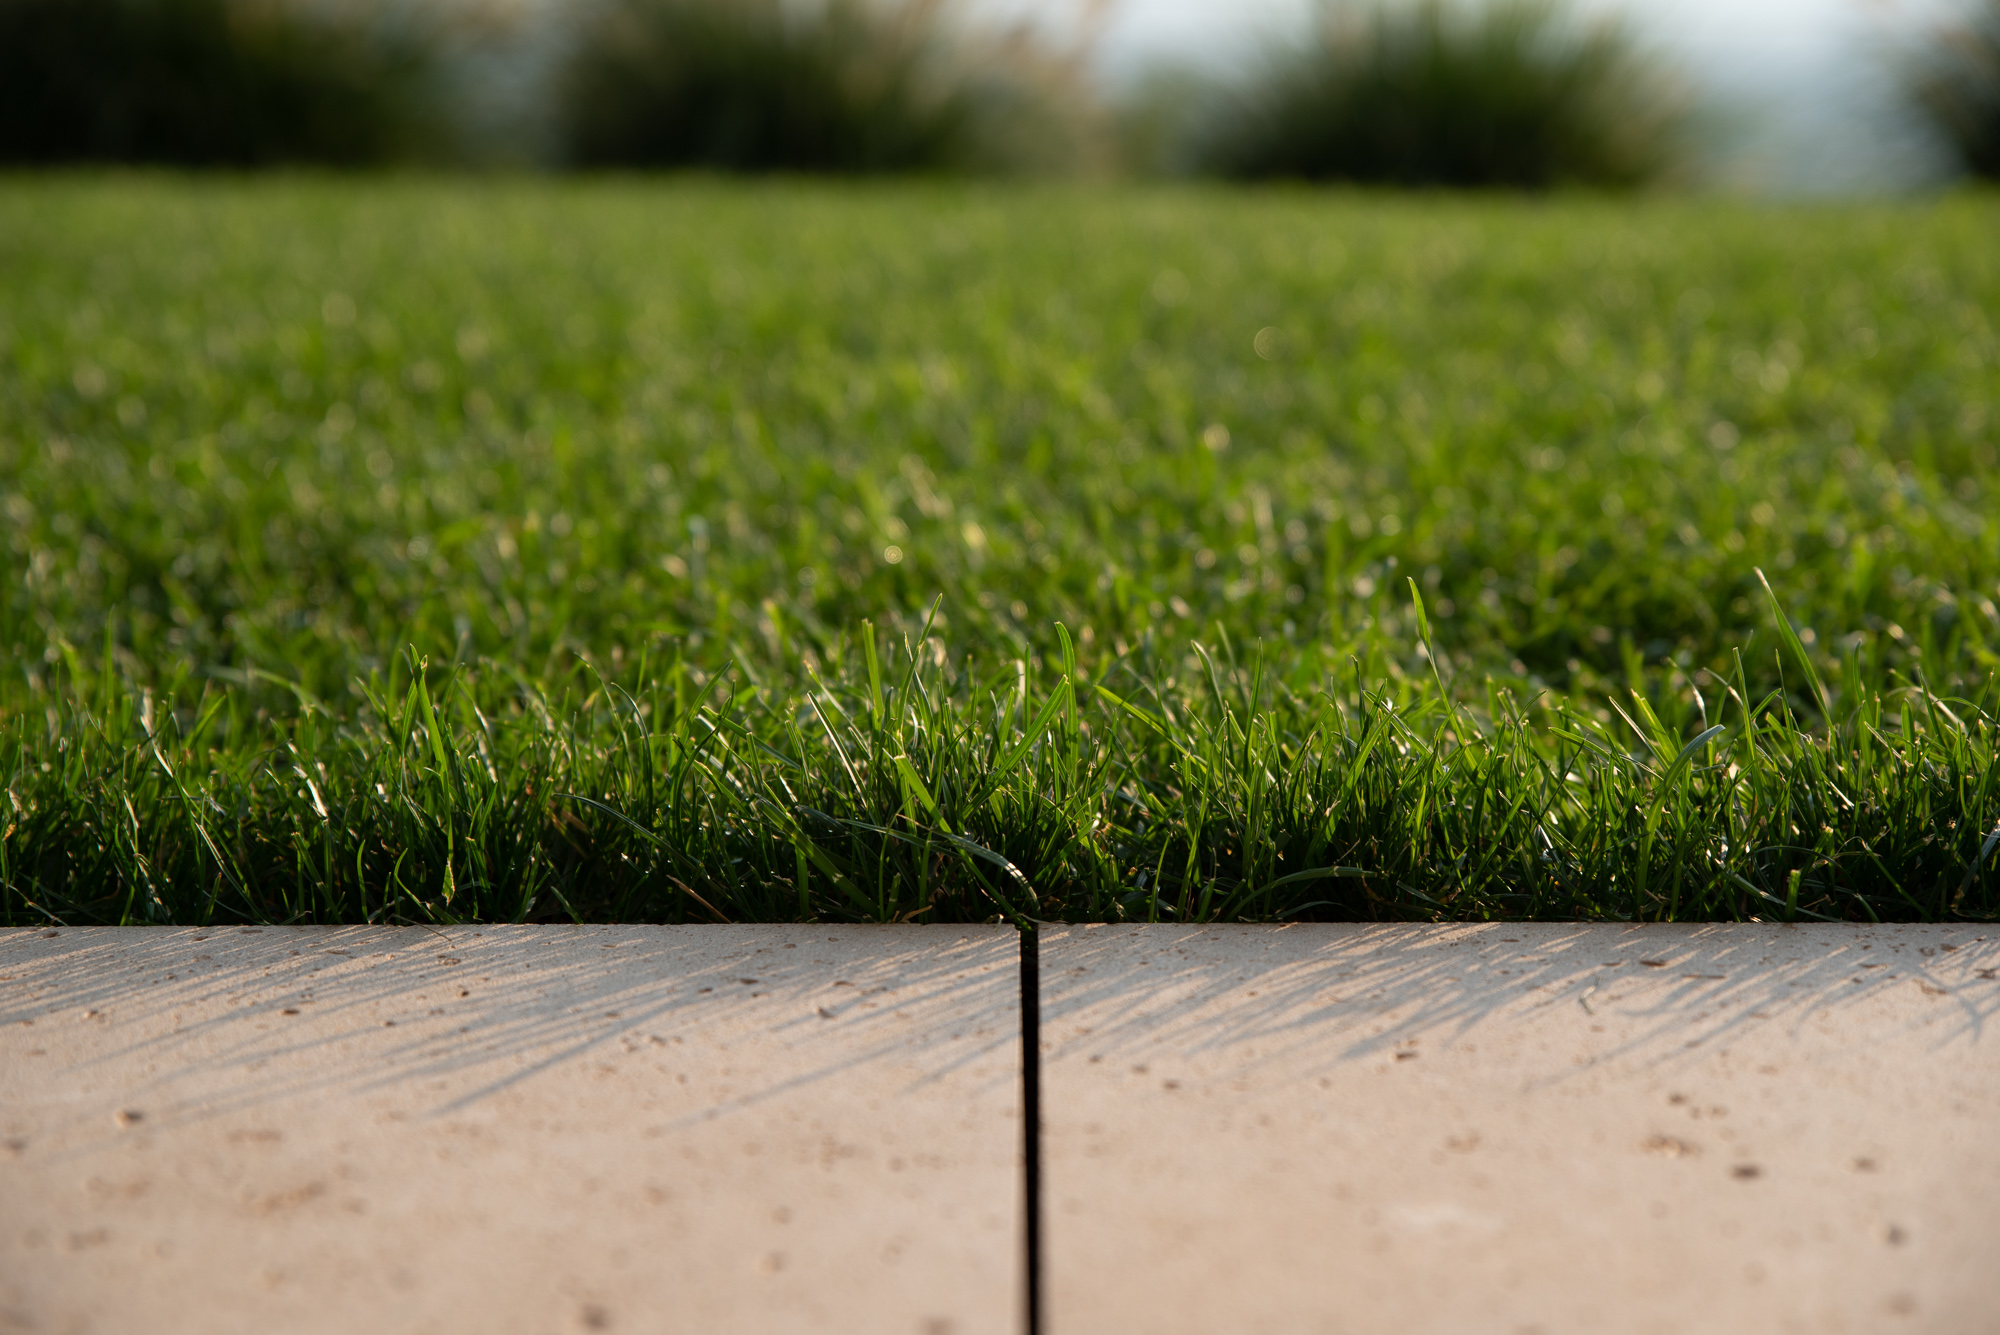
Our clients often ask us to do some vignettes, but these are the images I rarely put on my website or post on Instagram. Now I want to finish this set and this article with some of my vignettes of this house.

Final Thoughts
I started the article with a note; please keep that in mind. There is really no one unique way, or holy grail for the approach of an architectural photographer; you have to figure out a workflow that works for you and those you want to work for. Mike Kelley and many others are working much slower than I, enabling them to make each of their submitted photos world-class quality. To those standards, my images often lack that last final tiny touch: the missing Vespa or that I left the round carpets in one scene, and the grill outside are great examples of this. These are things that typically only other photographers will ever notice, and I am training my eyes to recognize such situations even faster and avoid similar “mistakes” in the future. This is also a key to your success, a bit cliché, but there is a hard truth in it: learn from your mistakes!
Stay tuned for the next chapter, in which I will show you what became the final selection for the architect and how to work them out in Lightroom.
Oh! I forgot to mention that my assistant is a brilliant cinematographer and we also made a short film of the house.