Reducing Haze with Lumenzia: A Quick Tutorial For Dealing With Overhead Lighting
Lately, I have been shooting corporate interiors. The projects are usually well lit common spaces or executive offices next to a window. The rest of the spaces are mostly lit with artificial light. Although I typically like shooting with natural light only, on these projects, I must turn on and feature the practical lighting as a design element. Usually, there is one big issue that arises — haze around those artificial lights.
When I’m on location, I’m not using an assistant or any kind of flash, so this tutorial is geared towards what best suits that particular approach. You might be asking if there are any strategies for getting it right in-camera without strobing the scene? It depends, but I can think of these two points to consider:
- I’ve found out that for the 17mm and 24mm Canon Tilts Shifts, using an f8 aperture slightly reduces haze.
- Try shooting at night / low natural light. This might sound counterintuitive, but a good lighting project considers night shifts and cloudy days, as color temperature and intensity might be correctly balanced in these conditions.
So, if you’ve tried those tips and still need to reduce the haze around the light fixtures in your scene, keep on reading!
File Prep in Lightroom
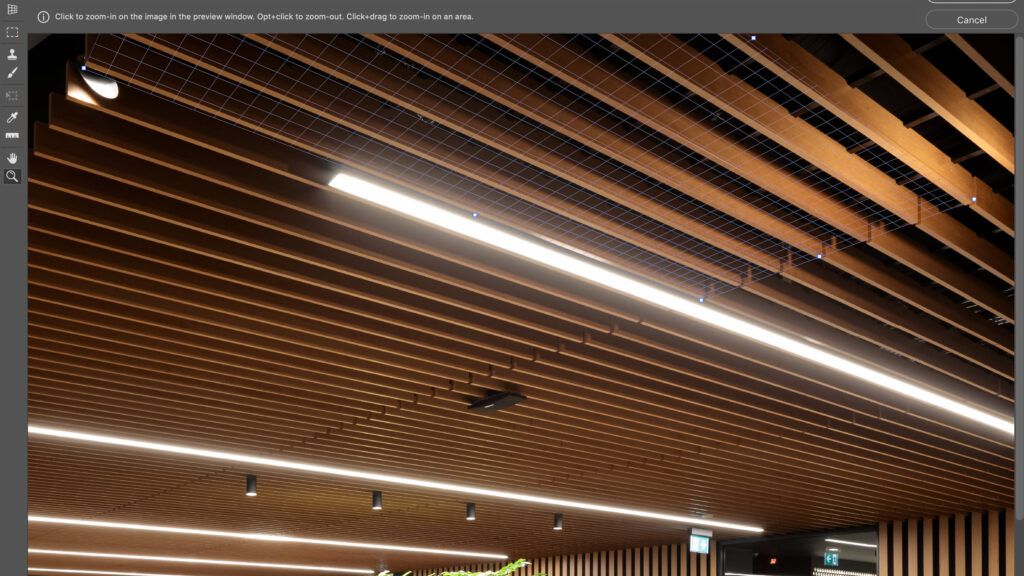
Here is the base photograph I will be working on. You can see that even after moving some Lightroom sliders around, the haze remains strong.
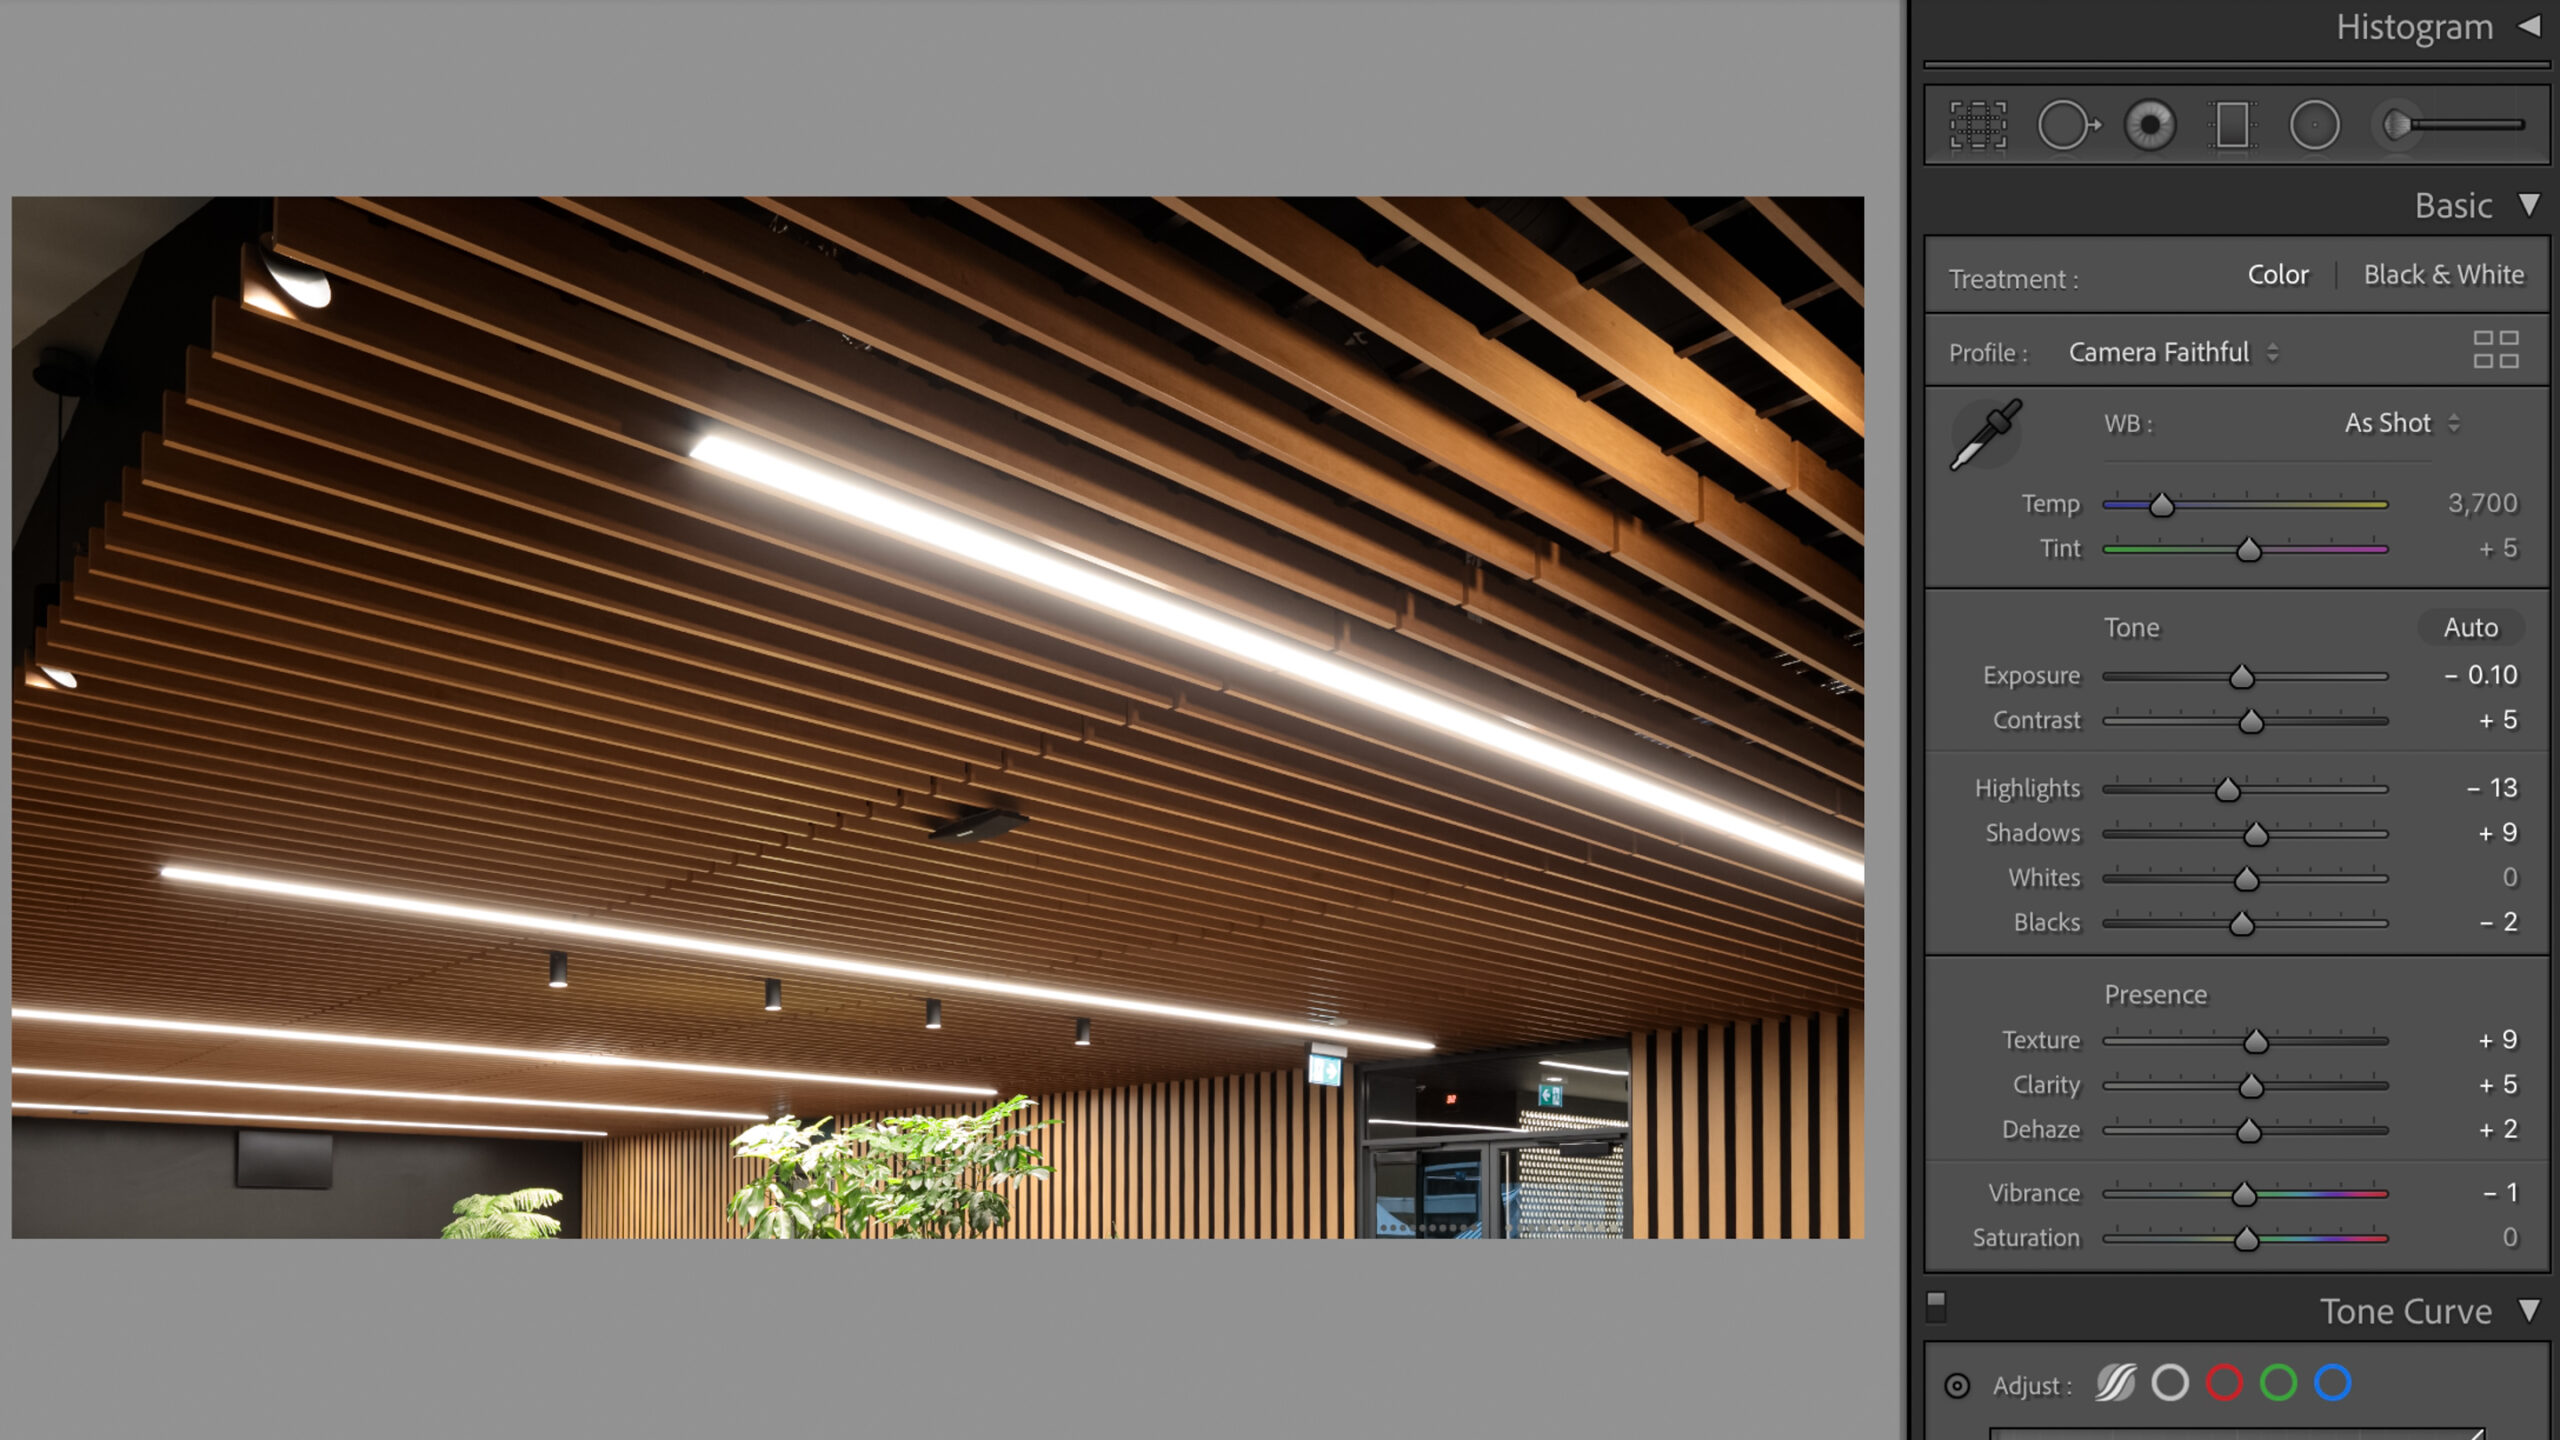
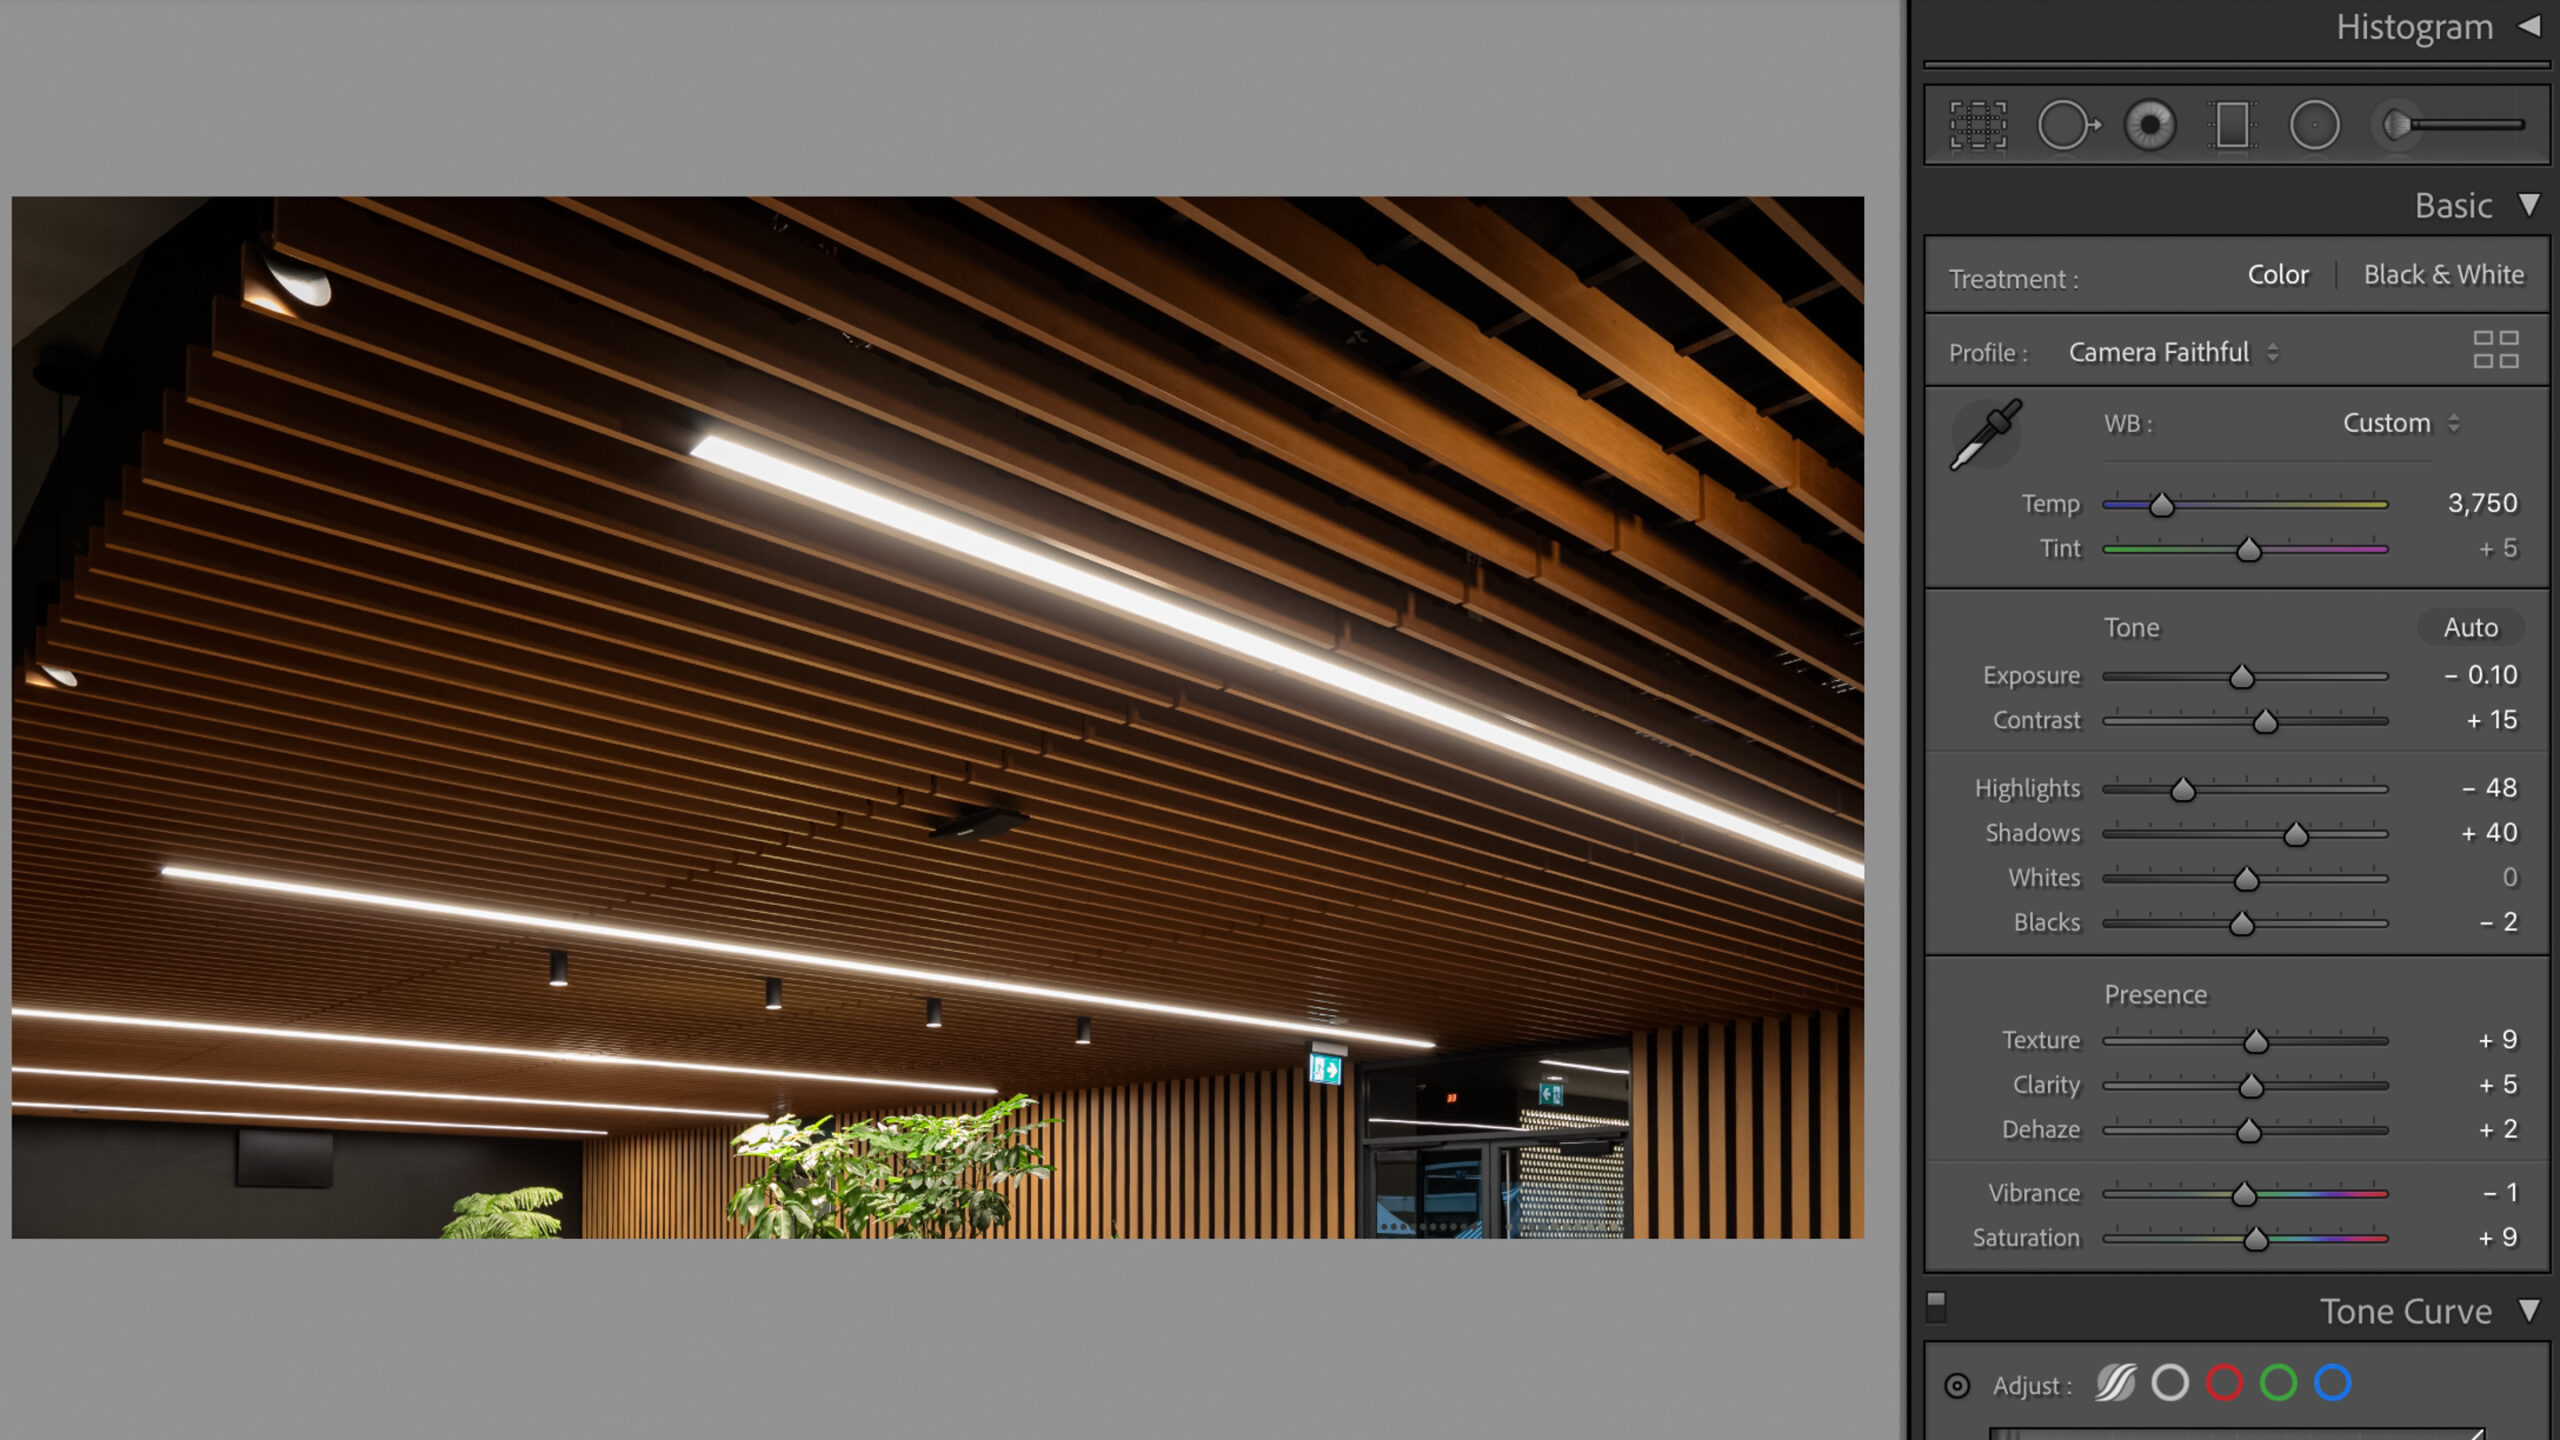
The first step involves selecting a bracket with a darker exposure and working on it. In order to counteract the haze, we would need to counteract its very nature. The first step is to add saturation and contrast. Bringing up the shadows on the overall image also works for a better blend in photoshop.
Head In To Photoshop
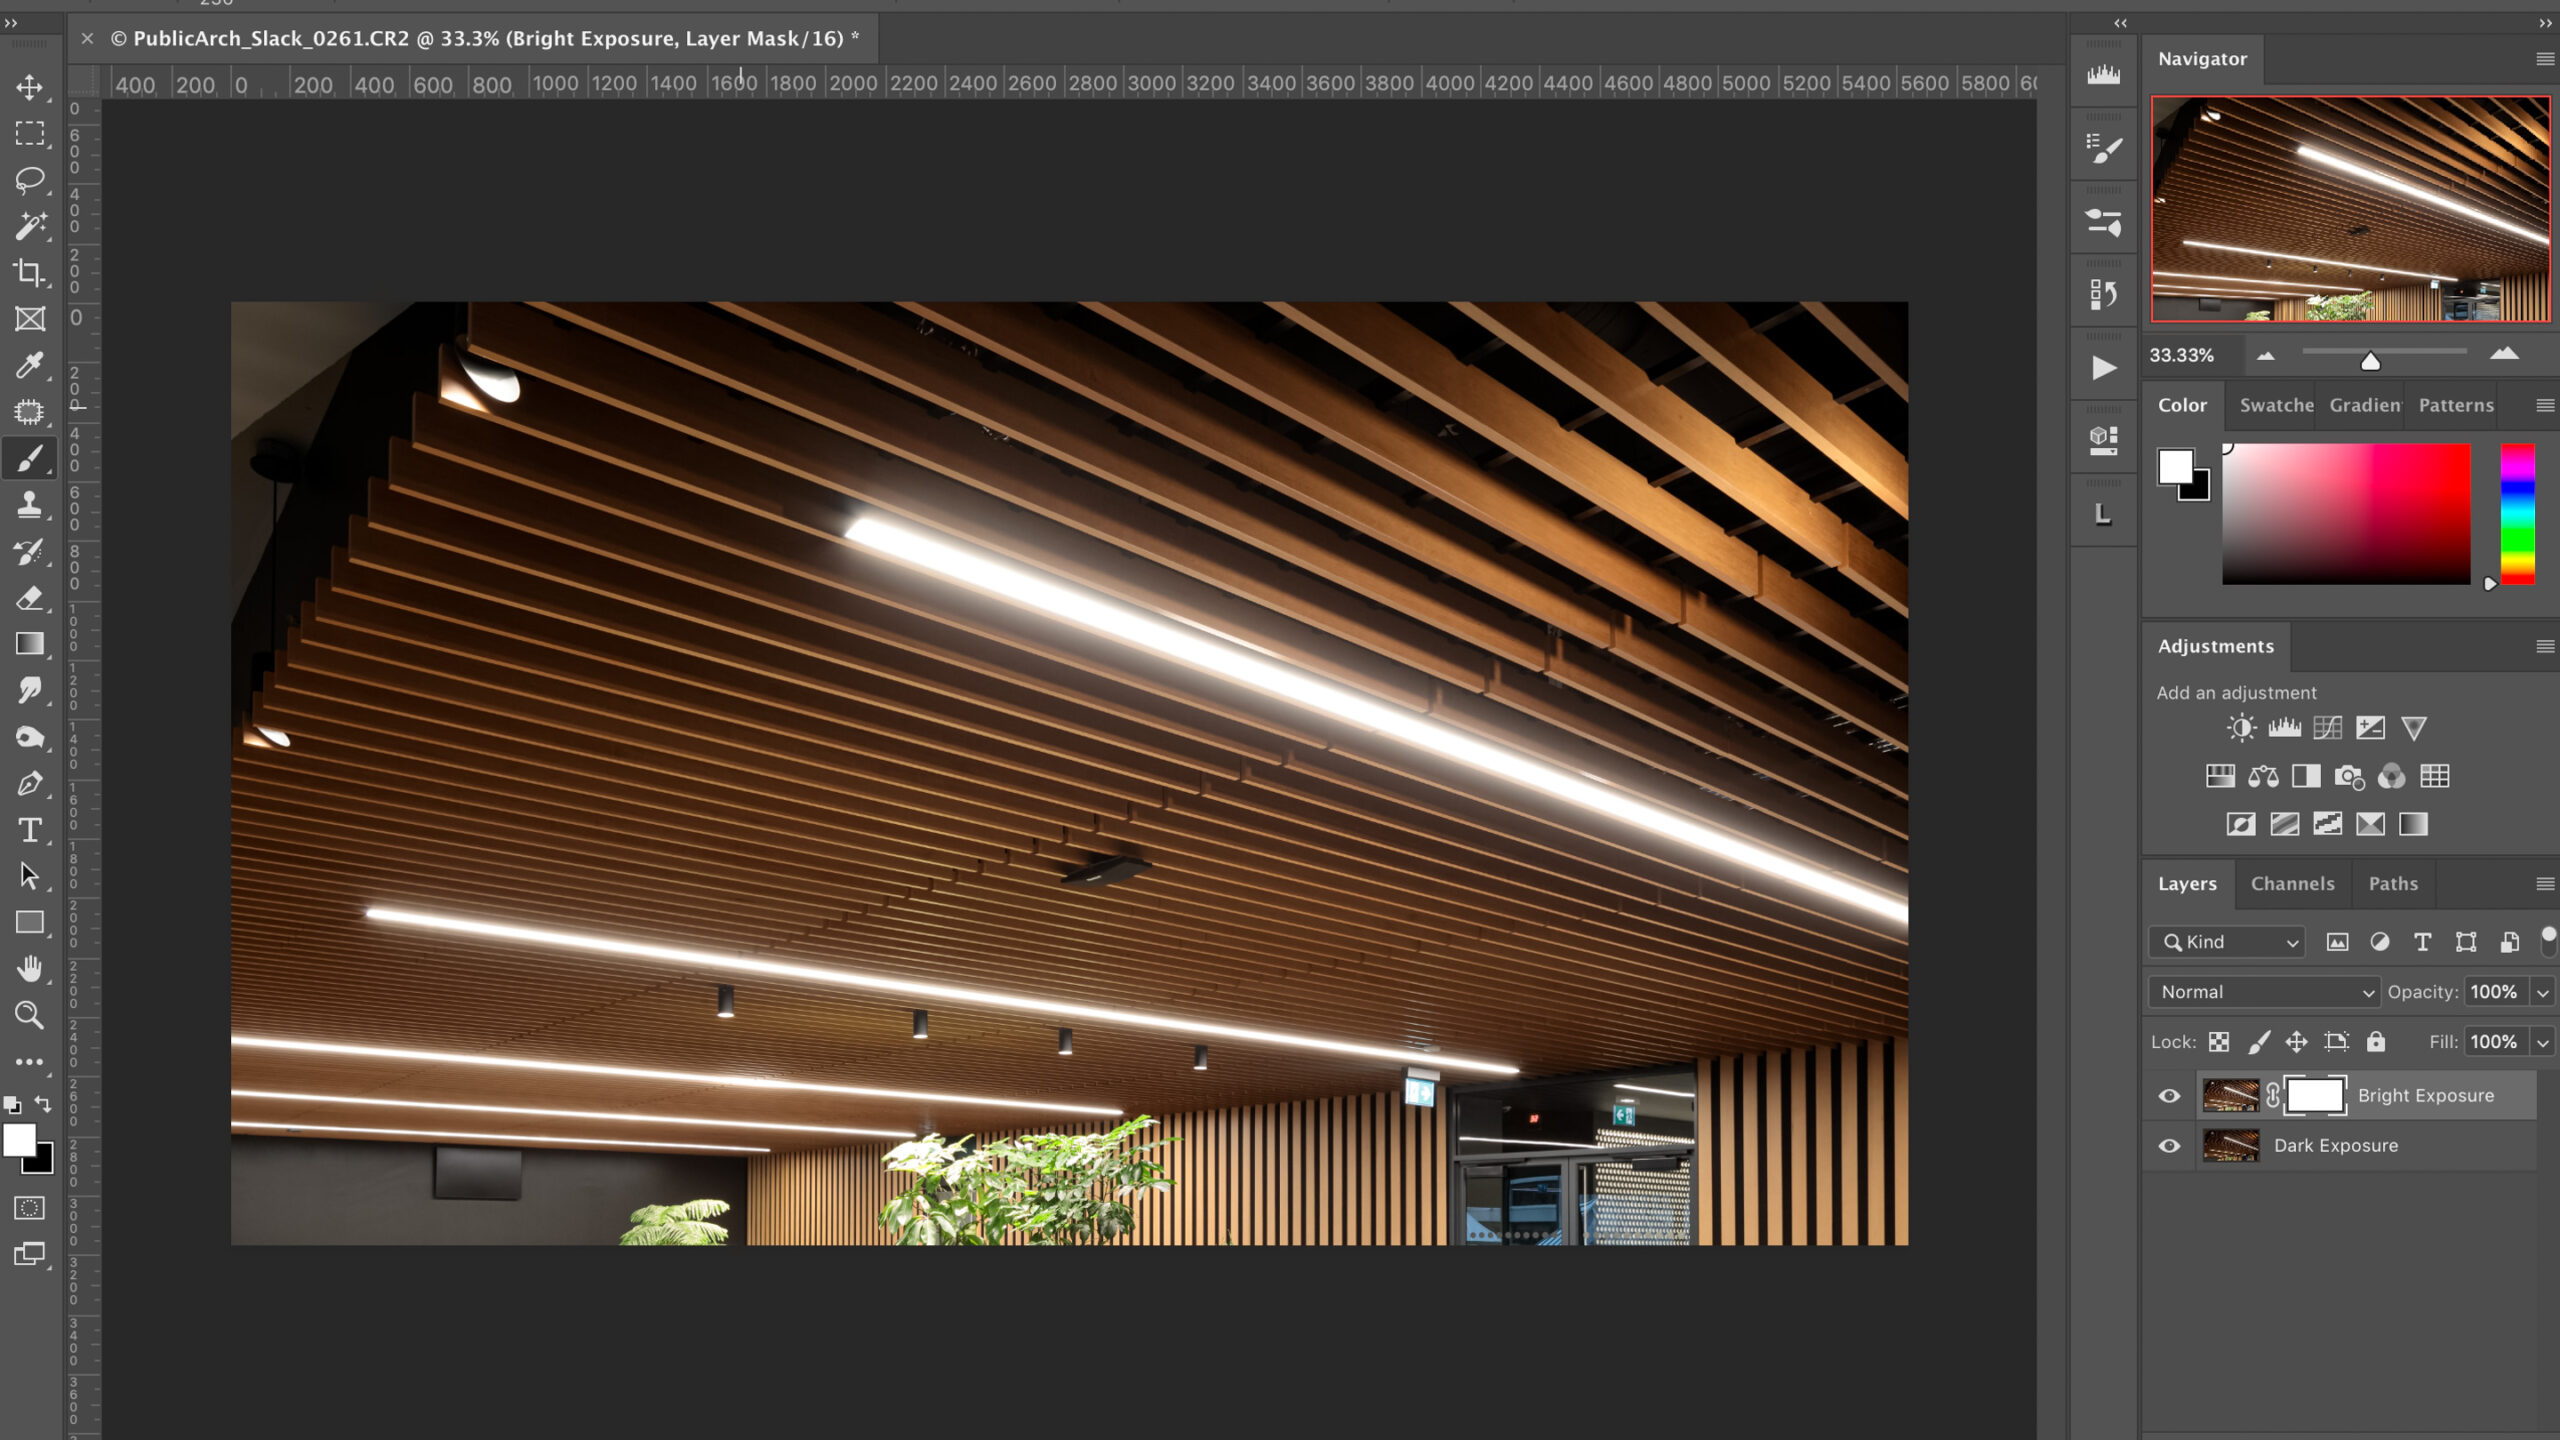
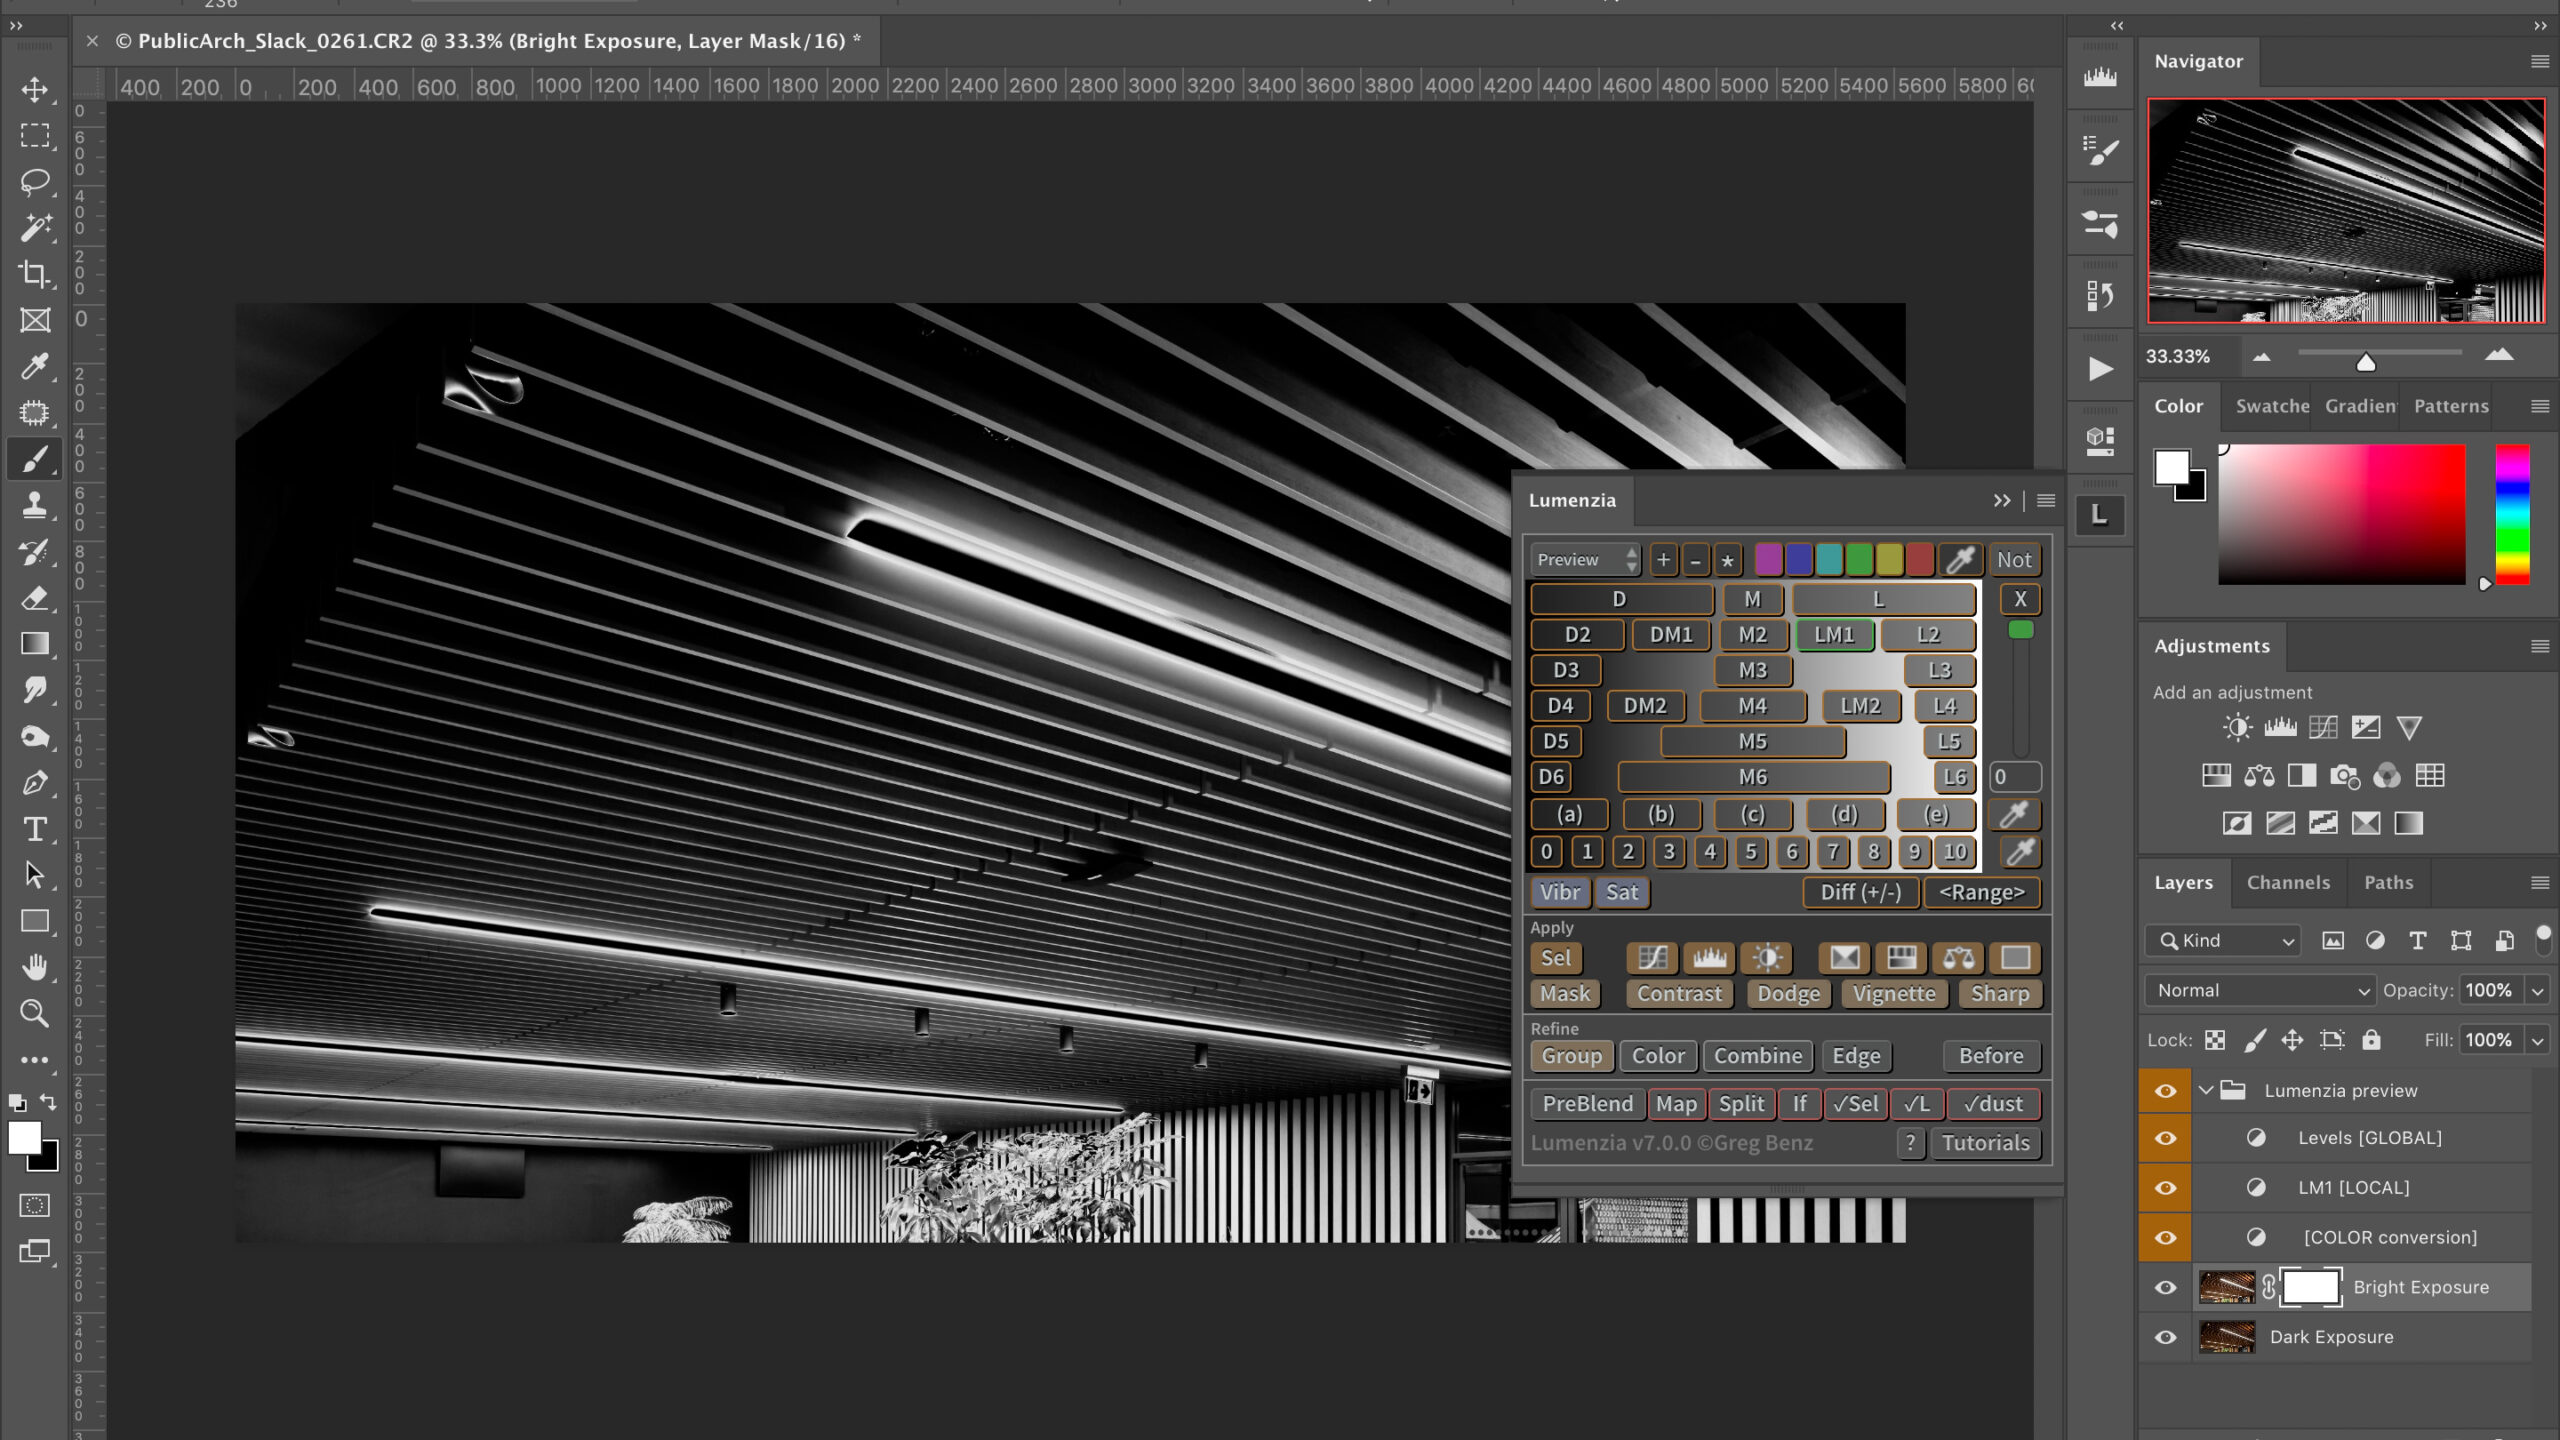
The next step is to open up those two files in Photoshop. From Lightroom, you can just select your two images, right-click, and chose “Open As Layers In Photoshop.” My personal preference is to arrange the dark layers at the bottom and the bright ones on top. You might want to auto-align your layers incase your tripod got bumped between exposures. After that is taken care of, you’ll want to create a blank mask layer on the bright exposure. Now it’s time for making a selection.
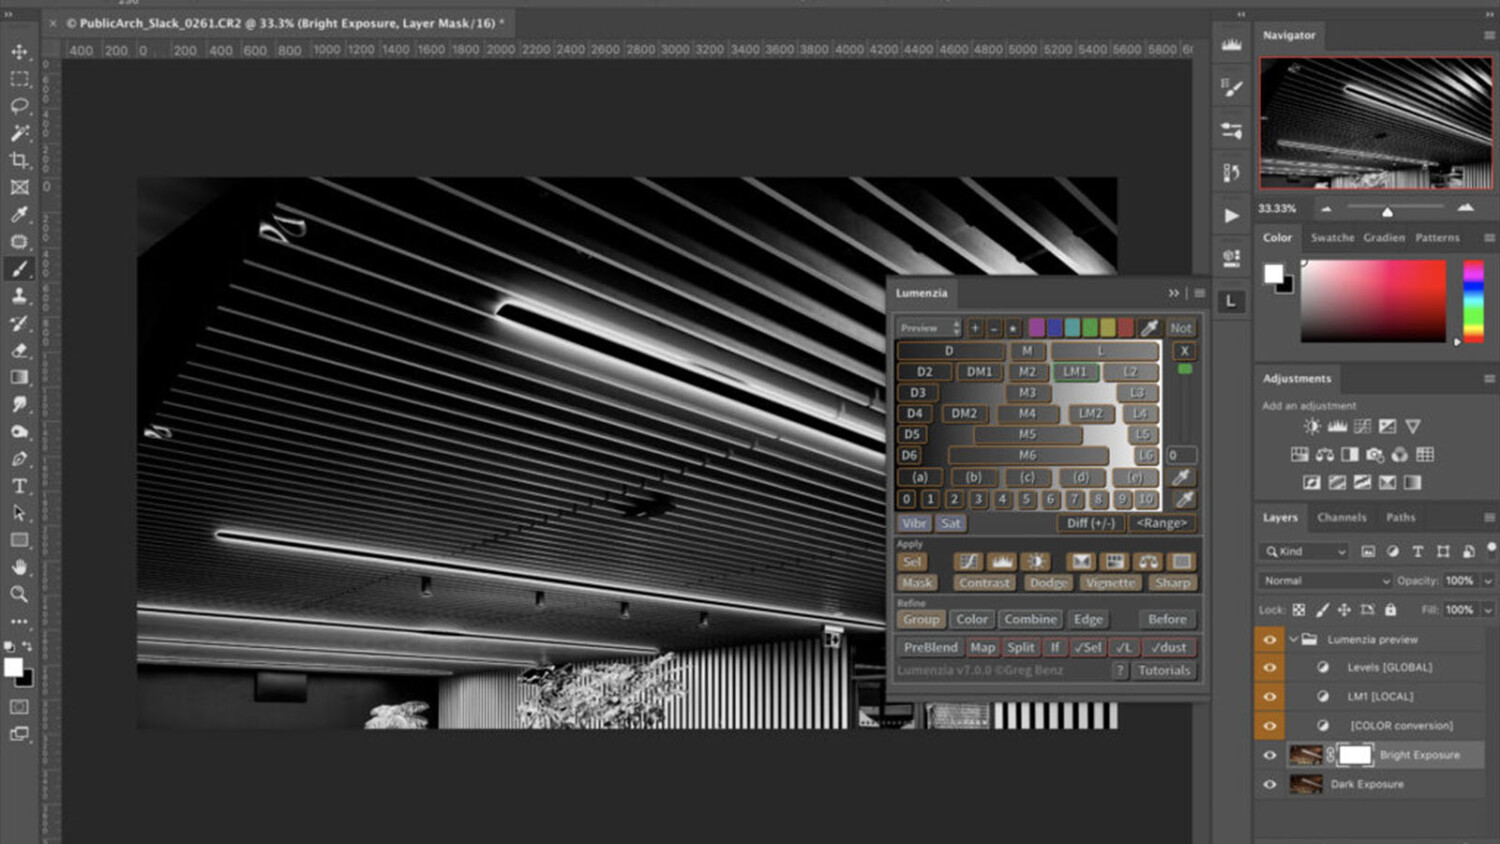
It’s Lumenzia Time!
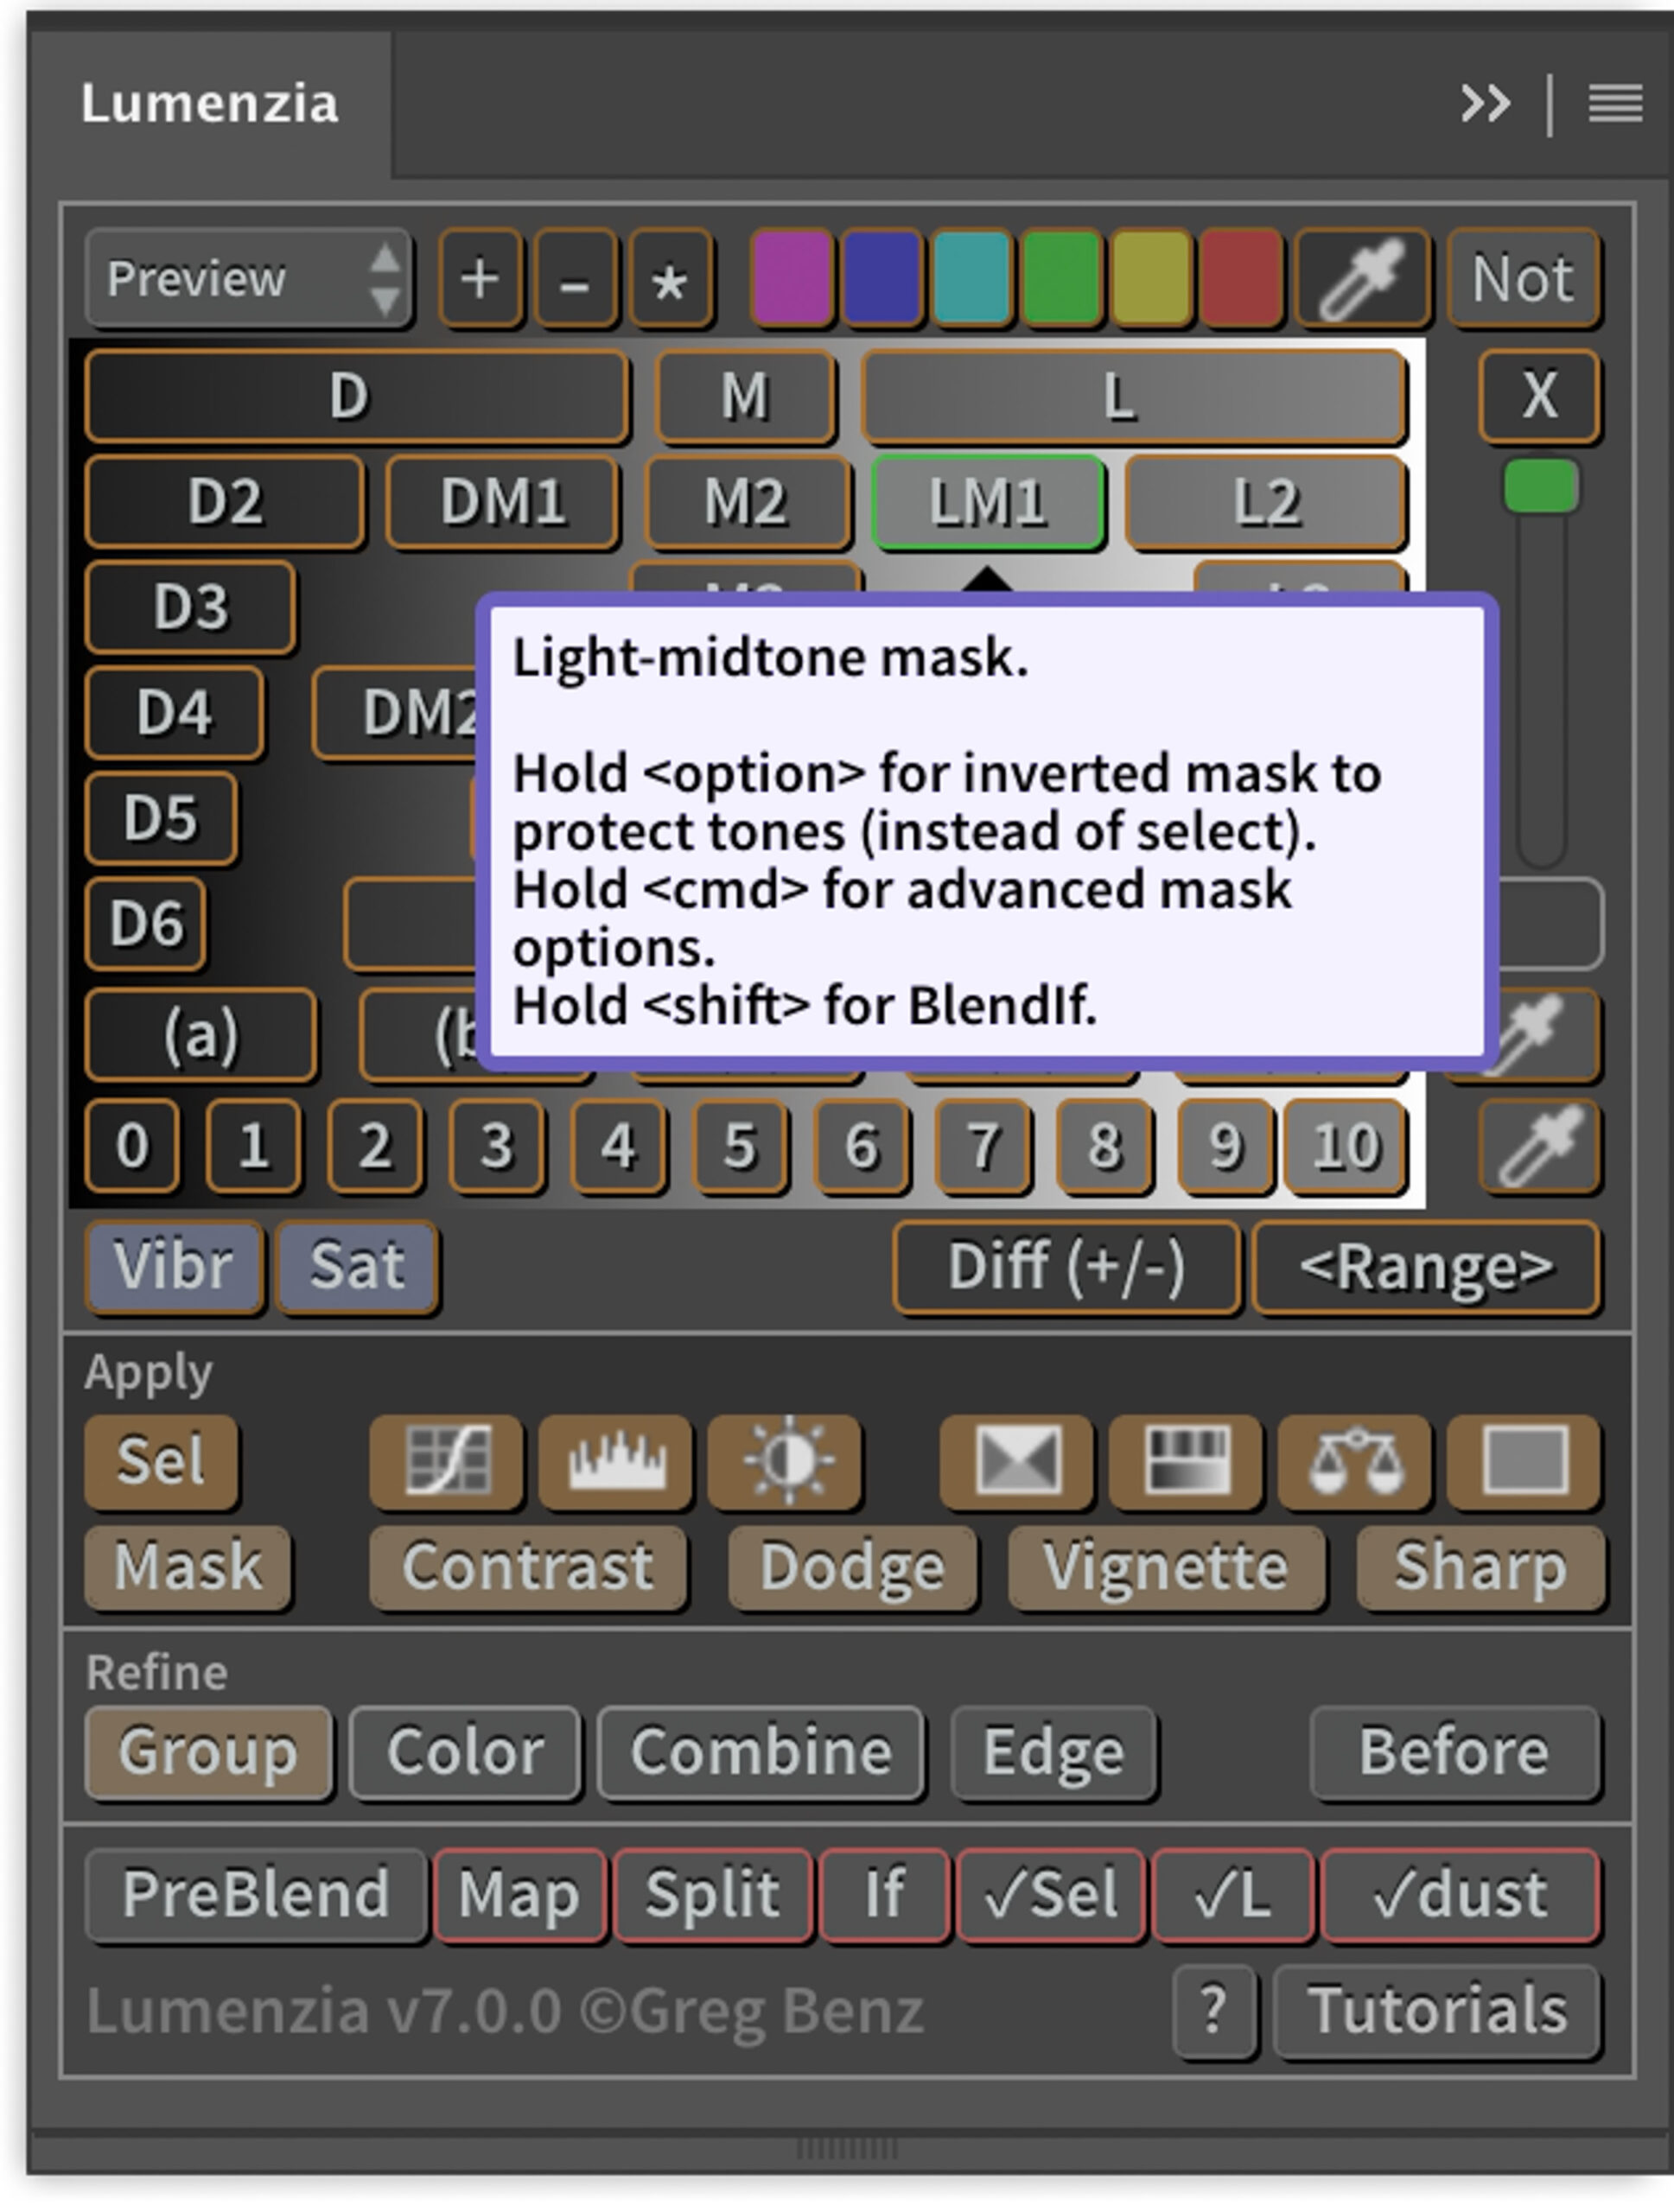
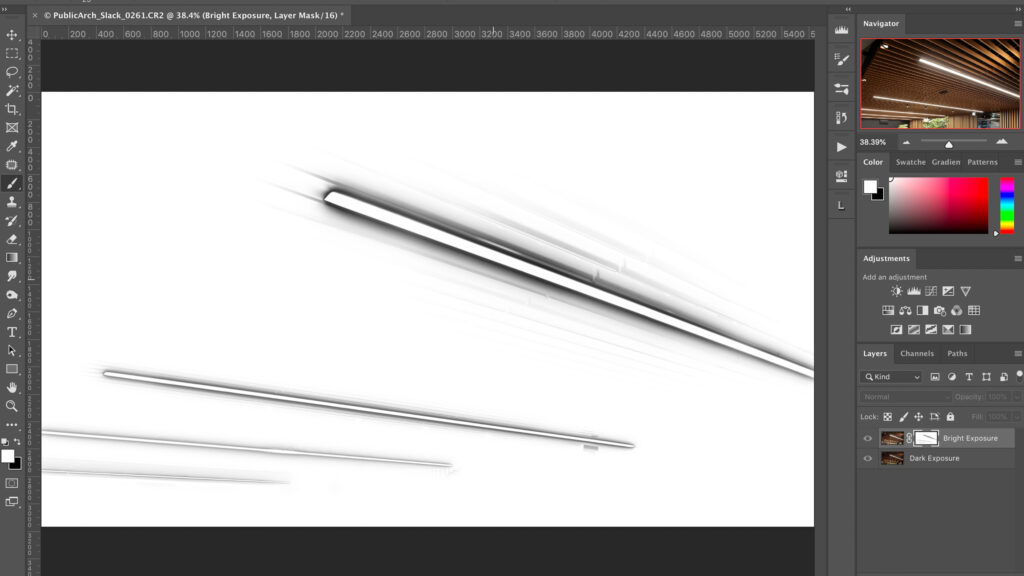
As I have already mentioned in a previous post, I normally use Lumenzia for creating complex luminosity masks. The plug-in has presets for targeting different light intensities and I have found that LM1 or LM2 (light-mid tone mask) works best for hazy situations. As you can see, the selection targets the haze around the lights (white) while keeping the brightest points untouched (black).
Once you’ve gotten that chosen, your last step would be to click on “Sel” to transform Lumenzia’s preview into an active selection, then head over to the mask layer we created on the bright exposure. Choose a pure black soft round brush with a very low opacity and start masking out the area around the lights (in order to hide the white areas from the selection). Work on this as precisely as needed.
Et Voilà! Here is a comparison of the haze after masking. It is a subtle but significant difference in my opinion.


If I were to take the haze reduction to the next level I would probably use the vanishing point filter in combination with the stamp tool to really clean things up. This option really depends on the photograph, but for this one, I think it might work!
Here’s the comparison (top left side of the light) between the mask only method vs. mask + vanishing point:


Please note that this is a demonstration. Further refinements are made before sending work off to my clients.
Have you run into a shoot with heavy haze around lights? If so, I really hope that this short tutorial helps at some point. As always, feel free to leave your thoughts and methods in the comments below!