Post-production From Start To Finish: Step 1 – File Organization and Importing
A new year gives us all an opportunity to rethink our processes and see if we are doing the tedious back end parts of our jobs in the most efficient way. In 2018, I started a new — and more organized — system of organizing my files, and so far it has been working out really well for me. Data storage and file handling is usually incredibly personal and changes from person to person, so just remember, there is not one single right way to do it. I have a high volume client base (more than 50 per year), so being able to organize and track the progress of each job — and the ability to quickly search for my images in Lightroom is crucial to my workflow!
That being said, this next series on post-production will focus on Lightroom, sorry Capture1 gang! I’d imagine it’s pretty similar though (feel free to tell me otherwise in the comments).
Ok! So let’s get started and jump into talking about folder structure, LR catalogs, and how I make my “finished images” folder easy to flip through.
Folder Structure
So the method to my madness here lies in having two primary folders: “Before Process” and “After Process.” Before Process holds my fresh imported RAW images, and “After Process” as you can imagine, is where my final finished images live. Keeping them separated like this helps me to compartmentalize and quickly jump between things that need to be done, and projects that have already been delivered to clients.
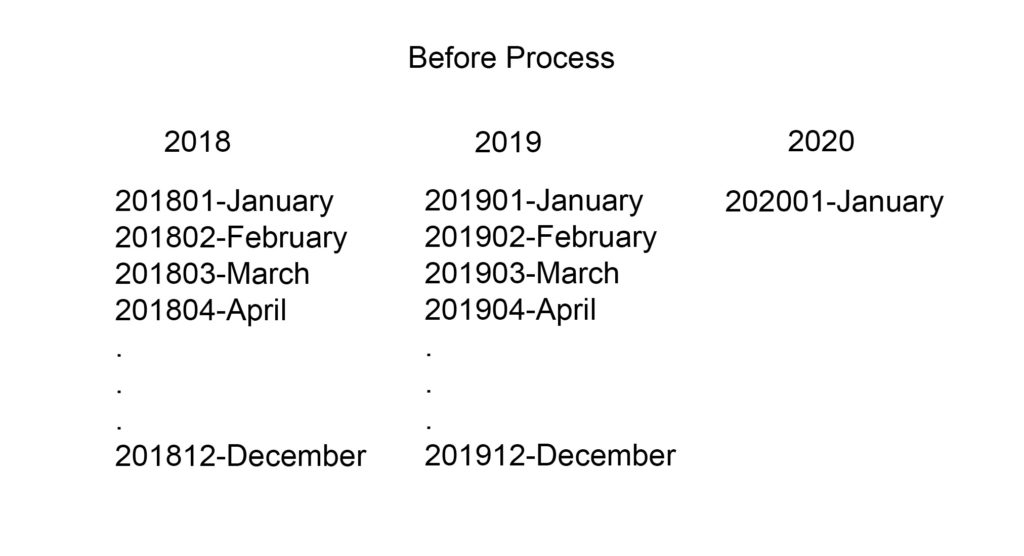
Let’s talk about my file tree within these main folders. Inside “Before Process” are yearly subfolders, and within those are sub-subfolders that are organized by month. Notice how before the name of the month, I put the numerical date, starting with the year first. This “code” is important because it allows the folders to be sorted in chronological order instead of alphabetical.
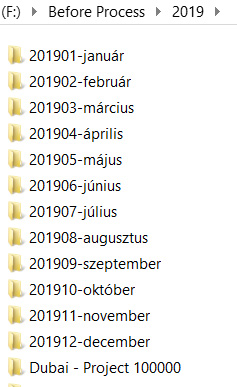
This is my actual folder structure for the year 2019. Yeah, it is Hungarian, sorry for that!
Here’s the part that really matters to me. The “After Process” folder. In the past four years alone, I have 150+ “fresh” clients and projects that need to be easily accessed for initial delivery, or when someone comes back to buy additional usage rights for an image. I don’t have time to be clicking through and scrolling about hunting for old projects. In my new super organzied system, I can find any client folder in 5 seconds (without using the search bar feature). Here’s my method:
I’ve divided my main “After Process” folder into The 3 P’s: “Personal,” “Portfolio,” and “Professional” subfolders. Inside the “Professional” folder, there are 5 subfolders:
- Architecture – buildings for architects, construction companies, and industry-specific contractors
- Furniture – A large portion of my client base is furniture manufacturers. This is a cool sub-niche you should check out
- Interiors – interior designers, fit-out companies, glass manufacturers, lighting companies, etc.
- Hotels – pretty self-explanatory 🙂
- Publications – this folder holds all my images sent in for publication sorted by magazine
This system of subfolders continues on with clients – > Years – > Projects. It looks something like this:
After Process – > Professional – > Publications – > H.O.M.E. Magazine – > 2019 – > Villa G
Lightroom Catalogs
When I first started shooting architectural photography, I knew I needed to keep my LR catalogs relatively small so they would work fast. I was finding though that they were still slow, even if my catalogs weren’t jammed packed with 20k RAW files. I decided to create a new catalog for each client, which was helpful when I worked for a smaller number of companies. As my career grew, I shifted my system to creating a new catalog each month. Now, I rarely have more than 8k images per catalog, so it works pretty fast. However, I can still search through and be working on multiple projects within the month. Again, for chronological searchability, I name my LR Catalogs as a numerical date such as 201801, 201802, etc.
Importing files
When I’m importing files, I always rename them as a descriptor of the shoot, but here, I don’t have a rock-solid system. The folder where my images are imported will be named like this: Date – Shoot – Client. For example, 20180510 – Cordia – Stone Concept.
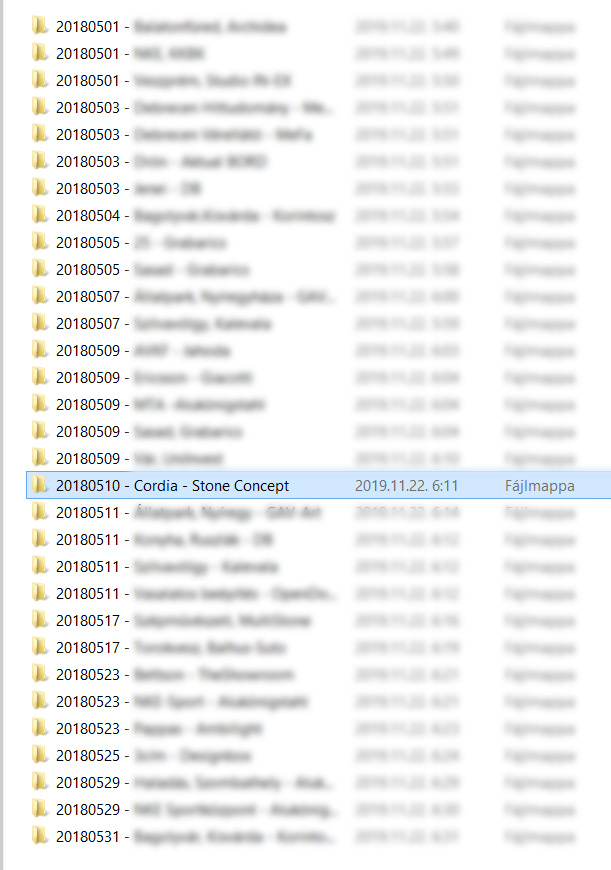
This gives me a nice overview of my work each month. I can track how many gigs I had and compare it to the previous year. It is important to give yourself some kind of data to go off of about your local market, especially if it’s a place where you are trailblazing a business like in Hungary. Using this system helps me know things like “oh, it’s not the end of the world that I didn’t do any shoots in January and February, because I will have a hell of a lot to do from April until November, just like every year before. This self-harvested data helps give you confidence, which is crucial when you preparing estimates and mapping out your business.
Back it up!
Make backups! You can do this when you import the files: check the box ‘Make a second copy’ and point it to the folder where you want your redundant copies to live. You can also do this manually after the import on your own. This way, you have two copies on (hopefully) separate hard drives and one on your cards.
(Lexi’s note: a cool software called “Carbon Copy Cloner” exists that automatically creates a duplicate of your external hard drive without you even having to think about it. 10/10 would recommend.)
Many photographers are using cloud-based services as a backup method, which is great. I personally use Dropbox to host and deliver finished images to my clients.
This is how I manage my files; I hope you find this useful. It is the beginning of 2020, and if you are not satisfied with your current file storage system completely, then I encourage you to carve out some time and redesign it for your needs before the “busy season” arrives.
How do you organize, backup, and import your files? Share your system with us in the comments!