CamRanger 2: A Non-Tethered Shooter’s Review
What are the key factors that drive architectural photographers to shoot tethered? I have been shooting untethered for the last 3 years and the question has popped up more than once in my mind. Recently there was an opportunity here at APAlmanac to do a review of the CamRanger 2 (Thanks Dave!) so I decided to sign up for the task. Keep reading for a newcomer’s opinion on shooting tethered.
First things first, what is a CamRanger?
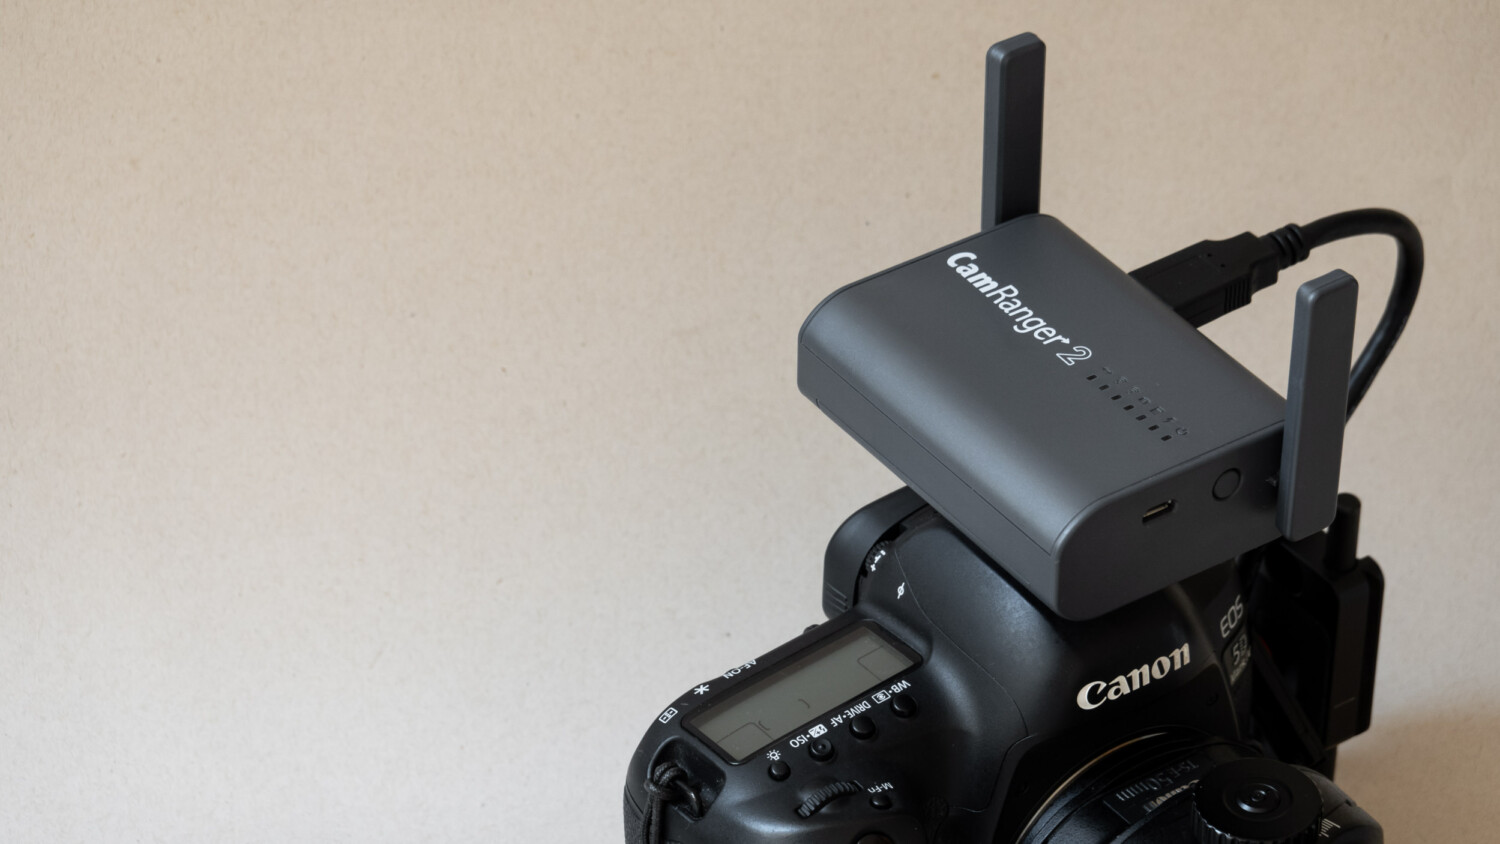
CamRanger 2 is a wireless tethering system that consists of two parts, a hardware transmitter and a dedicated app. The transmitter creates a fast and reliable wi-fi network for data exchange between the camera and a phone or tablet. With the CamRanger app, photographers can fully control any camera parameter, preview a composition using live view and receive the actual photographs on their mobile device.
Unlike other solutions, CamRanger enables all of the camera parameters remotely, from aperture, shutter speed, and ISO to advanced bracketing. Furthermore you can review, zoom in, rate, store and transfer the photographs to your device or share with others.
I can see how being able to review the photographs on site, in real time with a “big screen” can optimize the workflow of a project. It is indeed an appealing solution for both photographers and clients.
A closer look:
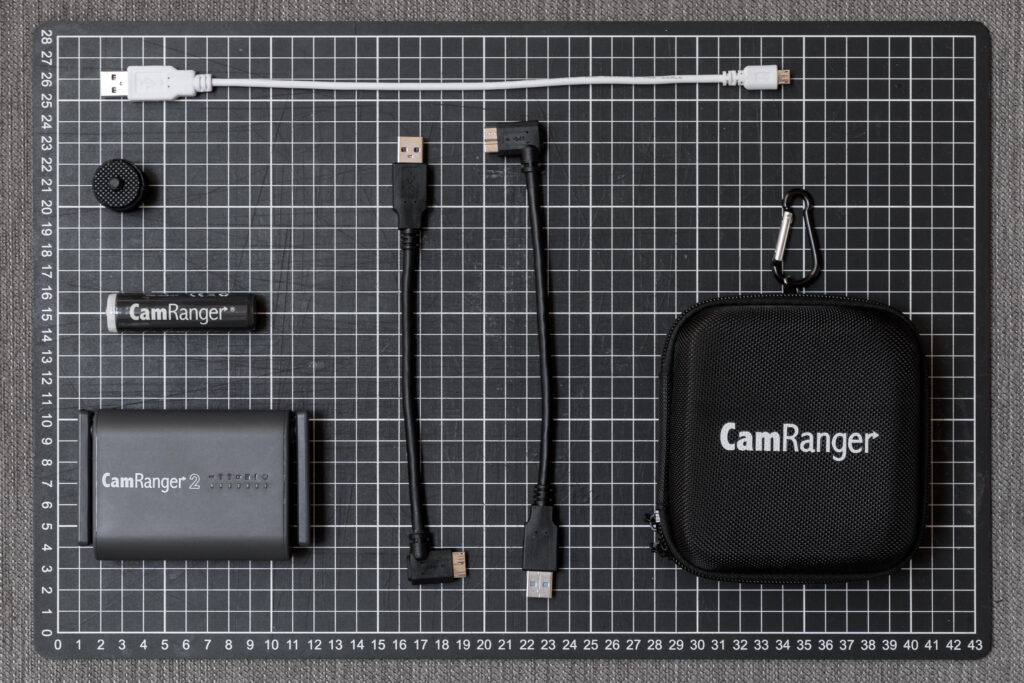
The unit itself measures 10/6.6×6.8×3 cm and weighs 1160 grams (4.2 x 2.7 x 1.2” / 5.6 oz). The outer case is made out of plastic but it does not feel cheap. Besides that, the base package includes a protective case, a rechargeable battery, cables (charge and camera connection) and a hot shoe mount.
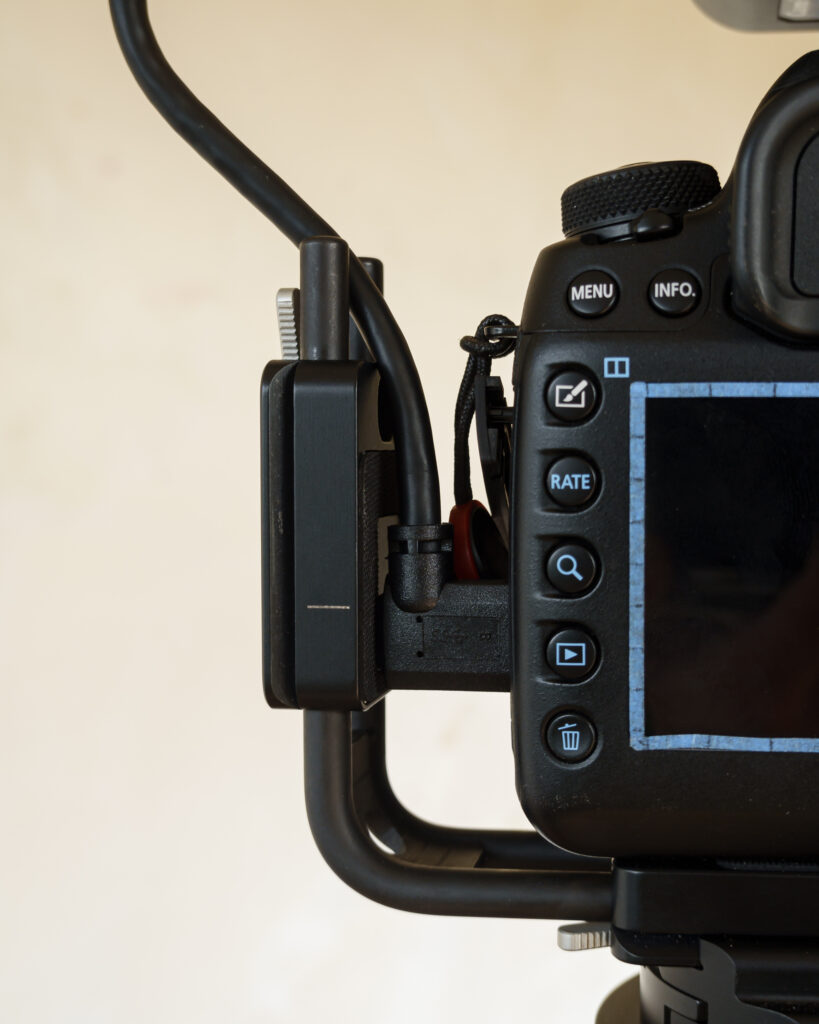
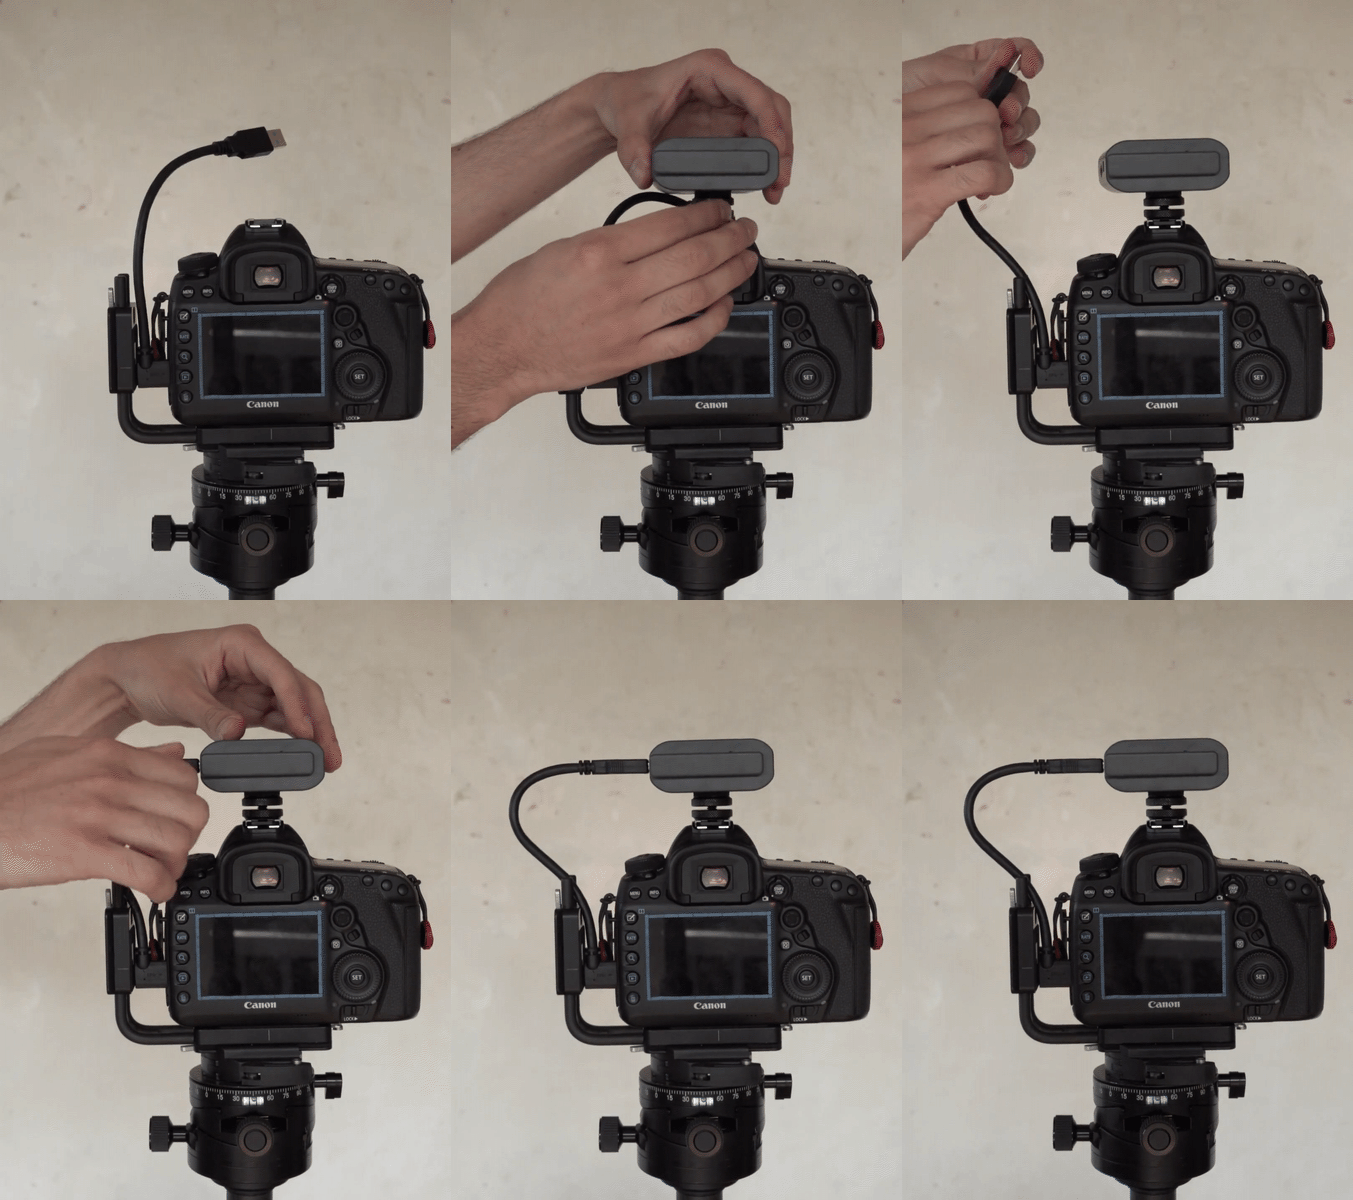
I really like the angled cables because they save space, protect the cable, and fit nicely within the L-bracket frame. Since I don’t work with flash I used the included hot shoe mount for my setup:
One thing I am not entirely convinced of are the folding antennas. They don’t seem too fragile, but you have to fold them each time you want to turn on/off the device or plug the cable for battery charging.
Testing the unit:
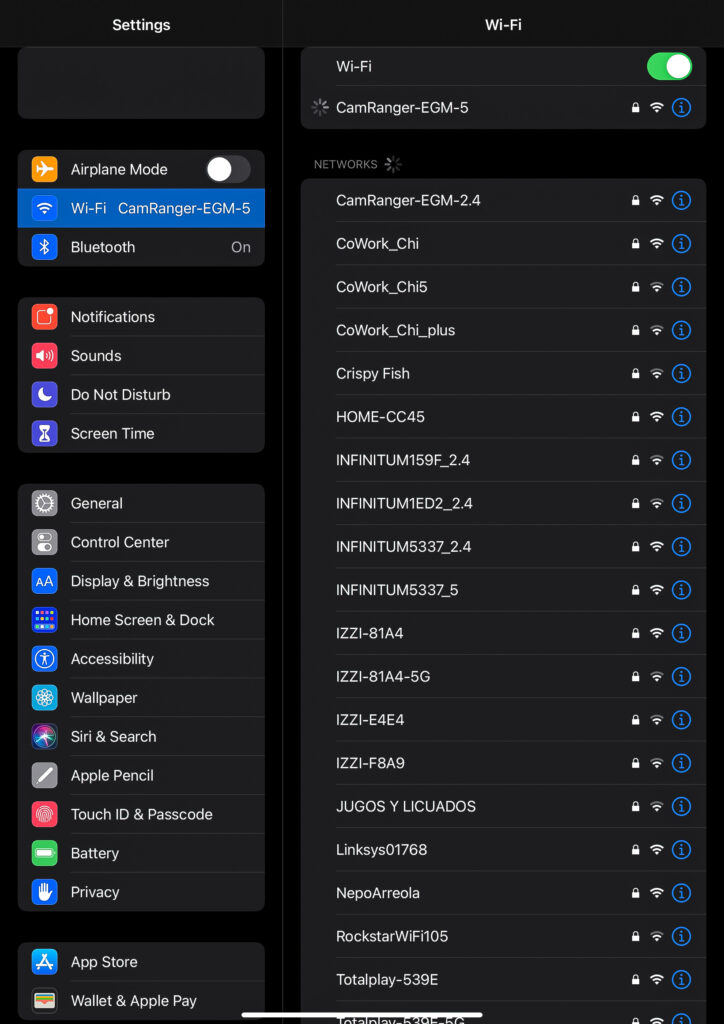
Connecting to the CamRanger2 is really straightforward. Just download the CamRanger app, connect the unit to your camera and power it on. Afterwards, connect your device to one of the available wi-fi networks, 5 Ghz or 2.4 Ghz. I recommend going for the 5 Ghz one as it is generally faster.
Once connected, launch the CamRanger app and you are ready to go.
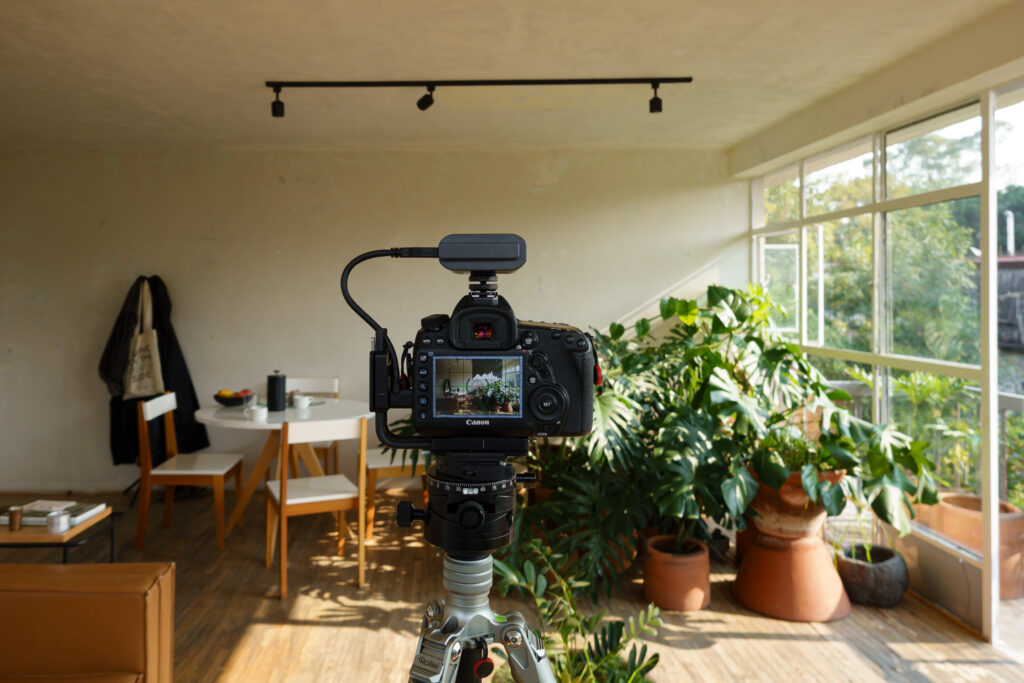
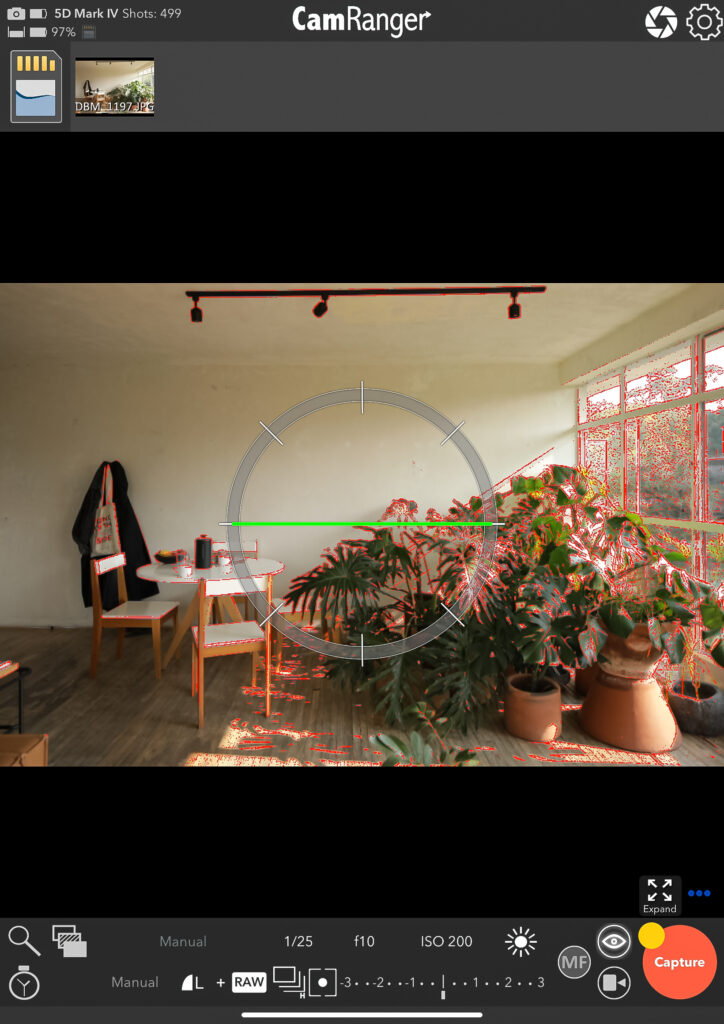
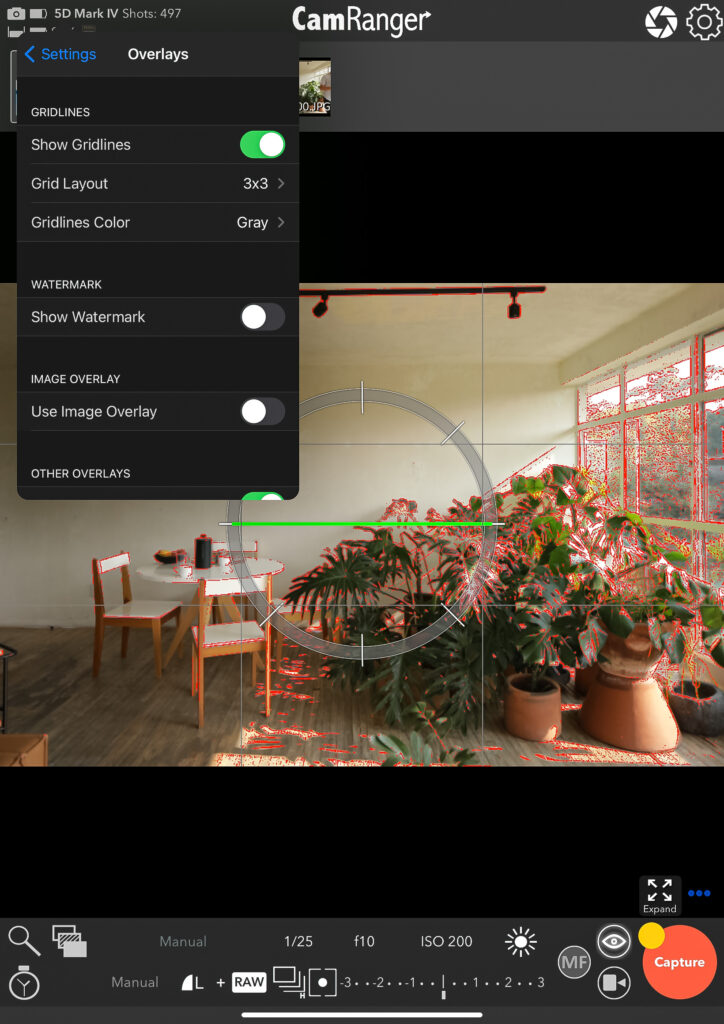
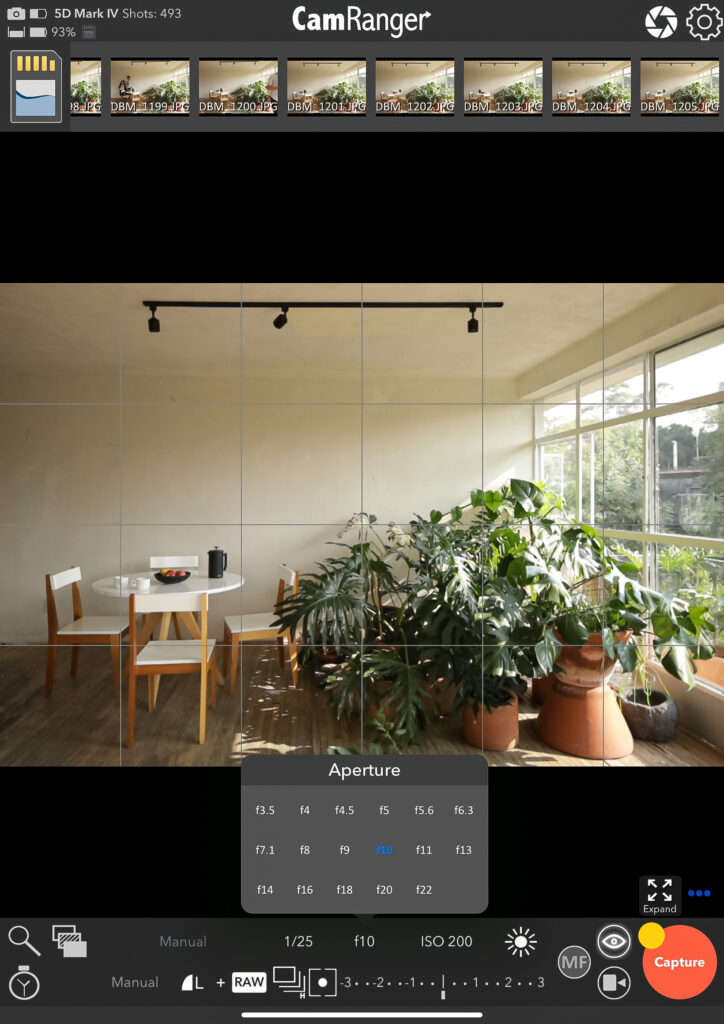
The first obvious advantage while shooting tethered is the screen size. I was able to easily align the composition using the overlay grid as reference, rotate that chair a few centimeters and move the coffee pot to the right spot. Best of all, by setting the app to live view I could realize all of the previous without having to walk back and forth to check if I got it right. And yes the refresh rate is quite decent, as shown in the video below.
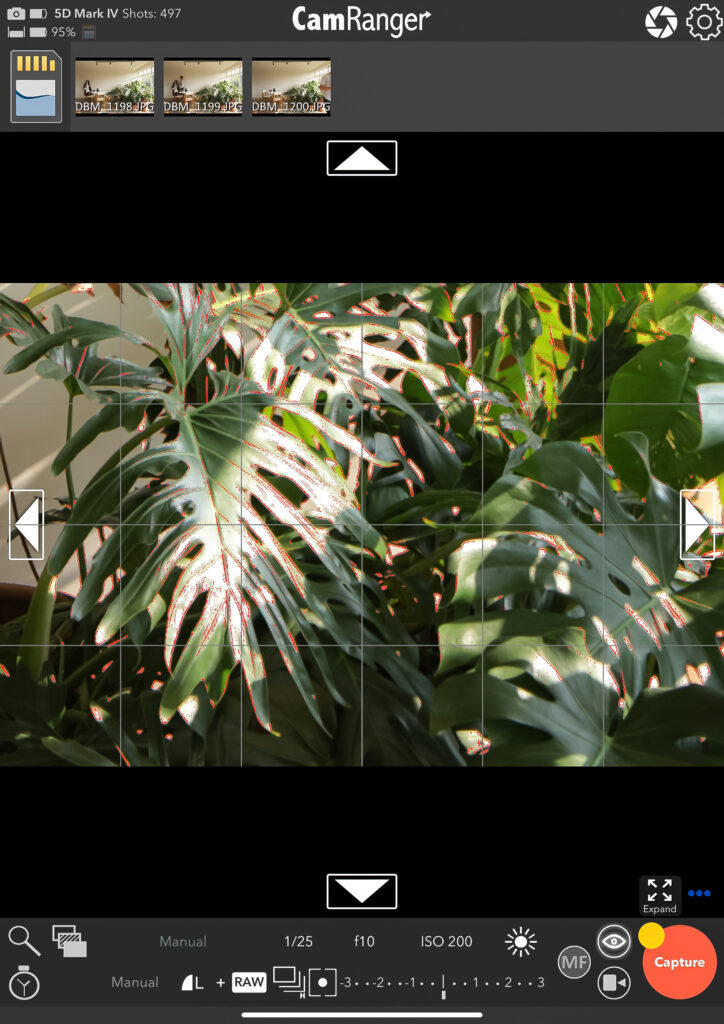
The app is really intuitive and it has extensive features built in. For example I have added an overlay grid, electronic level and focus peaking in the live view screen. Main camera settings are located at the bottom. Clicking one of them will display an array of 12 parameters simultaneously, which in my opinion is infinitely better than tapping or scrolling.
Below there is a comparison of the initial and final compositions:
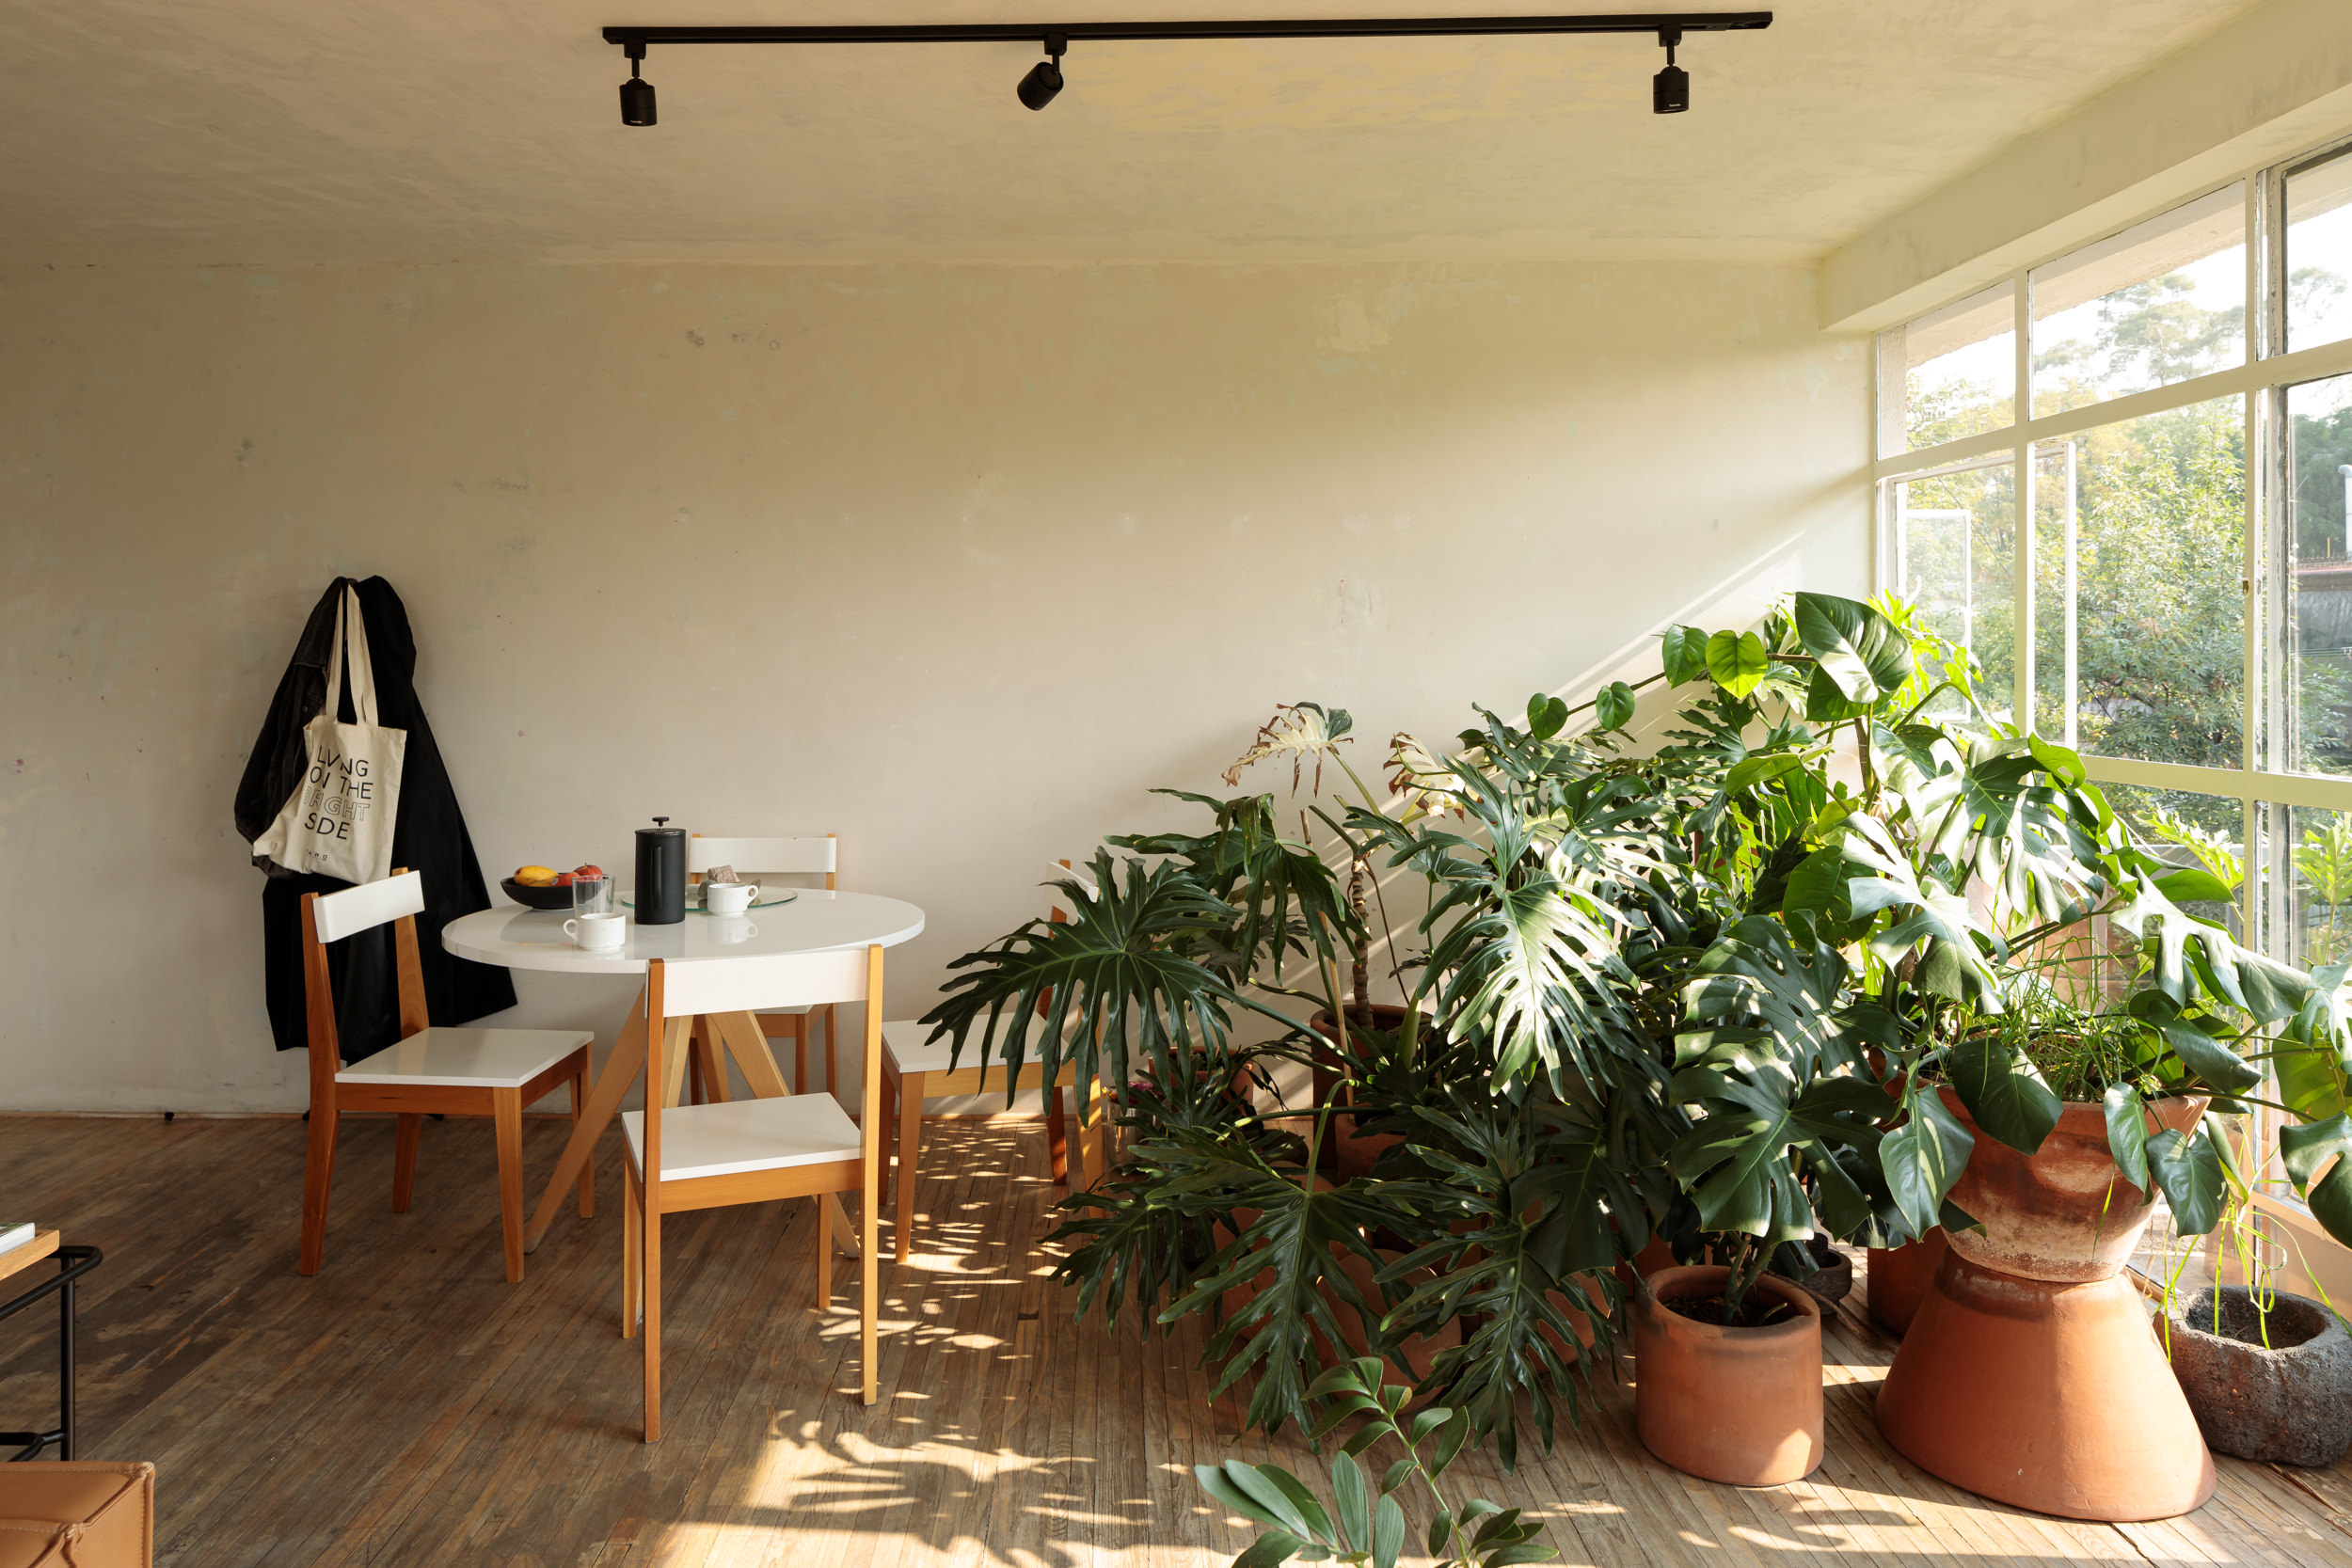
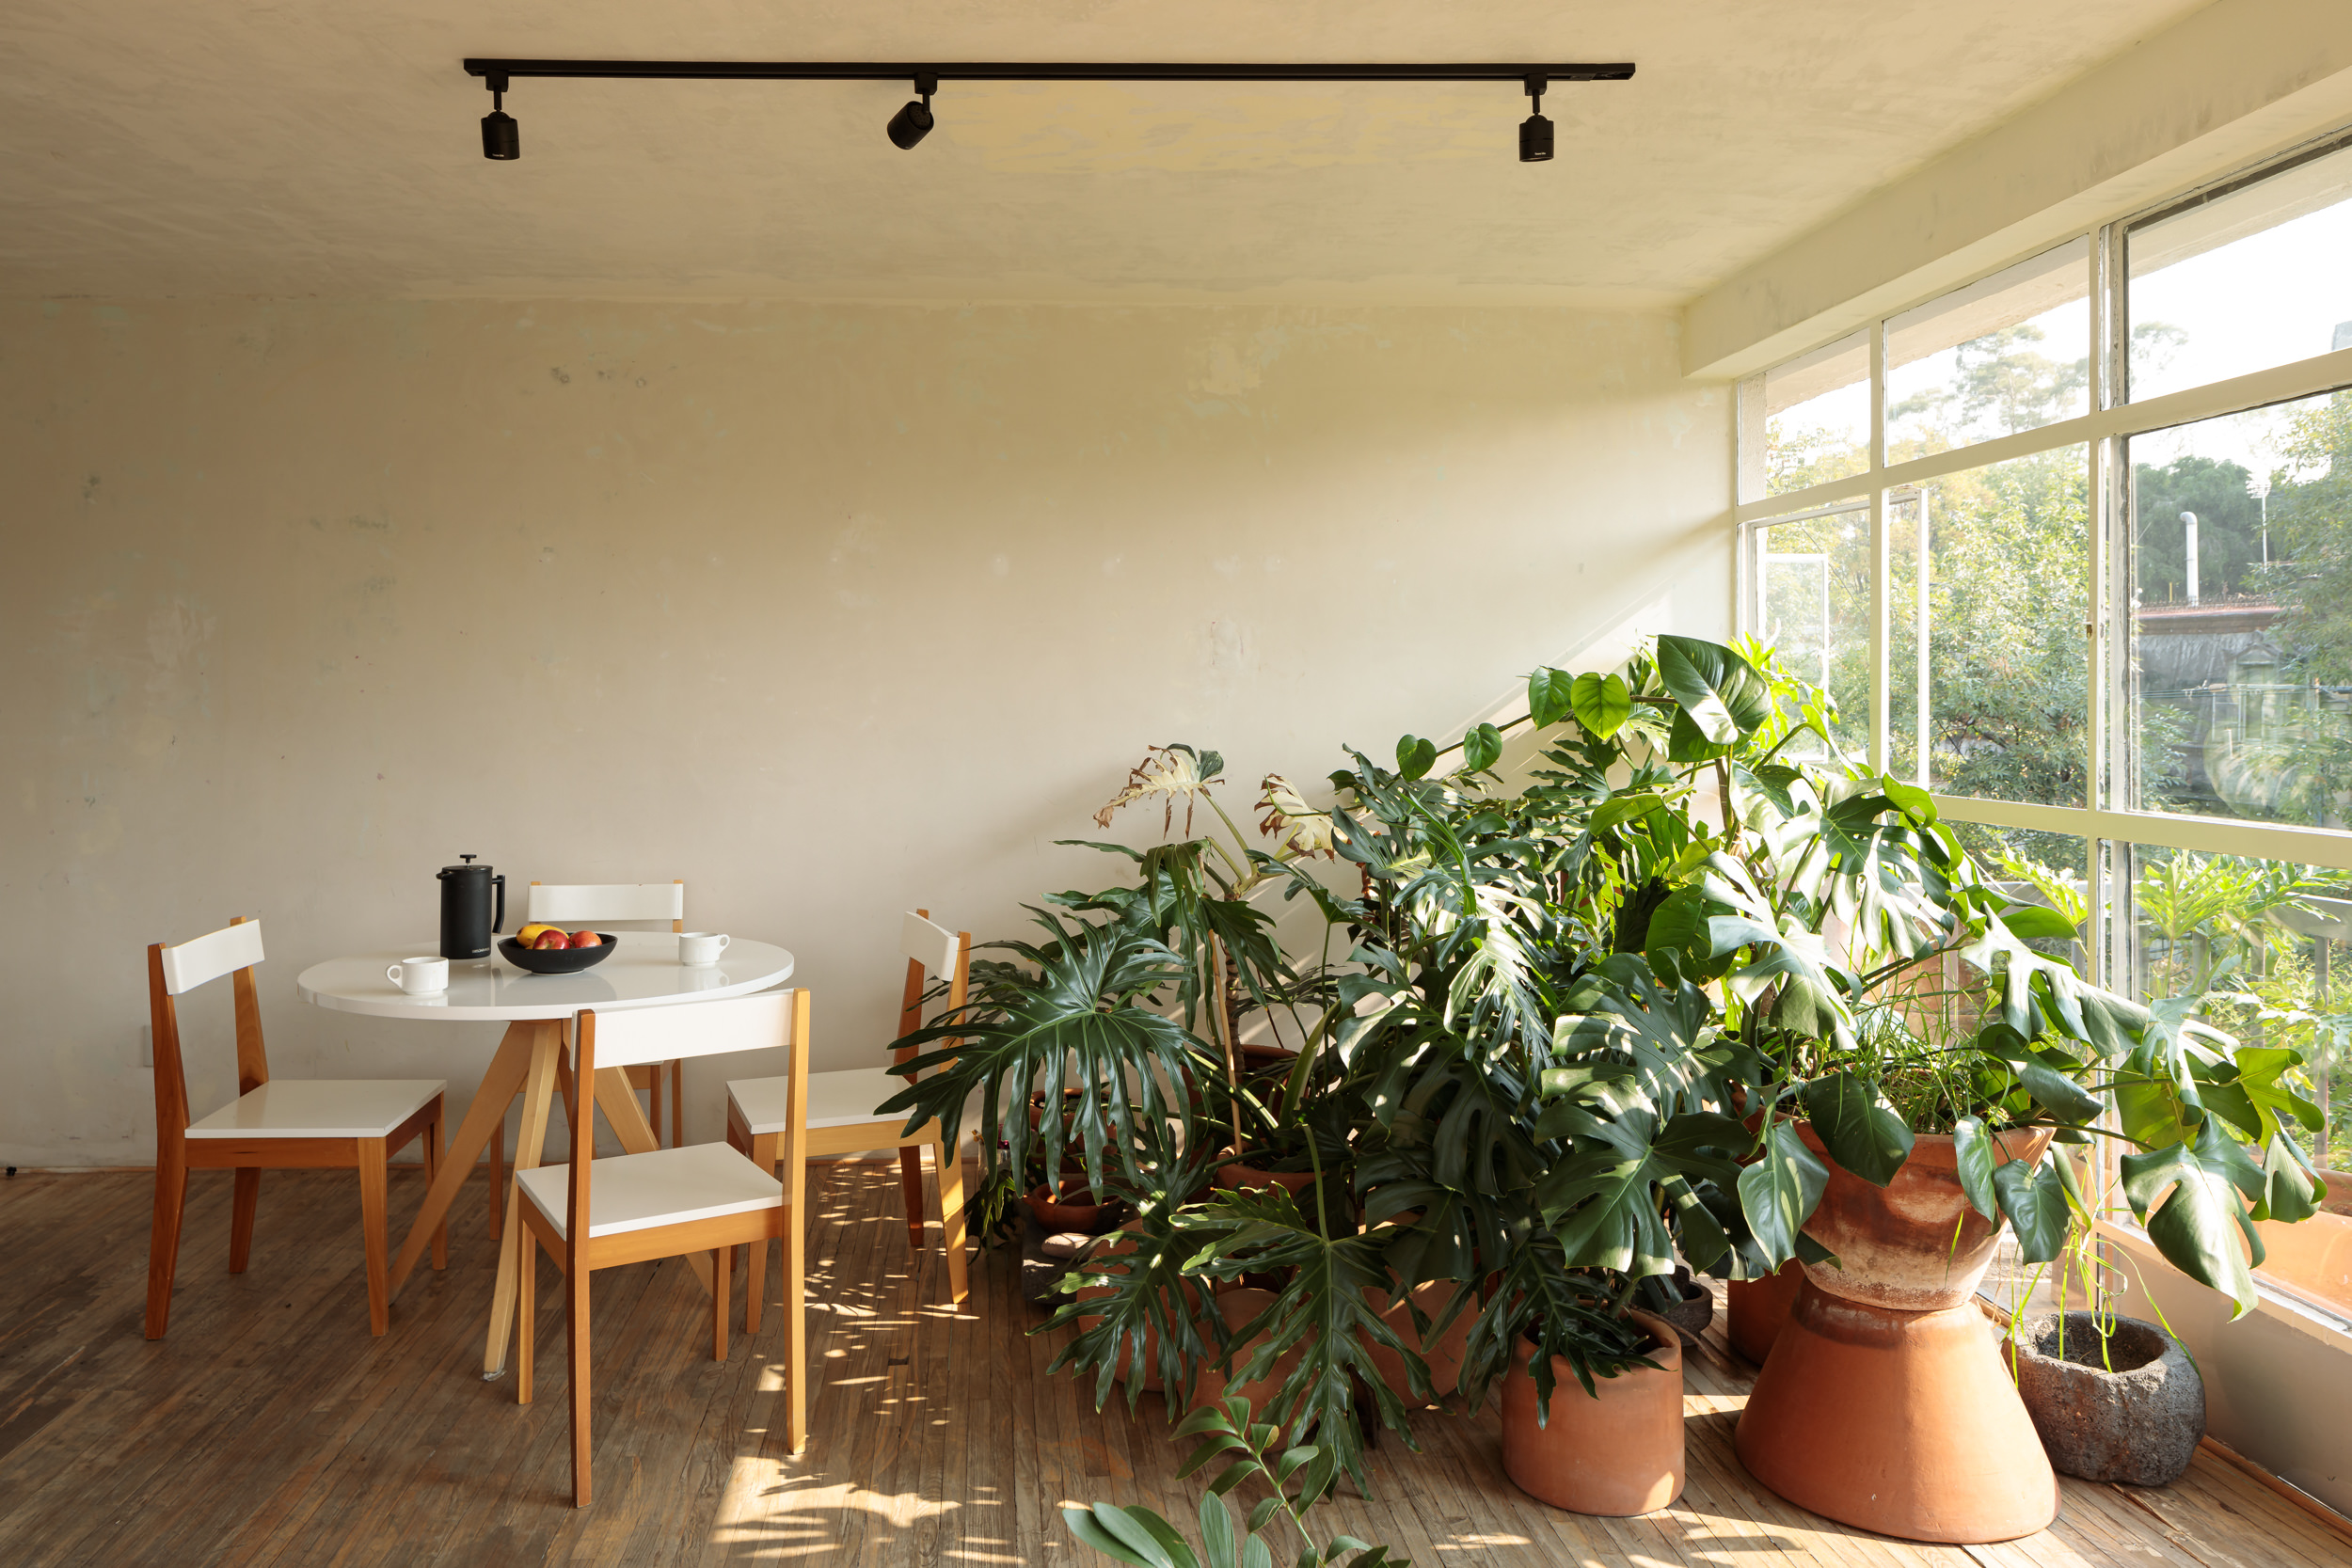
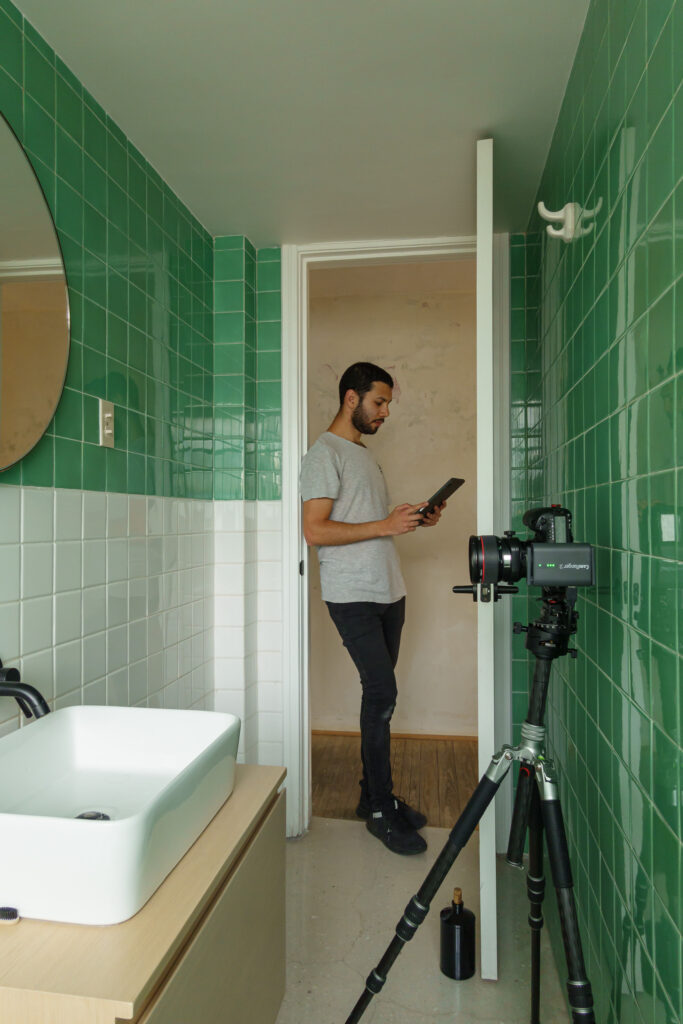
Tight spots are also a great use for tethered shots, especially when your camera doesn’t have a tilty-flippy screen. So I created an exaggerated scenario:
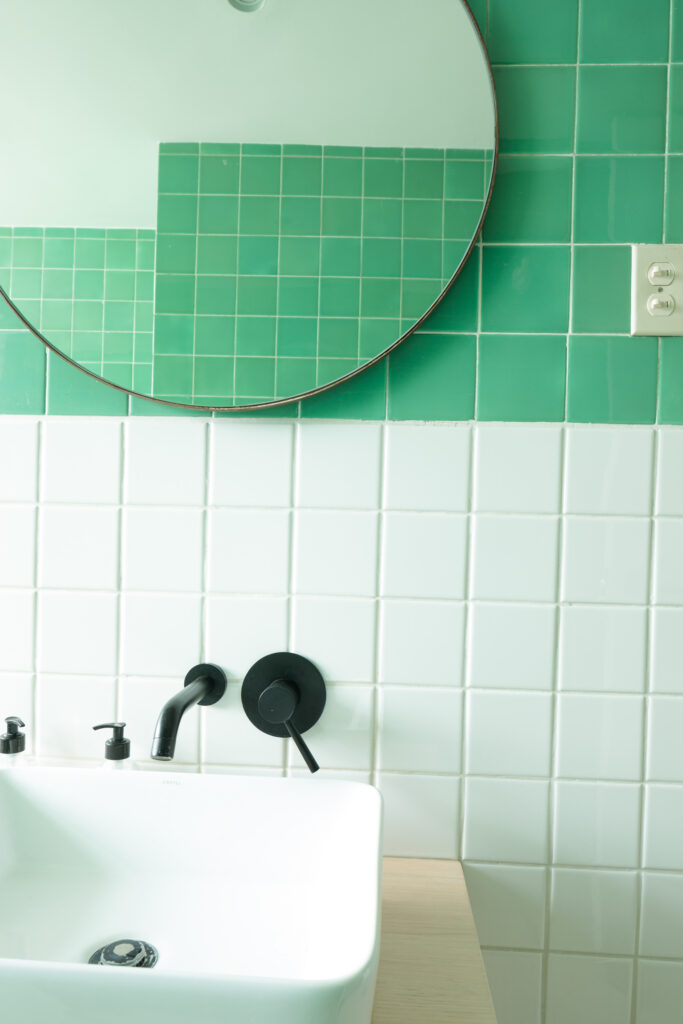
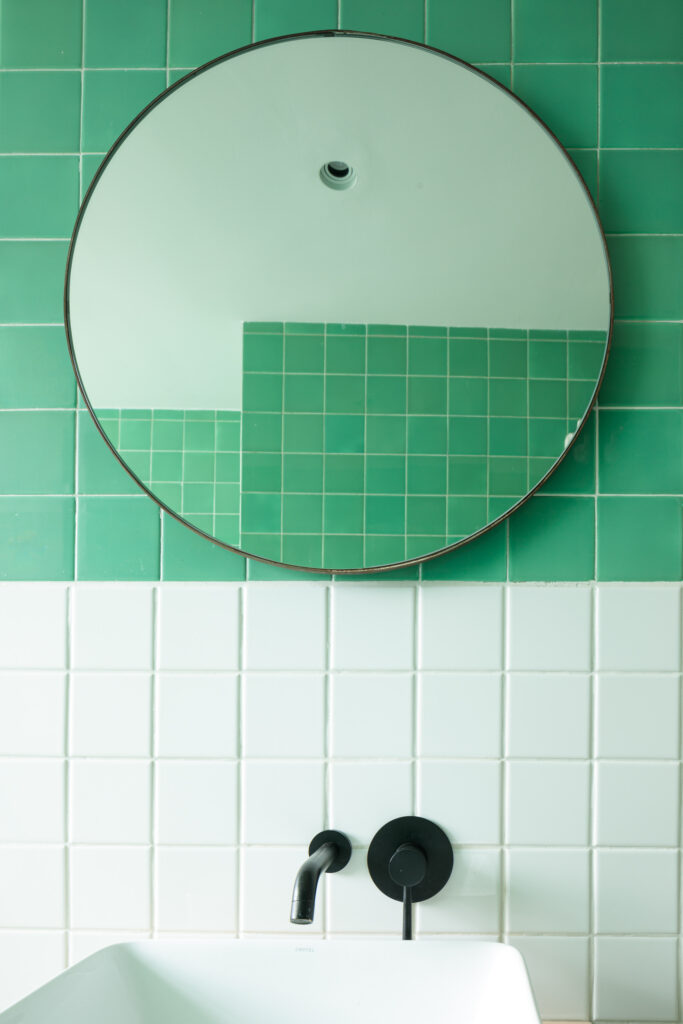
Instead of having to crouch and squeeze myself between the camera and the wall I can just connect to the app to slowly align and shift in order to achieve the desired composition. Here is a comparison of my best try using the bubble levels and eye alignment vs. shooting tethered.
Stability and transfer speeds:
During my tests using Canon’s EOS 5D Mark IV I never had an unstable connection, even with the antennas folded. To be clear, I did not walk further than 6 meters (20 ft) away from the camera.
Data transmission is also fast. Here is a short video showing the connection and image transfer process. Considering this was shot during an overcast day with reduced luminosity, I am very pleased with the resulting speeds.
Recap list:
Likes:
- Stability, speed, and full control of my camera-Application’s user interface and customization options
- Second dedicated app to share with clients.
- Rechargeable battery. Note: get extra juice by turning off one of the wi-fi networks.
- Great support led by the developers. Plus, a great knowledge database on Youtube.
Dislikes:
- One more piece of equipment and battery to consider for my workflow.
- At least two batteries (or a power bank) for a full day shoot
- When transferring JPEGs to my iPad I had to reduce the batch size. Otherwise the app would just copy a portion of the selection.
- Perhaps this is industry related, but somehow the brand identity feels dated.
Final thoughts. Is it for me?
Overall I enjoyed using CamRanger 2 during the test shoots, as well as on a consecutive product shoot in a controlled environment. The user interface is intuitive and the connection is reliable. Most of all I loved having a bigger screen.
That being said, I must confess that the CamRanger and my iPad quickly found their way back into my case during the commissioned shoot. Perhaps this has to do with the fact that I shoot alone and I try to keep my gear as simple and light as possible. Dealing with my camera and the project’s environment is more than enough.
However, I can see myself using CamRanger more often if one or more of the following conditions change within my workflow.
- Working with an assistant
- Having the need of constant communication / approval from clients on location
- Specialized shootings. I.e. product or interior design
- Same day turnaround time
Thanks again to Dave for letting us review the CamRanger 2 here at APAlmanac. You can find more information on CamRanger’s official website and their Youtube Channel.
I am curious to know if you or the architectural photographers in your market shoot tethered. Feel free to leave a comment below!
