Editing a Photo in Under 2 Minutes using Capture One’s Magic Brush
One of the most overlooked features of RAW processing software is the ability to create masks based on color values. Lightroom has recently introduced Range Masks, a feature that I constantly use on my edits. As a response, Capture One has come up with a new feature in the latest software update: the Magic Brush.
But, how good is it? Spoiler alert: Ridiculously good!
While writing this post I realized that it would be better to just show it on video, so I recorded my screen. Check out the real-time process in the video below (sorry for the lack of audio) :
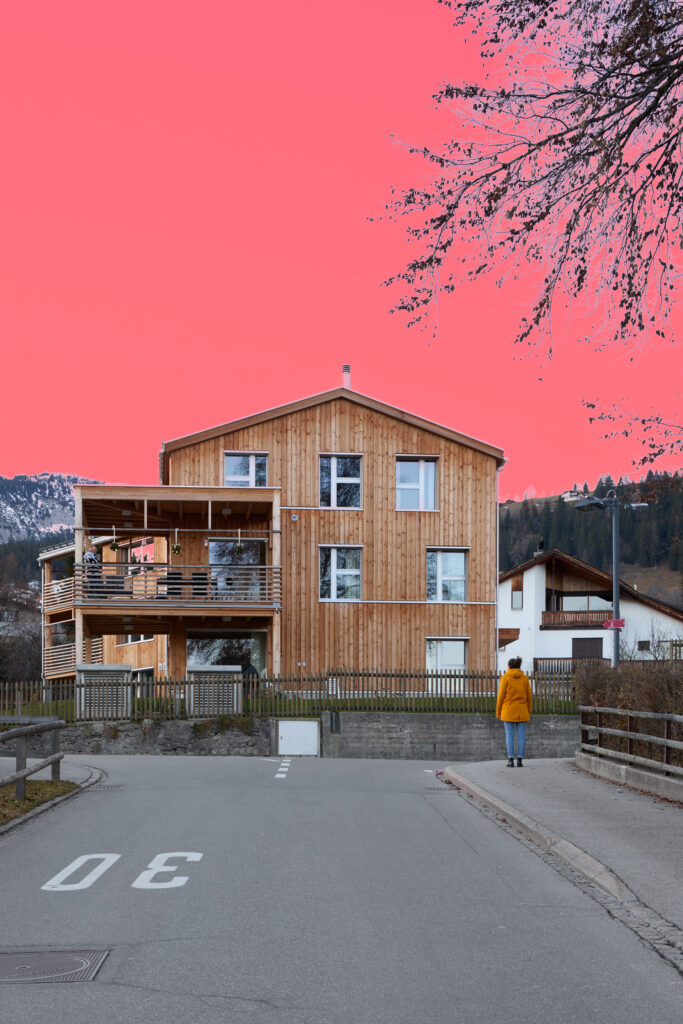
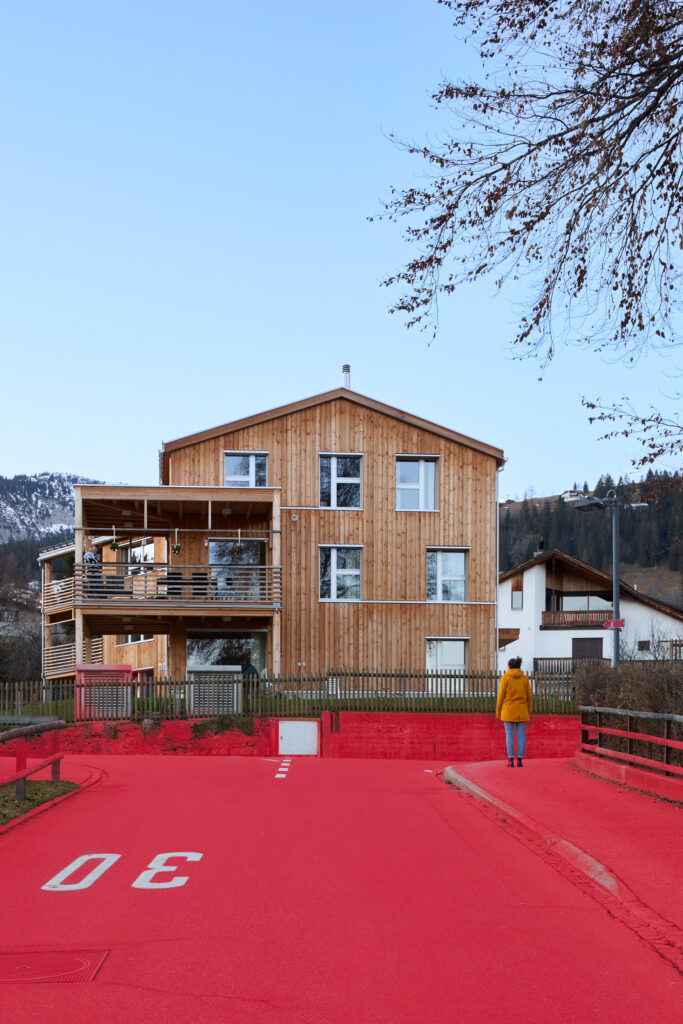
Just like that, I have 3 masks to control different parts of the image. It just took 3 strokes to select the sky, one for the coat and two for the pavement. Here are individual screenshots of the masks created automatically:
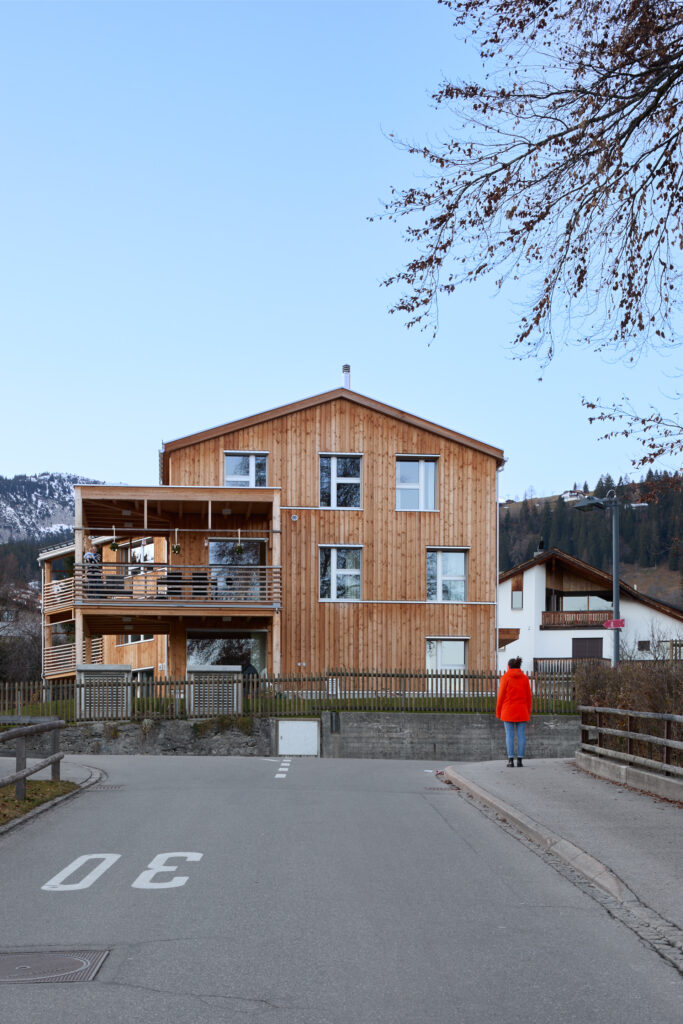
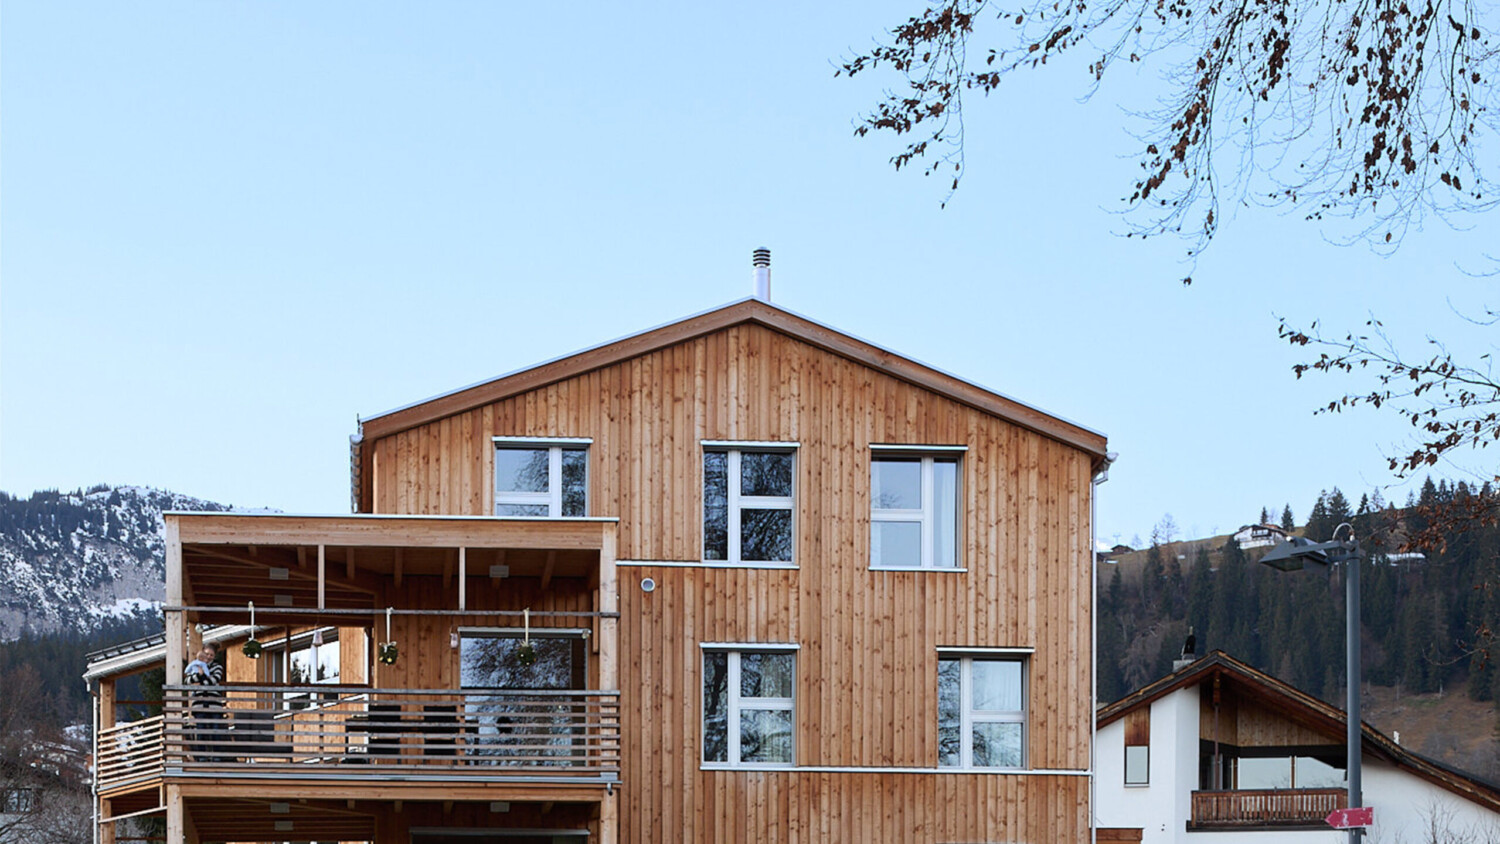
And here is a before / after comparison:


I am positively surprised by C1’S Magic Brush. It is a feature that should definitely inspire Lightroom to update its existing Range Masks. Here is a summary of the pros and cons I found about the Magic Brush:
- Like:
- It’s precision is just unbelievable.
- Create masks in seconds.
- Layers: Every adjustment layer let you modify ALL of the image parameters (Exposure, Temp, Color, Sharpness, etc.)
- Dislike:
- Some tool adjustments are not retroactive: it is not possible to modify the tolerance or refine the edge once you have drawn a mask. (Because of the fast calculation times this is not much of an issue, as it is easy and fast to redo a mask)
Have you tried this new feature? Let us know what you think in the comments below.