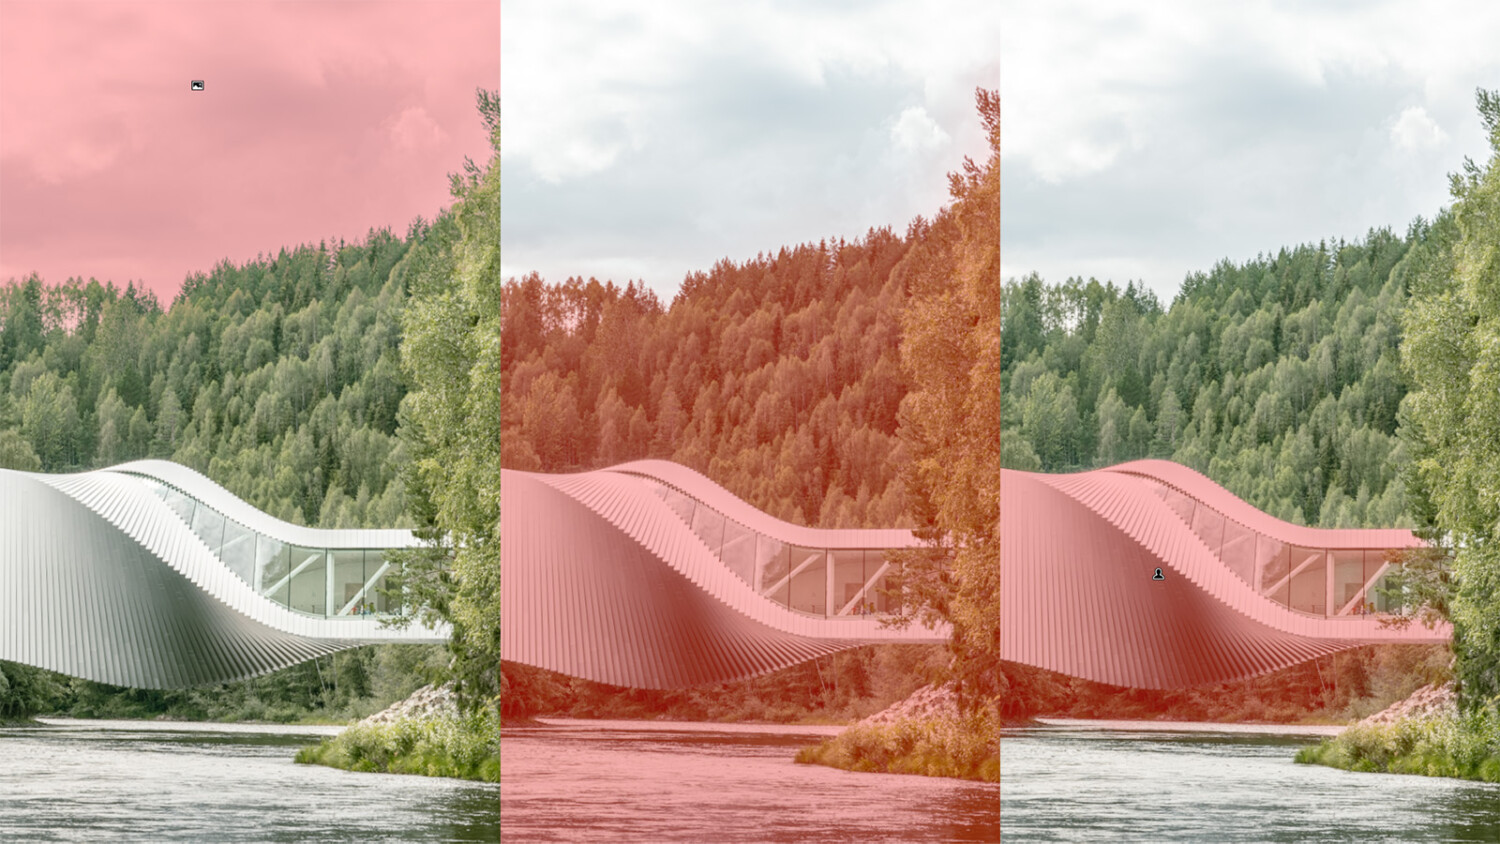
Adobe Updated Lightroom With New, Powerful, Masking Features
Adobe has updated Lightroom, Lightroom Classic, and ACR to be able to work with masks! Maybe this will reduce the number of times you have to switch over to Photoshop?
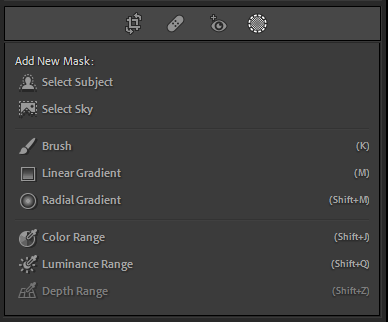
The Masking panel is all new and introduces the ability to auto-select subjects and sky. It’s driven by Adobe’s AI named Adobe Sensei. This panel also introduces color and luminance range masks when you’re adjusting the initial mask. The new panel looks like this:
To do a quick test of the new features, I used some pictures of The Twist by BIG that I shot in 2019.
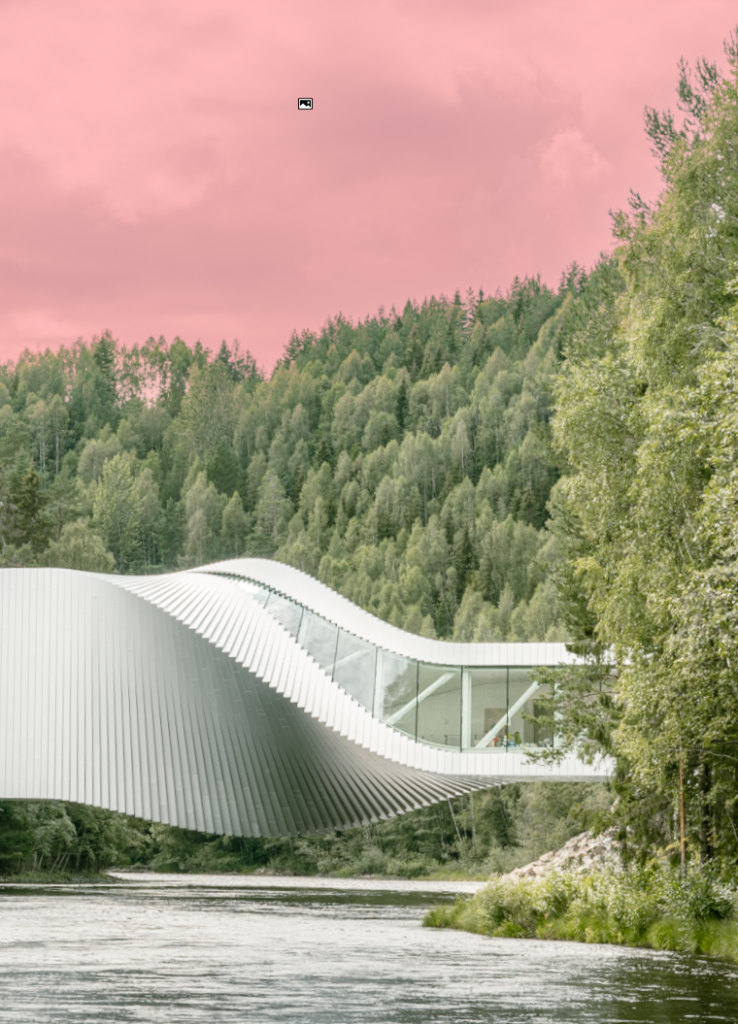
I remember that I struggled to mask the sky when editing these pictures. The old way with gradient maps and color or luminance range just seems so last year now. With the new feature in LR 11, It’s never been easier to make a mask of just the sky. All you have to do is click the button, wait a short moment, and boom, there it is!
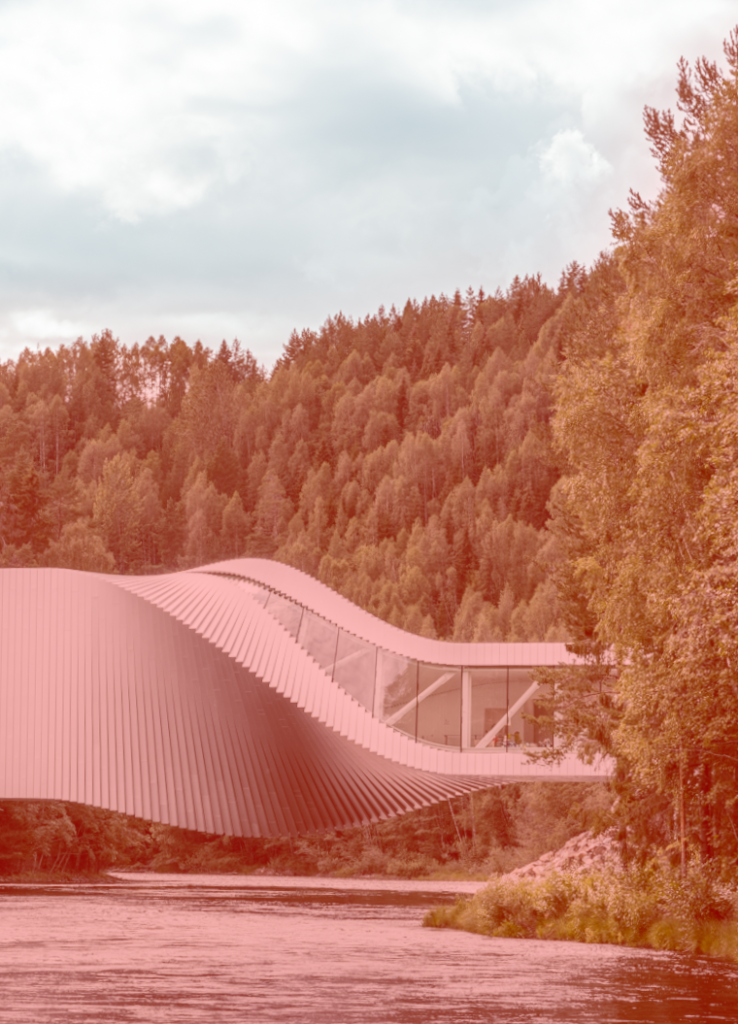
You can even invert the mask, just as easy as it is in Photoshop:
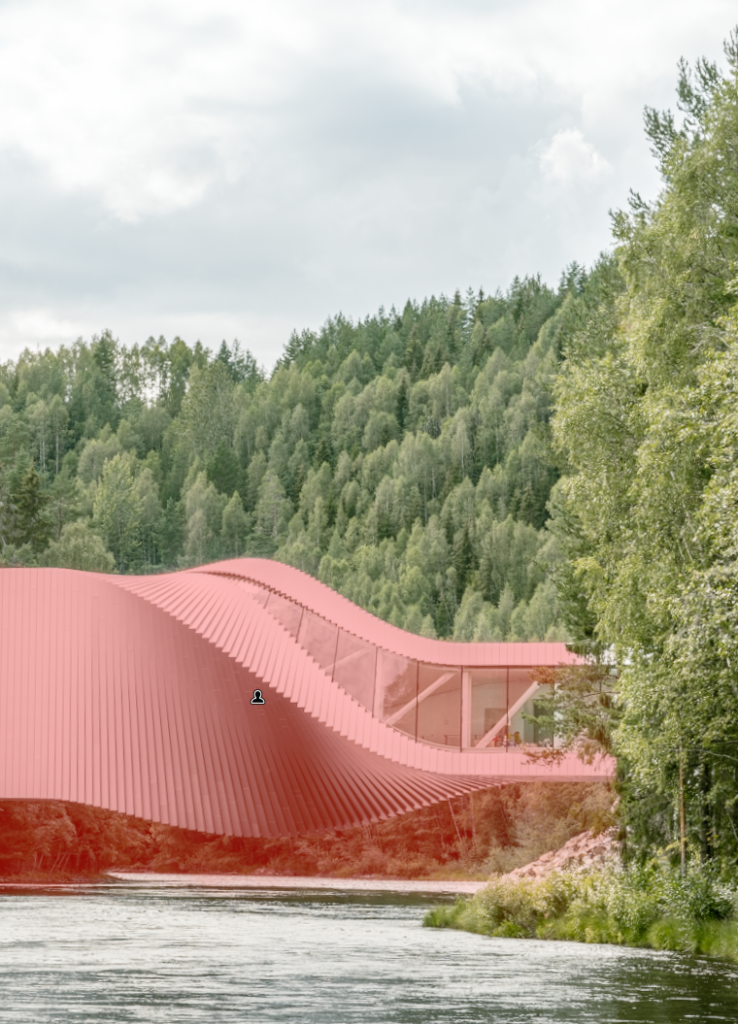
And lastly, there’s the impressive Subject masking. It works okay for this image with a somewhat clear subject, but as you can see, it struggles under the building:
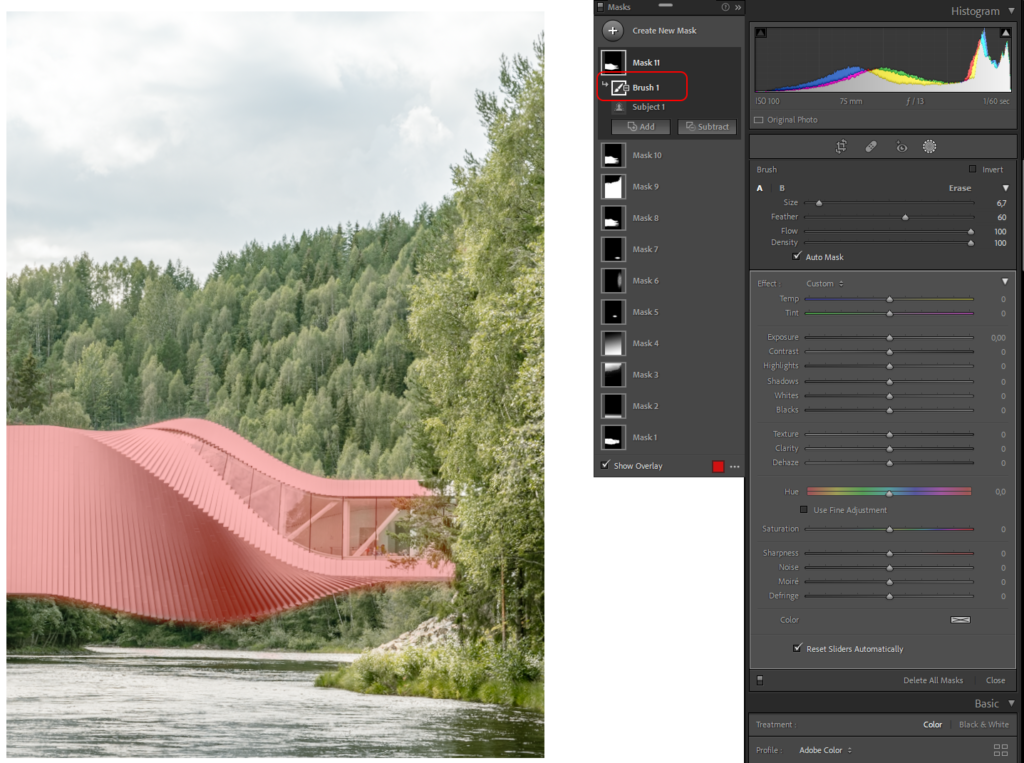
To change the mask you can both add and subtract to and from the original mask. In this example I’ve subtracted with a soft brush (here you also get a glimpse of all the masks I used when editing this image in the first place):
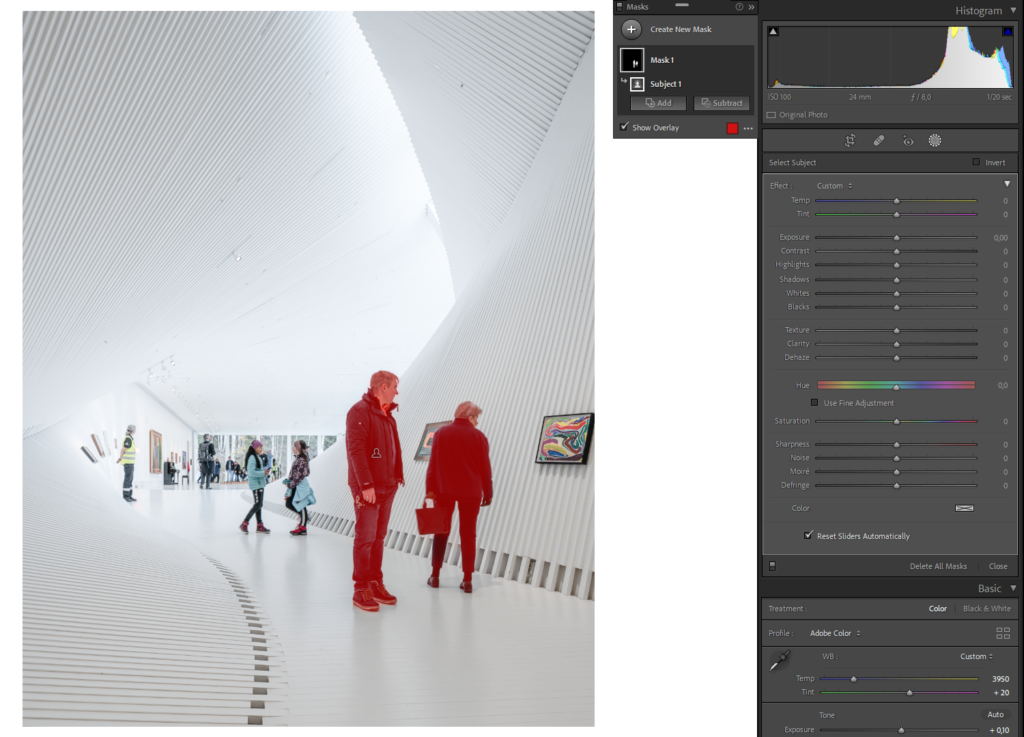
Where the subject masking really shines is when masking out people. One click and there you have it:
To see a live demo of the new features, I recommend Anthony Morganti‘s video where he runs through all the new features:
And you can read even more about the new features over at Adobe.
How do you see this new feature fitting in your workflow?
