A Simple Fix That Will Help You Switch From Lightroom to Capture One
For the first few years of my career as an architectural photographer, I swore by Adobe Lightroom. In my experience, Lightroom has been incredibly useful for going through a large batch of images, but it doesn’t quite keep up with Capture One’s refined controls, so I started looking at Capture One as an alternative. The problem was that it can be quite awkward to use and can be tricky to fit into an established workflow, which is a common complaint among photographers.
Efficient workflow is better than speed
Lightroom is slow.
It’s even worse when you’re working with high resolution files like I have been in more recent times. Files from my Canon 5DSR can completely choke Lightroom and they’re not even the highest resolution files that I work with.
In contrast, Capture One tends to handle high resolutions files far more effectively. Even when editing huge scans from 8×10 large format film, Capture One seemed to have very little issues. Despite this, for a while, I continued to use Lightroom because it fit my workflow far better than Capture One did.
I’m sure there are many photographers for whom the speed benefits, would be enough for them to make the switch. I completely appreciate and understand that, however, Capture One still doesn’t quite fit many architectural photographers’ workflow.
What is my workflow?
Many photographers that shoot architecture tend to take more than a few images per composition; whether they are using extra images to widen dynamic range of the final photograph or composite objects in and out of the final photograph. For example, if you have people in the frame, taking a large number of images can help you manage precisely how those people appear in your final image. This method also offers a great deal of control over aspects like lighting and cloning.
On any given shoot a photographer may take up to twenty different compositions, which equates to a great number of raw images, in my case as many as fifteen or more per composition. This is where having an effective workflow is a more important factor than having one piece of software that’s faster.
Lightroom is the better choice for many photographers in this case because of how well it integrates with Photoshop. A composition of images can be imported into Lightroom where one can perform the initial edits. Once that’s completed, it’s really straight forward to open all of the files in one project in Photoshop. This is where all the individual files are merged to create one final composite.
At this point the photographer has the choice of either adding a few finishing touches in Lightroom or Photoshop, because the file is accessible in both.


The workflow problem with Capture One
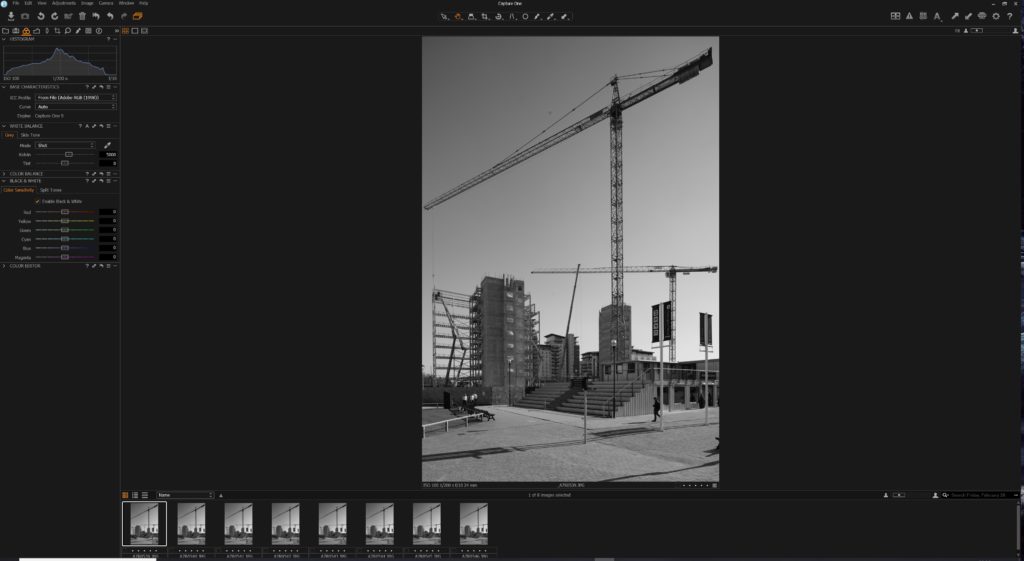
With Capture One, you’re able to process files at a much faster rate because it seems to be better optimized. Large files don’t seem to be a problem and it makes sense because Phase One are high resolution cameras.
There are however, two main problems with Capture One. The first being that Capture One isn’t anywhere near as effective as Photoshop. Although Capture One does offer a layered system of editing, it’s not quite as good. I understand that this is not necessarily a fair comparison, however, it needs to be mentioned that as of right now, Capture One simply cannot replace Photoshop.
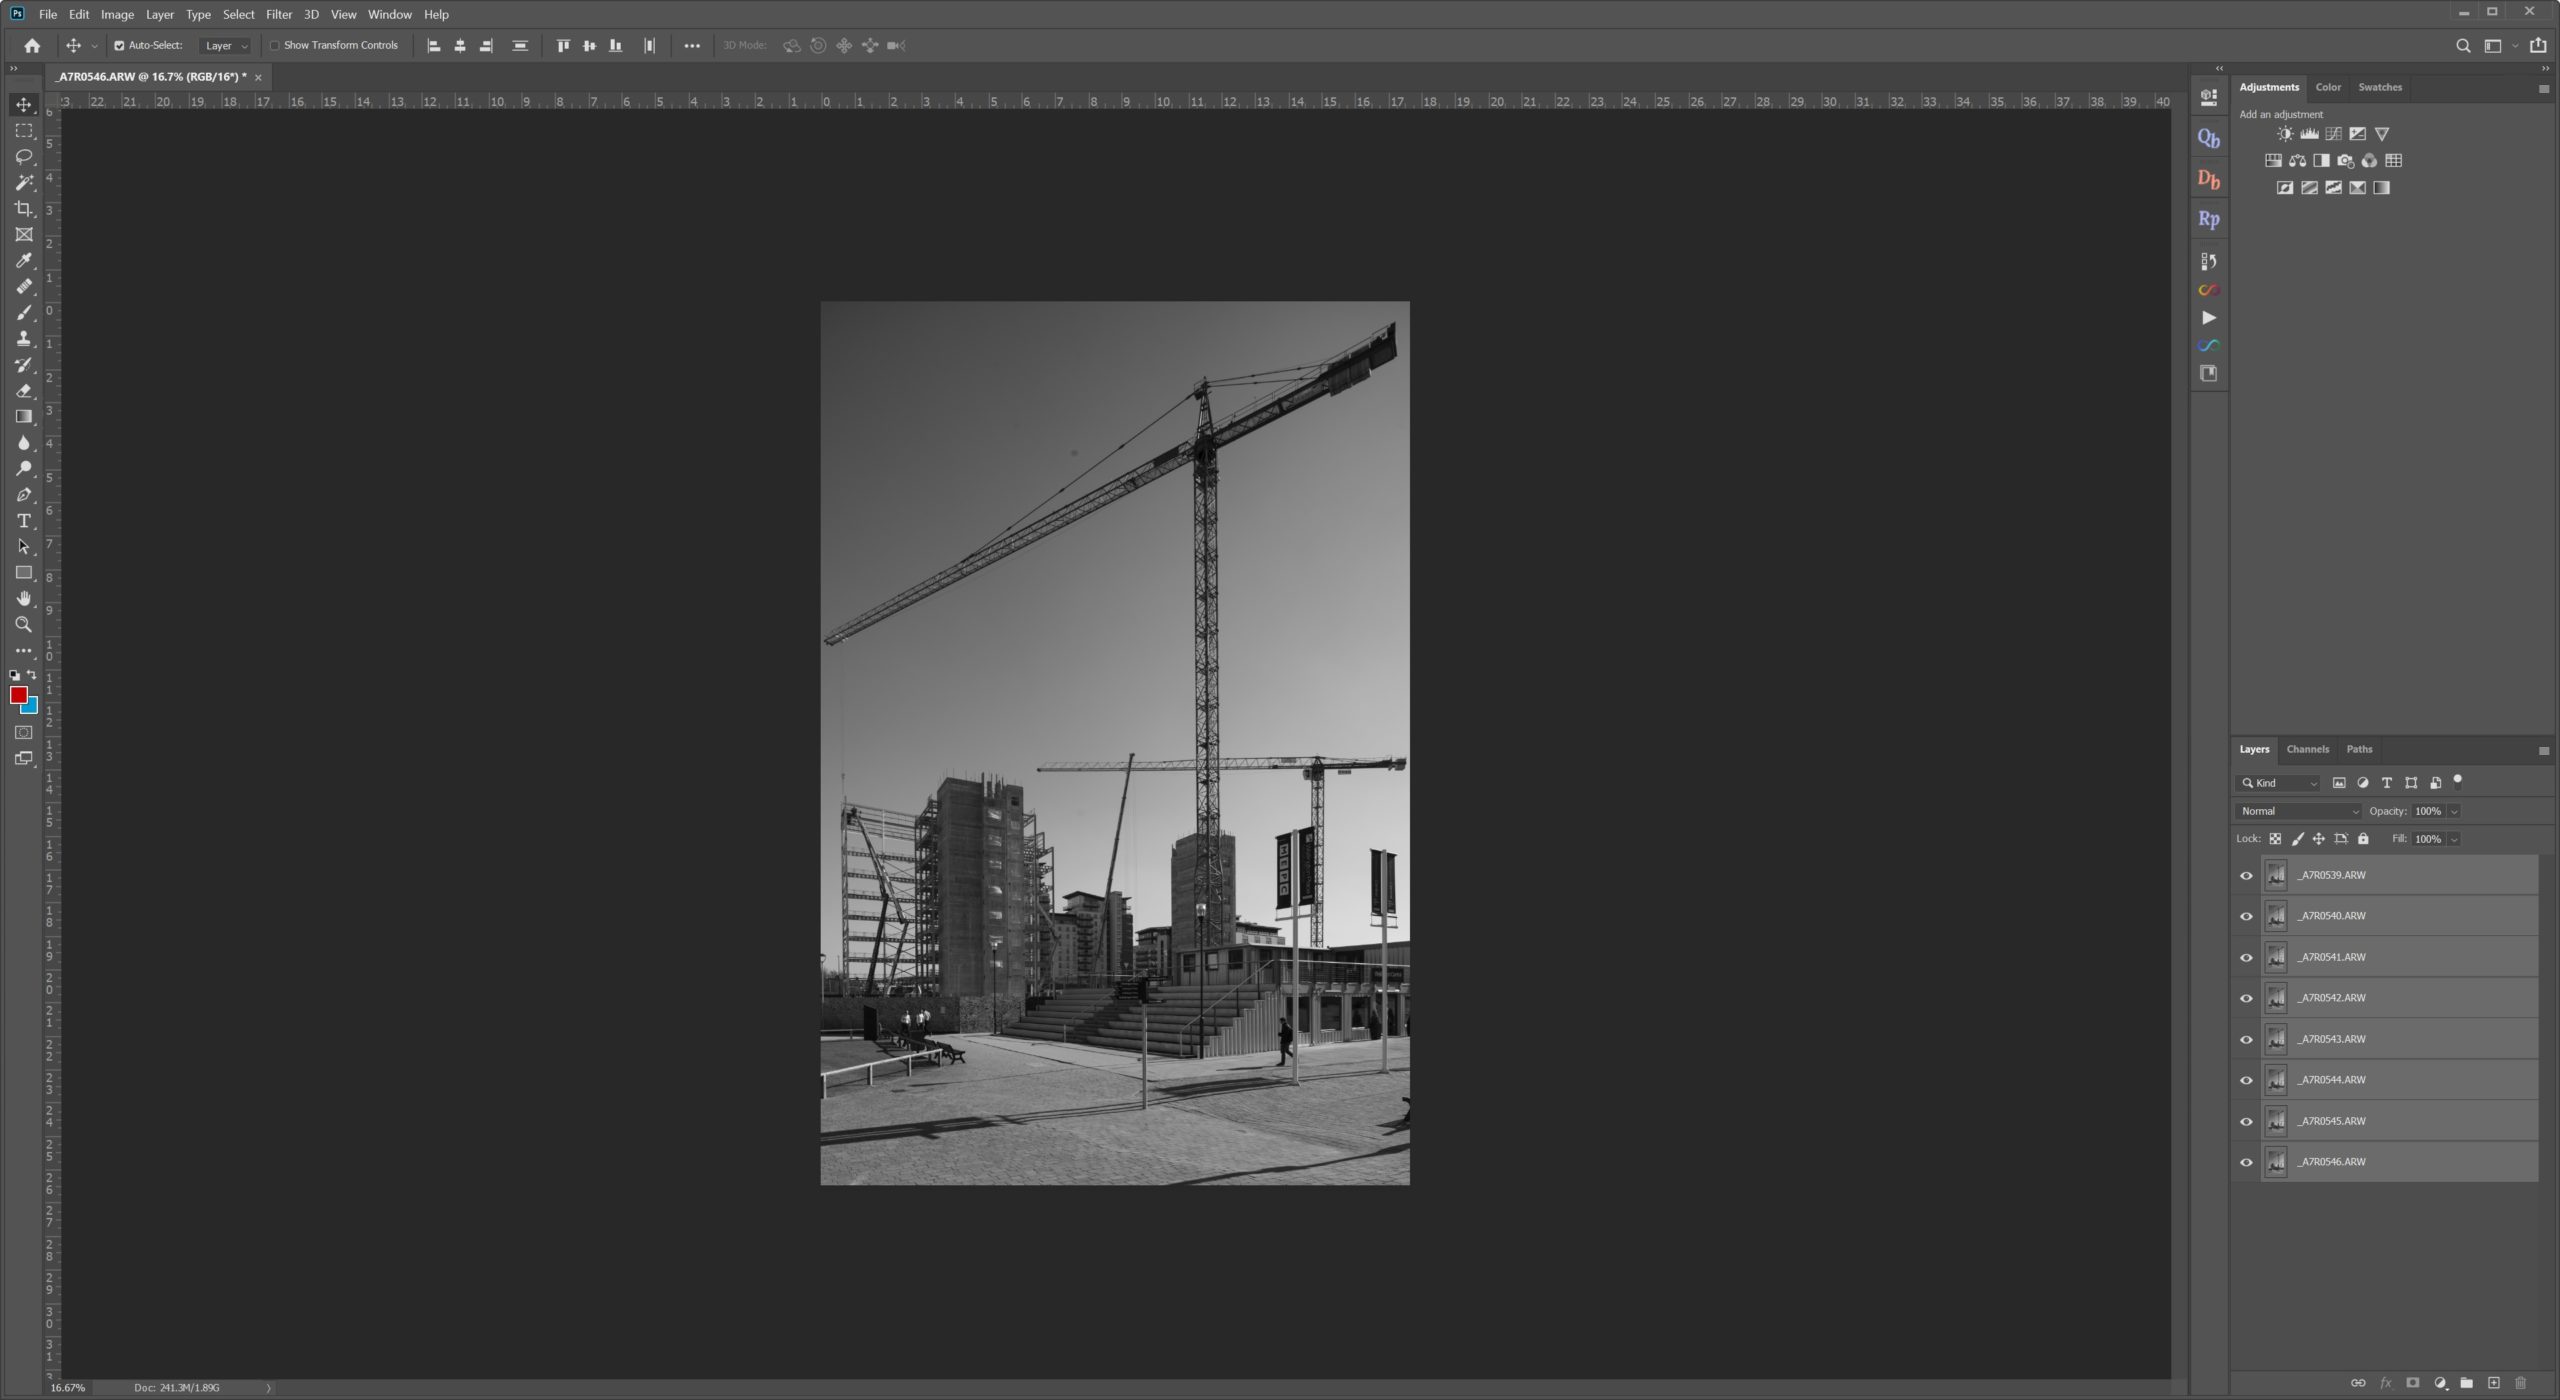
The second issue is that once you have completed your preliminary edits in Capture One (as you would in Lightroom) there’s no way to open all of the files in Photoshop, in a single project, as layers. What you end up with is having all of your files opened as individual projects in Photoshop which really frustrates the workflow. Whatever time you may have saved from using Capture One is quick eradicated; because you’re having to manually stack all of the files from Capture One into Photoshop. This is what I’m lead to believe the primary reason so many architectural photographers haven’t switched to Capture One.
My solution
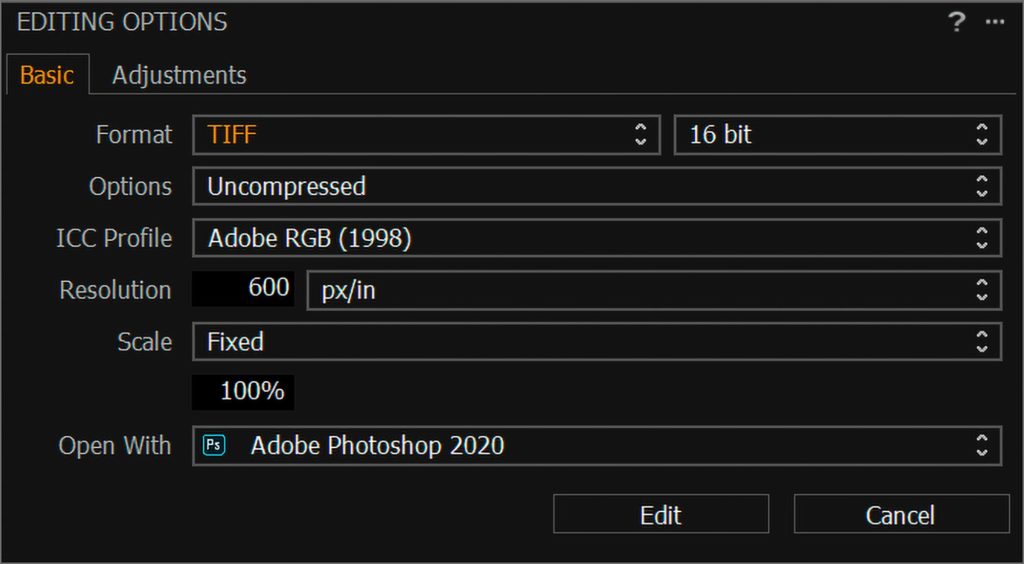
In Capture One, once you have finished your edits, select all the files you’d like to take into Photoshop, then right click and then select “Edit With”. A new dialog box should appear and you can select your preferences. before you click “Edit” to open all of the files in Photoshop.
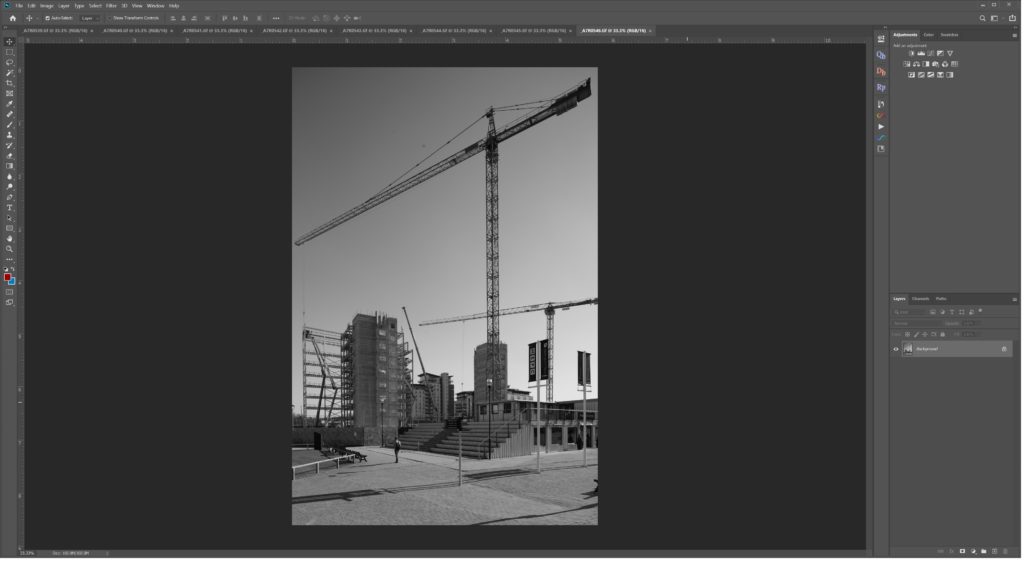
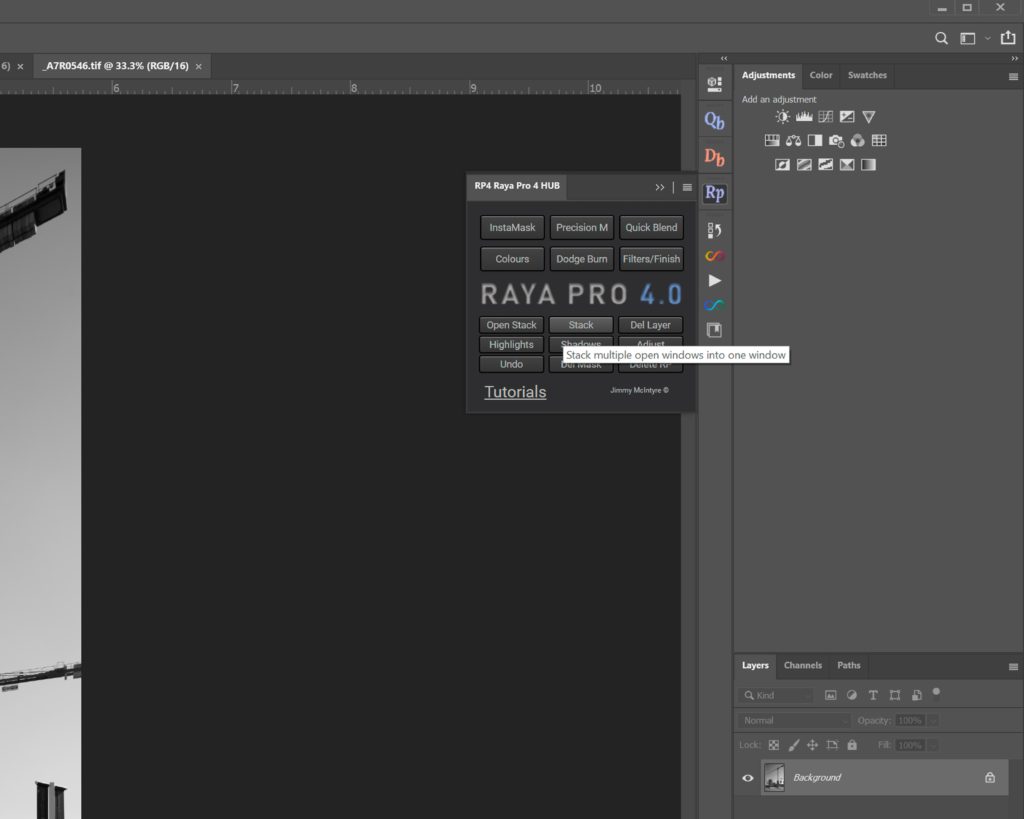
Raya Pro is a HDR blending software that I bought for approximately $40. I have no affiliation with the company I simply use it for certain images. Within the module, there is an option called “Stack”. This is all you need to click on in order to have your files appear in one project window. Simply open all of your files from Capture One in Photoshop, open your Raya panel, and click “Stack.” Voila – you are ready to begin editing your perfectly aligned (provided your tripod didn’t budge) set of images from Capture One without having to manually drag or open them one by one in Photoshop.
It’s as simple as that.
If there’s anyone out there who knows how to work scripts and plugins in Photoshop, then you may not need to purchase the software. You can simply create the action yourself and that should allow you to do the same thing.
Bottom line
This one individual feature in Raya Pro has allowed me to comfortably switch from Lightroom to Capture One. I now have all the speed benefits of Capture One without compromising my workflow. The extra step required to stack all the files together is such a minor thing that I don’t even consider it to be a workaround, it is only one extra click compared to the Lightroom workflow I was using previously.
I hope this helps in your transition from Lightroom to Capture One! If you have any other workarounds like this, we’d love to hear about them in the comments.