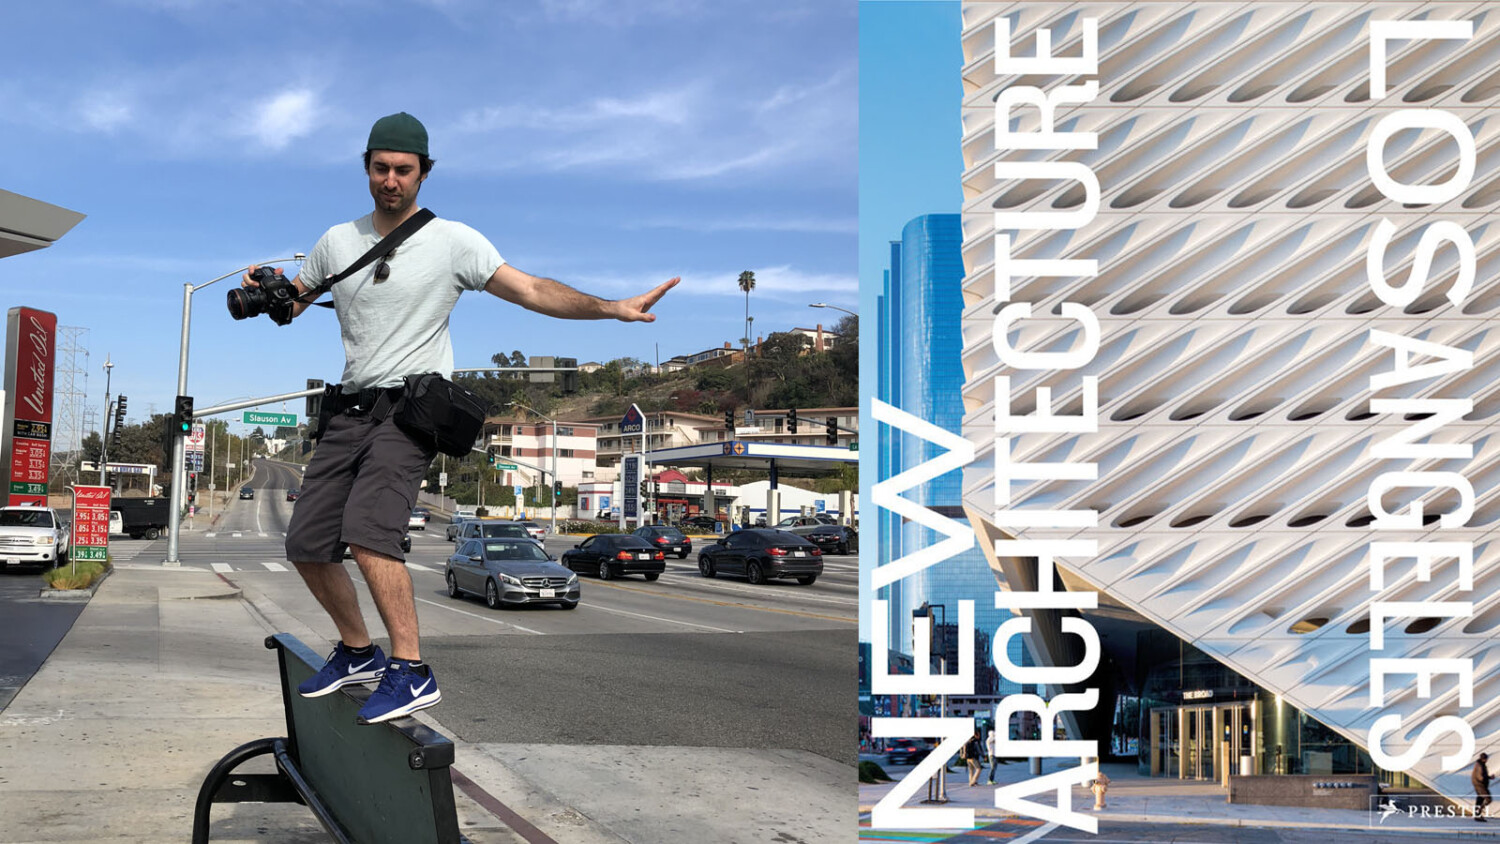
How To Create An Architecture Photography Book: Part Two
In part one we touched on the pre-production process for my book New Architecture Los Angeles. In today’s article I’ll tell you a little bit about the gear I used and how the day-to-day shooting process went. Spoiler: traffic. Lots and lots of traffic.
Before I launch into the good stuff, I know I’ll get questions about…
The Gear
…that I used to create the book. Because I was shooting so often, in some cases nearly 10 days in a row, I wanted to stay light and mobile. One of the best things about this book process was that I was in complete control of essentially everything on the creative side. On many commissioned shoots, sometimes you are fighting the tide – you’ve gotta shoot through bad weather, you’ve gotta light dead spaces at the wrong time of day, and no matter what kind of shitstorm is being thrown at you, you’ve gotta be able to make great pictures.
For this project none of that really applied. I could shoot whenever I wanted, wherever I wanted – so rather than have to light a boxy hotel room up like the fourth of July on a rainy day to make it look passably inviting, I could simply come back to 80% of these projects on another day. If I thought I needed to shoot it in the afternoon but it actually looked better in the morning, well, come back another time! Even when we had to negotiate permission to be on private property, once I got a chance to meet the tenants/owners and they saw that I was somewhat normal and not there to deal drugs or burn the place down, they were totally fine having me back to do more exteriors at better times of day.
For interiors, we did have a bit of a tighter schedule, but even when we had to pick a date to shoot, I was able to, in almost all cases, dictate when I wanted to be there to get the best light that would require the least firepower to make look good.
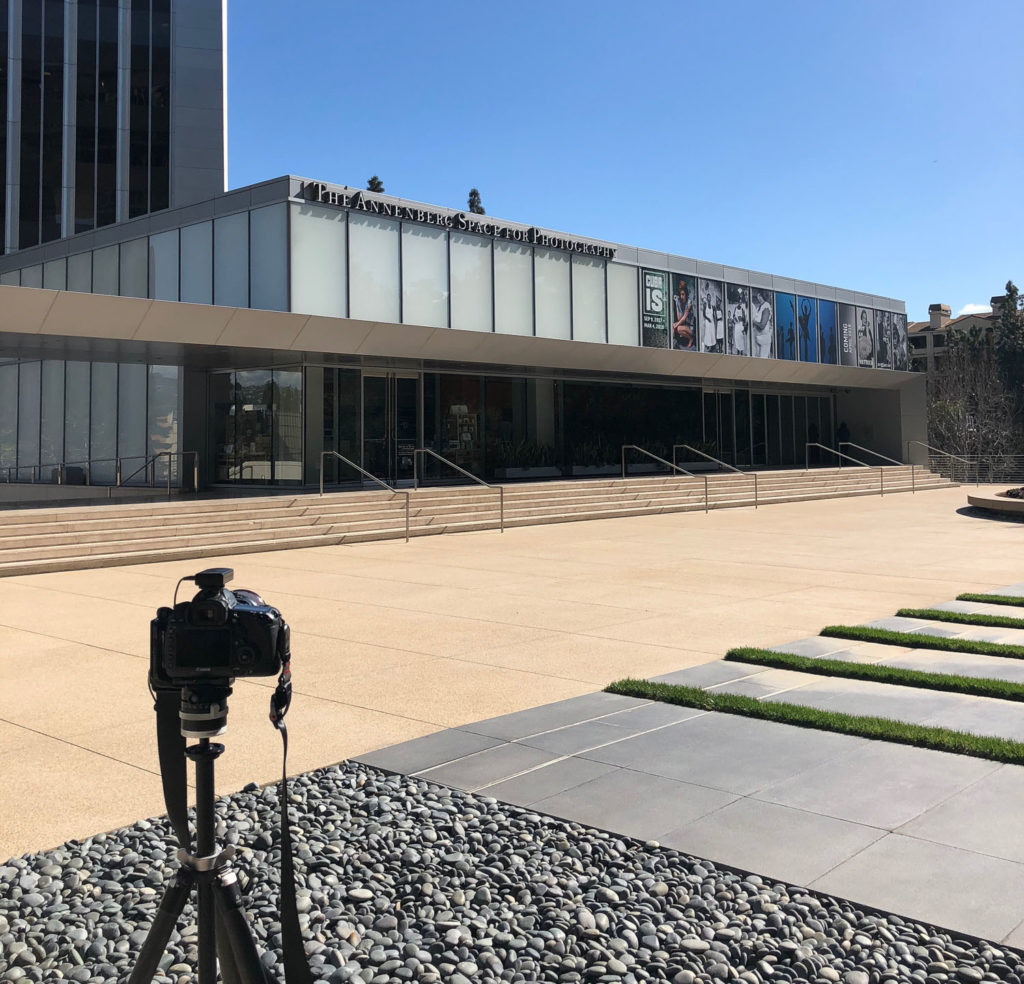
So that being said, gear was very minimal. If I was doing exteriors I was often working alone. In order to carry all that on my person, everything had to be light and mobile, starting with my sharpest lens, the tripod.
I chose a Really Right Stuff TQC-14 and threw an Arca Swiss p0 hybrid on top of it. Man, this setup was/is freaking brilliant. It really weighs almost nothing and is just as precise as my normal setup (RRS TVC-33 and Arca C1 Cube for those interested). It also packed down really, really small and made me look like just another hobbyist on the street taking pictures of buildings, which was great to keep attention to a minimum.
On top of the tripod, I had a pretty basic setup as well. I’m a huge fan of the Canon 5DSR – in fact I think it’s the best camera in the world at this very moment for architectural photography (come at me but don’t @ me) given it’s size, speed, sharpness, resolution, lens selection, and general ease of use. Yes, you can get better quality out of some other cameras but do you really want to shoot street-style architectural photography three months straight lugging a giant Phase One body and laptop around? No? Neither do I. So yeah – every shot in the book is a 5DSR. Did alright, I’d say.
I paired the 5DSR with three and a half lenses: A Canon 24mm tilt shift, a 17mm tilt shift, a 24-70mm F4is, and the half lens: the 1.4x extender version III. These should mostly go without saying; I couldn’t shoot my way out of a wet paper bag without a tilt shift lens these days; and the 24 and 17 are just superb. Paired with the 1.4 extender they give me 17mm, 22.5ish mm, 24mm, and about 35mm – some very nice focal lengths for tilting and shifting.
The 24-70mm f4 was great for detail shots and some mid-length zoom shots; I find the effectiveness of tilt shift at longer focal lengths somewhat neutered so figured I could get away bending pixels in post using the 24-70. I usually carry the Canon 45mm TS also but wanted a little more hand-held flexibility with the 24-70. The reason I have the f4 version is because I’m cheap and the 2.8 is too heavy for me to schlep around all day; simple as that!
To trigger the camera I used either the CamRanger and iPad Pro when indoors, and when outdoors, well, I just winged it through the viewfinder – whatever! One more thing to drop when moving quickly and operating alone. I did have a small remote trigger on the camera pretty much whenever I was on a tripod, I have no idea what make or model it is, I think I bought it back in 2009 when I got my first Canon DSLR as one of those scammy Amazon upsell packages, and it’s been trucking ever since. No name on it, either, but…it works!
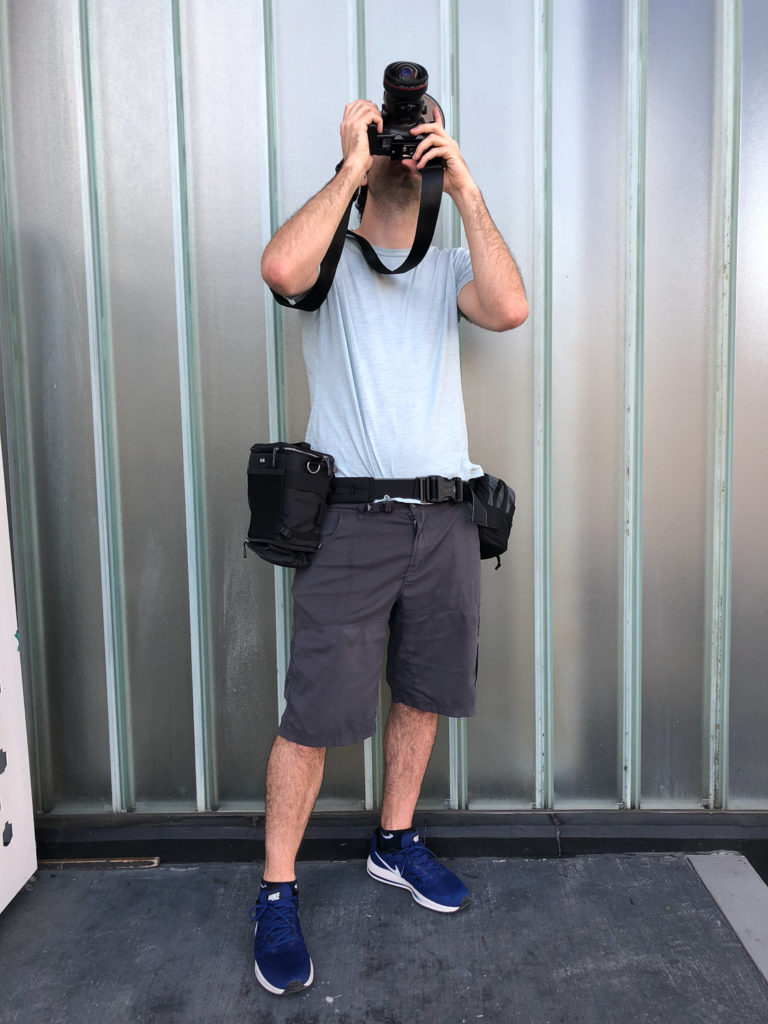
When I was shooting outside, everything fit neatly into a ThinkTank holster belt system. It looked dorky as hell but Oh Mylanta was it amazing to use. No suitcase, no wheely bag, no shoulder bag killing my back all day – this thing was seriously great. Here I am all geared up framing a shot:
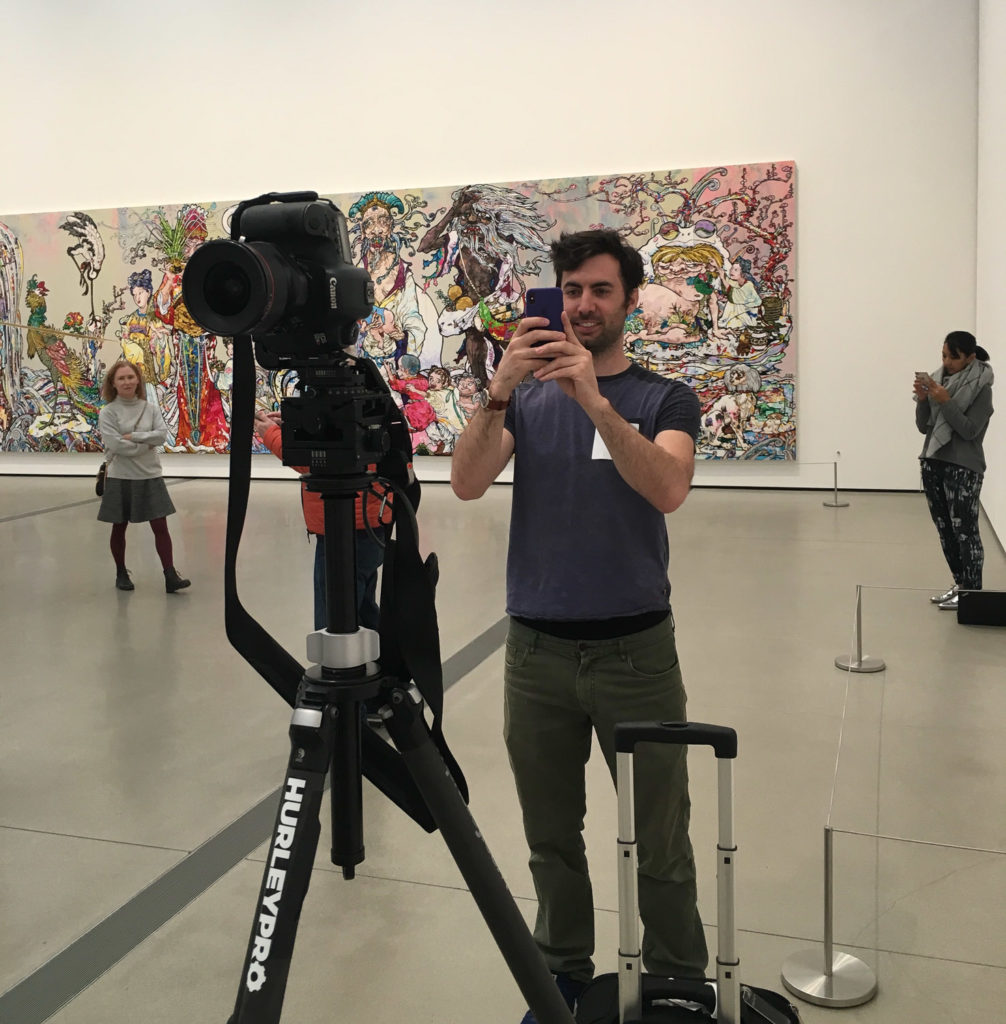
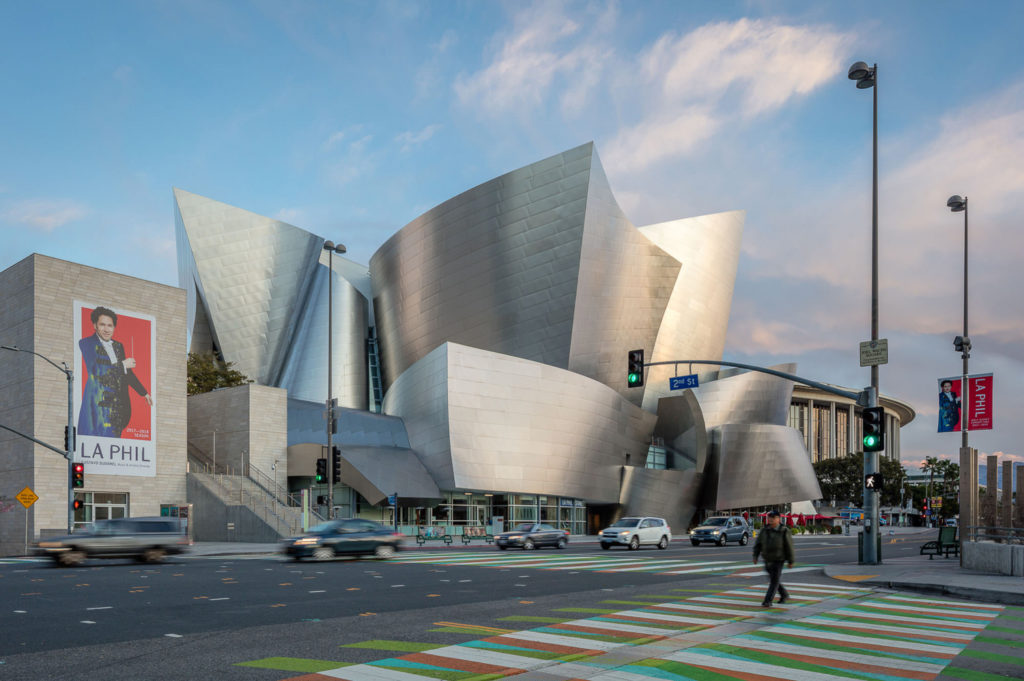
So there you have it – very small, compact kit for most of this. The times when I did use my full kit was mostly when we were shooting a very important, very busy building where we might not have complete control over the situation and I wanted to look a little more ‘together’ for whatever reason. Here is a BTS shot of us at the Broad – you can see the full camera is back in action with Cube and all. I also forgot my belt which made this day far harder than it should have. Sorry for the slippage.
Ok, whatever, let’s go take some pictures!
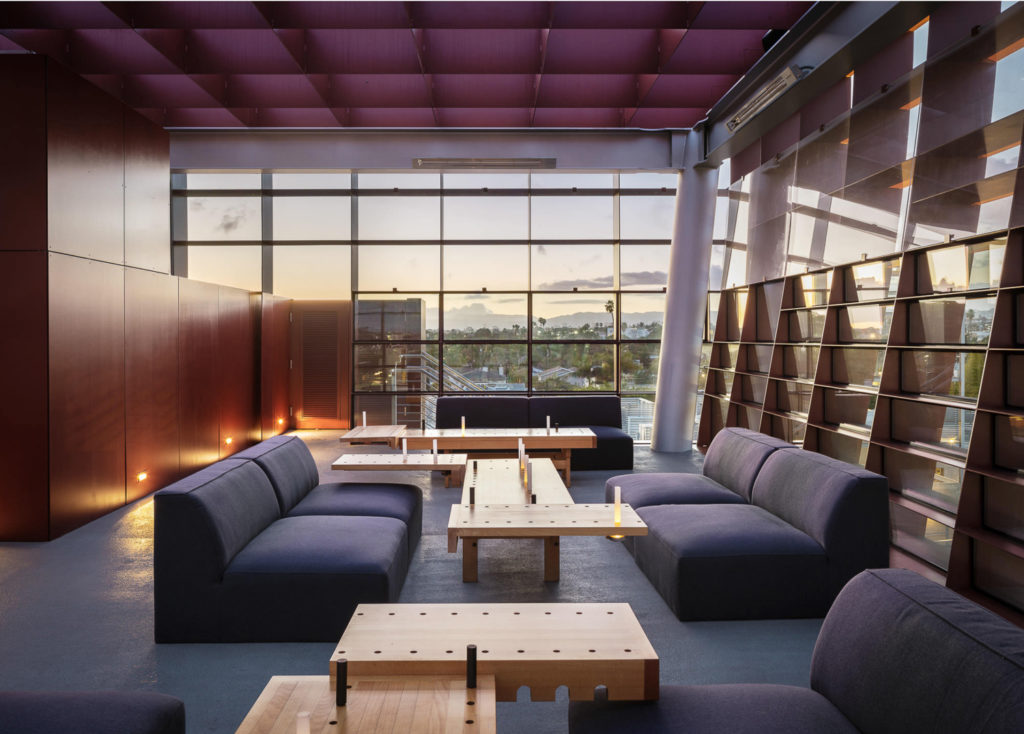
There were really two types of images I had to make for the book; I’ll call them public and private. The fact that so many locations were somewhat public really helped me make better pictures. For example, when I shot Grand Park in downtown or Tongva Park in Santa Monica or any place where we really only needed exterior images, I could go at any time of day without worry. This constituted probably half of the pictures in the book – entirely free to come and go, and re-visit as many times as I needed until I got ‘the shot’. Right light at sunrise? Cool, I’m there. Nobody to tell, nobody needs to let me in, I can just zen out in my own head and make some great pictures; just me and my dorky camera belt.
When it came to creating private images (that sounds oddly pornographic now, come to think of it, sorry) things were a little trickier. We did have to negotiate access for probably twenty locations and for another ten I had to, uh, cleverly negotiate my way in, or palm a security guard a $100 bill to get a rooftop shot, or something similar. Fences were ducked, hotel pools snuck into, parking garages combed, I got pretty good at being a low-key private investigator, let’s just say that. I scheduled (or tried to schedule) most of these as far in advance as possible so I could fill in the rest of the dates with the public architecture shots.
For a typical day shooting these public locations, I would do my best to plan my shots around the sun – being sure to absolutely get shots at both sunrise and sunset. The shorter time of day during the winter (most of the book was shot between January and March) really, really helped keep me sane when I was doing back-to-back sunrise to sunset days. After shooting at sunrise, I’d hit a breakfast joint, do some emailing or redditing, and then get back out for that nice morning light. During the winter the sun transits pretty low across the sky so things are generally looking good from some angle at any given time, so was able to make something good nearly all day. Afternoon consisted of much of the same; making sure to stick around until twilight.
It sounds like I could be insanely productive, but given the traffic and parking woes in Los Angeles, this meant that I was really only able to get a handful of good photographs during each sunrise or sunset and then I’d spend an hour or something driving in rush hour to get to the next location or to get home or wherever I was going. So it was actually quite a slog at times – and downright exhausting at others. I considered a great day five book-worthy photographs.
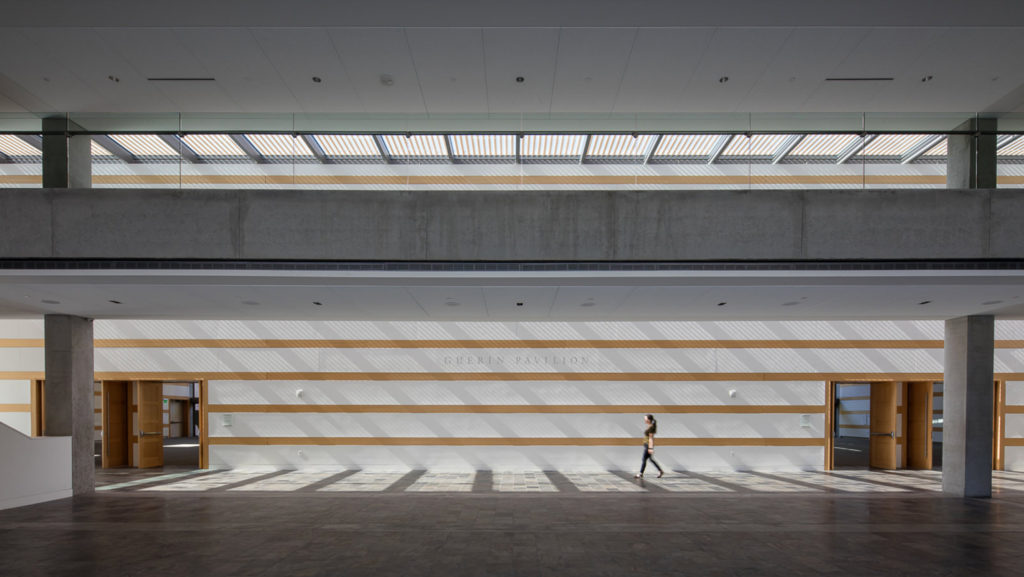
When I was shooting private locations, things operated much the same as a regular shoot as we’d essentially arranged everything in advance. Show up, check in, get shown around, make our pictures. It was very nice as in most cases we had full control of the building and total creative control to do whatever we needed to get great interior images – the bonus was that most places wanted to look really good! for the book, so the lawns were manicured, floors cleaned, and everything put away just for us.
In part three, I’ll dive into a couple of actual shoots – where things actually get interesting.
New Architecture Los Angeles is available for order at many trusted booksellers. Pick it up to see the final product!
For the rest of the book saga, you can read the other parts here:
How To Create An Architecture Photography Book: Part One
How To Create An Architecture Photography Book: Part Two
How To Create An Architecture Photography Book: Part Three
How To Create An Architecture Photography Book: Part Four