Quarantine Challenge: Rendering One of My Own Photographs
Have you ever had a client ask you to take a photo that looks like a previously made render? I bet that most of us architectural photographers have been confronted with this (at times impossible) task. As a result of quarantine boredom, an interesting thought occurred to me: What if I were to invert this process, trying to replicate one of my actual photographs using a rendering program?
Keep reading to follow my reverse engineer process of turning a photograph into a render.
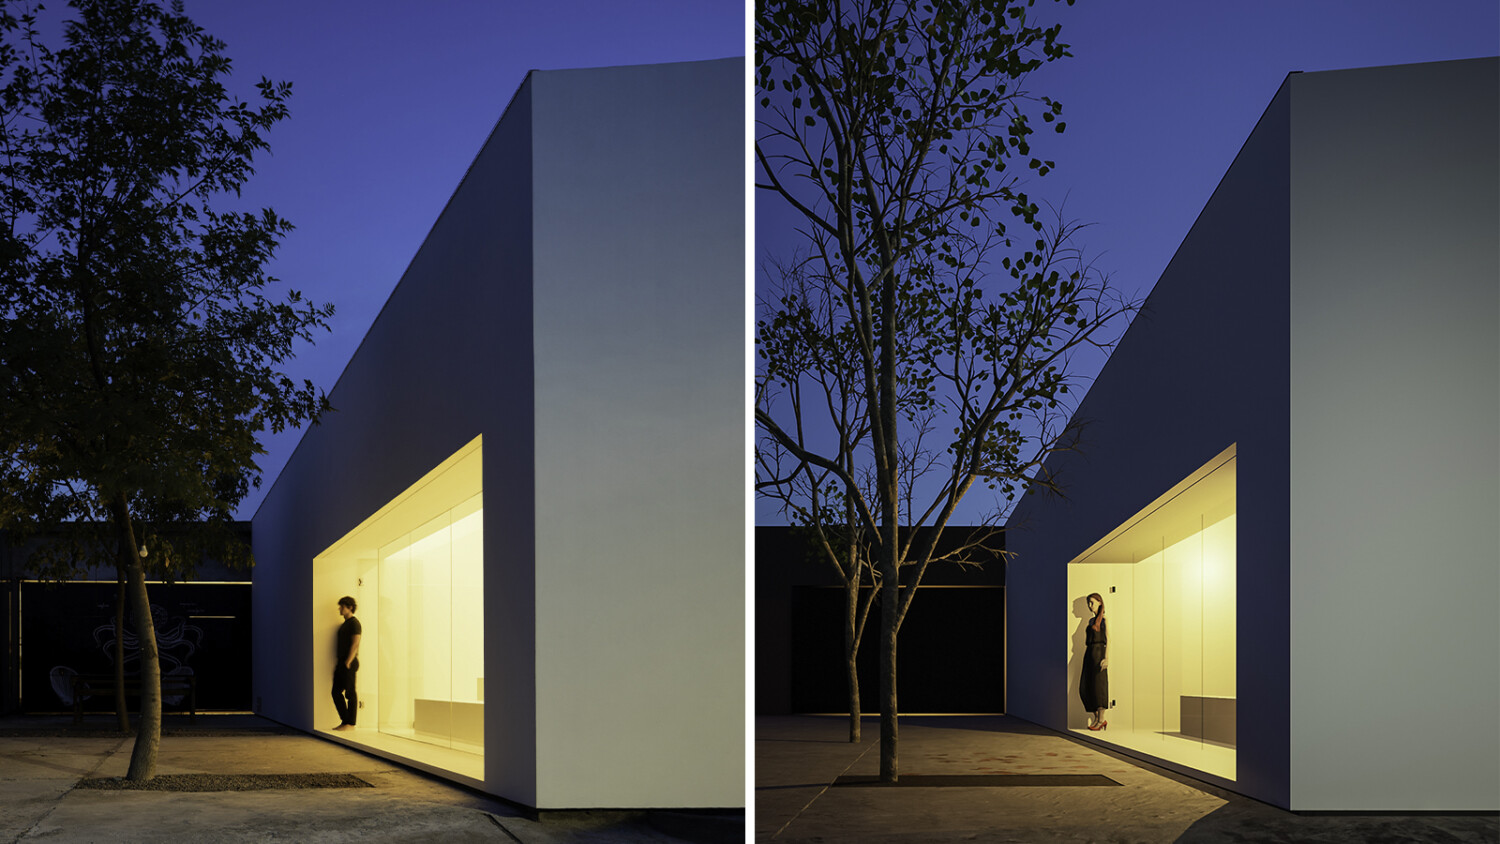
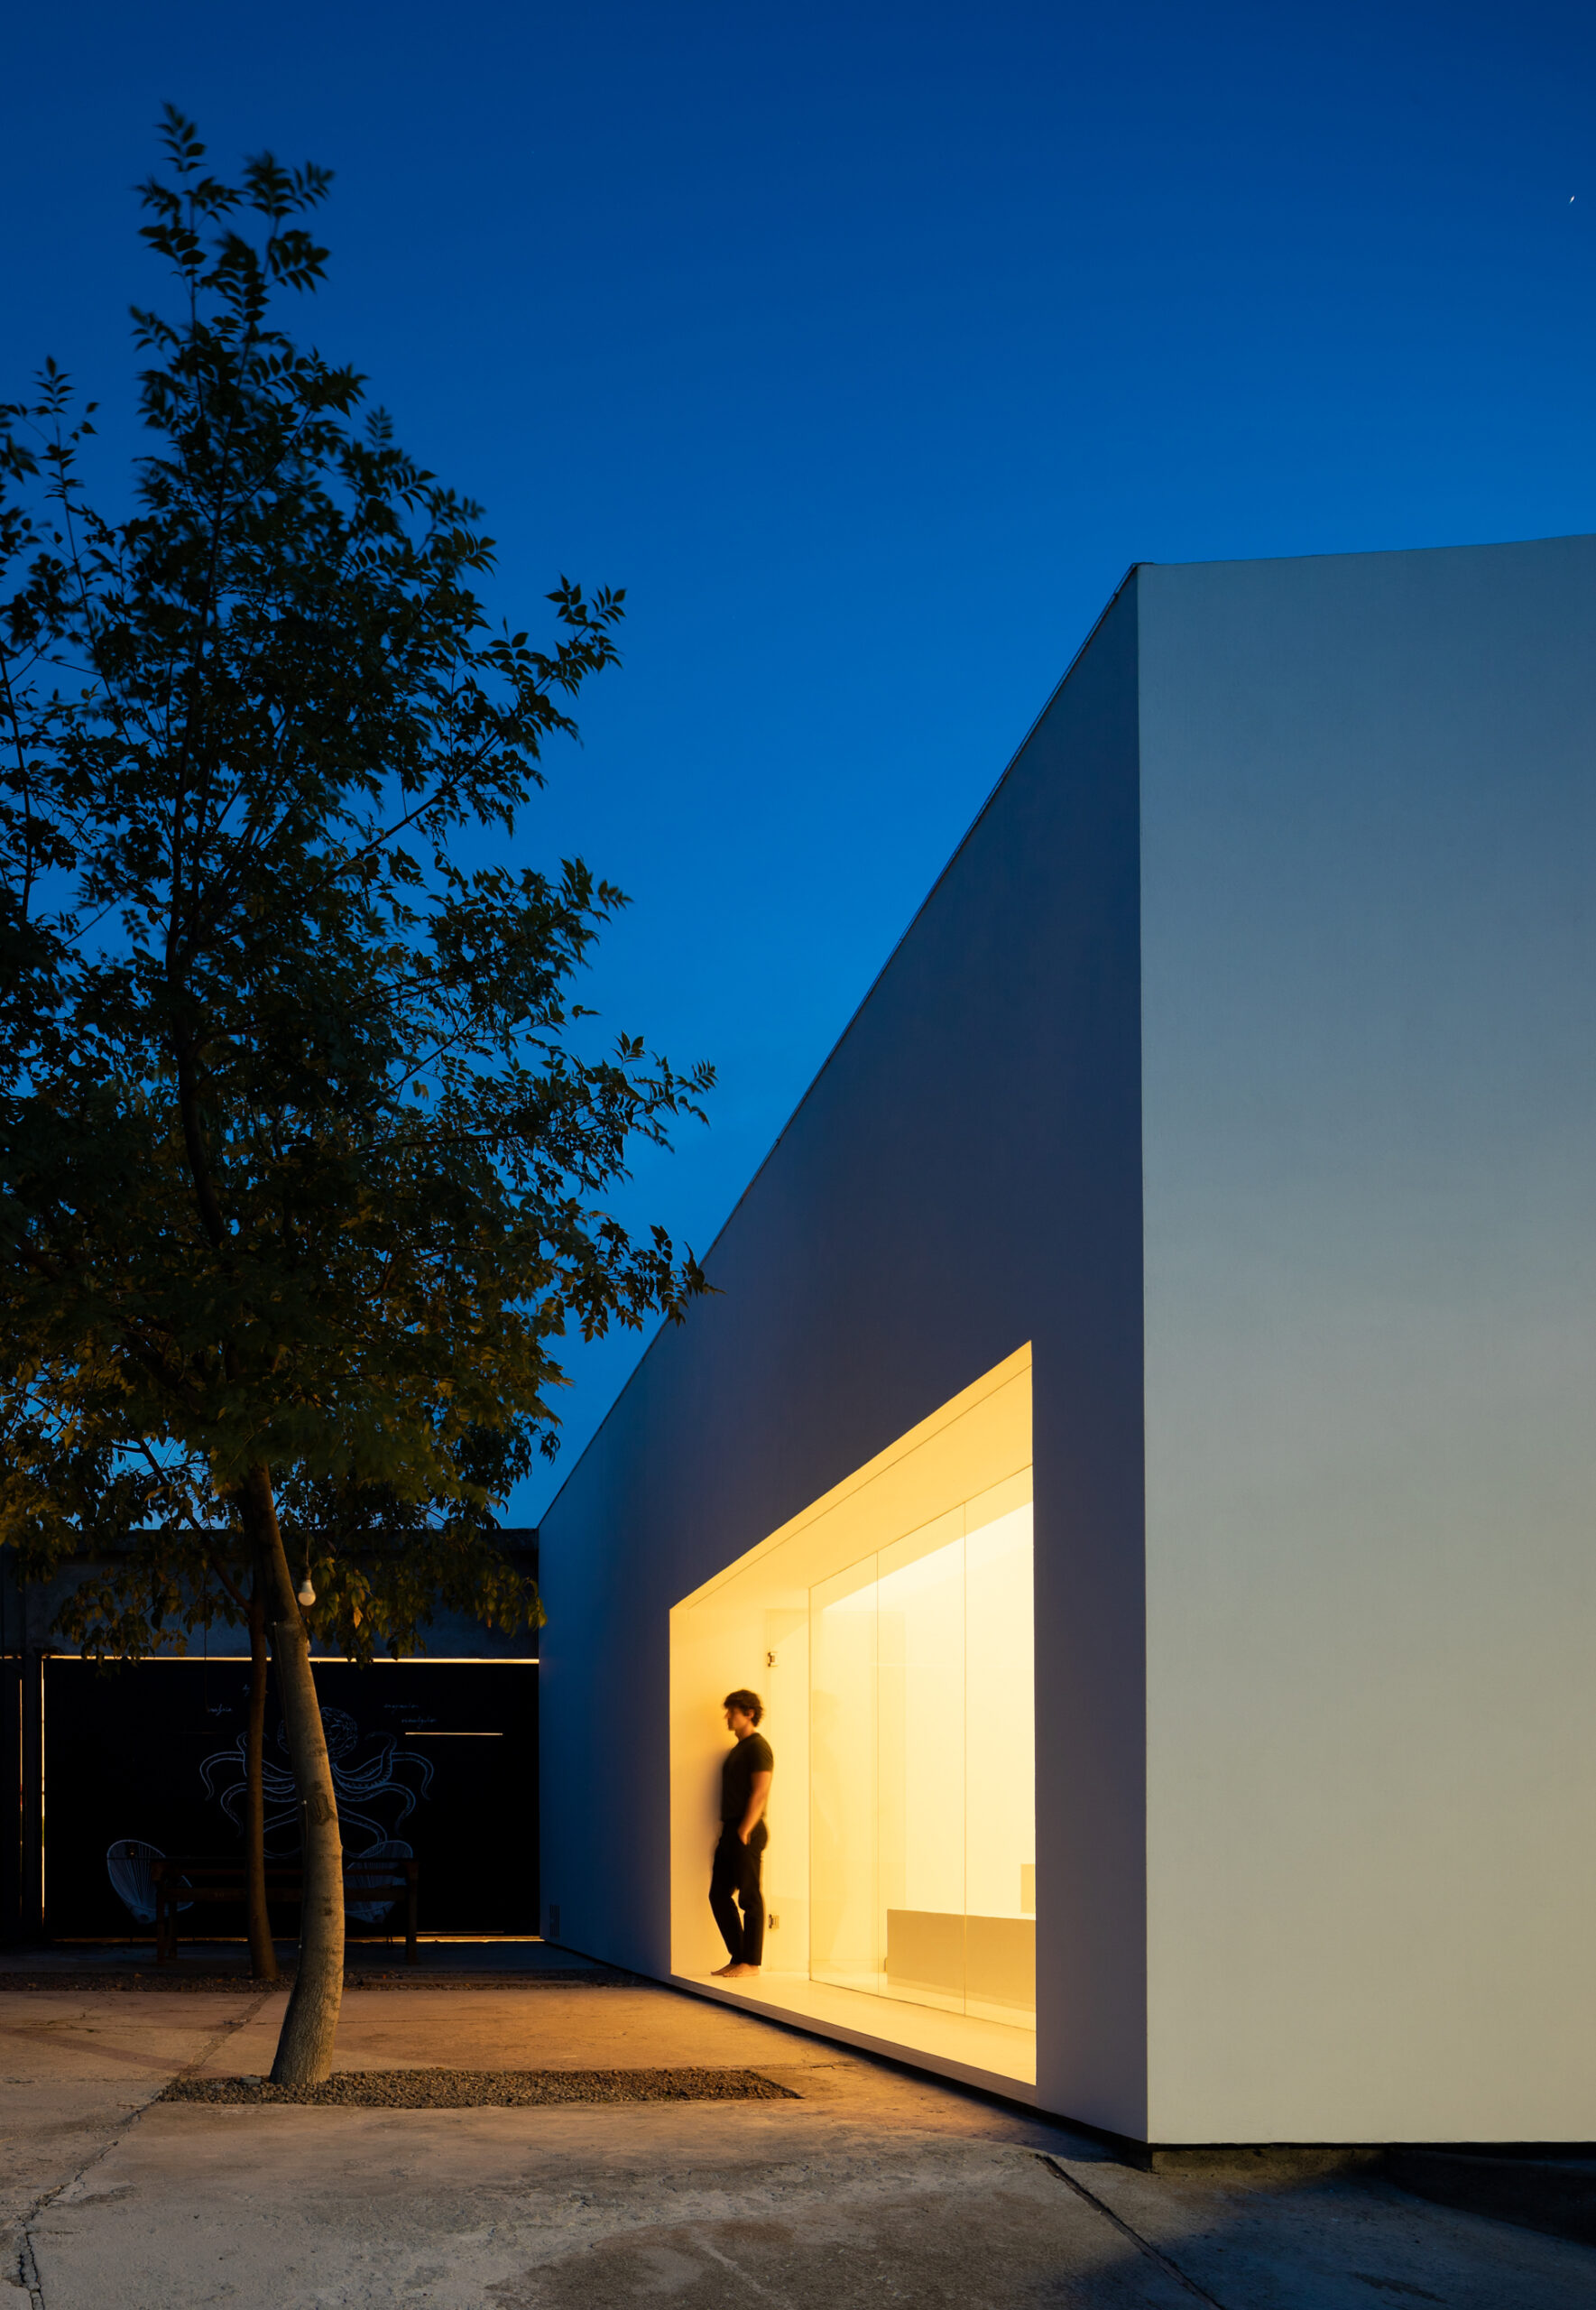
The photograph:
For my self-imposed challenge, I selected a project with a clean and minimalist style: the offices of HW STUDIO in Morelia, Mexico. The chosen shot is the main white volume captured during the blue hour. The intense shade of the sky, the color cast on the walls and the contrast to the warm yellow of the artificial lighting creates a unique atmosphere. Will I be able to recreate it accurately in a rendering program?

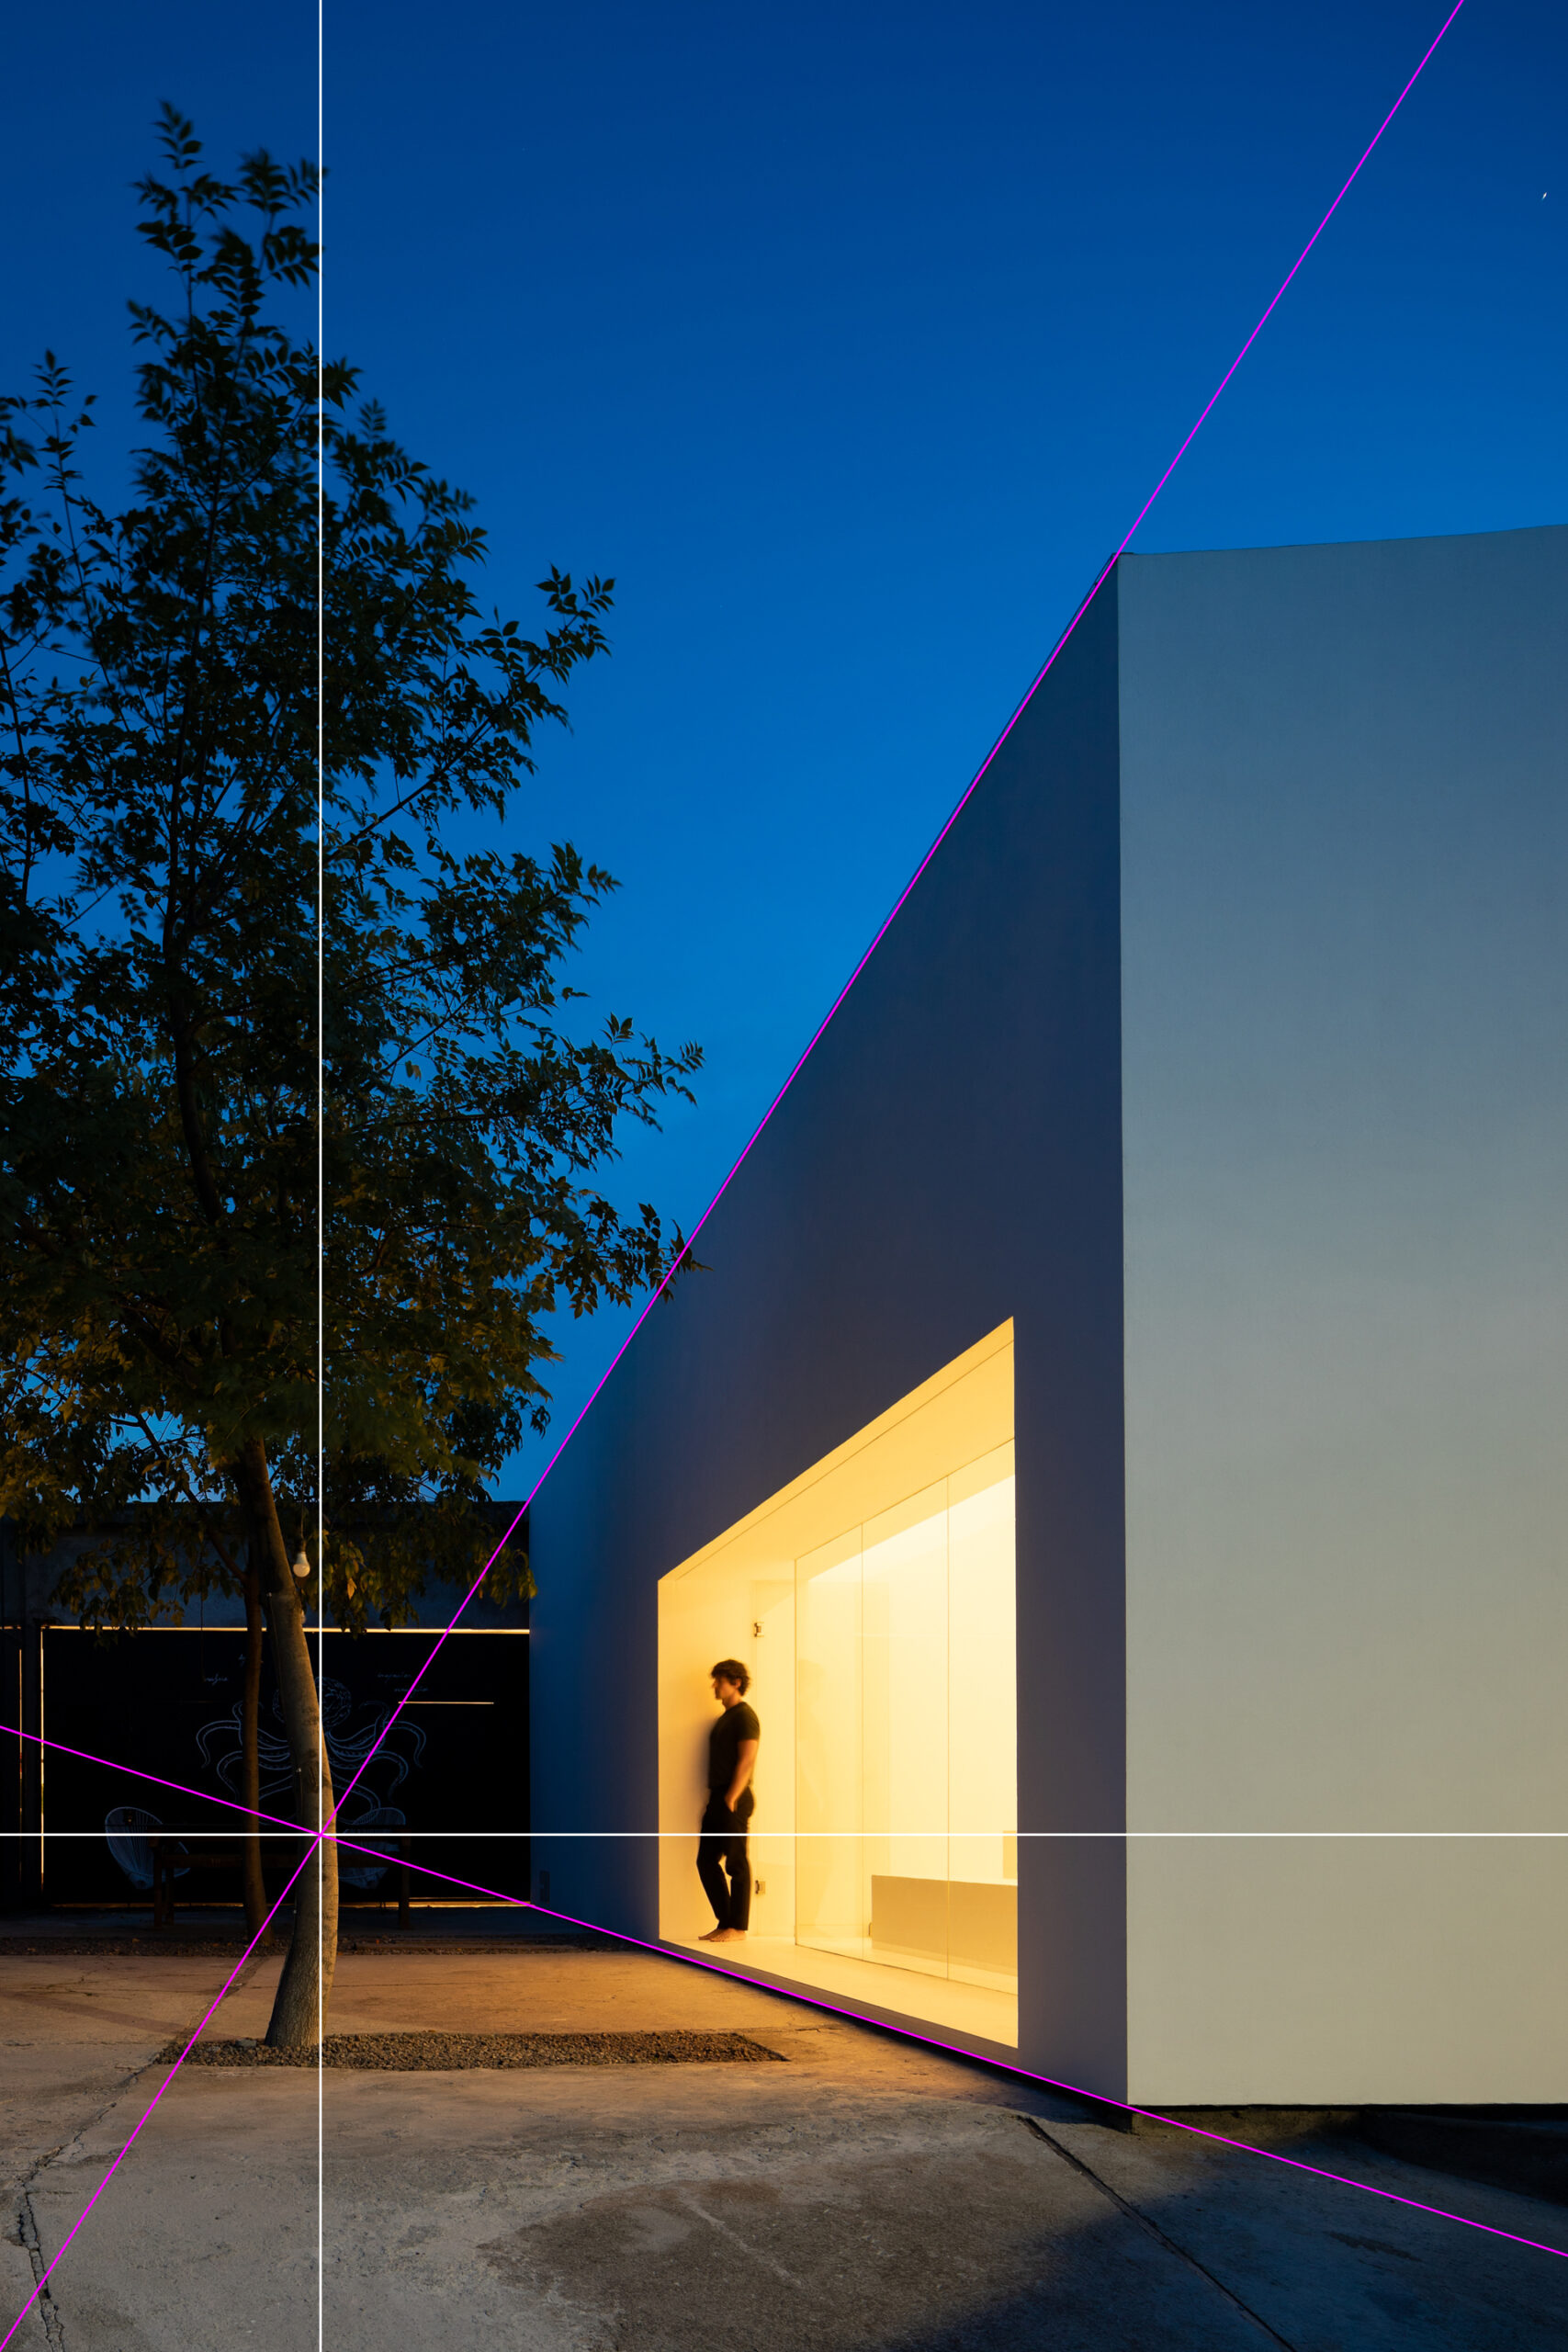
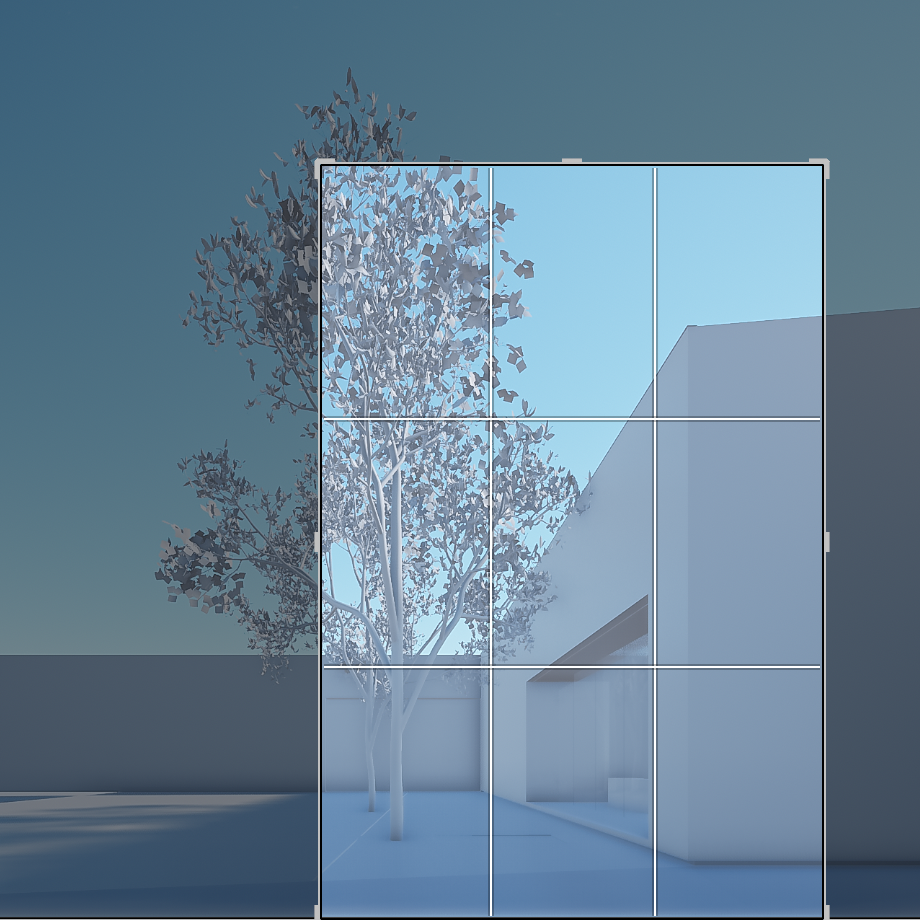
I didn’t check any metadata, however, I figured out that this shot was taken with a 17mm Canon Tilt-Shift lens. It seems also that I went for an axial composition with a heavy shift towards the upper right — this becomes evident when tracing a few guides towards the vanishing point. To get the perspective right, it will be crucial to align the camera perpendicular to this point inside the rendering software.
Modeling the Project:
For the modeling, I used a program called Rhinoceros. The chosen project was fairly easy to understand and model in 3D. It is basically an extruded profile of a simple house with a pitched roof. Even though I didn’t have the exact measurements of the project, it was fairly easy to model the space using the plans available on the architect’s website. To save time, I only modeled the elements that are visible in the photograph.

Reference Plan 
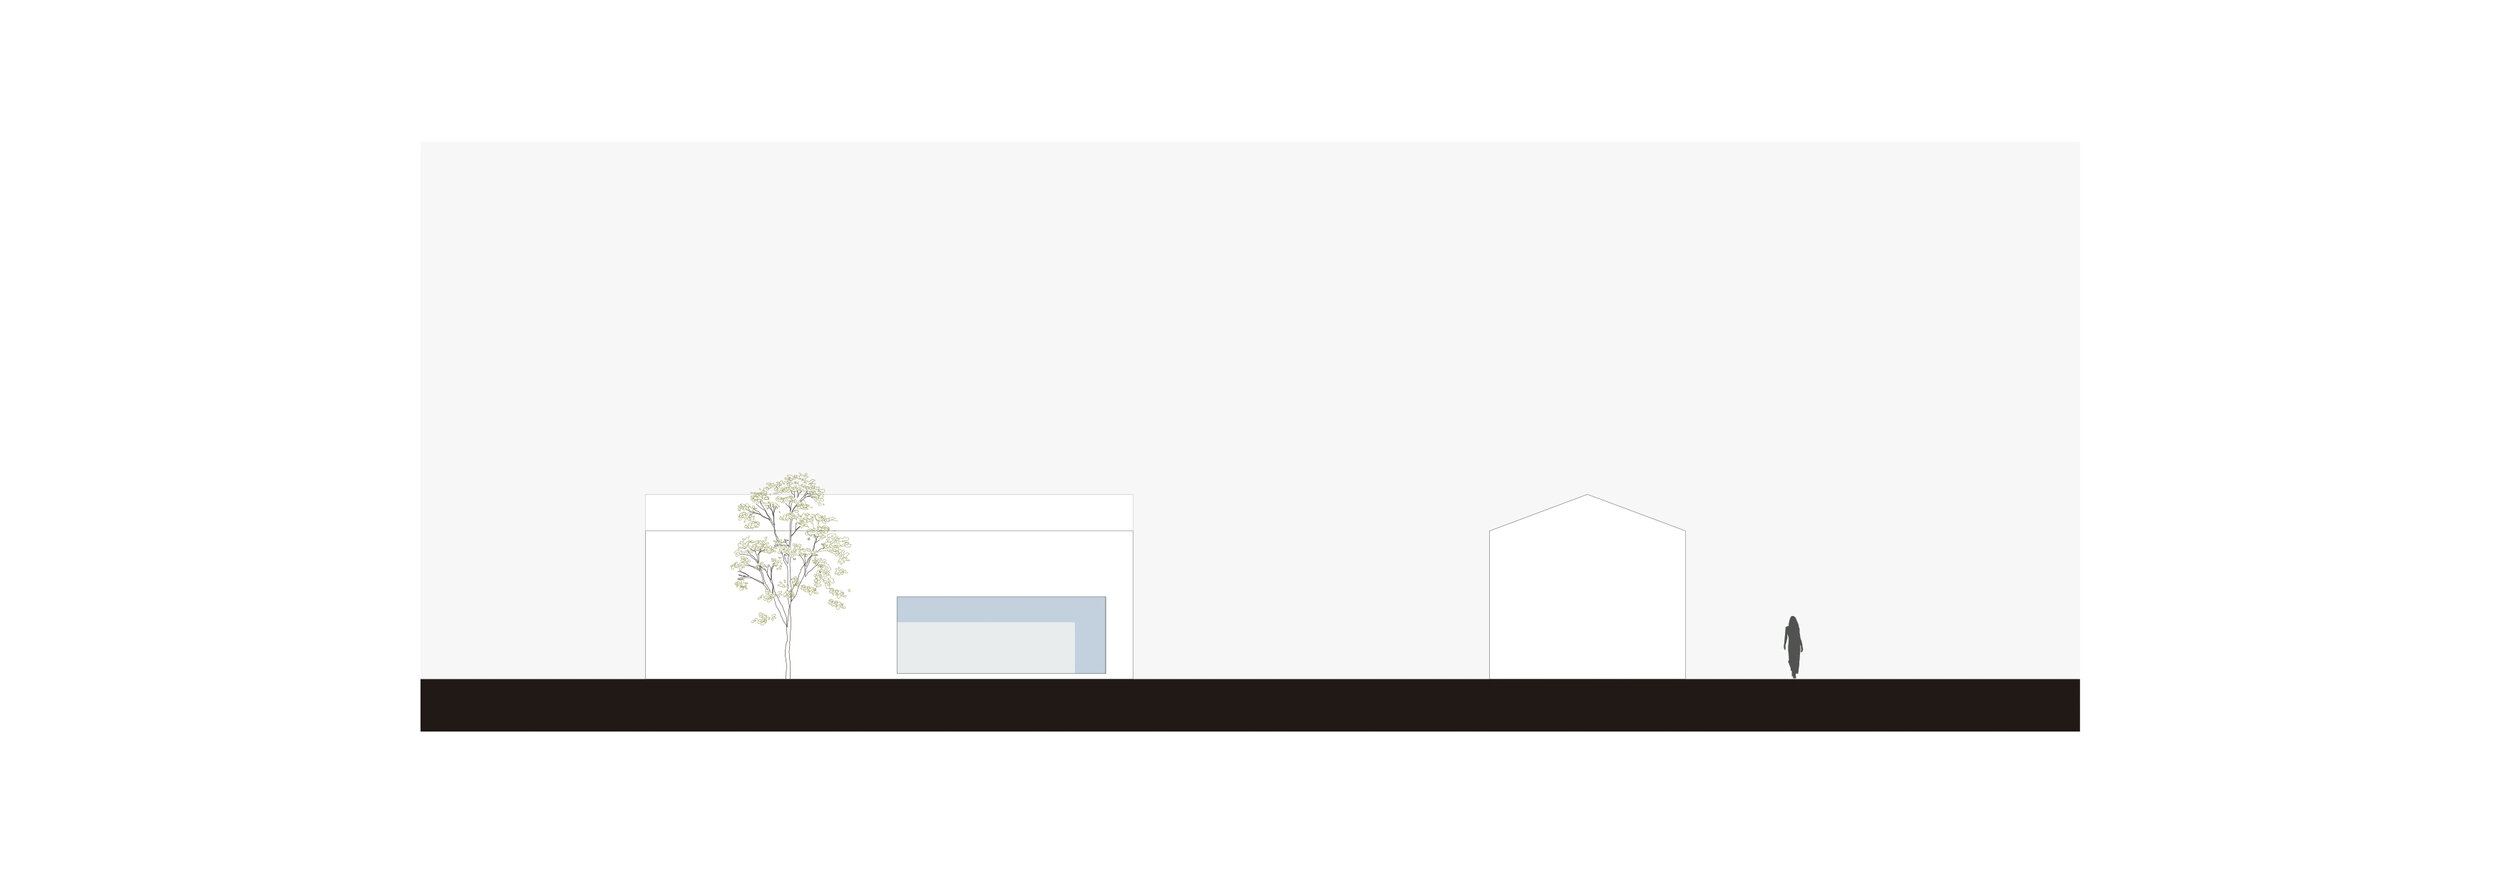
Reference Elevations 
3D Model in Rhinoceros

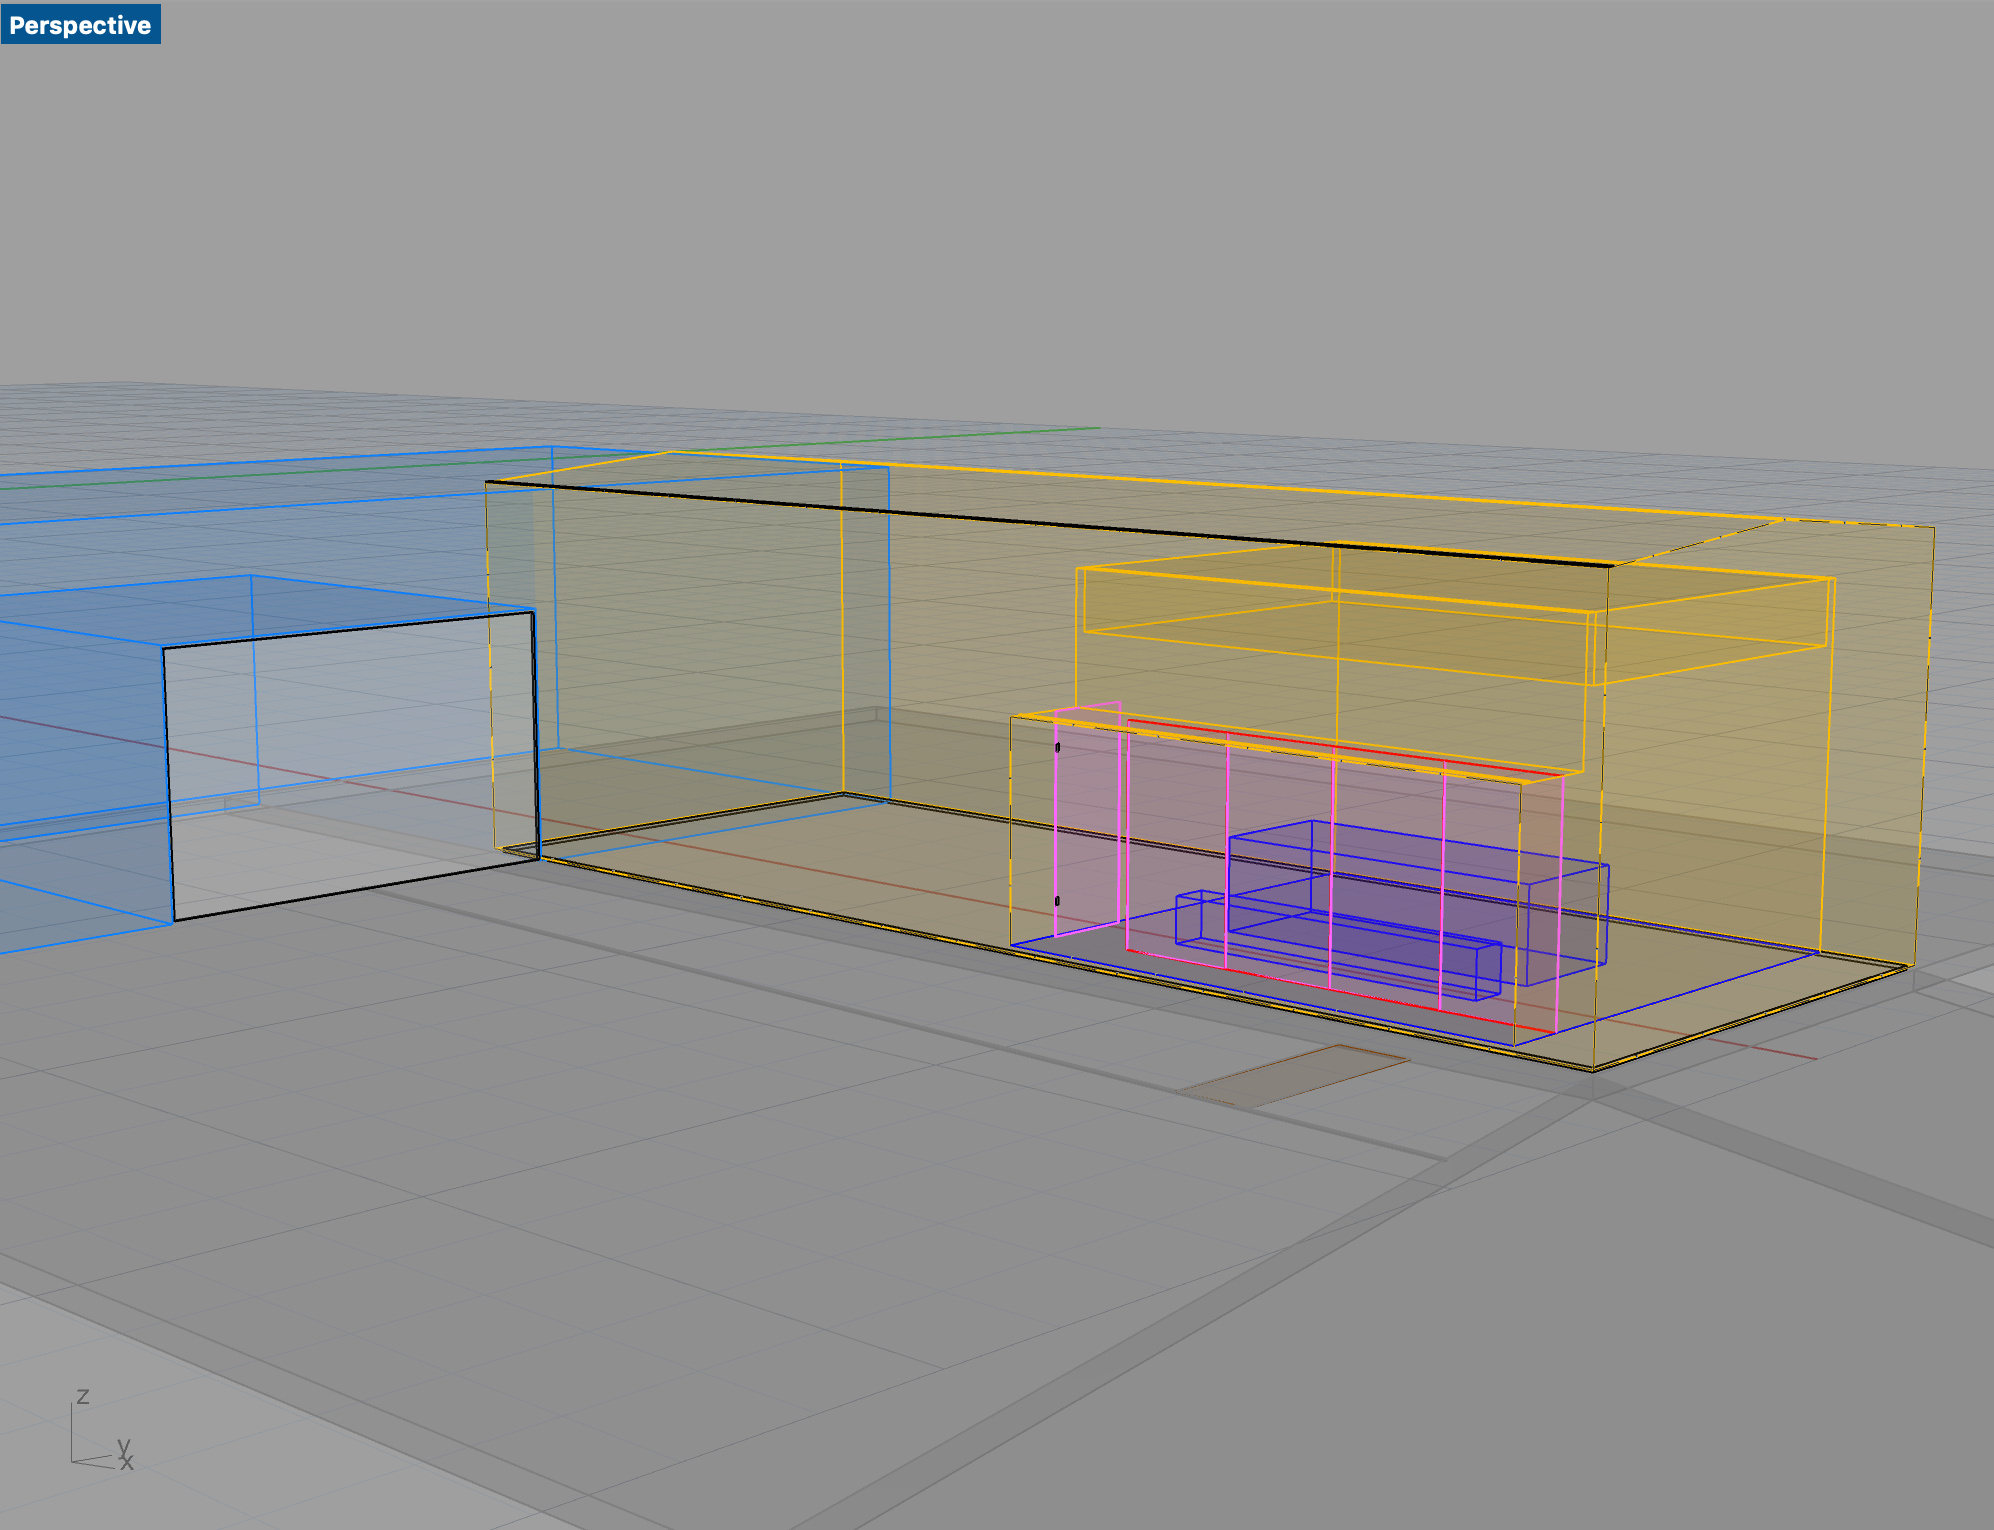
Tip: Adding some detailed elements like the door hinges, the drip edge, and the divisions of the glazing really help to elevate the render onto a more convincing representation.
Setting up the Scene:
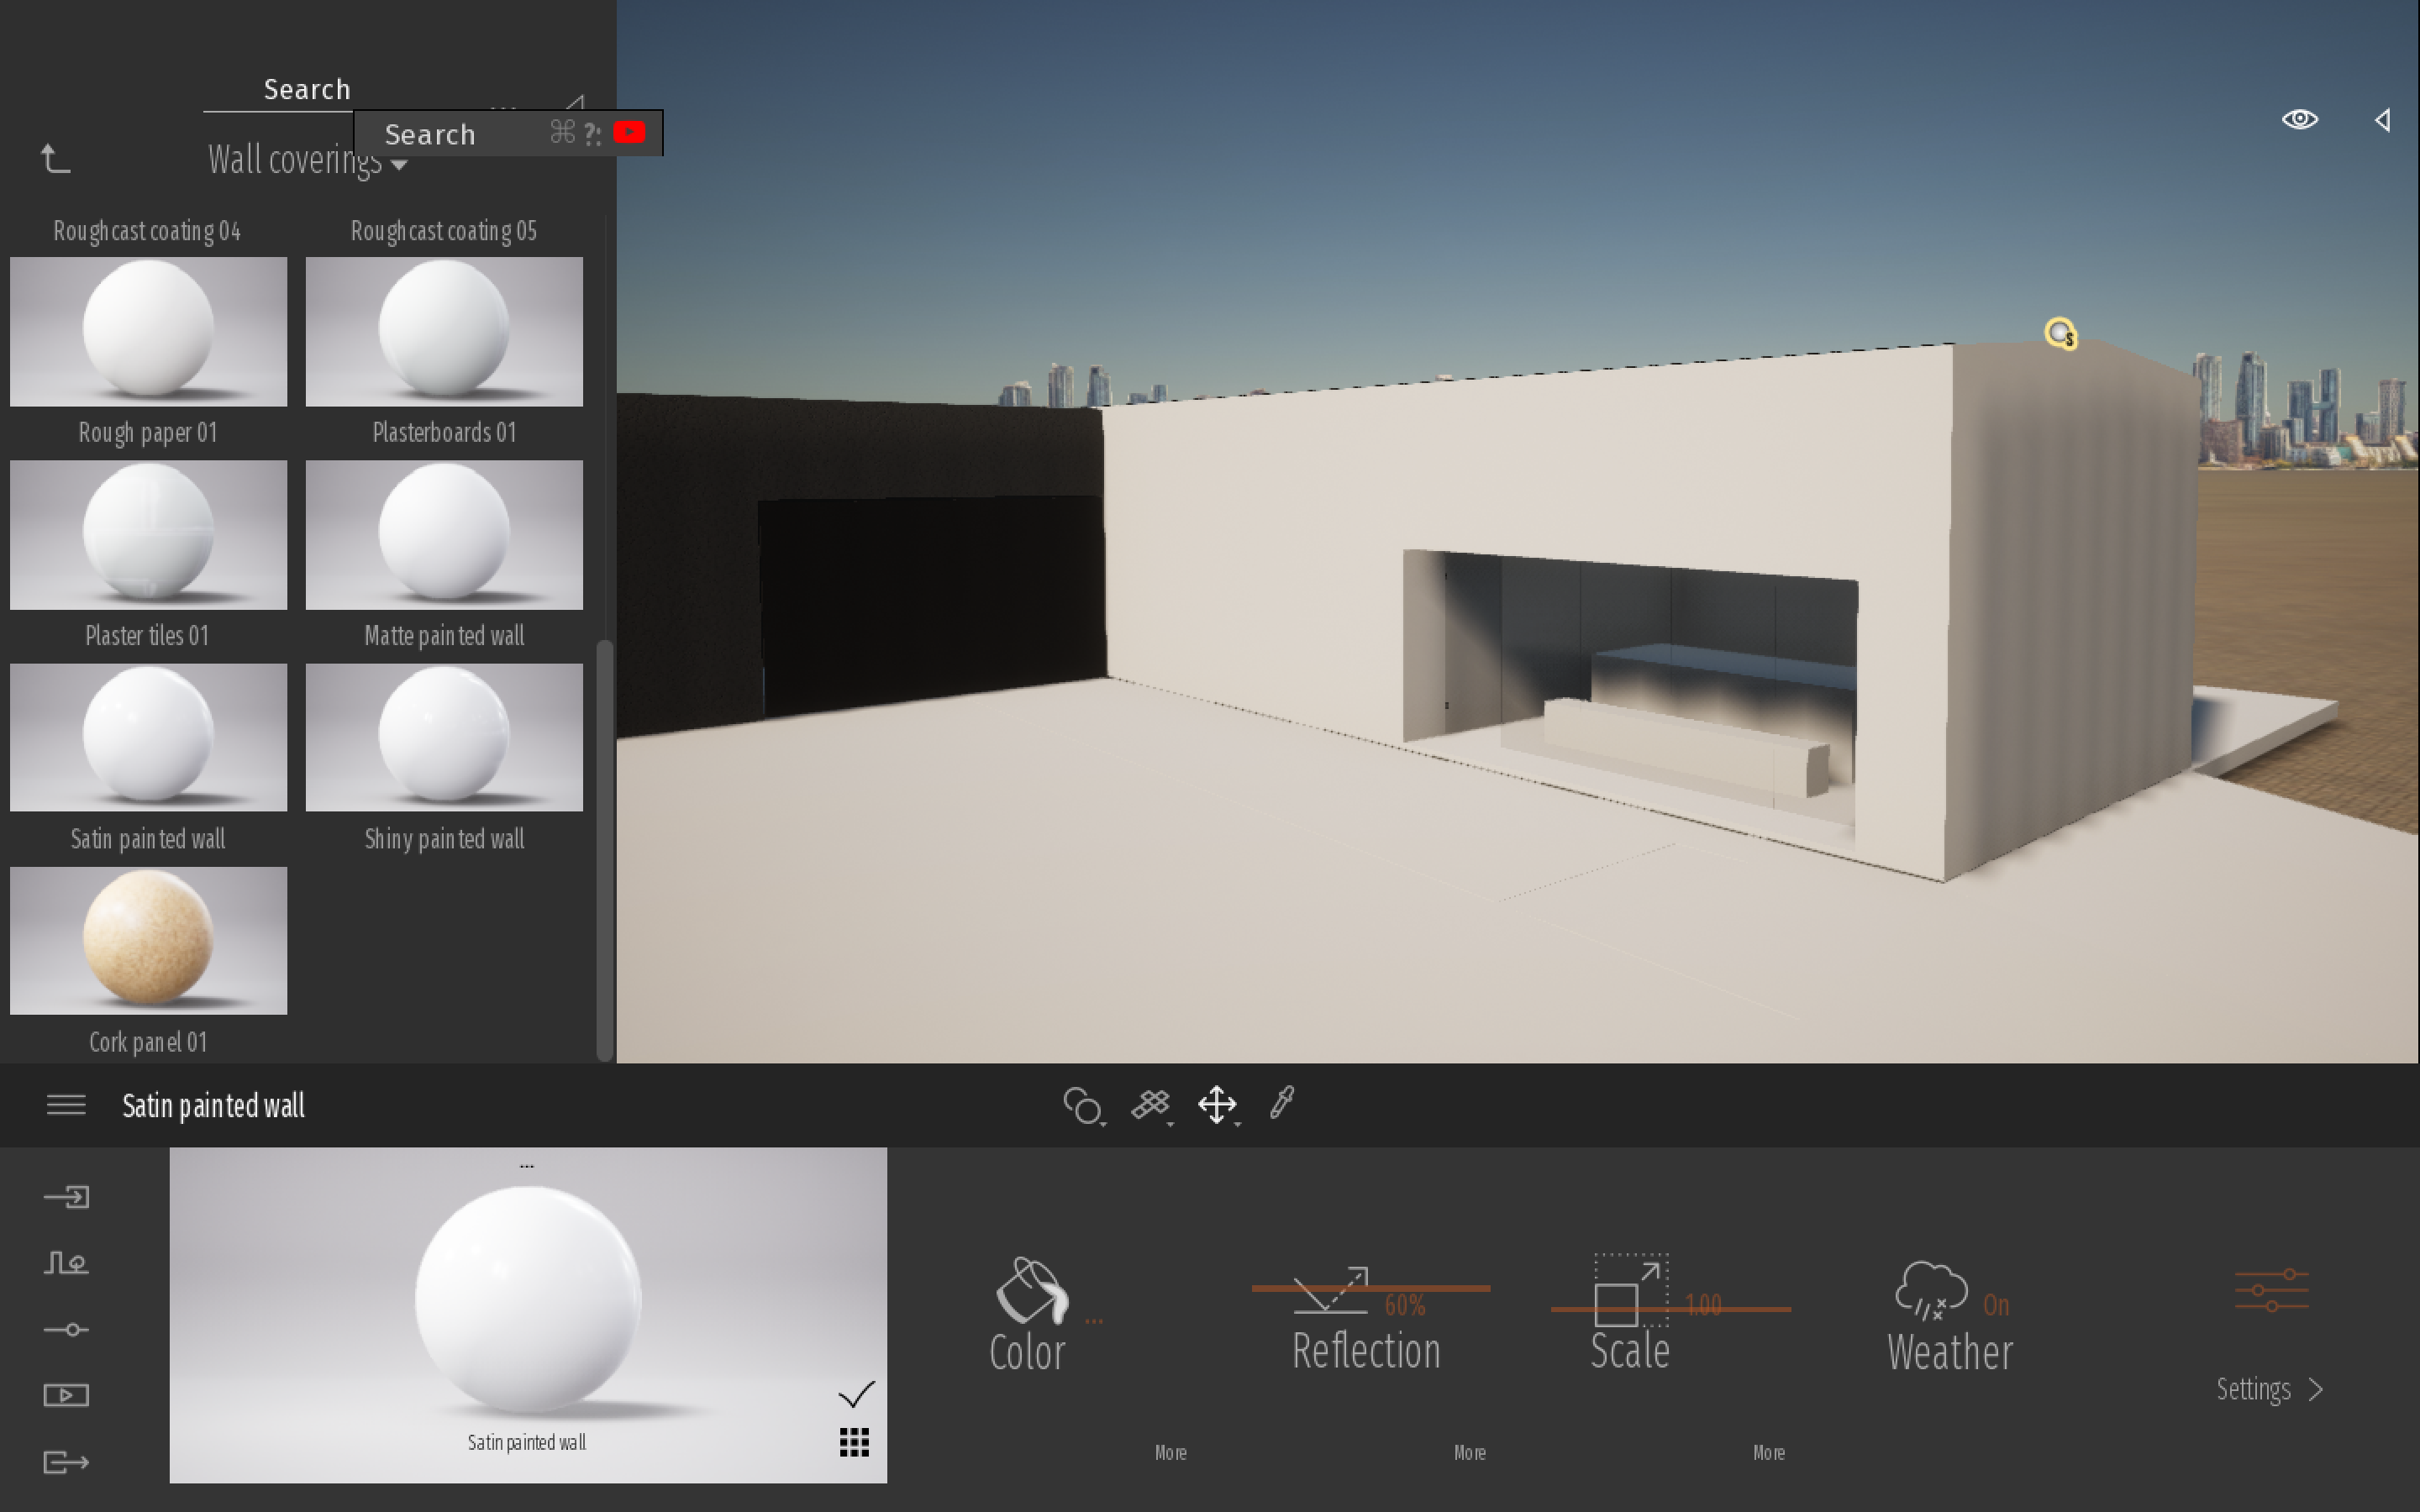
I followed the same approach for selecting the software as I did with the project — the simpler, the better. Twinmotion is a real-time rendering software, meaning that what you see on your screen is the result you will get. The program is pretty intuitive and includes everything you need to set the scene of your project with just a few clicks: materials, vegetation, furniture, lights, etc.
One of the software limitations is the virtual camera. While you can choose and match the field of view to that of your lens, you can only emulate a vertical shift movement. The workaround for this was to create a square image and crop it later in post-production. While doing this something just clicked: Every Tilt-Shift lens composition is only the crop of a larger image. It might be interesting to think about this while shooting.

Need to crop from a larger image to emulate the Tilt-Shit lens composition
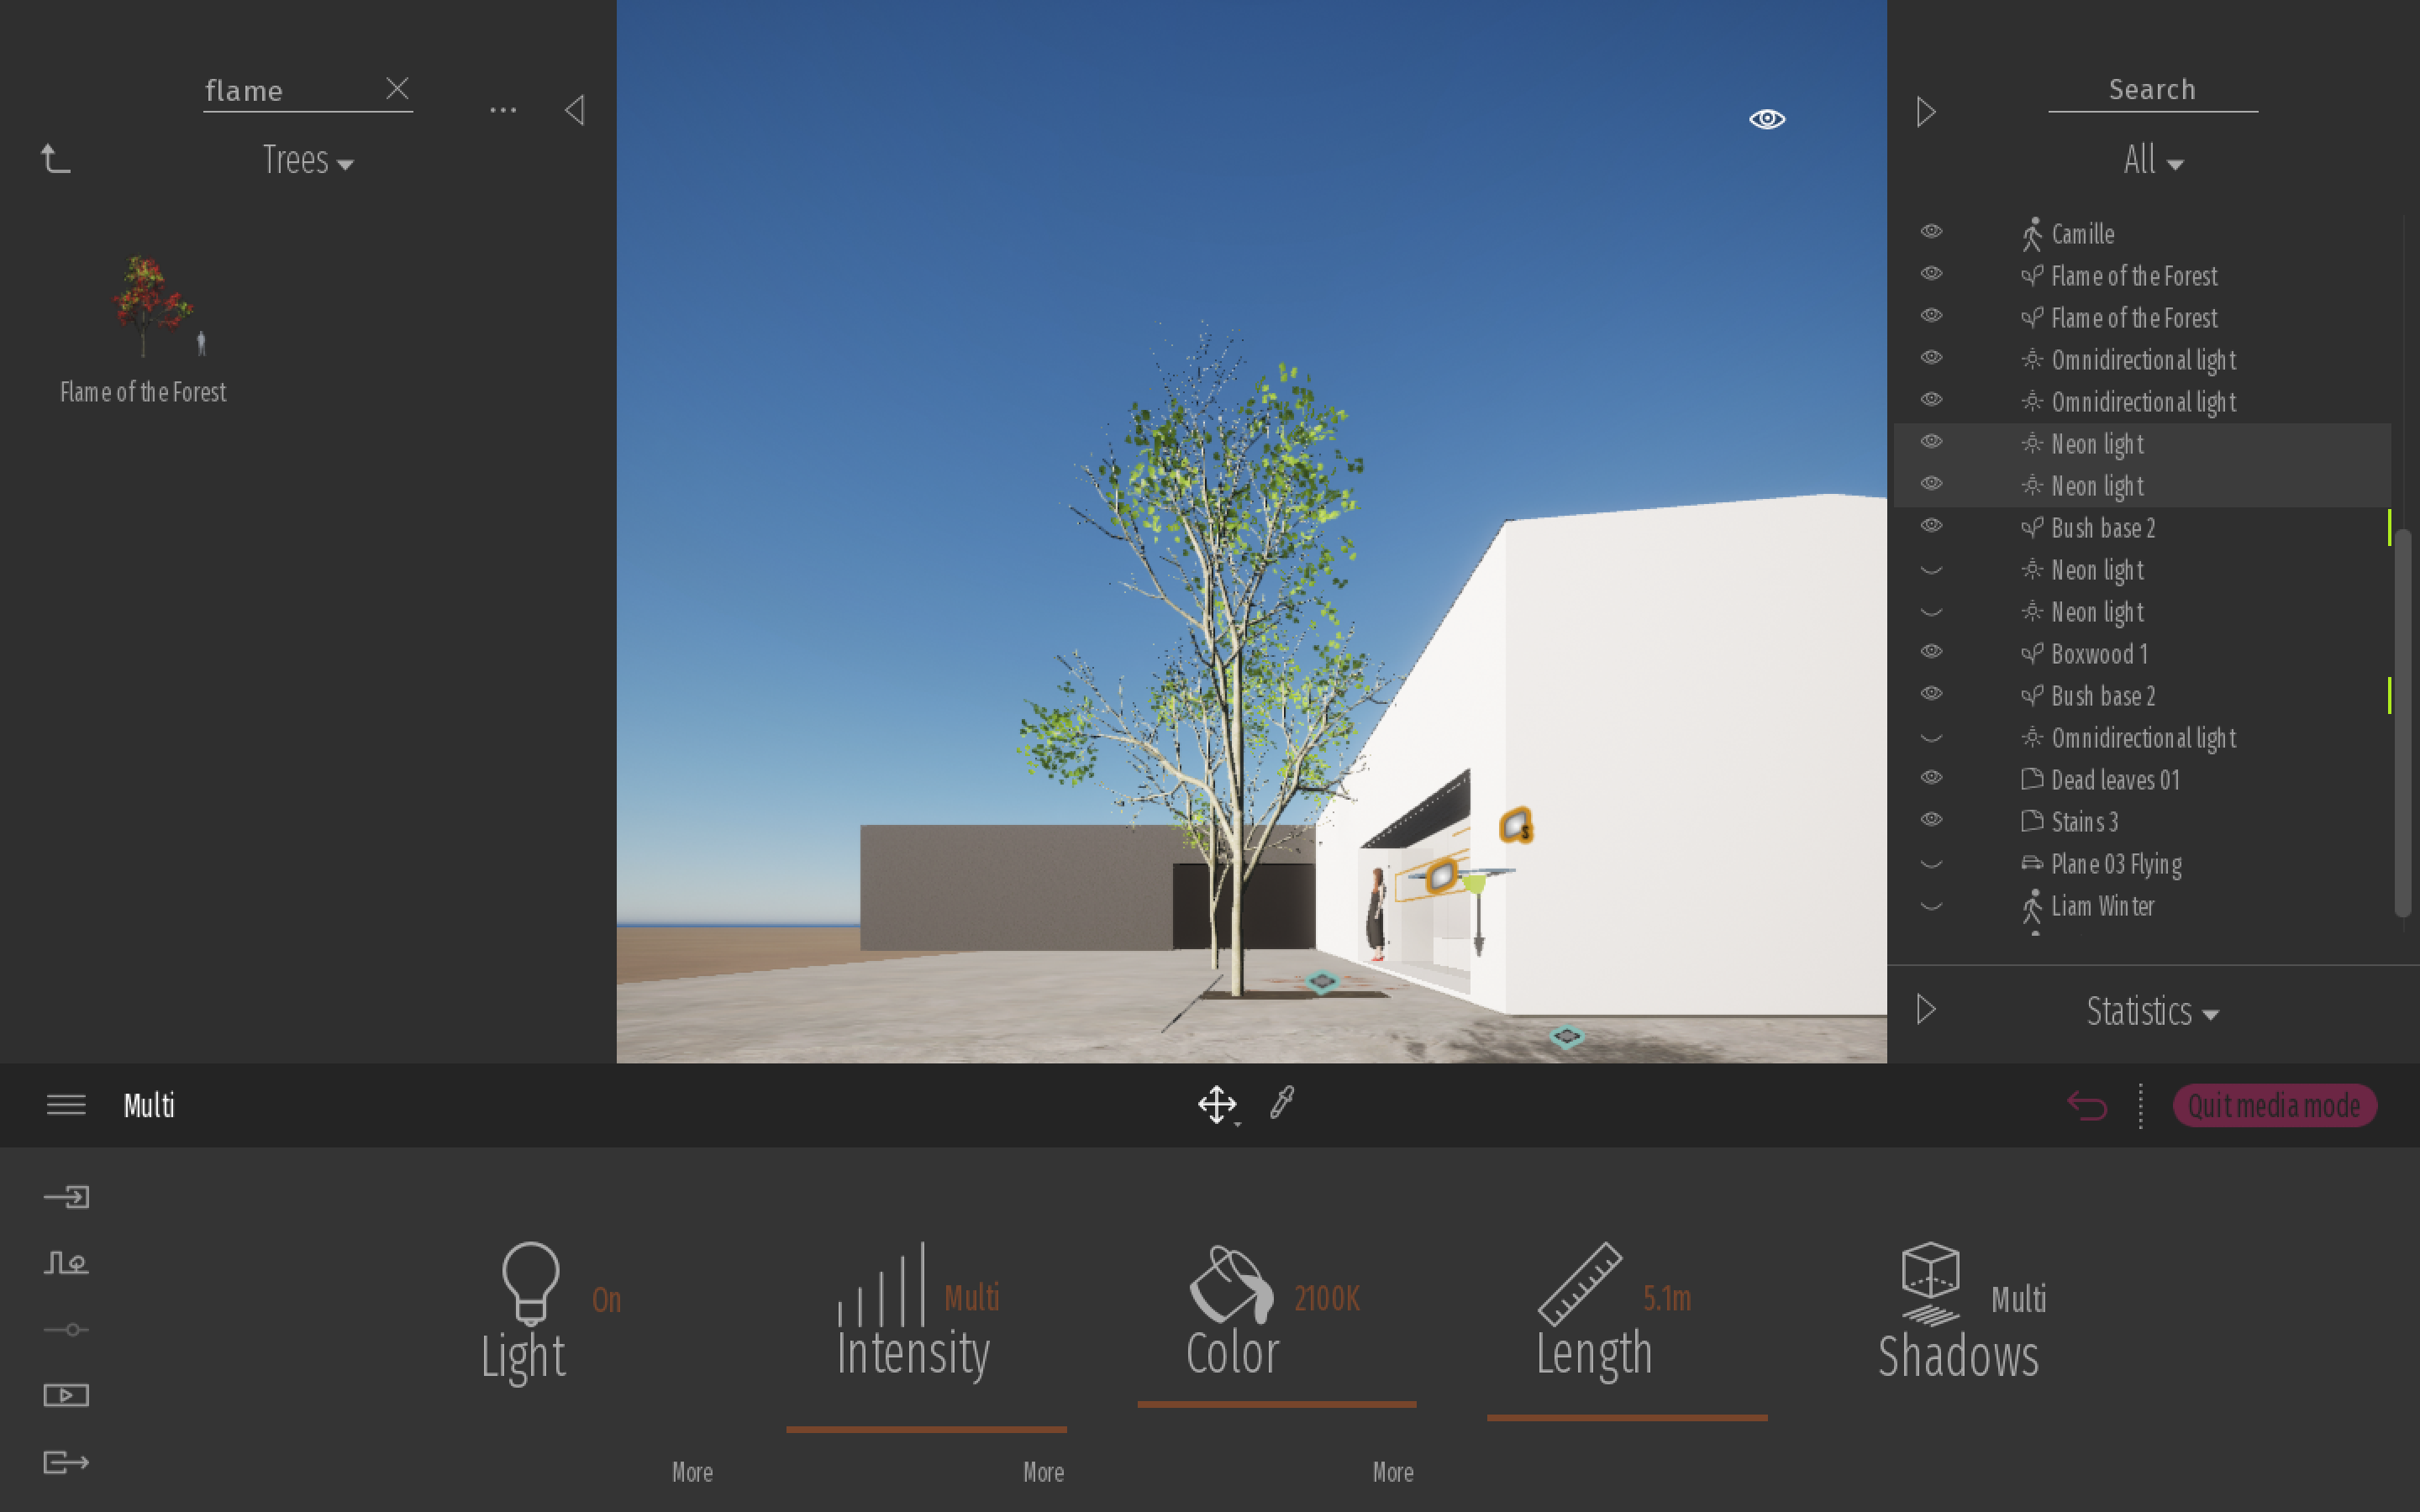
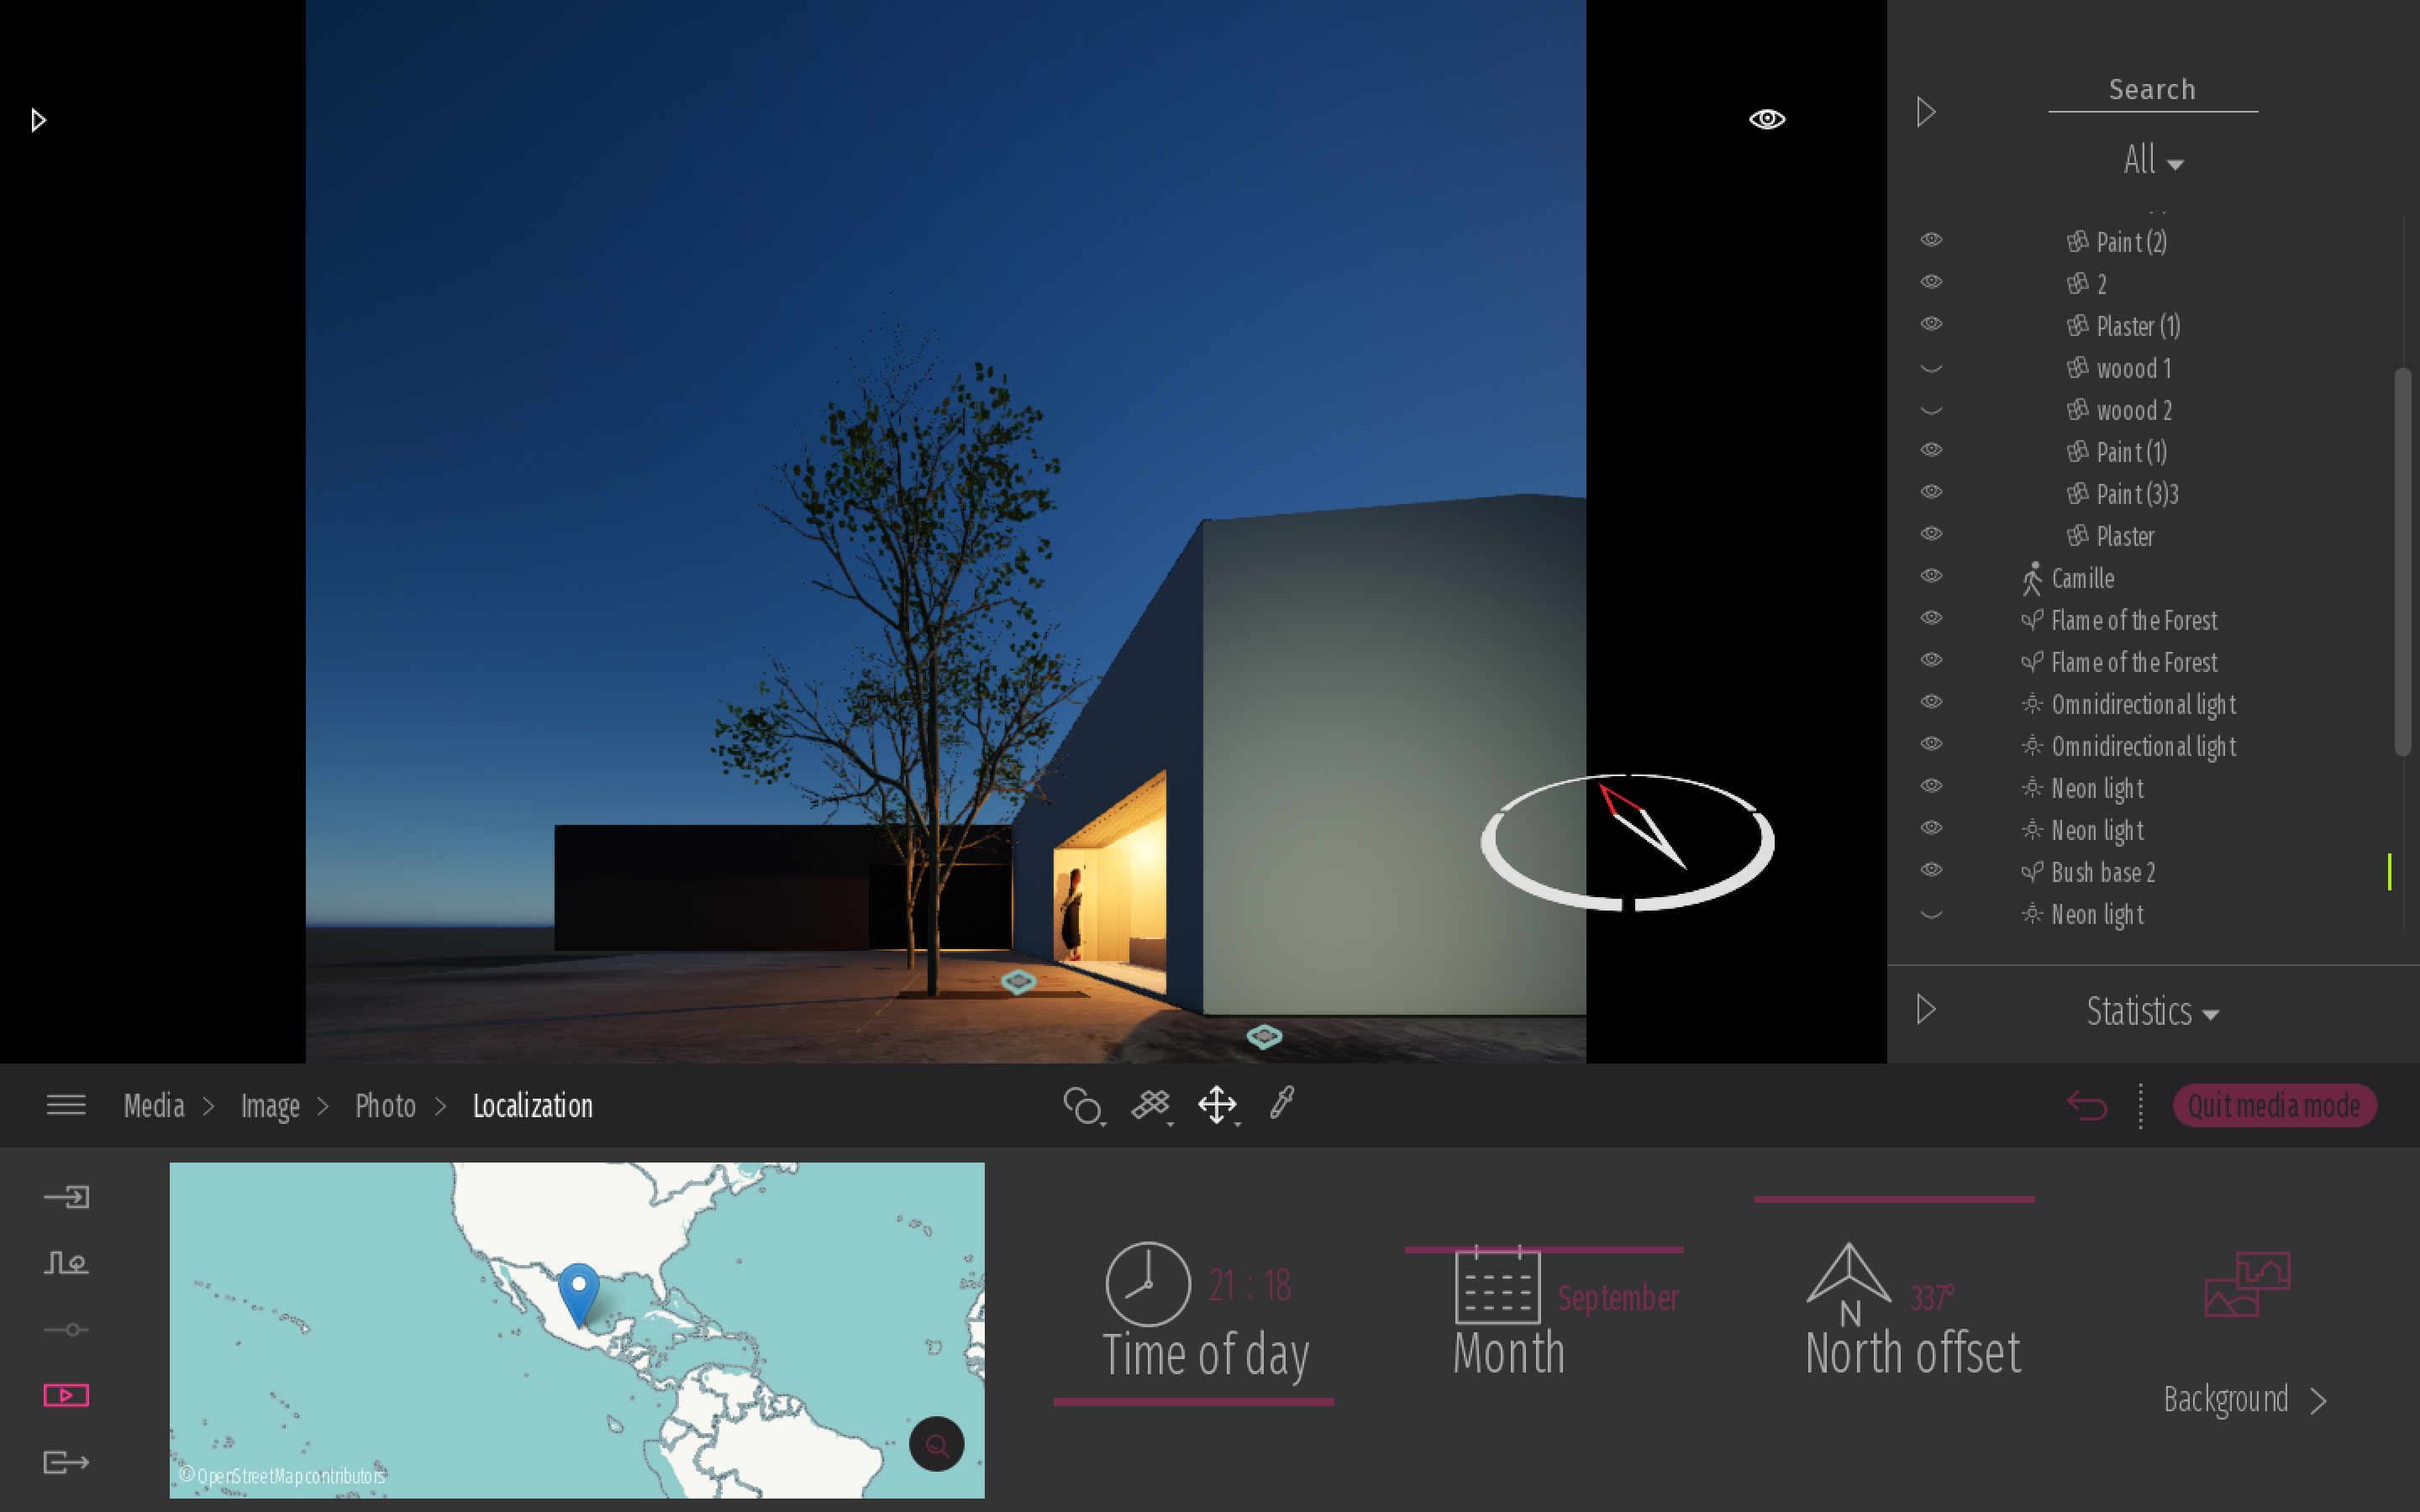
I will not be diving into a step-by-step guide, however, here are some snapshots of the process within Twinmotion

Adding Materials Matching perspective after adding trees and human scale Set correct location and time. Add artificial lighting.
Rendering results:
As mentioned above, Twinmotion is a real-time rendering software. Below there is a comparison of the preview image against the final output image:
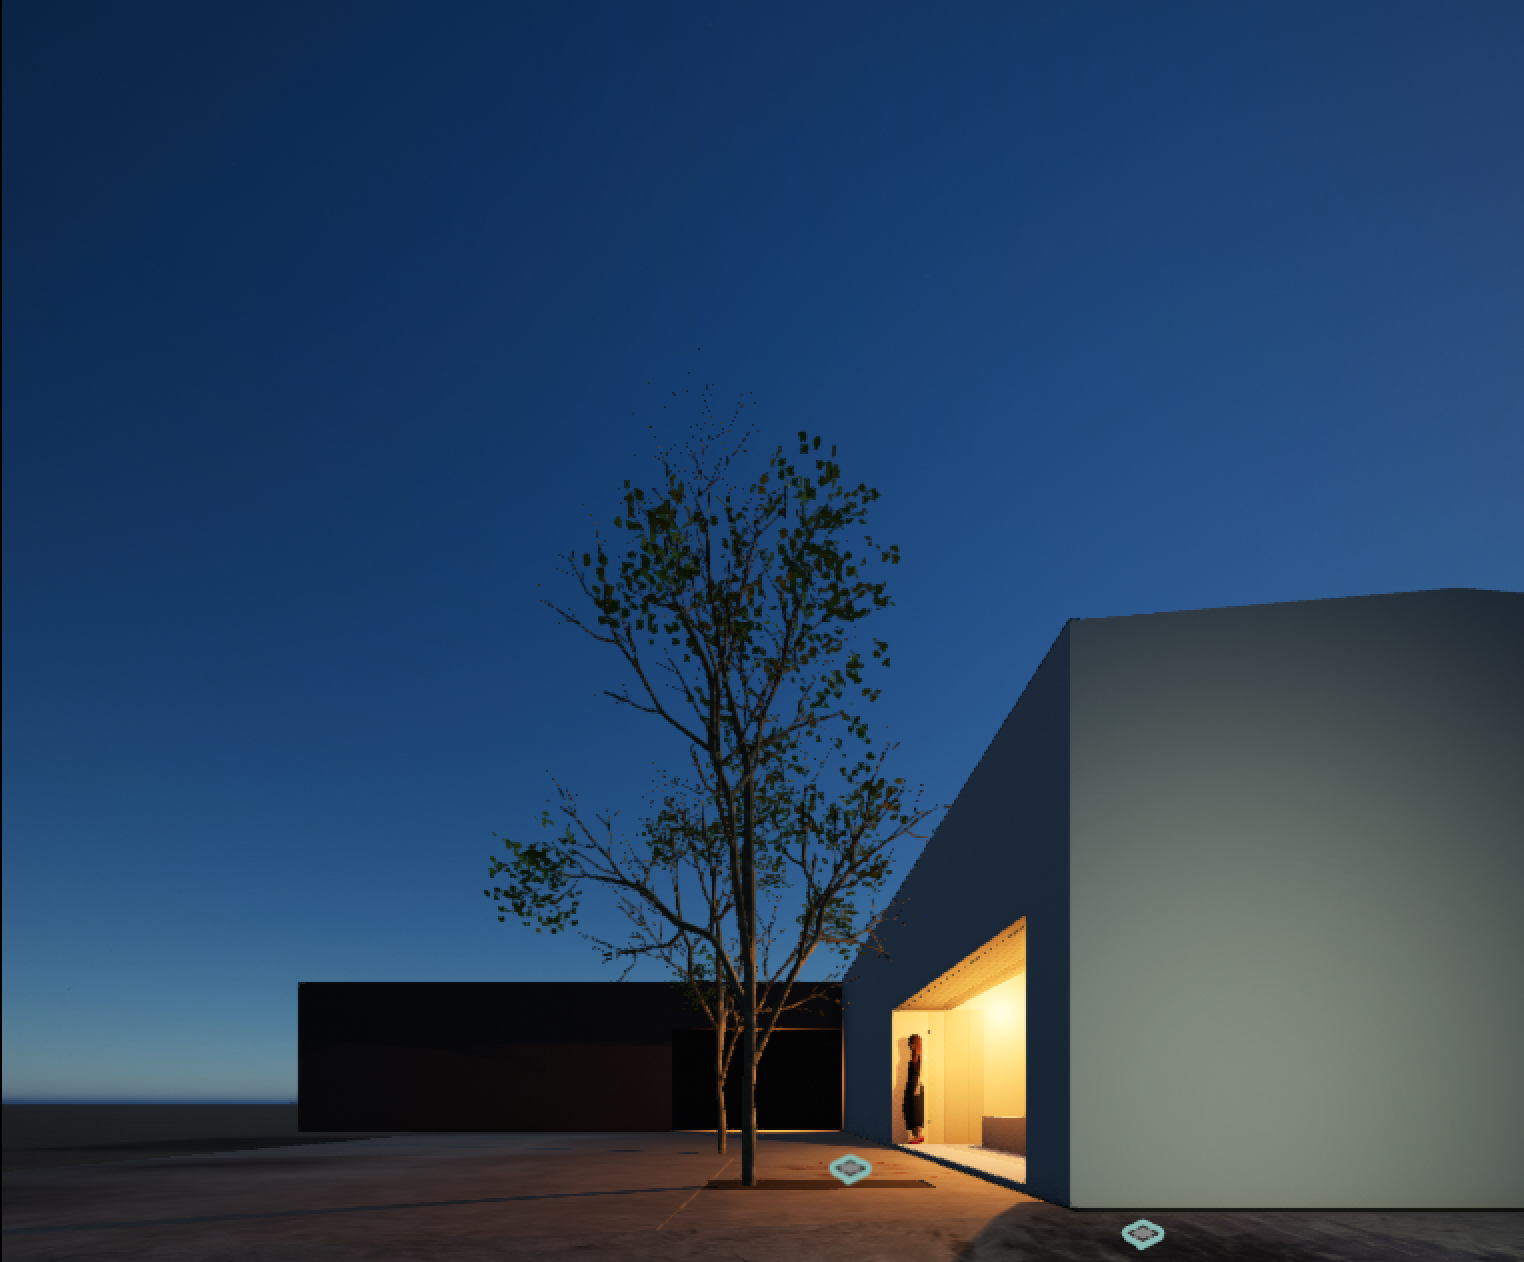
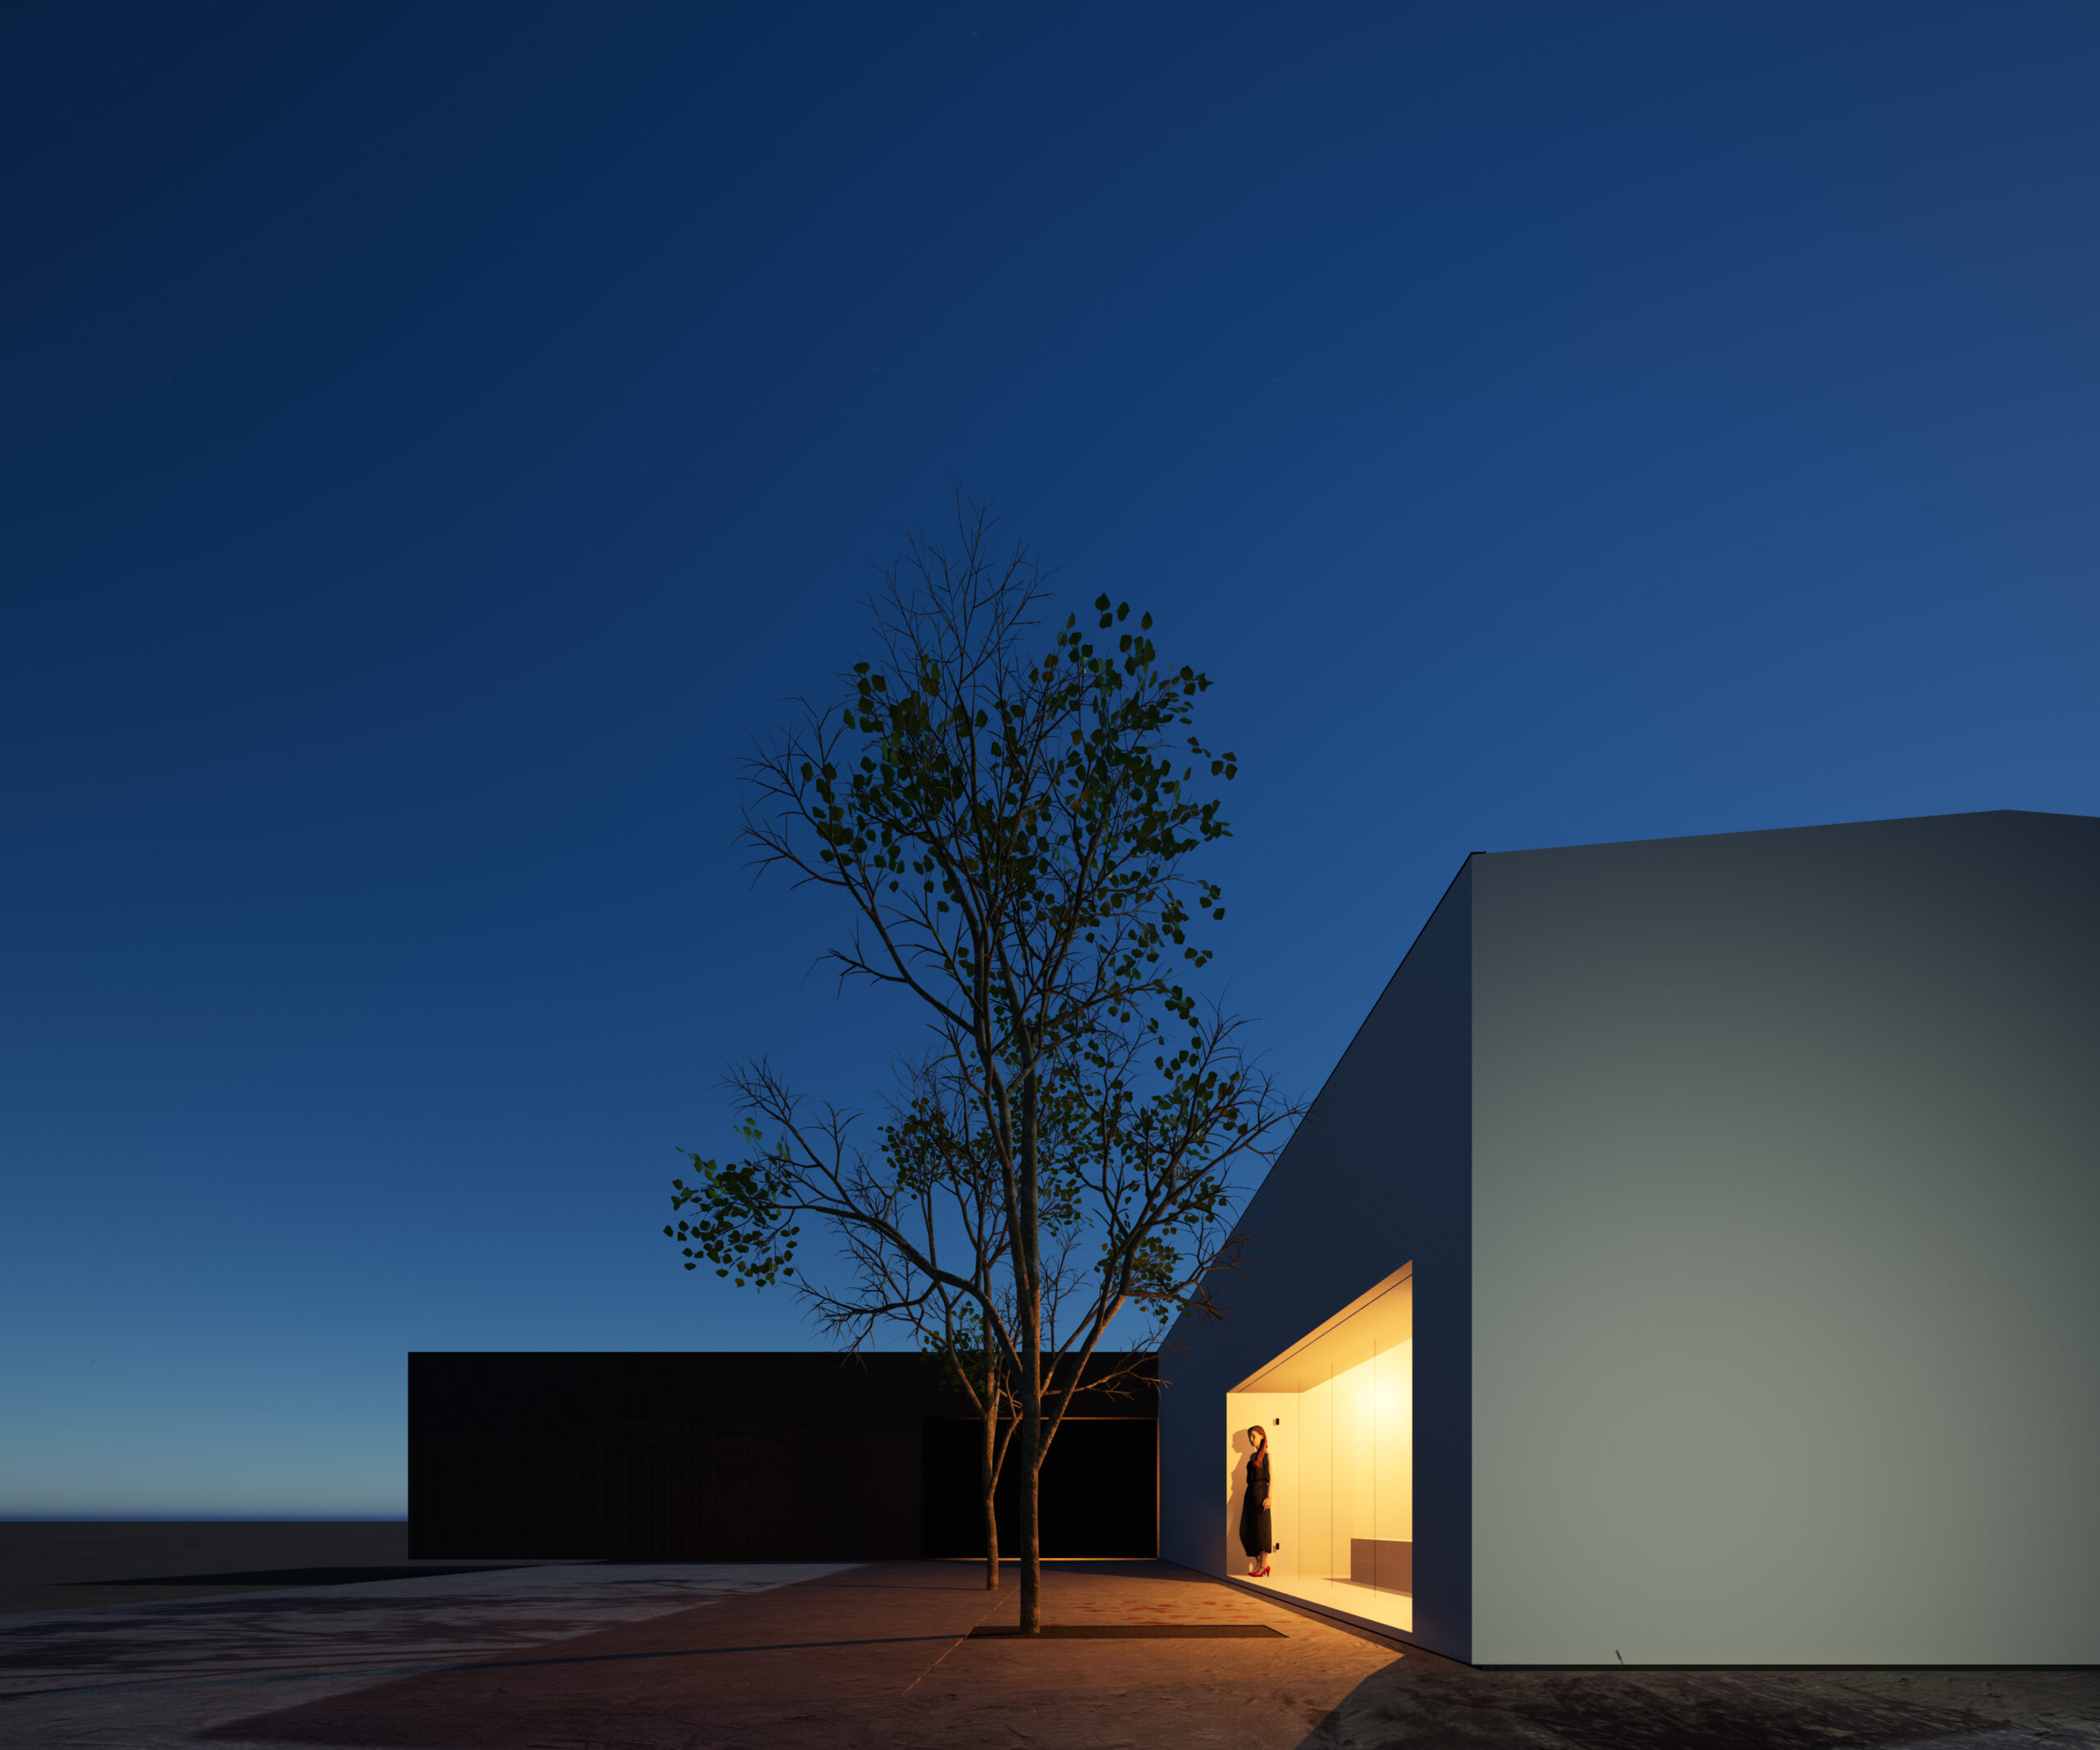
For the final comparison, I went ahead and adjusted the raw render. I edited the light levels, color, and contrast, just like one would do with a raw photograph. In addition, I cropped the render to match the Tilt-Shift lens composition. Here is the final comparison:
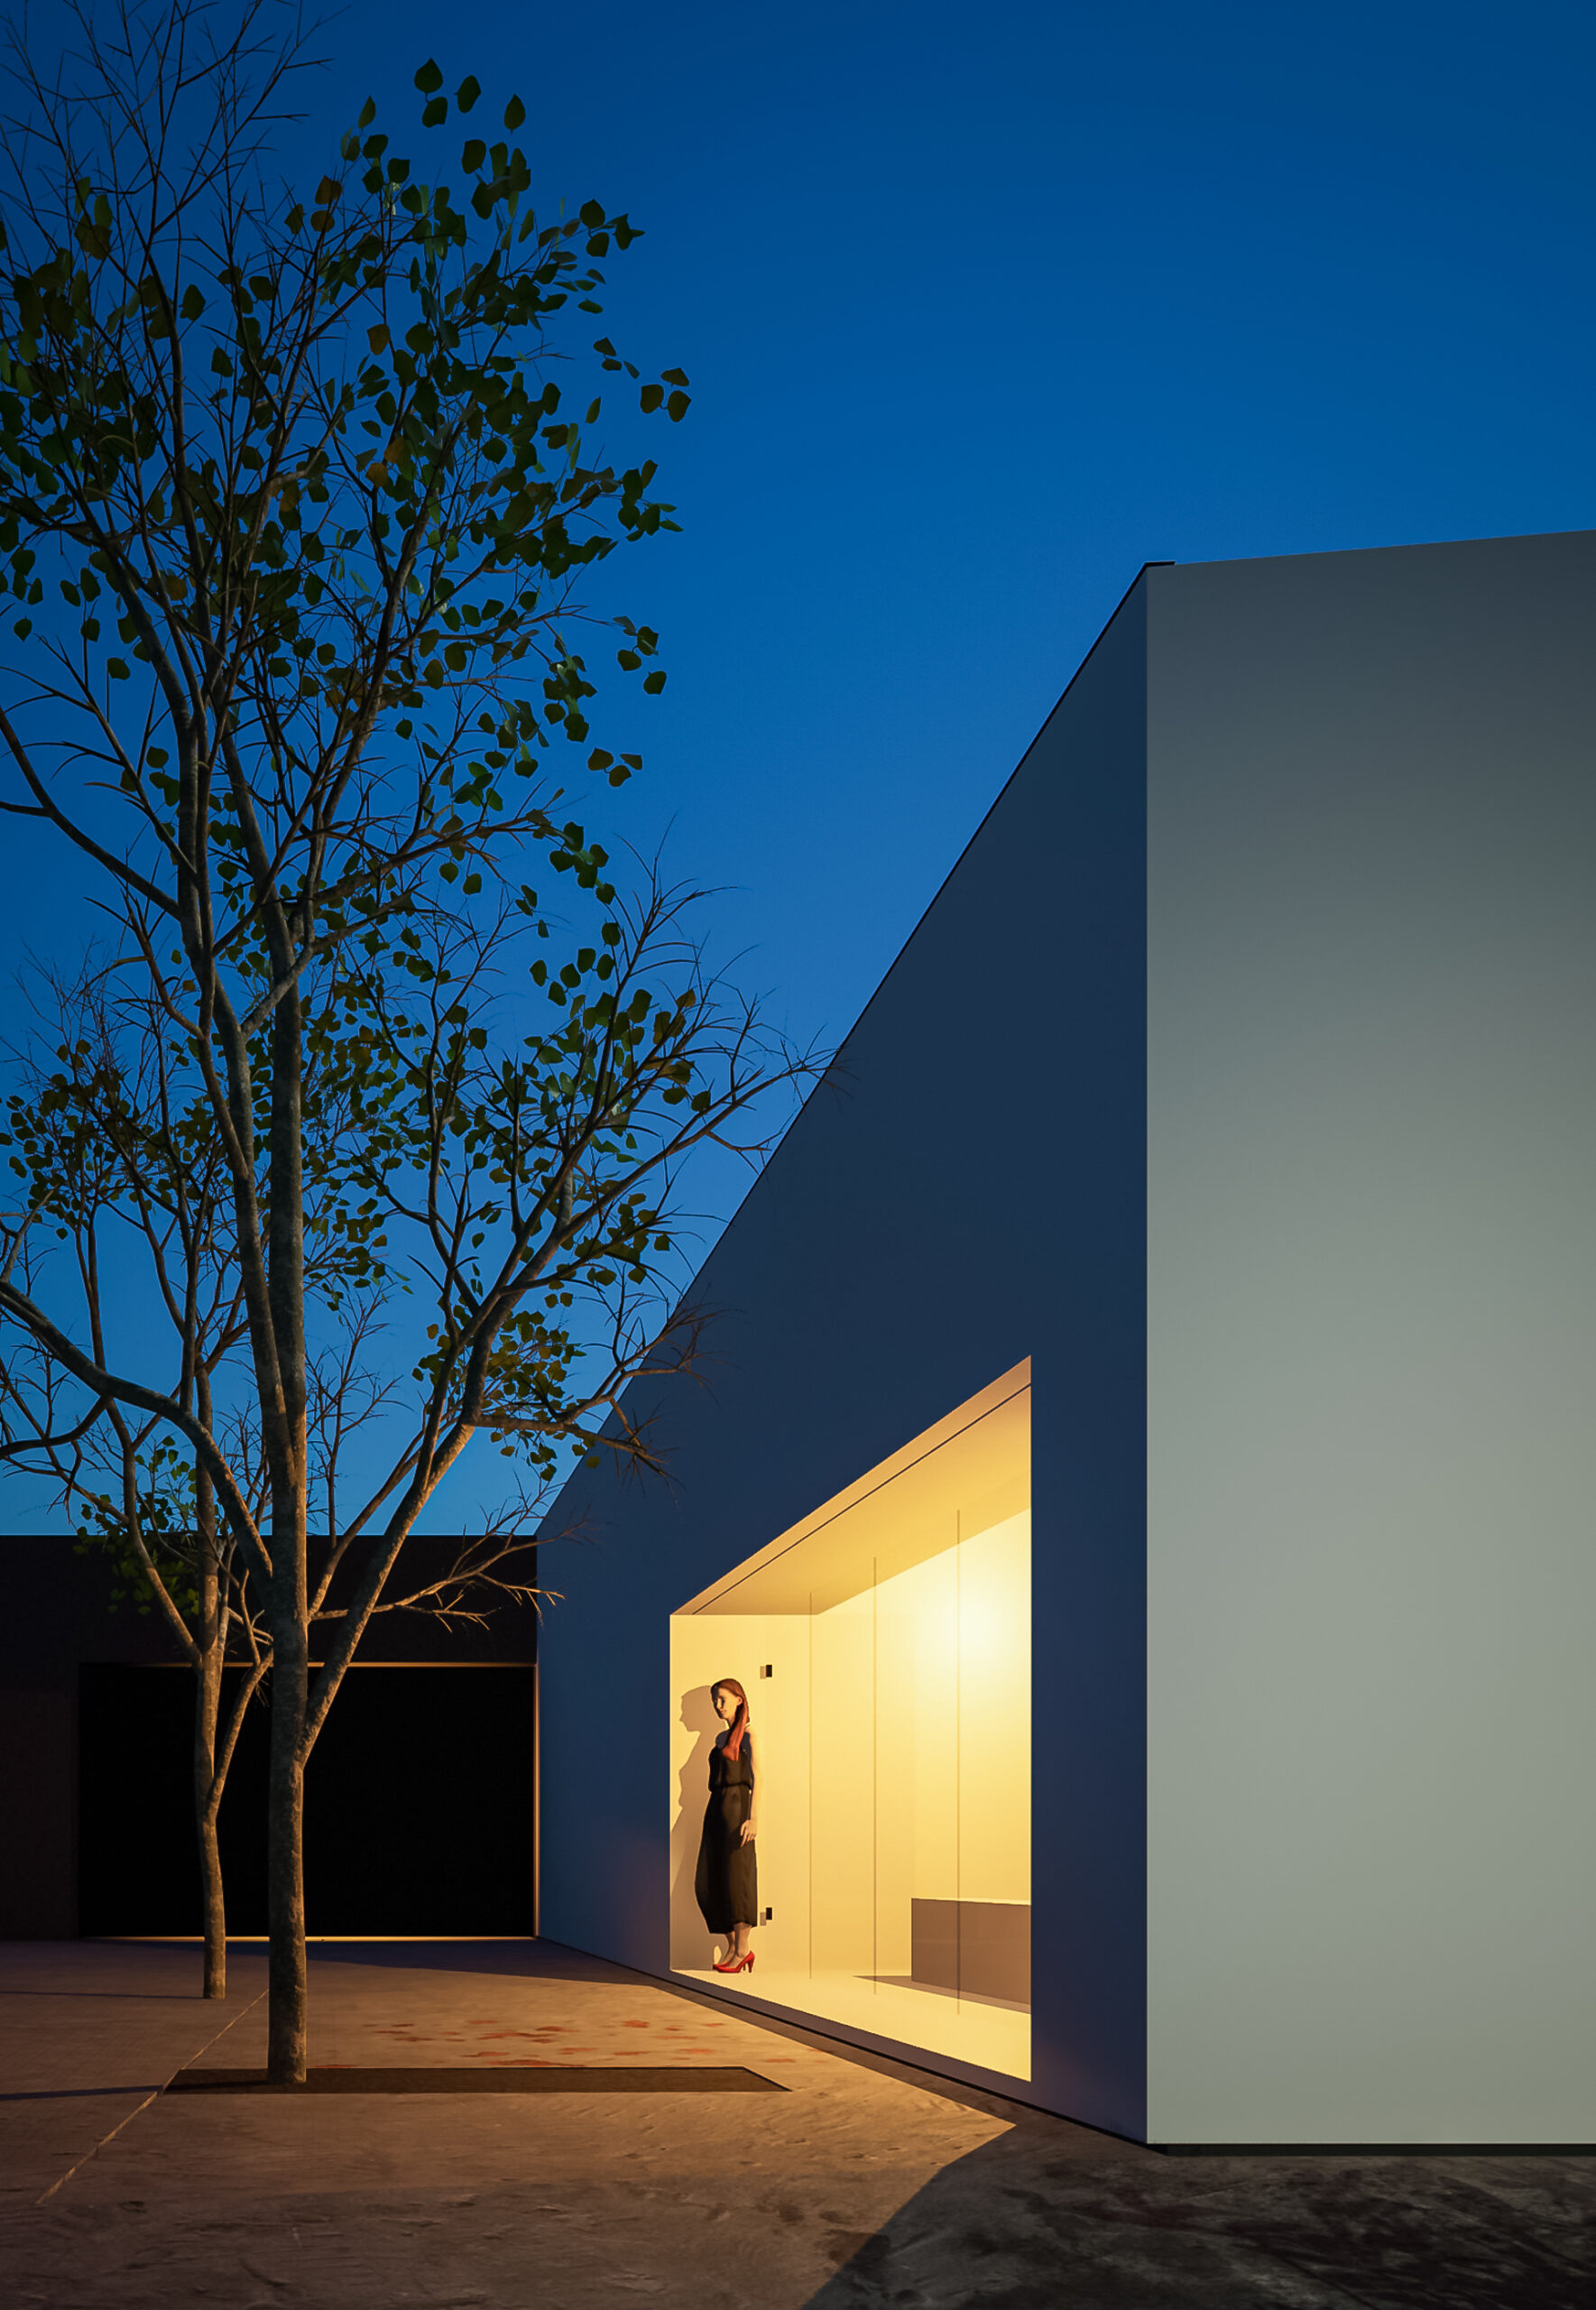
This is my second time using Twinmotion and to be honest, I am surprised by the accuracy and ease of using it. Although it is not a perfect replica, you can recreate a close to the real-life atmosphere. The white volume has accurate color casts: some deep blues reflected from the sky and brighter yellows from the light coming within the building.
Of course, this exercise (and renderings in general) can be taken to a further level of realism by adding cutouts of real photographs in Photoshop, i.e. replacing the sky, switching out the rendered human scale for a real one, and adding textures to the walls. Since the goal was to replicate the original photo as a rendering, and as I am comfortable with the results, I will call it a day.
Instead of dedicating more time on the final touches, I decided to play around with the possibilities of Twinmotion, and completely switched the location to a snowy environment!
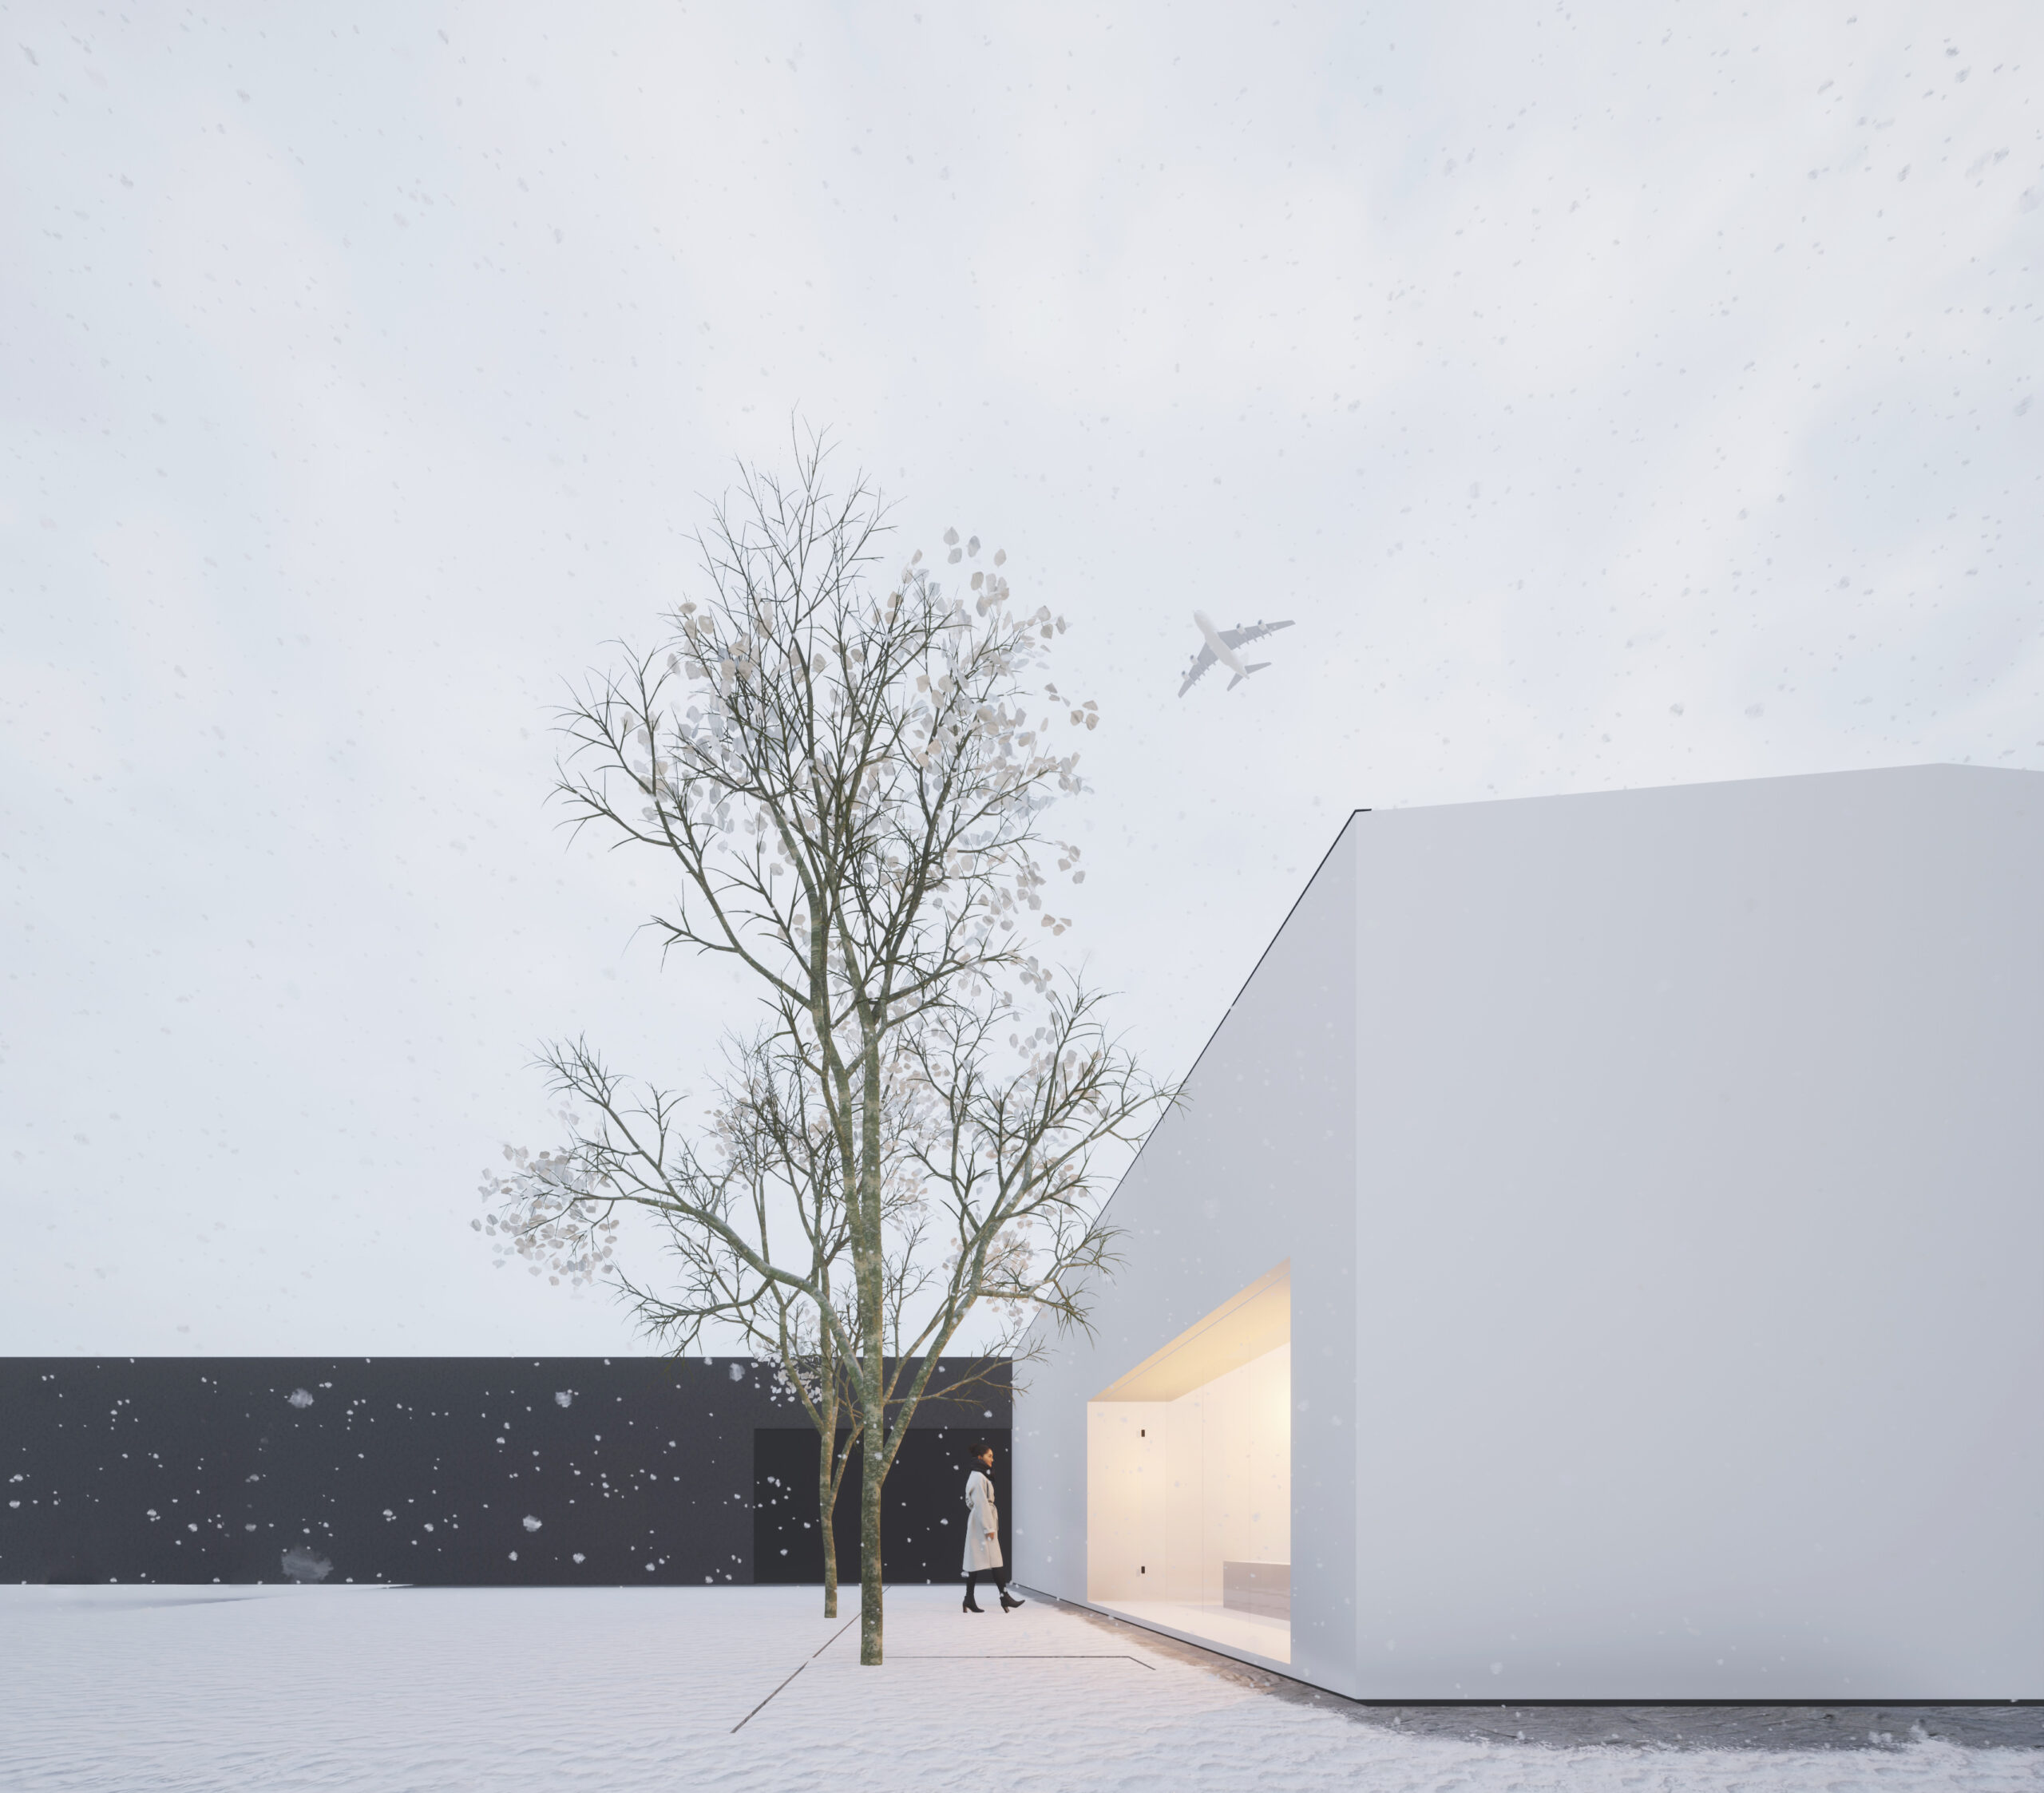
For sure this flexibility is an advantage of renderings. Once you have a built model and settings you can play around not only with different framing but different seasons and locations.
As an architectural photographer, I know that a render cannot replace a photographer and his / her personal vision. However, as an architect, I recognize the importance of using collages, sketches, and renders as a tool for both the creative process and landing / financing a project. In conjunction with selecting the right atmosphere, I believe that knowledge from architectural photography can inform the way renders are created.
Soon, I will need to create the renders for my first ever architectural project, and I intend to give them a “photographic post-production.” Perhaps I will share them in a new post. Until then, let me know your thoughts and comments below!
*Twinmotion is a software developed by EPIC games. It uses Unreal Engine for producing real-time renders. You can get a free full trial here. The only limitation is the image output size.