Which Architectural Photography Tutorial Should You Buy?
With countries dishing out mandatory quarantines and work grinding to a halt, most of us photographers have found ourselves with quite a bit of downtime. If you’re sick of watching Tiger King and doing puzzles, now would be a great time to kick back, turn on a tutorial or two, and pick up some new skills.
I sat down and watched all of the big architectural photography tutorials to save you time and money. It seems like everyone and their mother is an “educator” these days, and nothing sucks more than buying an expensive tutorial only to find it wasn’t what you expected or needed to learn. Now, infused with all the knowledge of the greats, I’ll walk you through what each architectural photography educational course is about, the general style and clientele you can hope to achieve by putting the techniques into practice, as well as some other general details, including what I liked — and disliked — about each course.
When it comes to architectural photography tutorials, there are two primary hubs, PRO EDU, and Fstoppers. PRO EDU sports two architectural photography tutorials: Barry Mackenzie’s Real Estate Photography and Retouching tutorial, and Tony Roslund’s Architecture Photography and Retouching tutorial. In the Fstoppers camp is Mike Kelley’s Where Art Meets Architecture series, made up of three separate courses that build on one another and evolve over time.
Comparing these tutorials is like comparing apples to oranges. Each is best suited to a specific sub-genre of architectural photography. Think of this review, not as a determination of which is “best,” but more as a road map for where to start and what is worth watching depending on where you are in your career.
disclaimer
while apalmanac was founded by mike kelley whose tutorials are reviewed here, the opinions expressed in this article are entirely my own. i promise to be ruthlessly impartial. scouts honor. – Lexi
PRO EDU
PRO EDU makes tutorials for a pretty vast array of photography topics. While kind of clunky in the past, the new PRO EDU platform and streaming service makes watching their tutorials a breeze.
Both “Real Estate Photography & Retouching” and “Architecture Photography & Retouching” are $199 apiece for an outright purchase, or you can view them as part of their streaming PRO Plan subscription, which costs $399 per year but gives you access to unlimited tutorials. If you do decide to subscribe for unlimited tutorial access, I’ve found their Advanced Texture Cleanup & Commercial Retouching classes pretty helpful for architectural photography post-processing. PRO EDU frequently runs sales and incentives, so if you time things right (especially right now during their “flash relief” sale), you can get an incredible deal where each tutorial is $100 off.
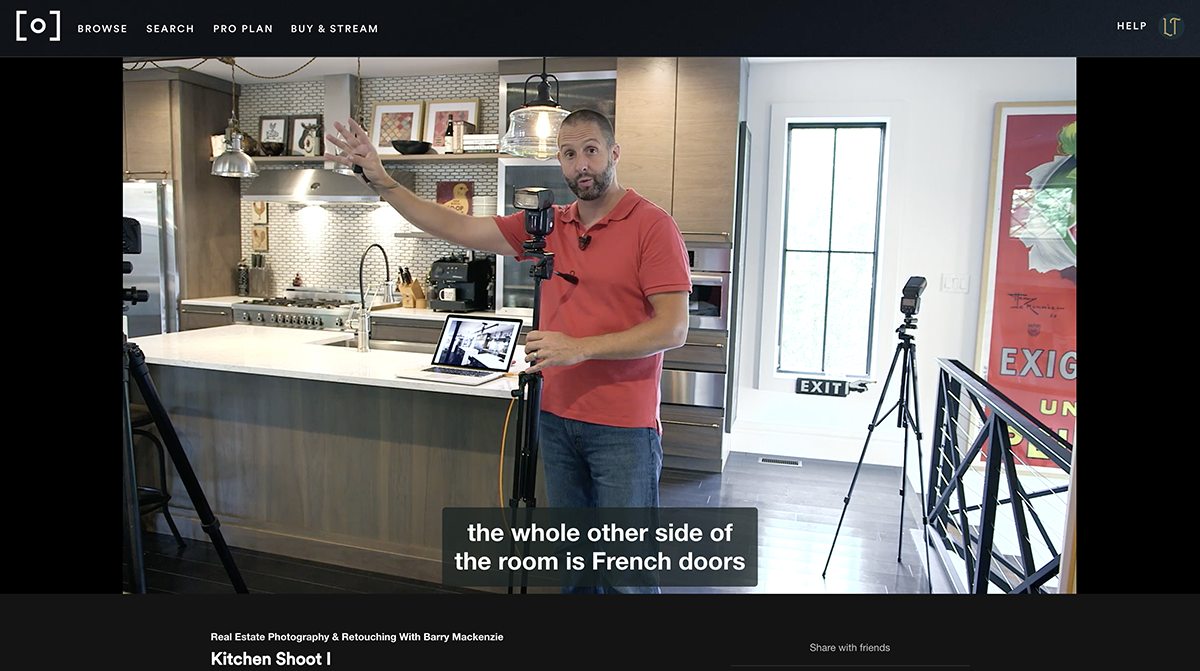
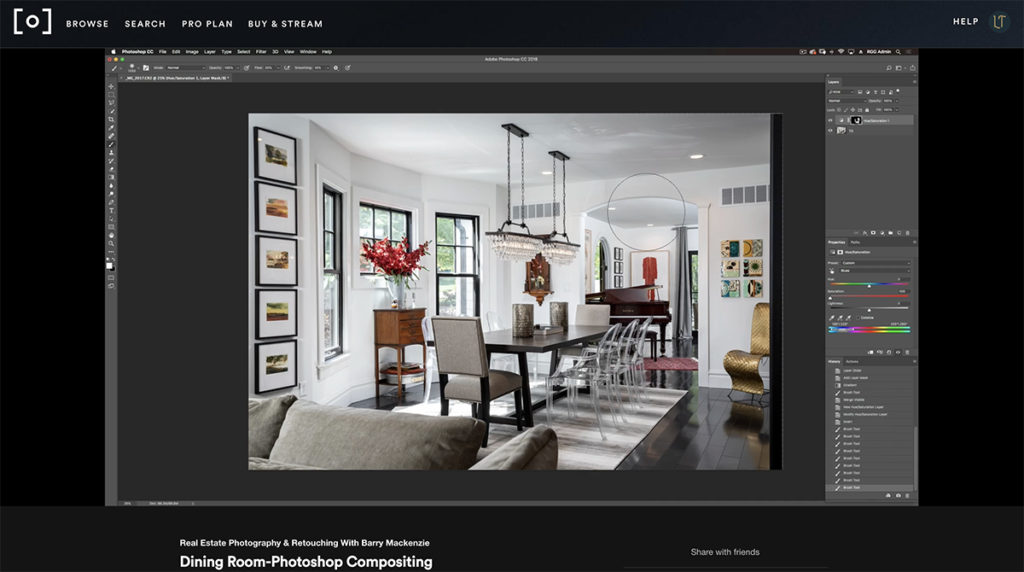
Real Estate Photography & Retouching
Real Estate Photography & Retouching is taught by Barry Mackenzie, an awesome architectural & interiors photographer who was voted real estate photographer of the year by PFRE. Barry is also the host of the BAAM Podcast which interviews architectural photographers and dissects their processes.
Barry’s tutorial is a great introduction to the world of real estate photography. It also sets up some fundamentals that will allow you to move into architectural work one day (especially his retouching techniques). Barry has a great personality and is fun to watch. He is a thorough teacher and explains things in layman’s terms. There’s no secrets or B.S. here. You get to see his full process for shooting a home for a real estate listing.
Gear
What’s nice about getting started with this tutorial is that Barry’s equipment set-up requires minimal gear. Heck, he’s using a Canon EF 17-40 f/4L lens and teaches how to pull off a fake tilt-shift effect. If you’re new to this entire field of photography and looking to dip your toe into real estate work with a relatively small investment in terms of gear, start here. You can also expect to see him using a Canon 5dMKIV and a few speedlights.

Aesthetic and Approach
Barry’s approach is less fussy but sets you up with the fundaments to get out there and make money while creating real estate photos that look good.
Stylistically this tutorial teaches how to make punchy, well-lit images suited for real estate.
Noteworthy Skills and Techniques Learned
- Showing how spaces connect in a home
- Tips for lighting tight powder rooms
- Top-Down lighting
- How to do quick and easy styling when you’re all by yourself on location
- Using gradients in post-production
- File management and delivery for MLS
- Finding clients
- Bonus material including sample contracts and checklists for real estate photography
Post Processing
The main technique you pick up in Barry’s tutorial requires blending two or three images together, so this tutorial is a perfect introduction to Photoshop compositing for real estate and architecture. It also goes over:
- General lightroom adjustments and file selection
- How to harness gradients to create subtle and relatively natural-looking edits
- Editing out distractions
- Dealing with color casts
Real Estate Photography & Retouching includes the RAW image files for you to follow along with in the editing portion, as well as the JPEGs of Barry’s final edit for you to study and compare your work to.
Format
This tutorial can be downloaded if purchased outright by PRO EDU. It can also be streamed on the PRO EDU app or website, which makes it super easy to watch, whether you’re at your desk, on your phone, or a tablet. Another awesome feature is the ability to watch the course with subtitles on, which I LOVE. As mentioned above, The Real Estate Photography & Retouching class includes the raw files to edit along with, as well as Barry’s Terms and Conditions sheet and a Property Prep Guide for sharing with agents and homeowners to get everybody’s expectations on the same page.
Shortcomings
I have two complaints, the biggest being that this tutorial only shows these techniques in ONE location — and it’s a good one. This class walks us through a big, beautiful, well-staged home. Most of us getting our bearings in the real estate photography world are going to be shooting in contractor grey flips or dimly lit ranchers filled with brown paneling at first. You know the one. So while I’m being picky, I do think it would have been cool to see Barry use his techniques in various homes (even if they weren’t ugly), showing us how to overcome challenges that we may face on a typical real estate shoot.
In the same vein, I will say that in the PRO EDU advertisements for this course on social media, and the trailer video, you see a lot of Barry’s other projects, which do sport a more clean and luxurious feel than the images of this one house that you’re learning to make in this tutorial. I found that a little misleading. On the flip sided though, Barry does lay the foundation for tidy post-processing here and expounds on it a bit more in the PRO EDU tutorial with Tony Roslund. Plus, if you follow Barry on Instagram @swizzler, he frequently posts quick but informative stories on the more granular aspects of his current and ever evolving shooting and post processing style.
Bottom Line
Barry is a great teacher, and I’d recommend this tutorial for those who are entering the world of real estate photography and are looking to differentiate themselves from the HDR style photos we see filling the market. This tutorial is great for those who prefer the flashier side of the flambient technique, and allows you to move through a property pretty quickly while still getting great and unique images. While you can usually always learn something new from any tutorial you watch, if you already have your bearings as an architectural photographer, you can probably skip this one.
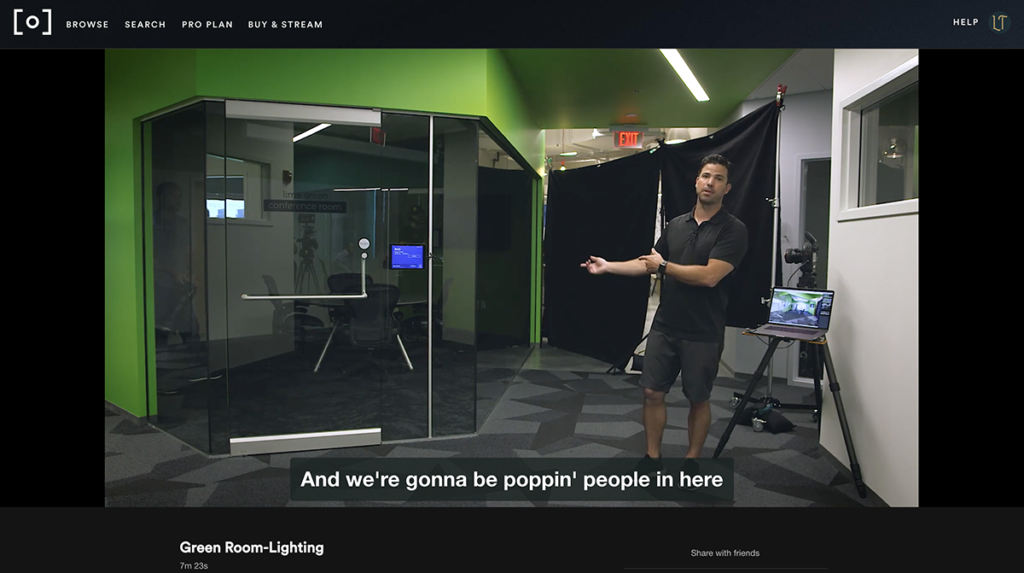
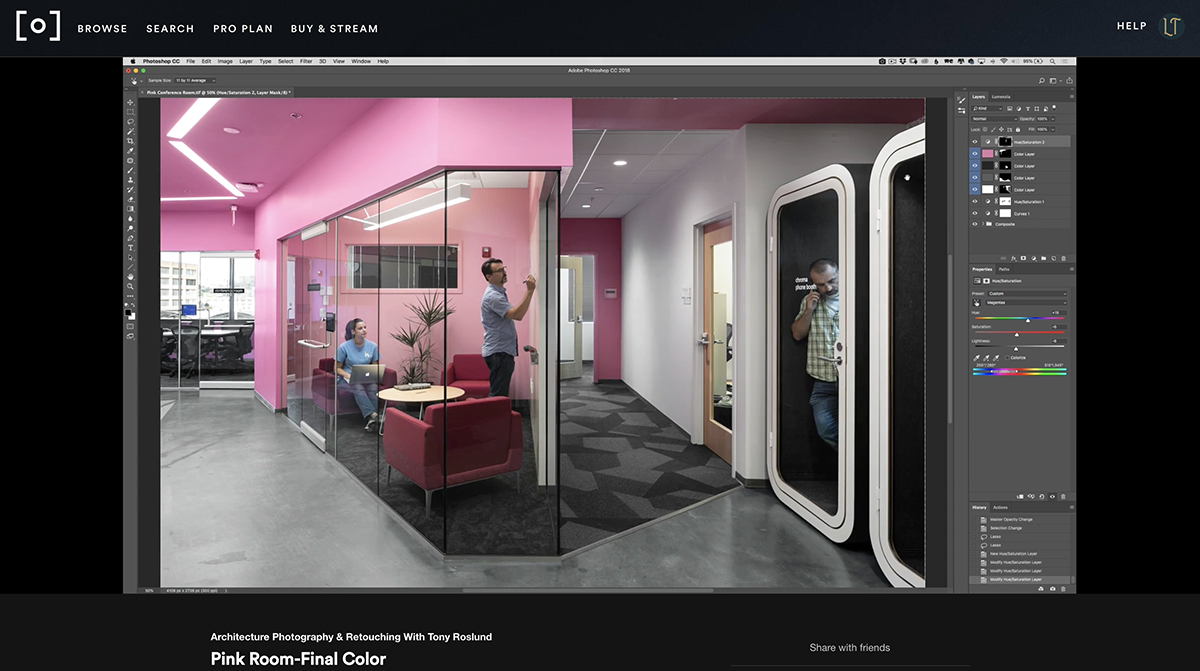
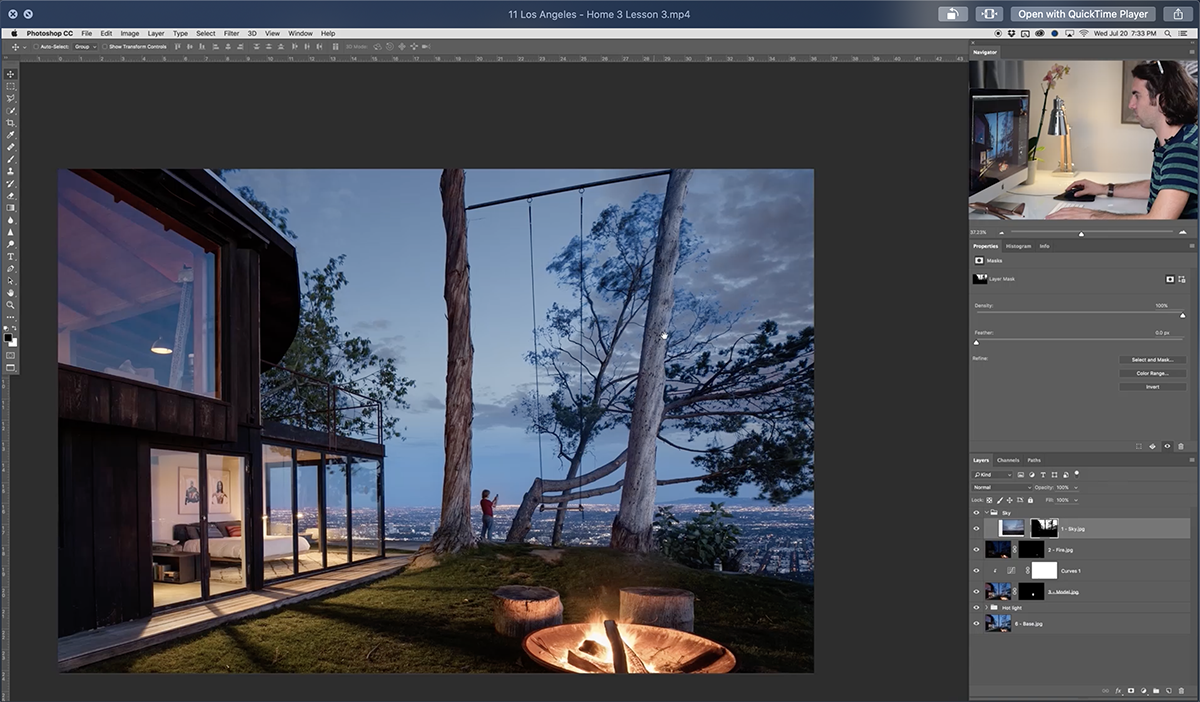
Architecture Photography and Retouching
Architecture Photography & Retouching is a tutorial taught by Tony Roslund AND Barry Mackenzie. Tony is an architectural photographer specializing in shooting corporate and commercial spaces with perfect render-like quality.
Aside from the obvious benefits of learning to shoot and edit perfectly sparkling images for corporate and commercial architecture, this tutorial has two awesome “bonus” side effects. If you’re interested in working closely with an assistant (or how to be a good assistant for that matter), Tony and Barry’s relationship and devision of responsibilities here is very cool to see. The tutorial also shows some best practices and the general work flow of working with an outsource editor — whether you are the one hiring the job out, or if you are the editor yourself.
Gear
Tony works with a fairly small yet high-quality kit. In this tutorial, you can expect to see Tony sporting a Canon 1D-X, a range Canon tilt-shift lenses, Profoto B1s, as well as Profoto A1s, scrims and flags.
Aesthetic and Approach
Tony’s architectural photography tutorial is focused around shooting one large corporate space. Using a fairly lean kit of gear, Tony manipulates light (natural, practical, and artificial) and employs Barry Mackenzie’s meticulous retouching techniques to make ultra clean and render-esque photos.
Noteworthy Skills and Techniques Learned
- Using strobes to produce clean colors and crisp light
- Adding models into architectural scenes
- Lighting large commercial exteriors
- Compositing multiple frames together in Photoshop
- Using fill layers and gradients for pristine coloring and retouching
- What to look for in a scout trip
- How to market yourself as an architectural photographer
- How to price a large scale commercial/corporate architecture job
- How to navigate cost-sharing
- Sitting down in a brief with a real architect and translating what they need into an actionable shot list
Post Processing
What I love most about this tutorial is the incredible amount of knowledge you are getting on the post-processing front. You get to see Barry Mackenzie do the brunt of the compositing and retouching work on each file, and then Tony come in and put the finishing touches and polish on the photograph. Just as with the PRO EDU real estate photography tutorial, the class includes the raw files you can edit along with, as well as Tony’s finished images for you to reference. Some post processing techniques you can expect to pick up here are:
- Using gradients, masks, and intricate pen paths to composite images together
- Fill layers to hide distracting elements and create perfect colors
- Using different blend modes
- Lumenzia for generating precise luminosity masks
Format
Again, as with all PRO EDU tutorials, you have the ability to purchase the tutorial once or subscribe yearly for unlimited tutorial access. It can be downloaded or streamed, and can be watched in PRO EDU’s easy to navigate app. Tony’s class comes with a pre-production planning list, Tony’s rate sheet, sharpening actions, and the RAW files to edit along with.
Shortcomings
My list of grievances is pretty small. This tutorial is filmed in one location so the techniques get a little repetitive. The business and pricing videos offer some good ideas to implement but are a little sparse in the details. Ultimately though, the biggest shortcoming I find with this tutorial is purely a personal preference.
I’m not a big fan of PRO EDU’s format where all of the shoot portion is grouped together, and then all of the retouching portion is grouped together. I prefer watching the lesson on location and then jumping right into the post-production for that scene. However, that is 100% just how my brain works, and can easily be resolved by just clicking through the menu options in the PRO EDU app to jump between “photoshoots” and “retouching.” Their new app makes this way easier to navigate than their old site.
Bottom Line
This is a great tutorial for someone who understands the general principles of architectural photography and wants to focus in on corporate spaces. I would also recommend it to anyone who wants to learn better editing and post-processing techniques.
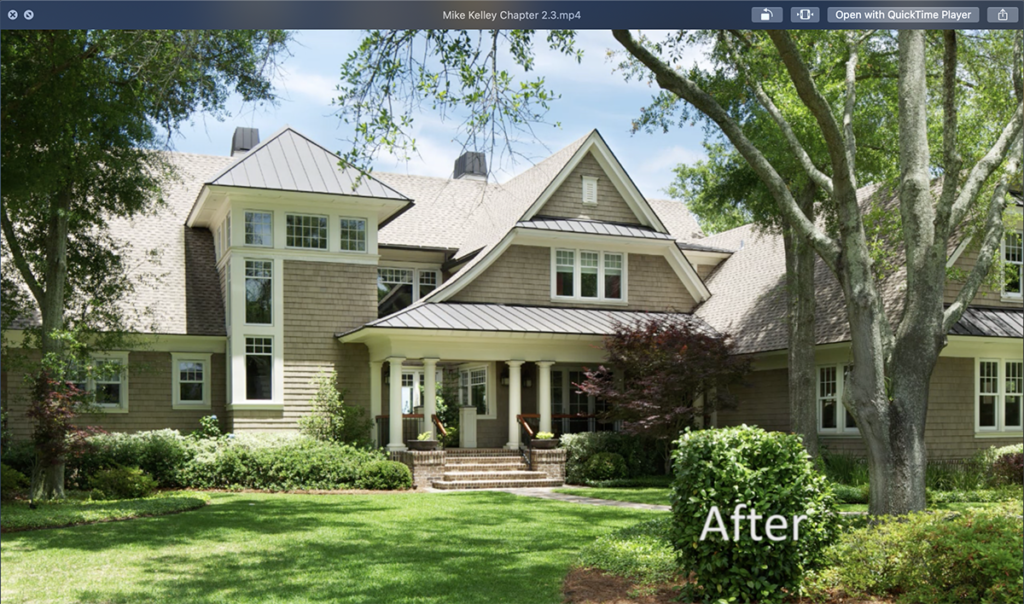
Where Art Meets Architecture
The Where Art Meets Architecture series is a set of three architectural photography tutorials taught by Mike Kelley. This series is produced and sold by the photography blog, Fstoppers.
Fstoppers tutorials are a one time purchase where the videos are delivered to you via download link. Purchasing any WAMA tutorial places you into the Where Art Meets Architecture With Mike Kelley Facebook group, which is like a bonus gem. While PRO EDU also offers access to a Facebook group when you purchase from them, Mike’s is strictly architectural photography and there is so much niche knowledge being passed around there.
In all 3 of the WAMA series, I appreciate Mike’s no-fuss attitude and his lack of pretentiousness. There’s a lot of “doing things to taste” and “eyeballing it,” all while picking up real architectural terms and learning the theory and fundamentals behind both architecture and photography. Mike is a tremendous teacher and has so much knowledge to offer.
Each tutorial runs $299 but there are bundle deals where you receive discounts for purchasing multiple tutorials at a time. Fstoppers is running a sale on educational videos right now (thanks, pandemic) where you get $90 off.
WAMA 1
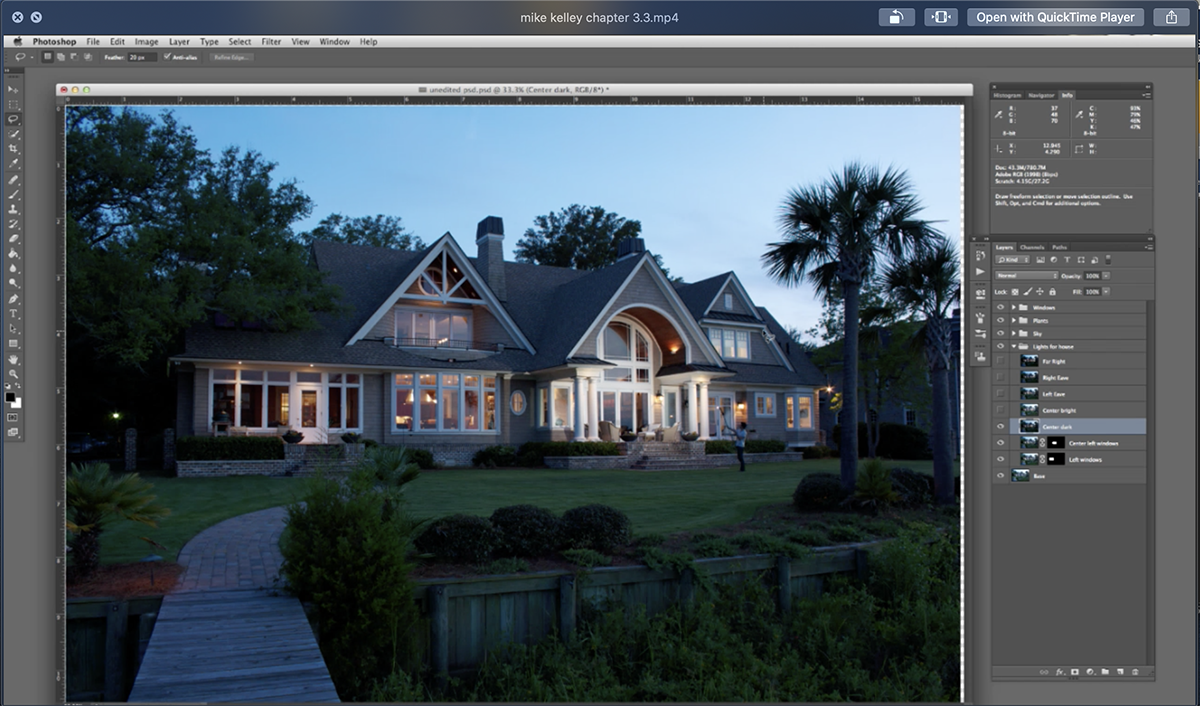
Many years ago, Mike Kelley’s Where Art Meets Architecture 1 was the first architectural photography tutorial I purchased, and after watching it, I felt like I had unlocked all of the knowledge in the universe. This tutorial is a great introduction to using flash in high end real estate and architecture photography. It’s also a solid introduction to compositing in photoshop, but is a bit more complex than Barry Mackenzie’s Real Estate Photography & Retouching, as you are compositing together quite a few frames of ambient light and flash pops. Looking back, I do think this tutorial is a little bit dated in terms of the flashy, hyper-realistic twilight exteriors, but the principles you’re learning are a great foundation and can parlay into the more subdued look that Mike teaches later in the series.
Gear
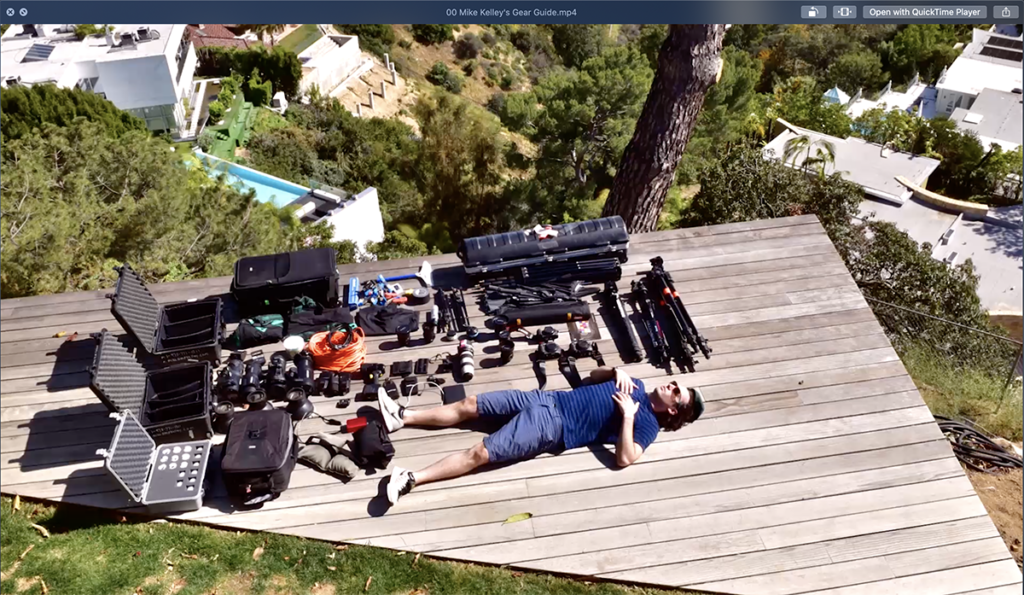
In this tutorial, Mike uses a Canon 1D and a mix of tilt-shift and zoom lenses. Quite a few speed lights are thrown into the mix, as well as a hot light for light painting exteriors. What’s nice is that Mike shows how these techniques can be achieved even on entry-level gear, doing the one of the hero twilight exterior shots with a Canon Rebel and kit lens.
Aesthetic & Approach
This tutorial primarily teaches compositing together artificially lit scenes. Stylistically, this tutorial leans towards relatively evenly lit interiors for the high-end real estate portion, and trends flashy / hyper-realistic for the bars, restaurants, and twilight exterior images. As I mentioned above, it feels kind of dated now but the principles found here can be applied to taste for any architectural shoot or style.
Noteworthy Skills and Techniques Learned
- Compositing together flash and ambient frames
- Twilight exterior shots
- Lighting complex spaces
- Light painting
- Window pulls
- An intro to marketing, licensing, and pricing
Post Processing
- You receive files to edit along with
- A great introduction to the principles of compositing
- Learning to use blending modes and the pen tool
- Replacing objects in photoshop
Format
This tutorial is purchased outright and delivered in a zip folder via a download link. You can watch the mp4 files in QuickTime or Windows Media Player if that’s your thing. I ended up dragging them into iTunes originally, so I could watch them uninterrupted in a playlist. Now that it’s 2020, you can drag them into the Apple TV app where they’ll live in the Home Videos tab (more on this to come). WAMA 1 includes 1 PSD file of a twilight exterior image for you to follow along with. What I love about the format of this tutorial is that each image you see shot, flows right into the editing lesson so that it’s fresh in your mind, and you can see the practical application of what you just did.
Shortcomings
There’s one overarching thing that I dislike about all of the Where Art Meets Architecture tutorials; the delivery format feels pretty archaic. While actually “owning” the mp4 file is oddly satisfying, it’s cumbersome to watch and flip between lessons — especially in a world where nobody even wants to click a button to say “Yes I’m Still Watching.” The downside of a physical file over streaming is that it’s easily lost, especially once the download link expires. In terms of technique, I do think this is stylistically dated now, but at the time, this was the mother of all aesthetics. This technique relies on lugging around a lot of gear and spending a lot of time flashing every object in the scene. It only comes with one PSD file to follow along with.
Bottom Line
Mike Kelley’s Where Art Meets Architecture 1 is a powerful introduction to the world of architecture photography and the fundamentals of lighting, composing, and compositing spaces. If you’re looking to learn the principles of architectural photography and learn how to composite together more complex lighting techniques, this would be a good tutorial to start with. If you have a better handle on lighting techniques, or hope to achieve more natural looking architectural photography images, you could skip this one and pick up WAMA 2 instead.
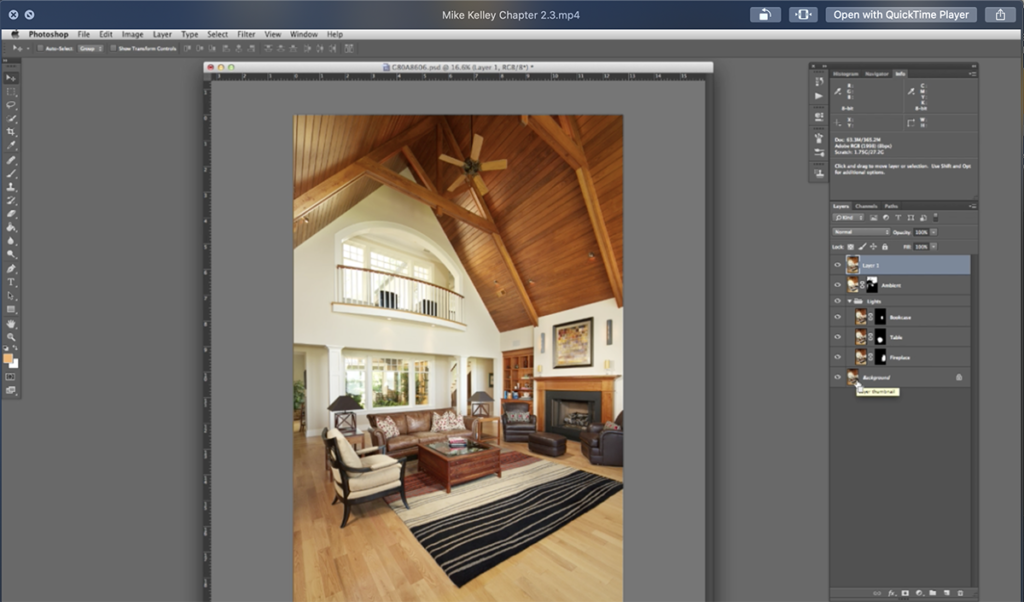
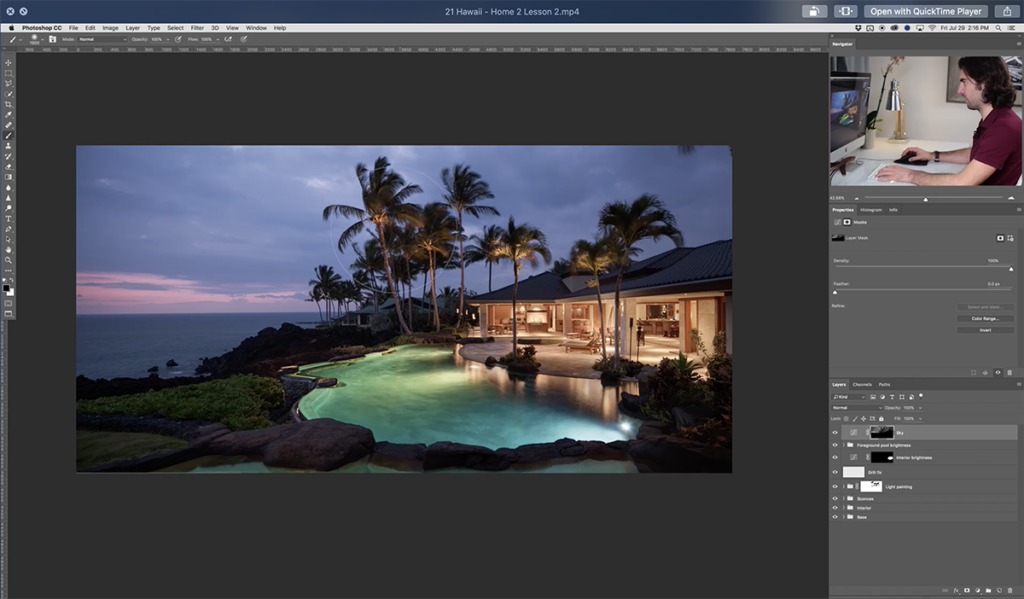
WAMA 2
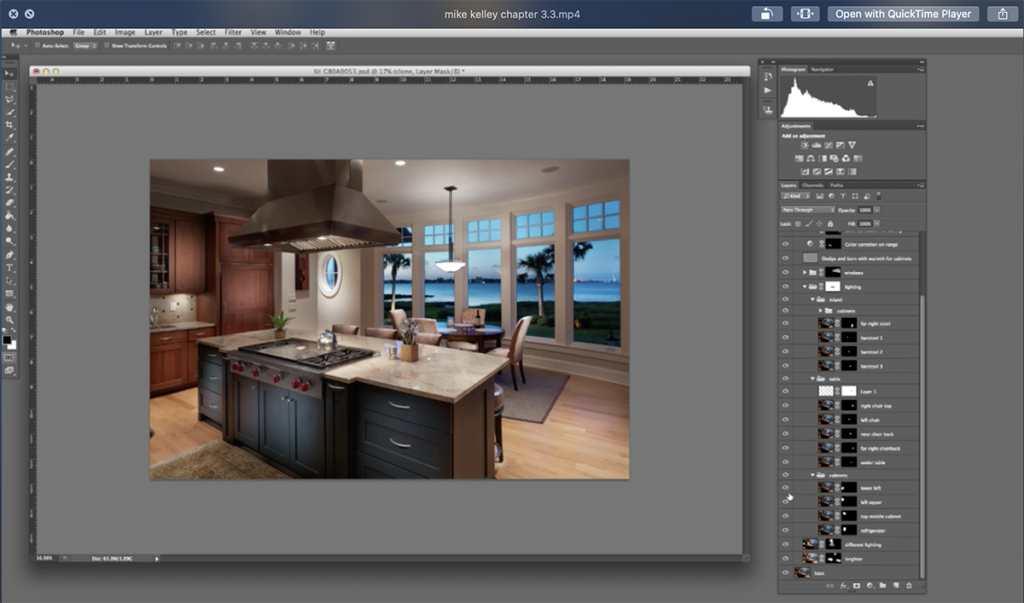
Mike Kelley’s Where Art Meets Architecture 2 is the second installment in the Fstoppers WAMA series. This class focuses on photographing luxury homes and employs a bit more of a natural feel to the images than WAMA 1. You’re still using compositing and blending ambient and artificial light, but things feel a bit more subdued here and really focuses on letting the architecture do the talking. In my humble opinion, this is the most powerful of the Where Art Meets Architecture videos.
Gear
The beginning of this tutorial shows an insane gear kit, but actually what Mike ends up shooting with throughout the tutorial seems pretty minimal. Primarily, he’s using a Canon 5dsr, the Canon 24mm tilt-shift lens, Lowel GL-1 hotlight, and Profoto D1 or B1 with beauty dish, and scrims.
Aesthetic & Approach
Where Art Meets Architecture two focuses on photographing luxury residential architecture and stylistically feels natural and modern. You can still expect to be enhancing the light in each scene with a hotlight or strobe, but only to pull out important details or combat tricky lighting scenarios. This tutorial teaches how to capture the mood and qualities of these homes without distracting too much from them.
Noteworthy Skills and Techniques Learned
- Compositing together ambient and flash frames
- Using a hot light for light painting
- Setting up multiple cameras to maximize twilight shots
- Grass and sky replacements
- Scheduling your shoot and planning around the sun
- Shift & Stitch to get a wider focal length out of your lens
Post Processing
As mentioned before, this tutorial primarily teaches how to achieve a more natural look to your images by blending ambient exposures with practical lights on and artificial light. You can also expect to see:
- An intro to luminosity masking
- Tricks for cleaning up distractions including using gradients and cloning
- Different techniques for sky replacements
Unlike WAMA 1, in this course, you’ll receive files to edit along with for each and every lesson. They are just jpegs, but for learning purposes, it doesn’t matter.
Format
As with all the other Fstoppers tutorials, you receive WAMA 2 through a digital download. This class includes files to edit in tandem with each lesson. I find that the format of Mike’s tutorials, where you jump right from the shoot into the post processing, is the best for my learning style and shows the practical applications of what I just learned.

Shortcomings
Not to beat a dead horse, but the delivery format of the tutorials is my biggest hang up. You have to spend 7,000 years unzipping folders and dragging them into the TV app (if you’re on Mac). Apple is always improving, so their preferred viewing applications are always changing. iTunes changed to Movies which changed to TV, and every time, I had to redownload and sync up WAMA across all the devices I wanted to watch it on.
Bottom Line
WAMA 2 is probably my favorite of Mike & the Fstoppers gang’s tutorials. It teaches how to achieve a timeless style across various lighting conditions and different types of residential architecture. While Fstoppers brands it as an “advanced” course, I would recommend it to anybody at any level in their career, as Mike teaches how to make these images step by step.
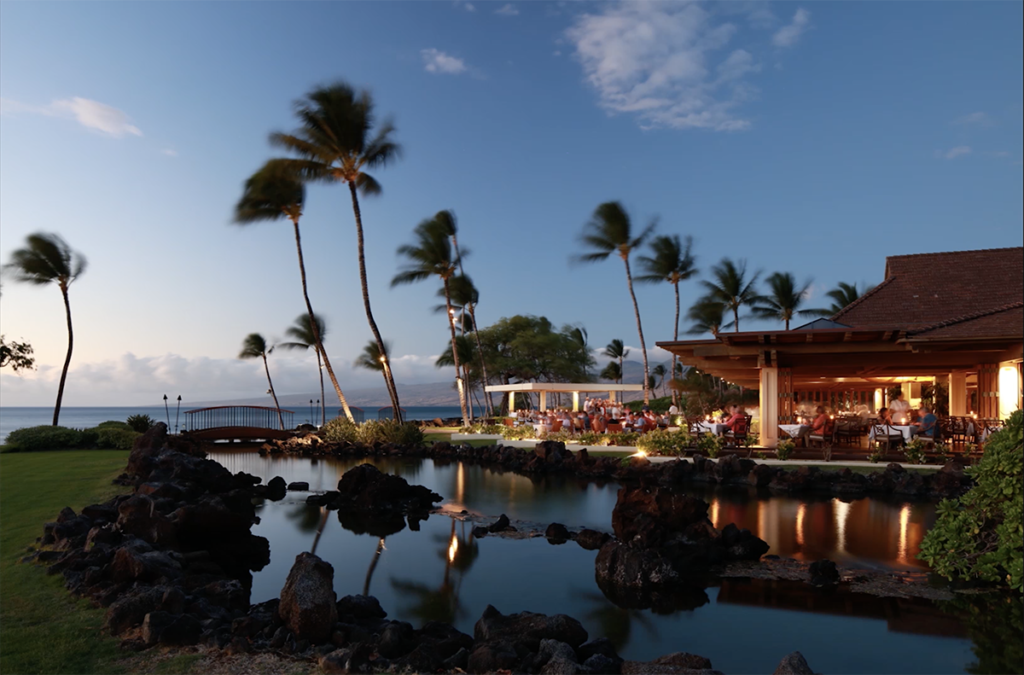
WAMA 3
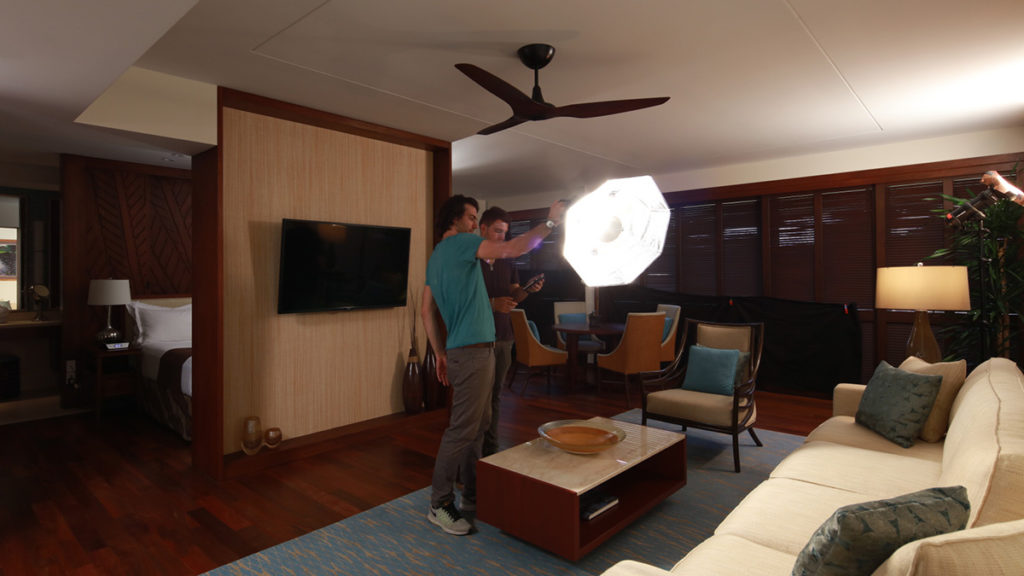
Last in the lineup is Mike Kelley’s Where Art Meets Architecture 3. WAMA 3 is unique, in that while it does teach the techniques of photographing spaces for hospitality, I would say this tutorial has more benefit on the business side of things. As far as lighting and technique go, it’s nothing extraordinarily different from WAMA 2. Mike’s dissection of pricing, bids, and the legalities of working internationally are the real gems of this course.
Gear
As with WAMA 2, the gear being used is primarily a Canon 5dsr, the Canon 24mm tilt-shift lens, Canon 17mm tilt-shift lens, Lowel GL-1 hotlight, and Profoto D1 or B1 with beauty dish, as well as scrims.
Aesthetic and Approach
This tutorial caters to those who are learning to shoot hotels or luxury architecture. It is a bit on the flashier side of things and aesthetically achieves a render-like feel that you would expect to see on a hotel website or brochure. There is a LOT of artificial lighting used in some of these lessons, while in others it’s au naturel.
Noteworthy Skills and Techniques Learned
WAMA 3 does go over some new shooting and post-processing techniques, but ultimately it builds on and harnesses the foundations you learned in WAMA 1 & 2, or may have picked up in either PRO EDU tutorial. The true beauty of WAMA 3 though, is the in-depth explanations and candid advice that Mike gives on the business end of being an architectural photographer. You can expect to learn about:
- Styling tips for common hotel issues
- Lighting expansive exteriors
- Aerial photography in helicopters
- Understanding bids and making proposals based on real email inquiries
- Simple residential architecture bids
- Complex multi-day bids including travel
- Bidding for high budget advertising campaigns
- Managing travel fees and the legalities of international travel for business
- Licensing fees
- The nuances of marketing yourself depending on where you are in your career and your goal client
- Creating a portfolio
- Building a website
- Cold calling vs high-end mailers
- Personal Projects
- Selling fine art to make residual income
Post Processing
The post-processing techniques here range from ultra-minimal 1 photo “touch-ups” to complex composites that blend natural ambient frames + practical lights + flashed frames + light painting. Relying heavily on the same techniques taught in the first and second series of Where Art Meets Architecture, there isn’t anything earth-shatteringly new here except for the introduction of Frequency Separation for handling intricate texture and color cleanup, and using the vanishing point clone tool. As always, you receive files to edit along with.
Format
As with its predecessors, this tutorial is delivered in a series of MP4 format videos delivered via a download link. It includes high resolution JPEG files for you to edit along with during the lessons.
Shortcomings
Besides hating that this series can’t be streamed, I do find that the technique lessons start to feel a bit repetitive after a while. Maybe that’s just because it’s the last tutorial in the series though!
Bottom Line
If shooting polished brochure worthy images for hospitality is one of your goals, this is the tutorial for you. It also is great for learning how to handle difficult lighting problems that arise when shooting high-end interiors. The true benefit of this tutorial though, is the business advice that is offered. If you are struggling with bidding jobs, determining what to charge, or are stressed out by the back end of your photography business, you will find Where Art Meets Architecture 3 incredibly helpful.
Wrap Up
Long story short, all of the major architectural photography tutorials out there are unique. They span across different styles and time peroids, industry niches, and harness different techniques. In a perfect world, you would own and watch each of them. Picking up any one of these courses will impart some nugget of knowledge to you.
Remember, at the end of the day, the best way to learn is to go out and do. Put the techniques you’re learning from these tutorials into action, whether it’s in your own house, or on an upcoming job!
If you made it this far, I hope this write up helps you navigate our little corner of the wide world that is photography education. Is there another architectural photography tutorial that you love? Any techniques you’d like to see taught? Drop me a line in the discussion below!