
Customizing the New TK8 Plugin and Your Photoshop Workspace
Just after my last post about painting with contrast with the TK7 panel was published, the panel was updated and changed to the new TK8 luminosity masking plugin. There are many new features such as edge masks, color-grading, watermarking, expanded web-sharpening, selection editing, gradient effects, sketching actions, a smart object indicator, and much more. Also, the possibilities of personalizing and customizing the panel are expanded. This great video by Dave Kelley explains how you can give the personalization features a go:
The possibilities for increasing the efficiency of your own workflow are endless with the TK8 panel. Every photographer will have his or her own preferences for organizing their workflow. I just wanted to share mine – not as the ultimate way of organizing – but merely as an example of how you could set up this plugin to work for you.
I am in the comfortable position of having ample space on my 32-inch monitor, this gives me much room for having the necessary tools being visible all the time. This is how my screen looks when I am working on an image.
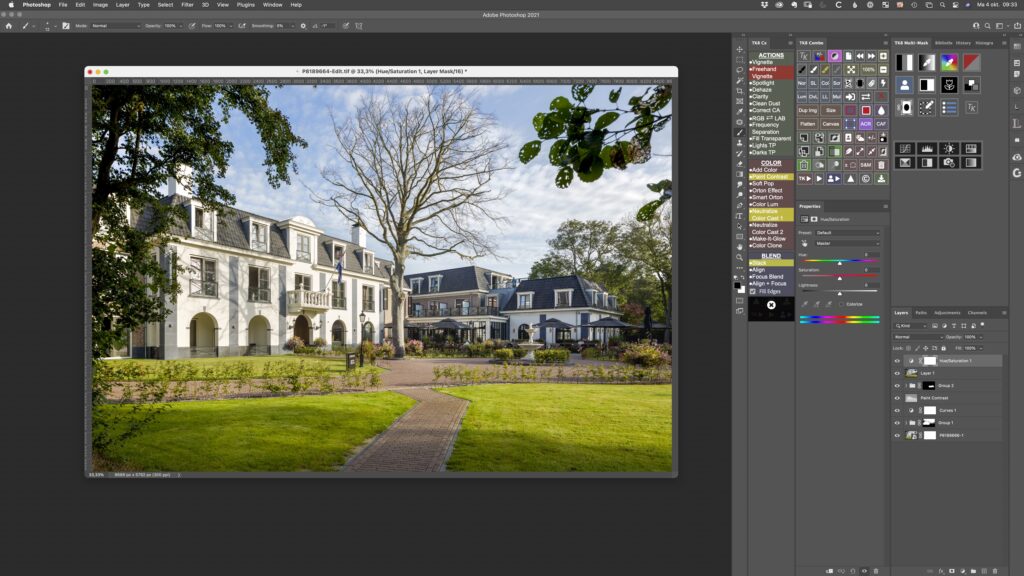
Let me explain. Some actions I always pursue, (for example a curves adjustment) are programmed in my Wacom tablet and activated by one click on an ExpressKey. In Photoshop, the TK8-panel is completely visible all the time. Starting in the upper right corner, this is the part to make and adjust the masks. Down beneath, the layers are shown. The Photoshop properties panel, to the left of the layers, is also “always on”. That is extremely useful because if you work on an adjustment layer you’ll have immediate control.
Above the properties, the second part of the TK8-panel is being used. That provides all kinds of handy and sometimes programmed Photoshop tools (e.g. creating a group with a black mask). To the left of that panel, all actions included with TK8 are constantly visible (Dave Kelly explains in the video above how to do that). And finally, on the left there are the Photoshop tools. To be honest, I almost never feel the need to use that as everything is easily provided in the setup I have chosen.
I hope this helps. I am always eager to improve so if you have any tips on how to further improve this setup, shout it out in the comments below!