Creating a Postcard Portfolio
What is the first thing that comes to mind when you think of a portfolio? Normally I would think of a digital portfolio or — if budget allows — a printed book. However, during the quarantine, I made some test prints that were accidentally about the size of a postcard. This made me think: How about making a postcard portfolio? While maybe a bit odd or different, in the end, it is a versatile and familiar format to most people and it gives me the opportunity to work on a printed media. In this post, I share the steps to create a postcard portfolio!
Why a Postcard Portfolio?
Although it is composed of a single layout, it is a flexible tool that adds a twist to the traditional portfolio.
As it is composed of individual elements you can make it as compact or as extensive as you want. This has a direct impact on both budget and personalization aspects. Imagine that you want to reach a potential client specialized in interior design. In that case, you might select and send only the photographs of interest to that client, and it becomes a tailored portfolio.
I can perfectly picture someone receiving it and shuffling through the postcards one by one. Additionally, the portfolio itself has the chance of being self-distributed if that someone gives away an individual postcard to friends or family, or better yet, sends it via traditional mail.
Initial sketches:
Sketches are real time-savers and an essential aspect of any creative process. They help you plan and decide before placing all your efforts into one final piece. For this process, I decided to stick to the standard format of a postcard, which is 4×6 inches (A6 size for Europe), and work on two simultaneous options.
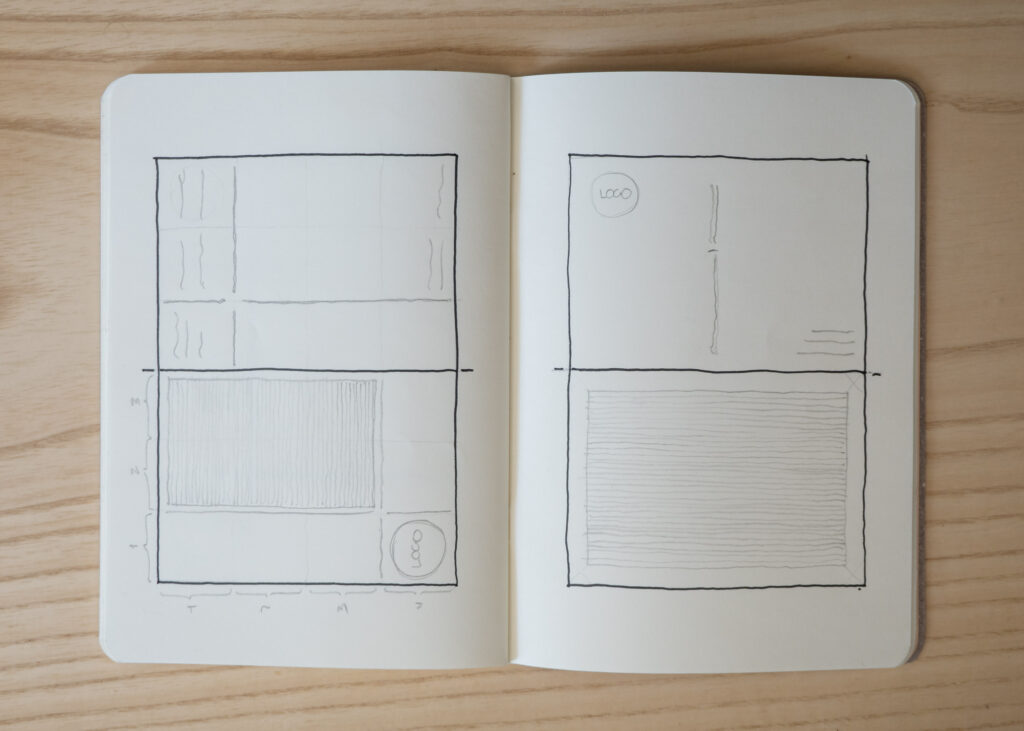
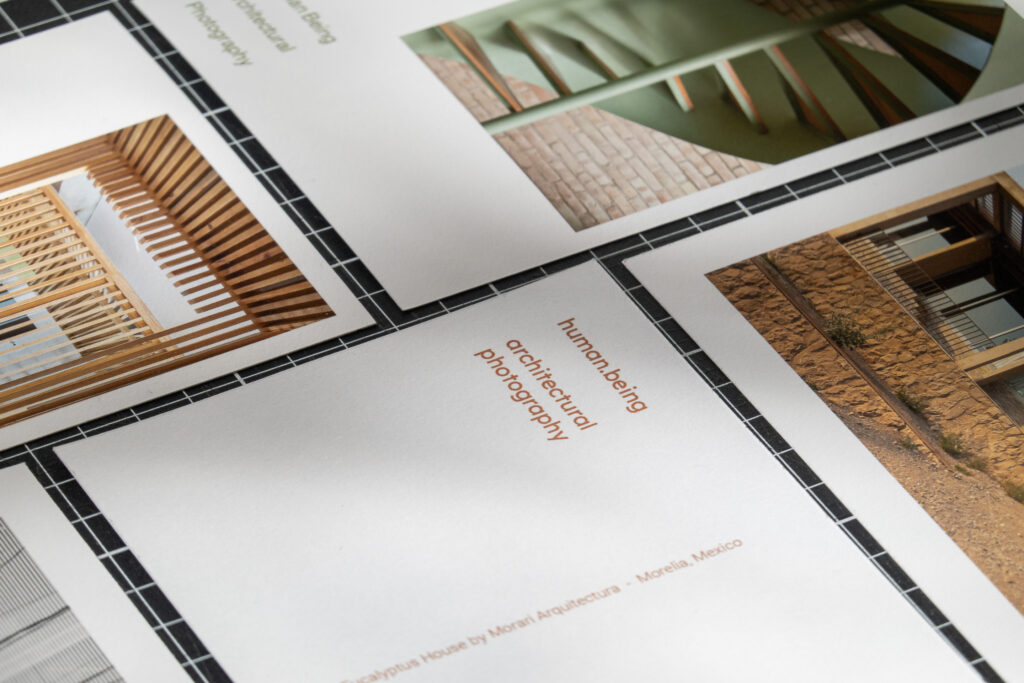
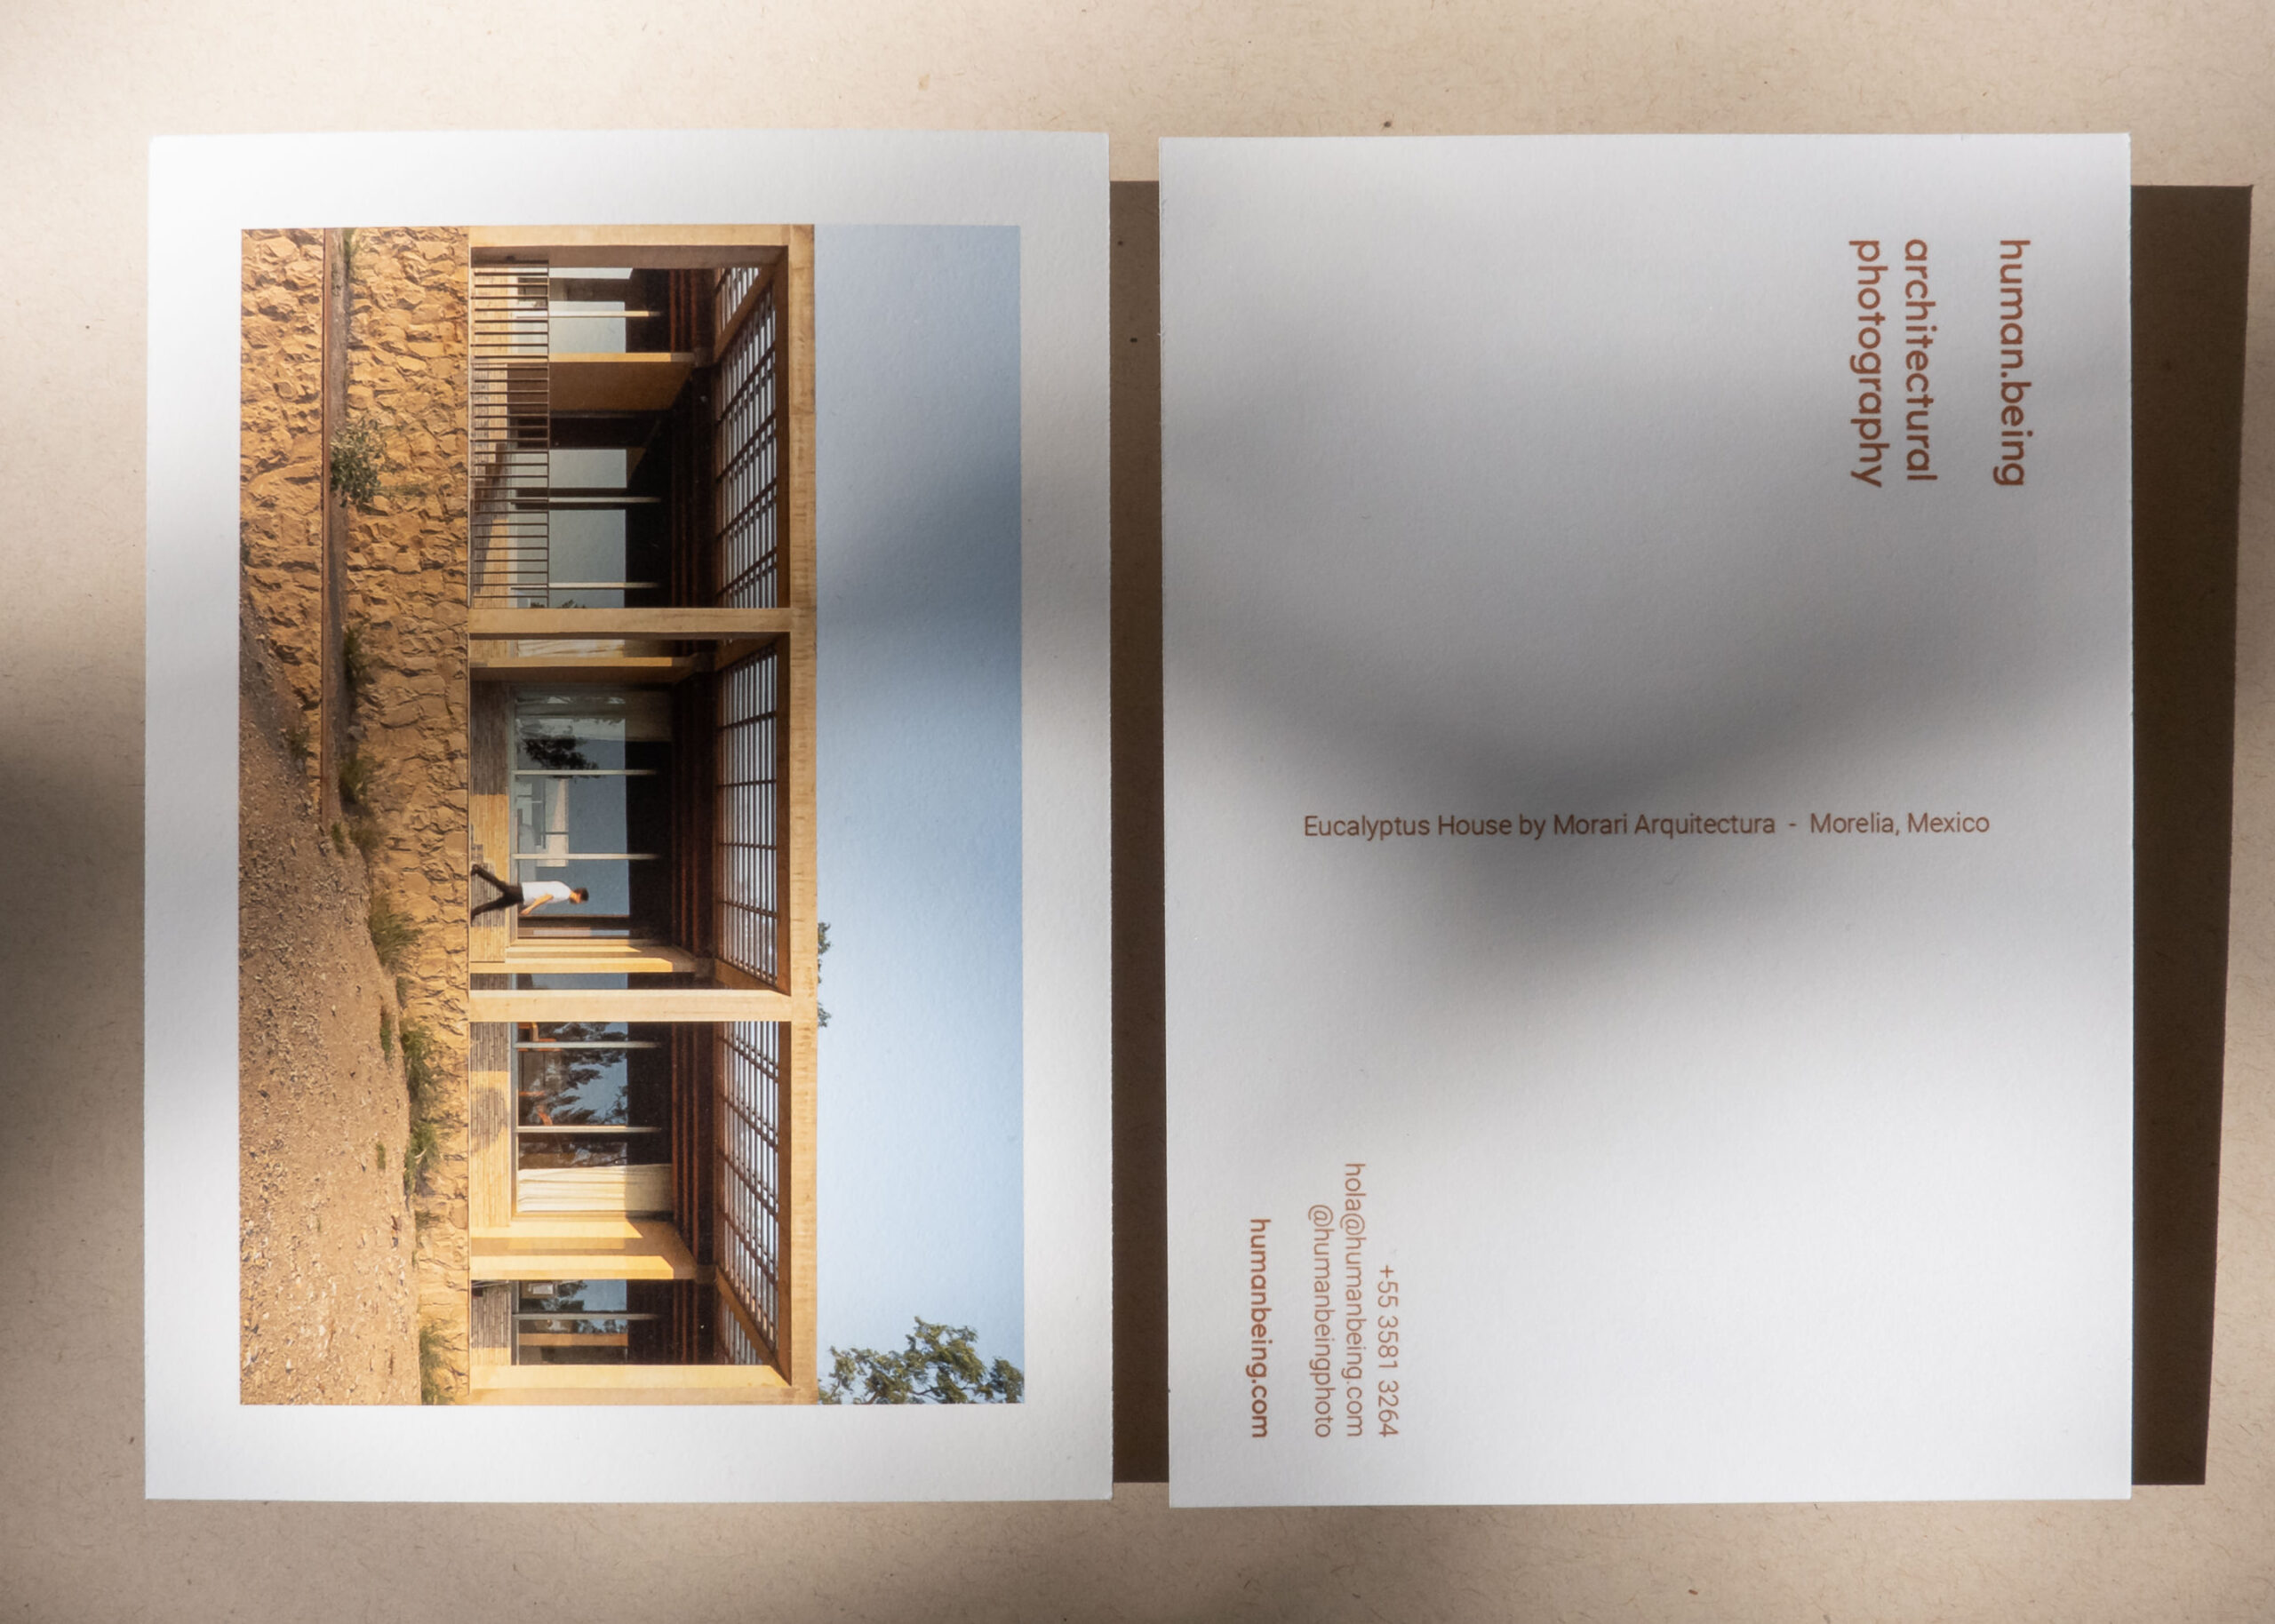
Option A: As if it was the viewfinder of a camera I divided the paper with a 3 by 4 grid. The graphic elements and texts are placed asymmetrically but always within the grid.
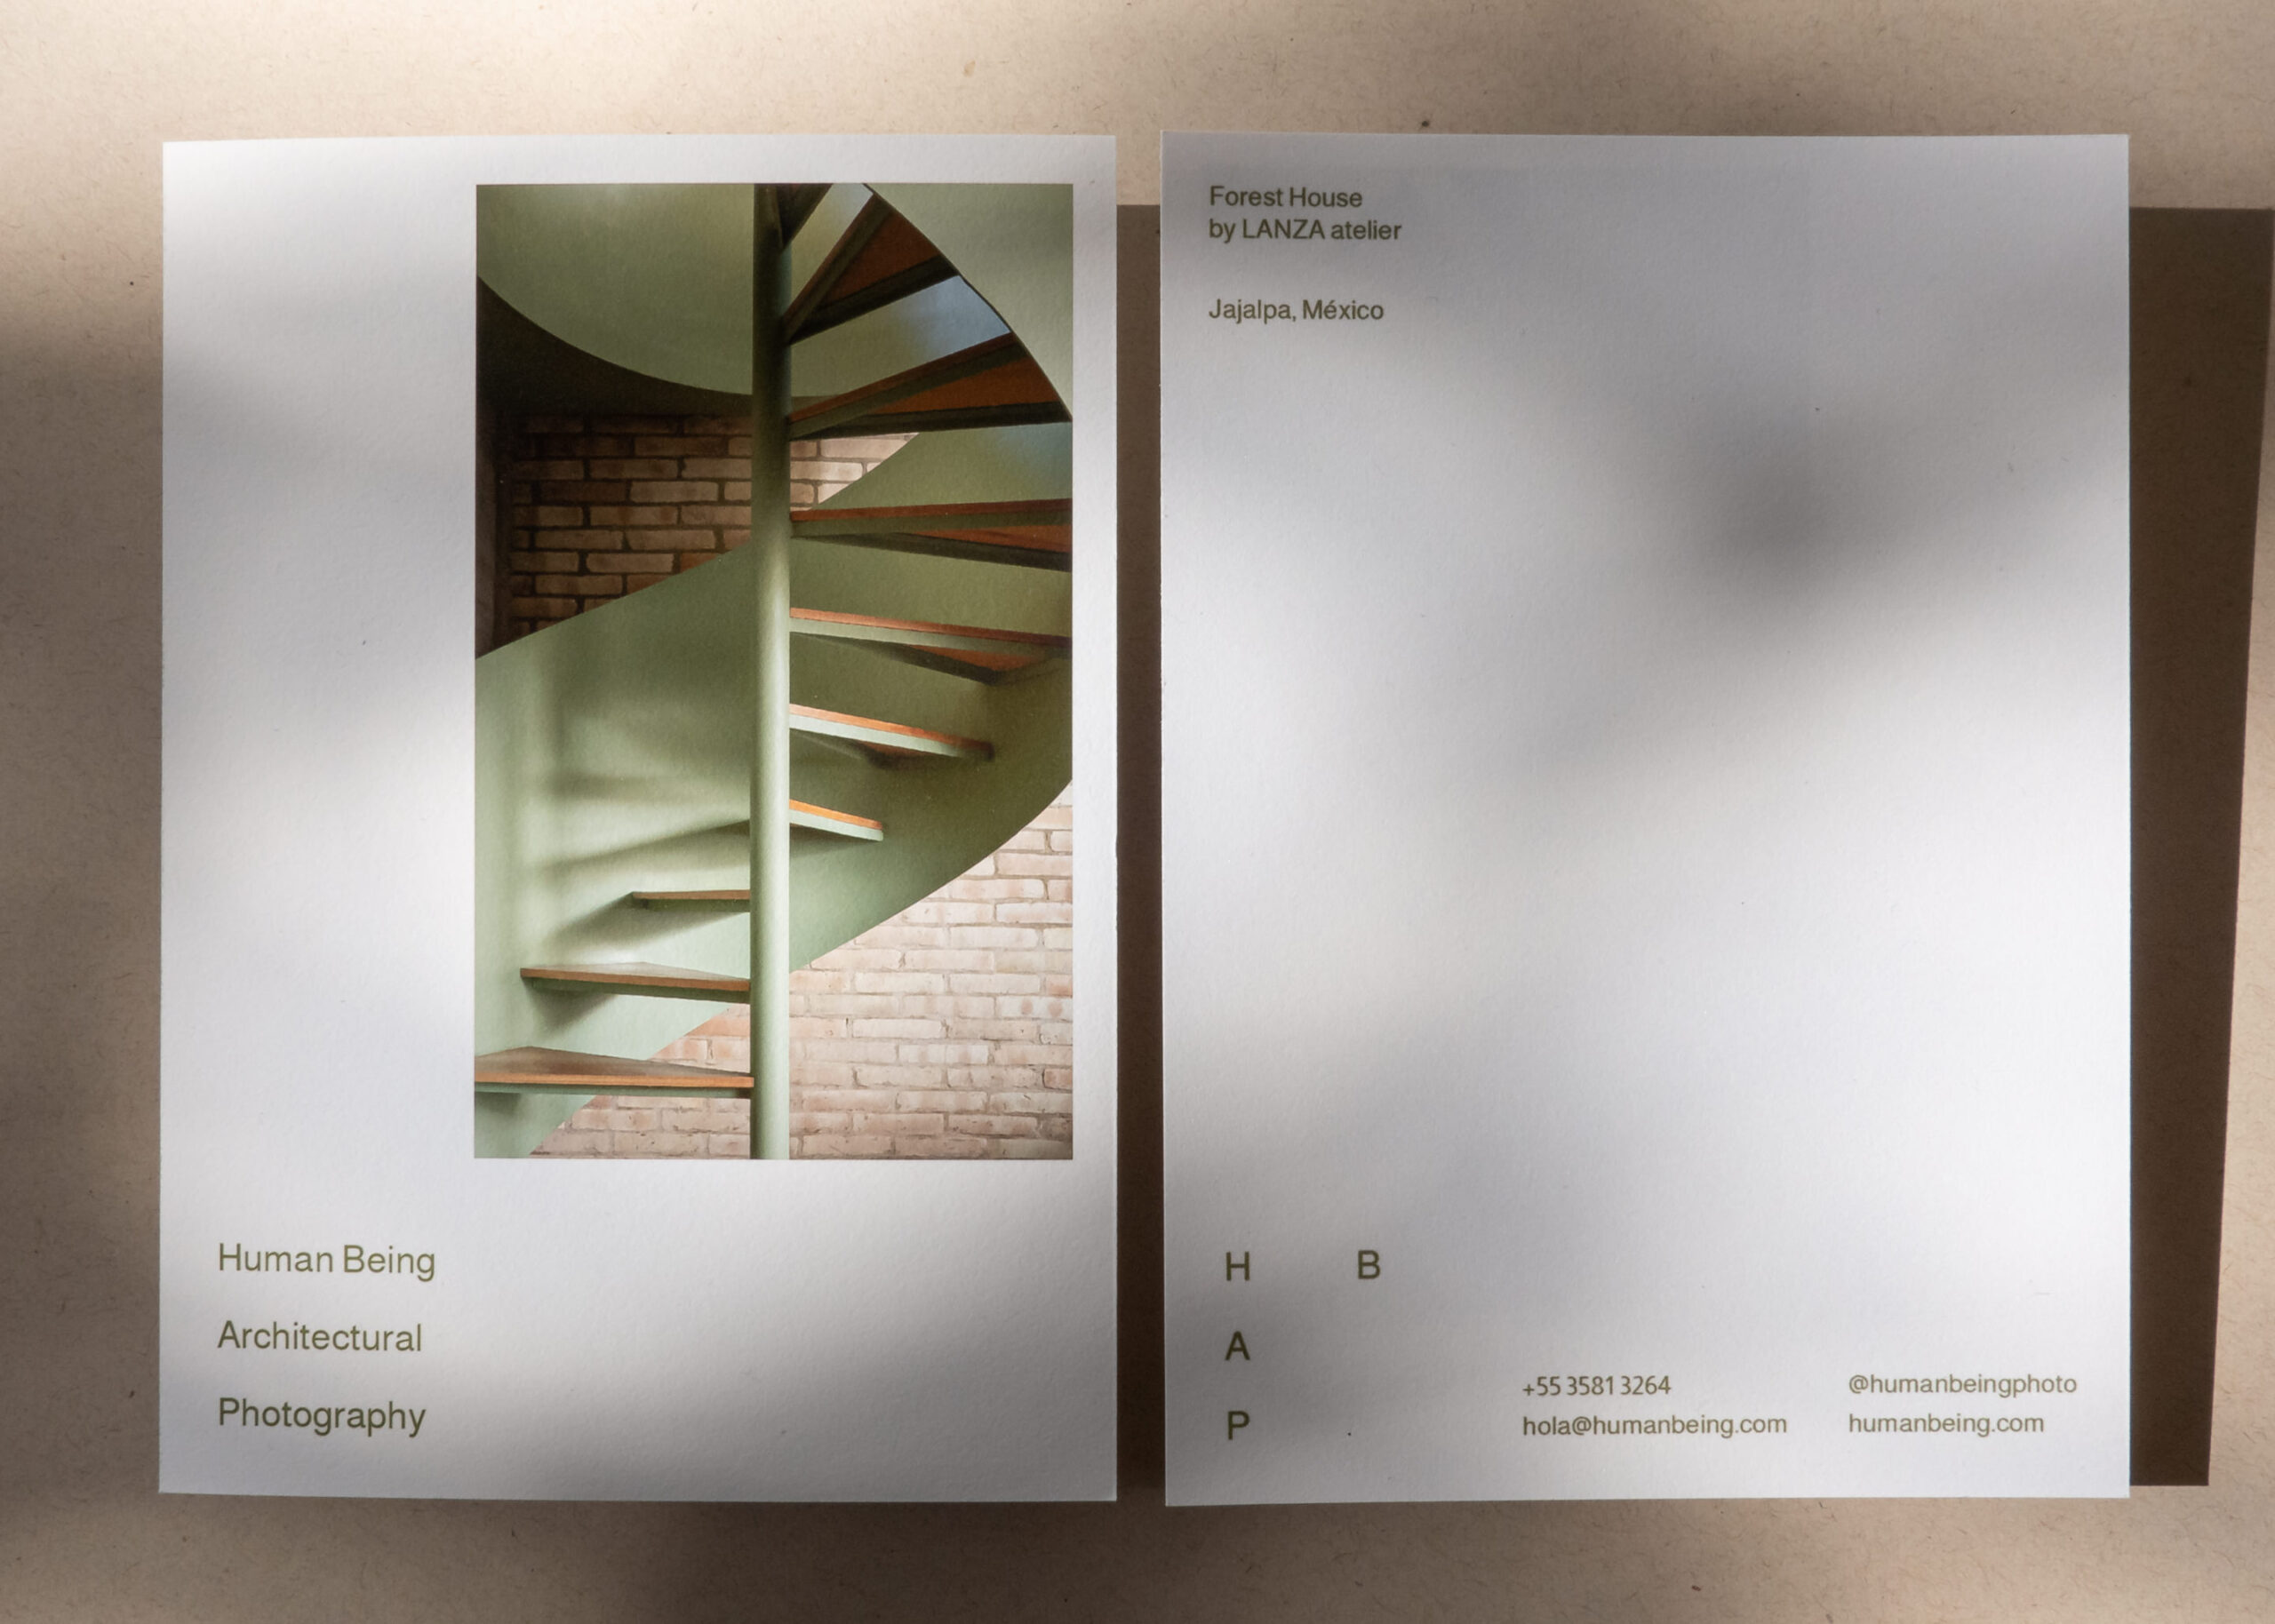
Option B: A conservative approach with a symmetric border for the front side and a simple design in the back.
Digitalizing:
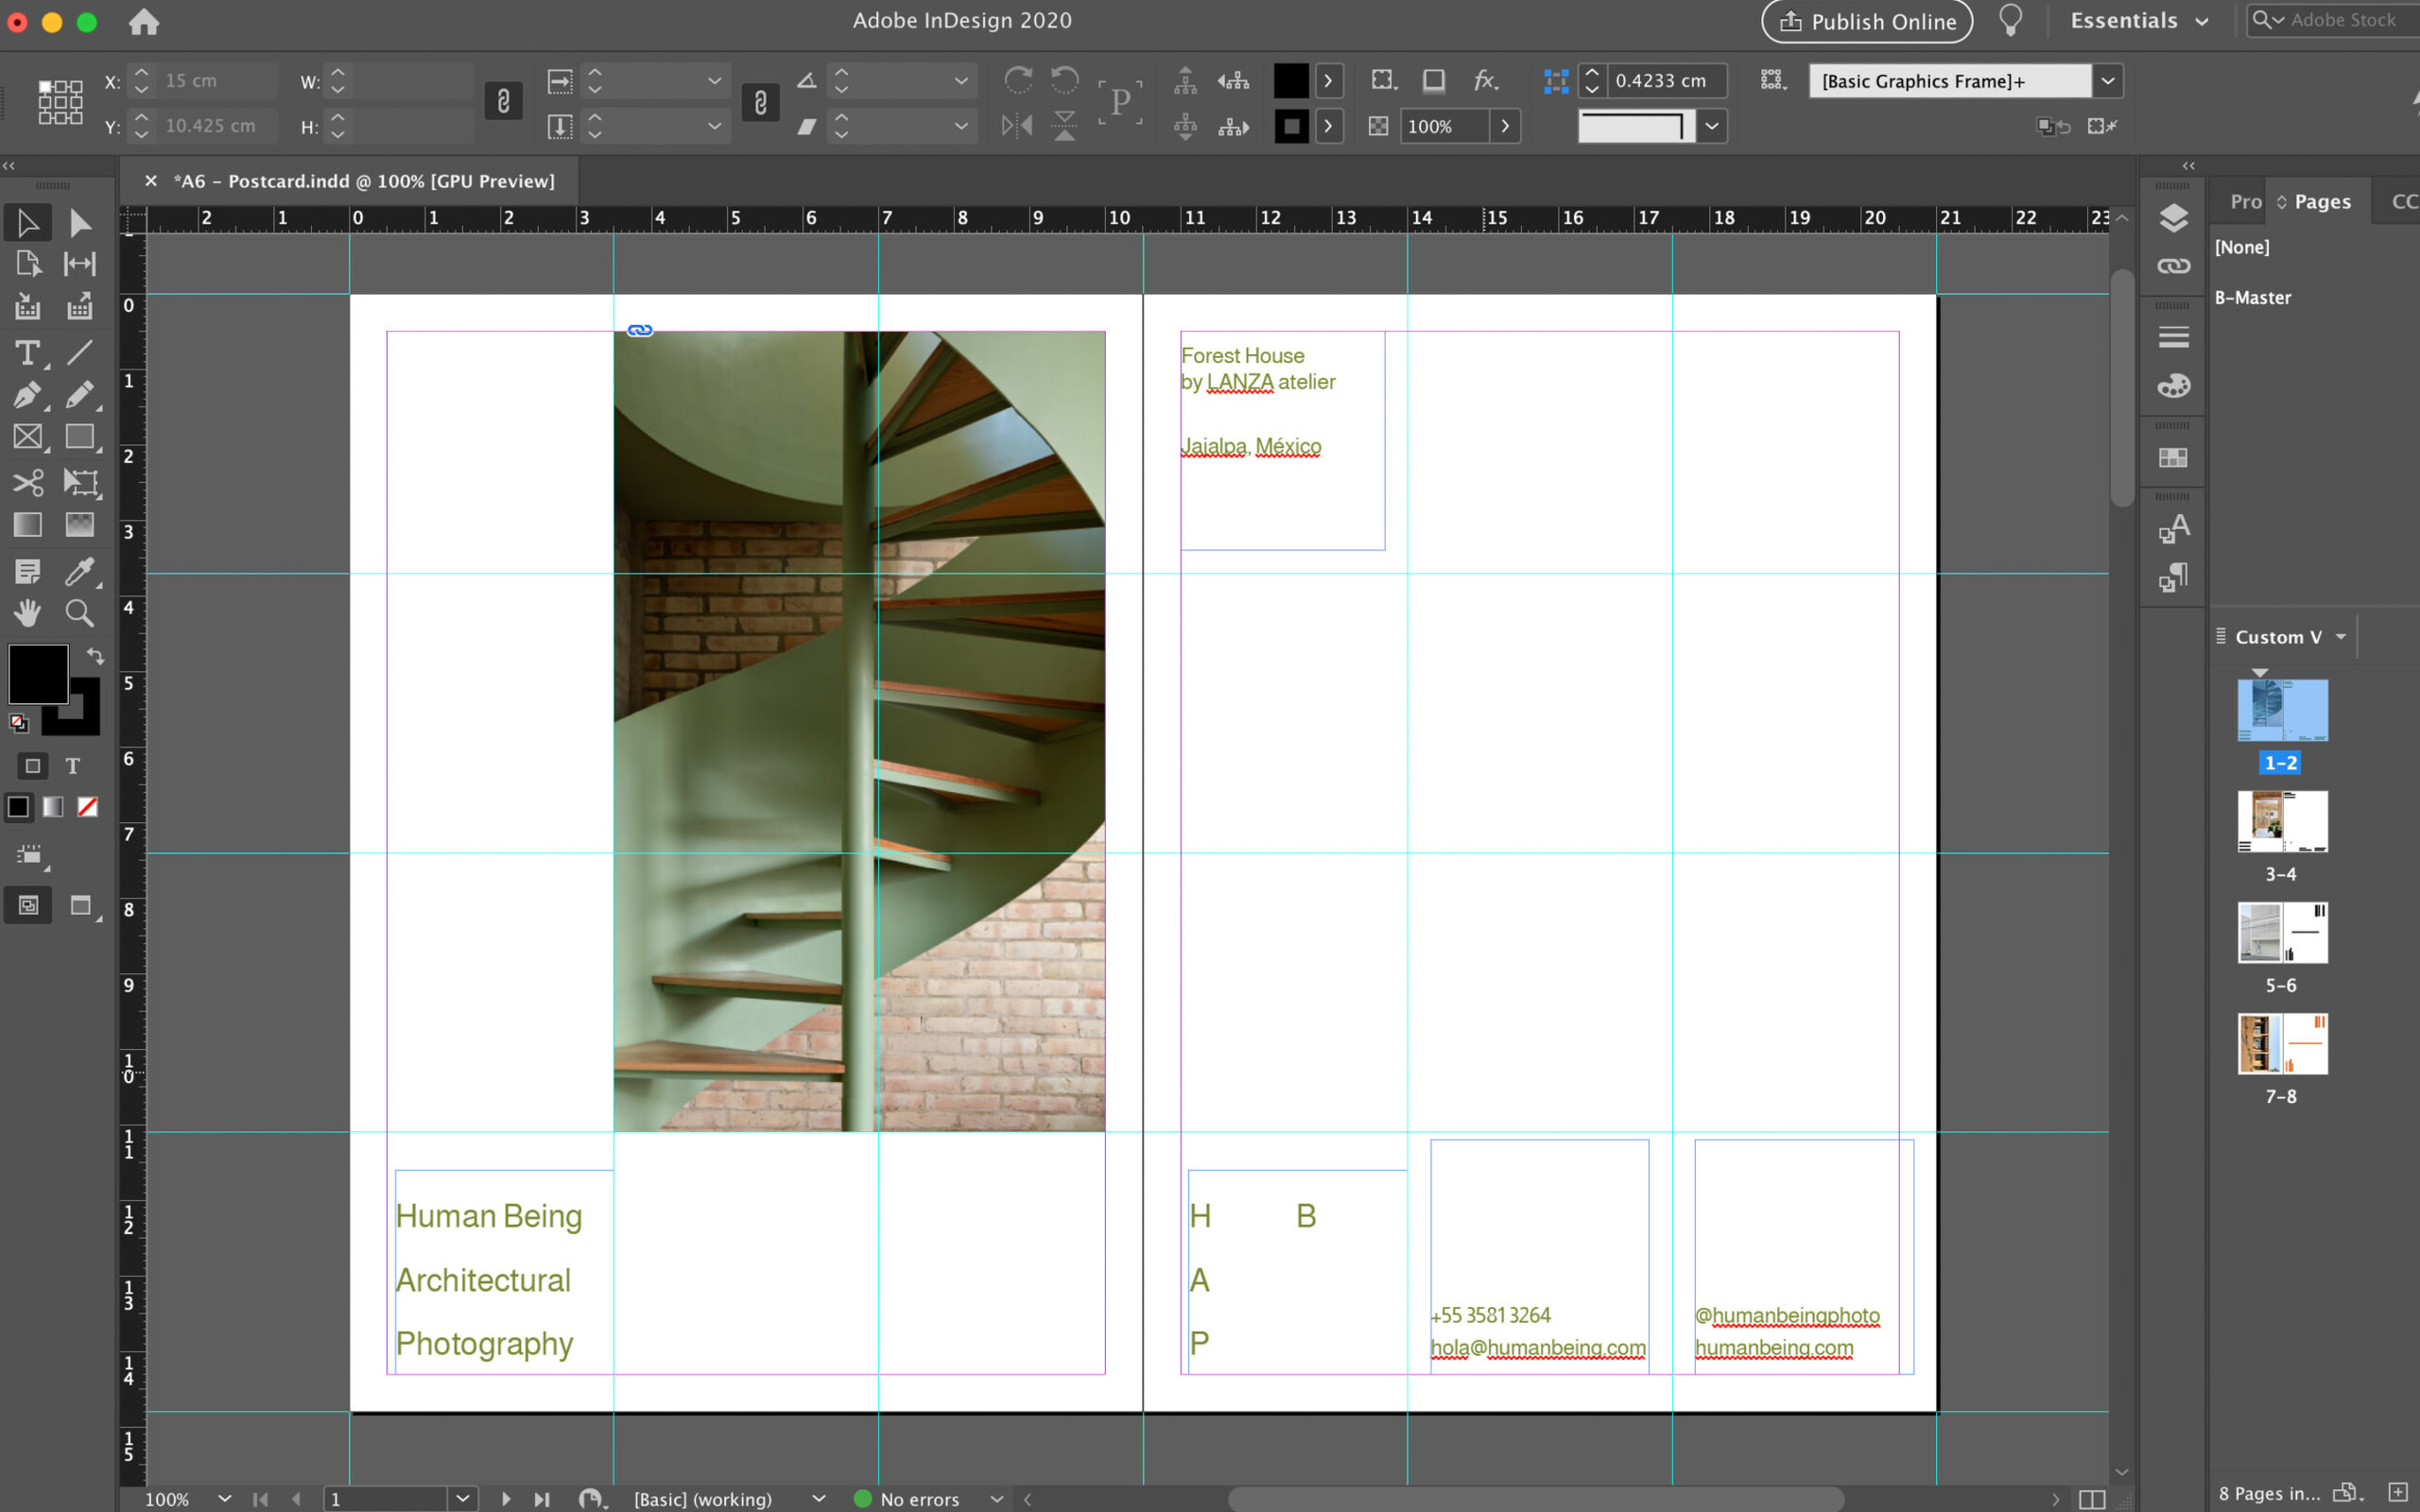
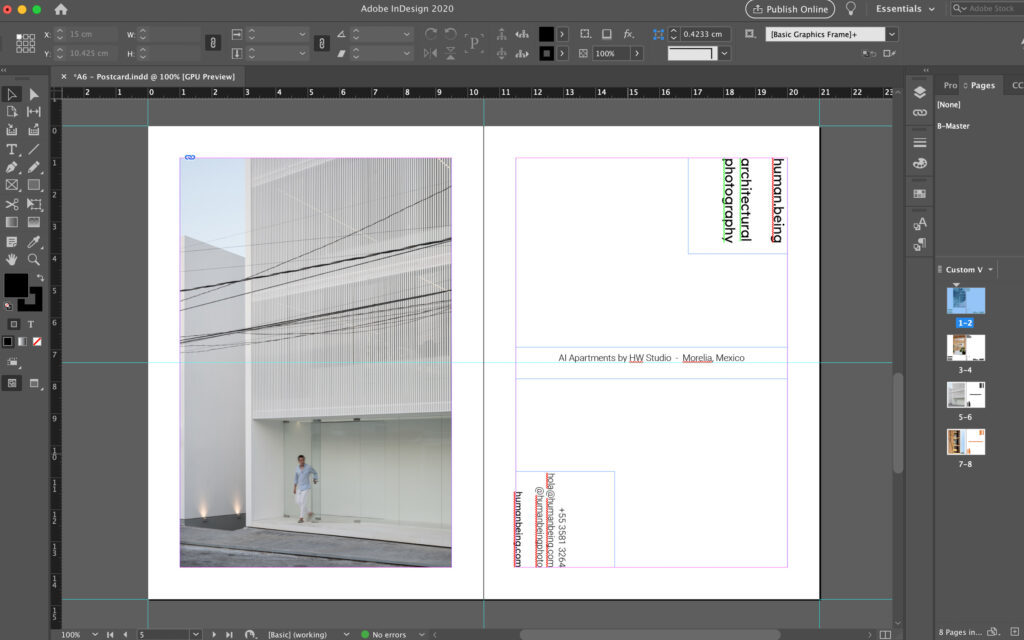
I used InDesign to transport the sketches into an editable file and started playing around with placeholder images and fonts. All the fonts used in these examples were downloaded for free at Google fonts. For our blog post purposes, instead of using my own identity, I came up with a fictional photography studio — “Human Being Architectural Photography.”
All the images and designers are actual photographs from some of my favorite shoots in 2020. Here are the final postcard compositions within InDesign.
Time to print:
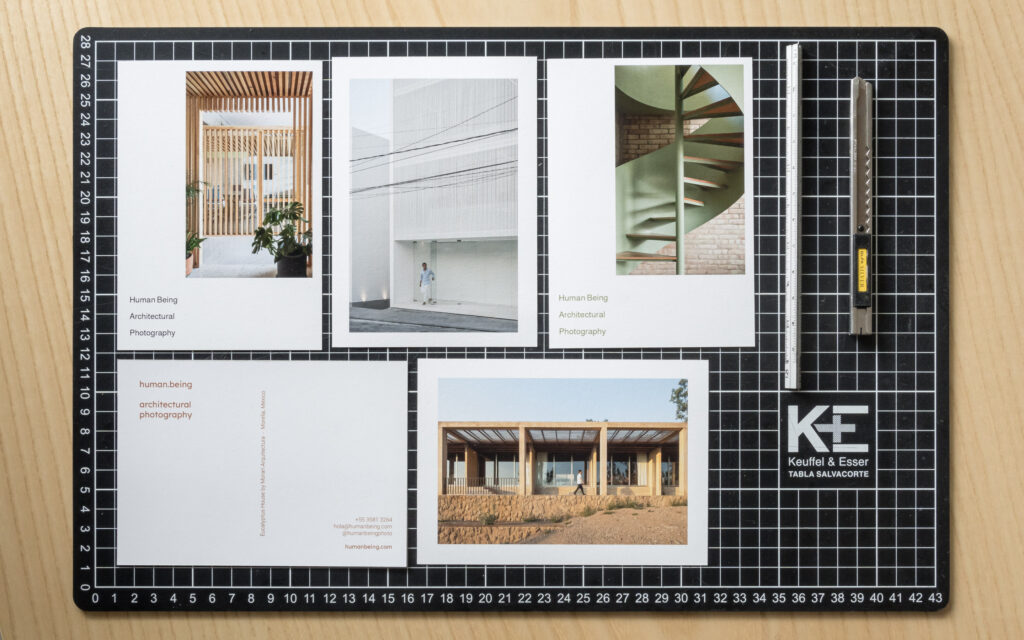
The moment of truth! It’s time to place those portfolio worthy shots onto a nice piece of paper. I decided to use cotton paper due to its texture, how it feels to the touch, and its matte finish. I have become very fond of using Hahnemühle Photo Rag papers. At the moment, I only have a rather thin version (180 g/m2) but I believe that anything over 240 g/m2 should give a postcard the desired stiffness.
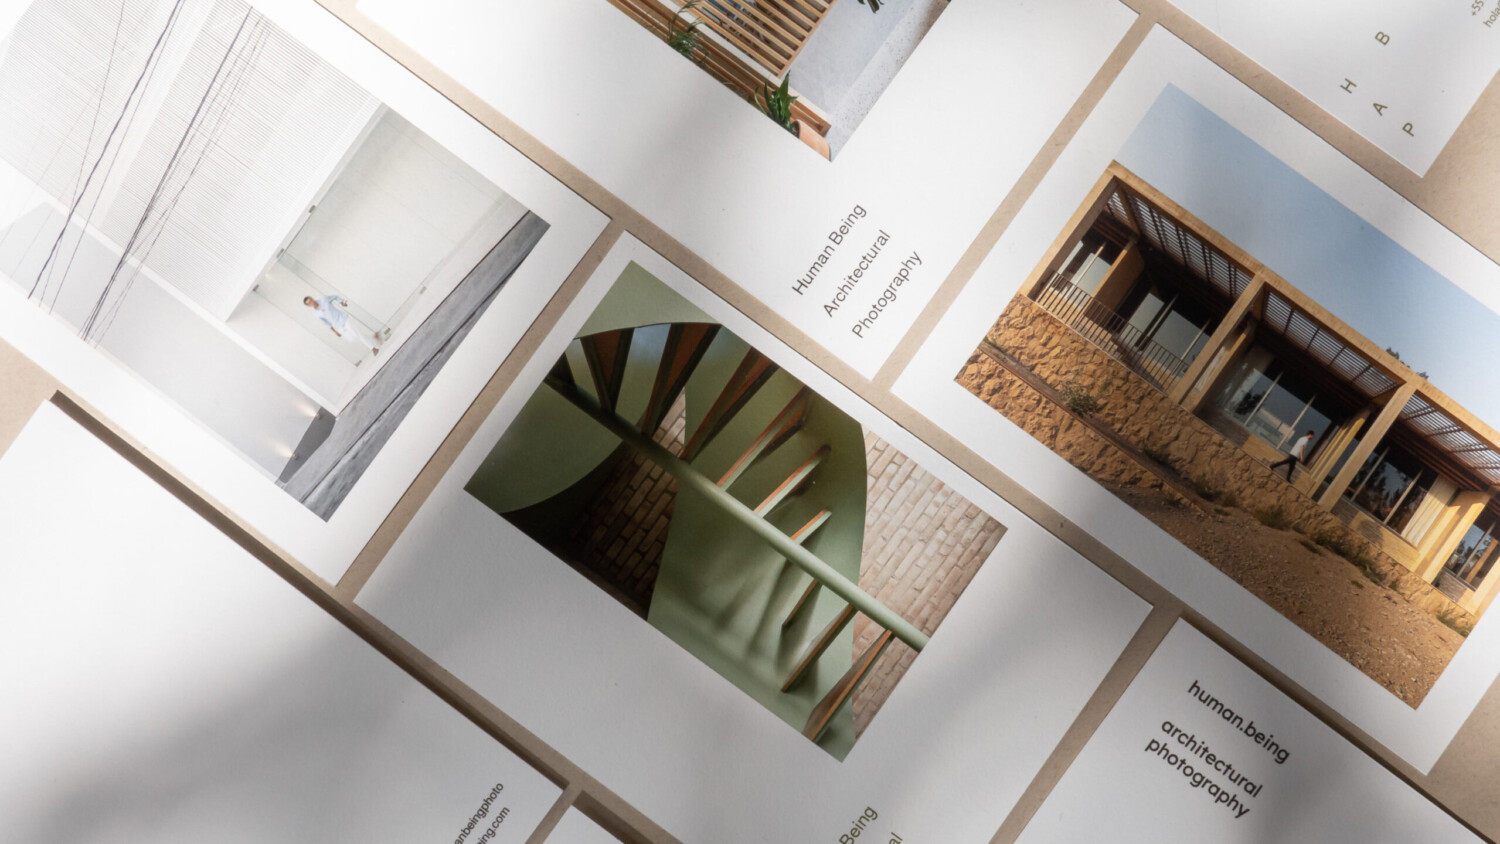
Here are some photos from the first batch of postcards. I still have to decide which one to continue developing.
My next steps include refining the design and working on a packaging solution. I hope that soon I will be able to send some portfolios or hand them out personally. Do you have a printed or digital portfolio? Let us know in the comments below!
The templates shown in this post are free to download and use, just follow this link. Disclaimer: I am not a graphic designer so please excuse any unorthodox methods used for setting up the InDesign document.